Install Ubuntu on Windows from Windows Store
Ubuntu and Windows are two different operating systems. Over the years, we’ve been used to dual-booting the two or using one as a virtual machine and the other as the host. However, things are changing. Microsoft currently offers the Windows Subsystem for Linux (WSL) making it possible to run GNU/Linux environments without needing virtual machines.
WSL supports Windows 10 and 11, and with it, you can comfortably and easily install Ubuntu from the Windows Store and run its terminal normally using two methods. Let’s check that out.
Method 1: Installing WSL and Ubuntu Via PowerShell
Before heading to the Microsoft Store, you need to install WSL to offer the platform to run Linux. With Windows 11, things are easier as the WSL is integrated with the Microsoft Store. But the steps in this guide will also work for Windows 10. Furthermore, ensure you have enabled virtualization on your BIOS settings.
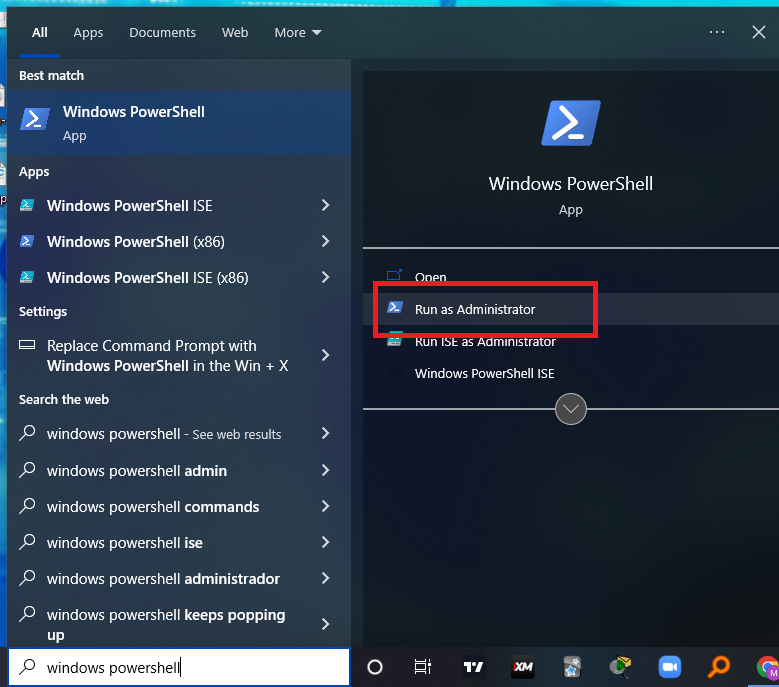
On your Windows operating system, click the search bar at the bottom left and search for Windows PowerShell. Right-click on it and open it as Administrator.
Once it loads, install WSL using the command below.
Run the command above by pressing the enter key. It will install the virtual machine platform. WSL and download and install Ubuntu.
Alternatively, you can run the command below to install WSL and Ubuntu using one line.
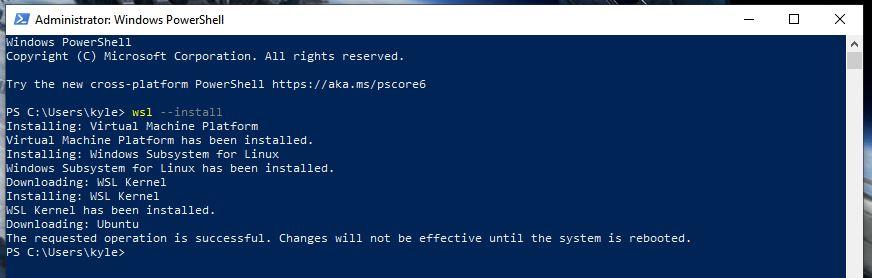
It is the easiest way to install WSL and Ubuntu. Make sure to restart your Windows once the installation completes.
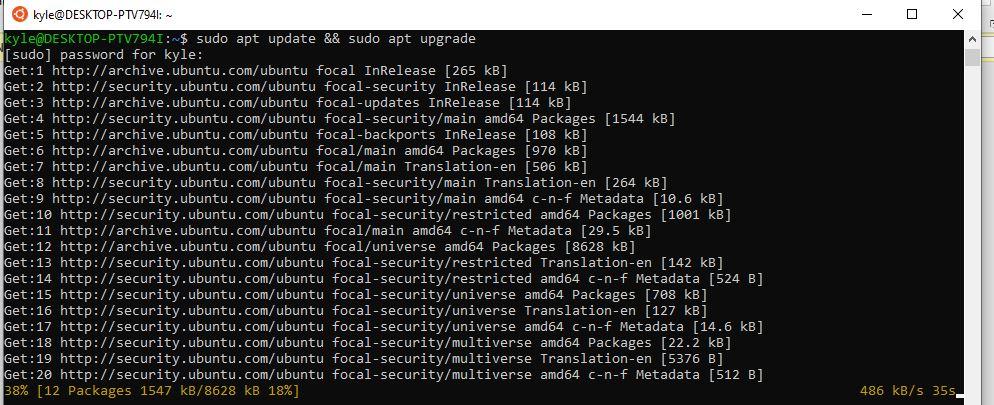
Open the installed Ubuntu terminal. For the first time, you will need to configure your login credentials. Choose a username and a password. Then once everything works fine, start by updating and upgrading Ubuntu.

You can now use Ubuntu to install any package or for any tasks.
Method 2: Installing Ubuntu from Microsoft Store
You don’t have to install and enable WSL via PowerShell. You can use GUI to achieve the same. First, ensure you have a stable internet connection and are logged in to your Windows OS, then follow the steps below.
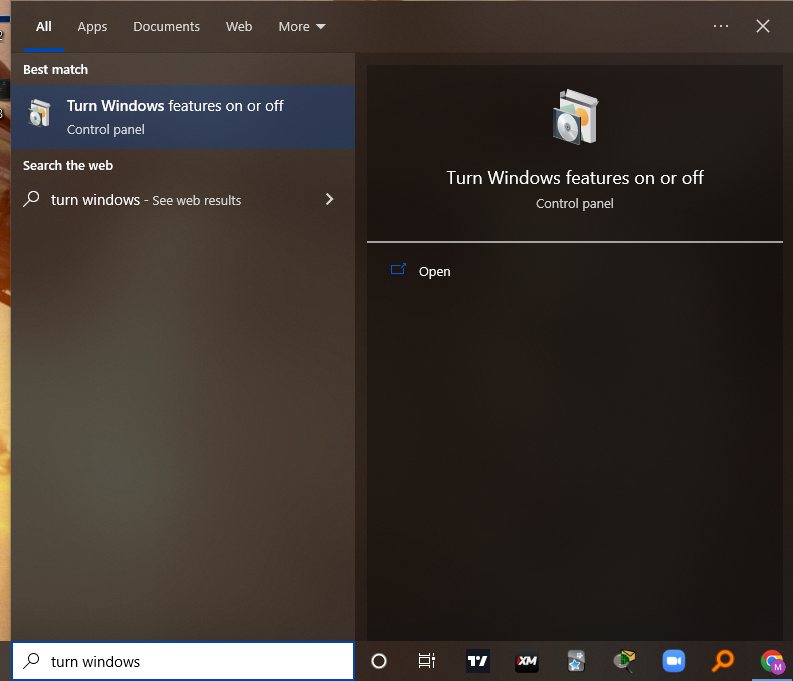
1. Click the search button and search for Turn Windows Features on or off.
2. Once it opens, enable the virtual machine platform and Windows subsystem for Linux options as in the image below, then click the Ok button.
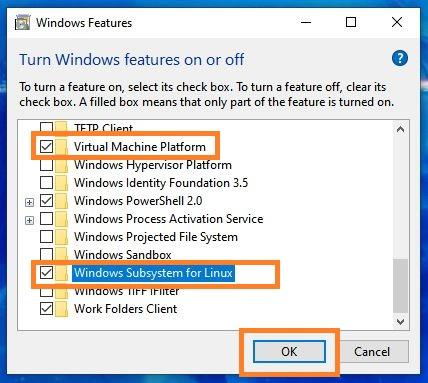
Doing so enables WSL for your Windows system and gives you the environment to run Ubuntu from the Microsoft Store. Lastly, restart your device.
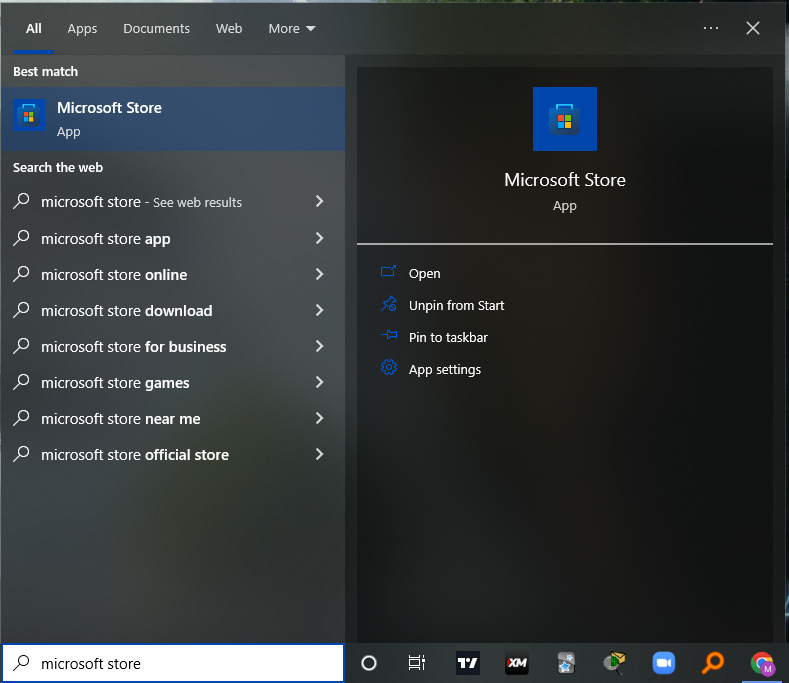
3. Open the Microsoft Store on your system. For this, you don’t have to be signed in to download Ubuntu.
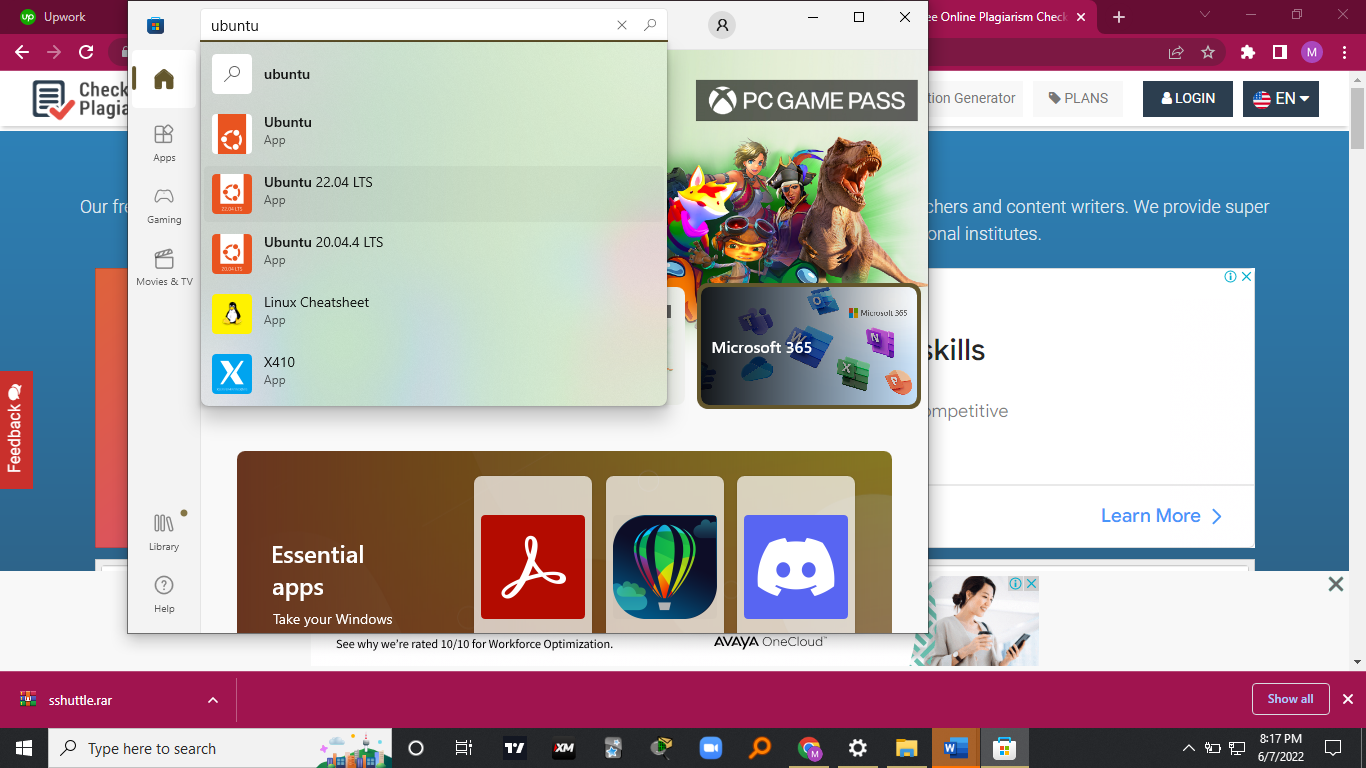
4. On the search bar, type Ubuntu and press the enter key. Different Ubuntu versions will pop up.
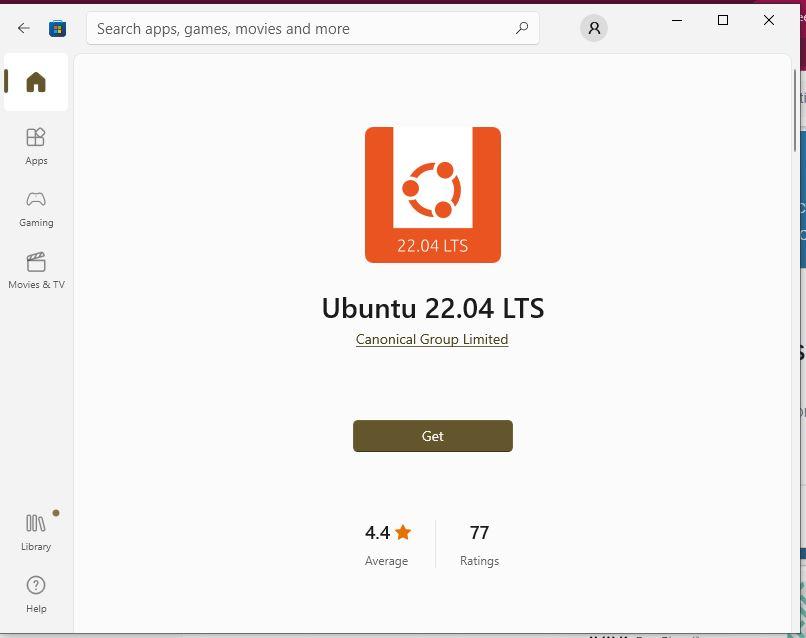
5. Click the latest update and choose to Install/Get. Then complete the process.
6. Once the installation completes, you will notice a Launch/Open button. Click on it to run Ubuntu on WSL.

Ubuntu will start to set up and initialize before opening up the terminal. Be patient and let the process finish uninterrupted.

7. Once Ubuntu opens, you need to set a username and password, as we did in method 1.
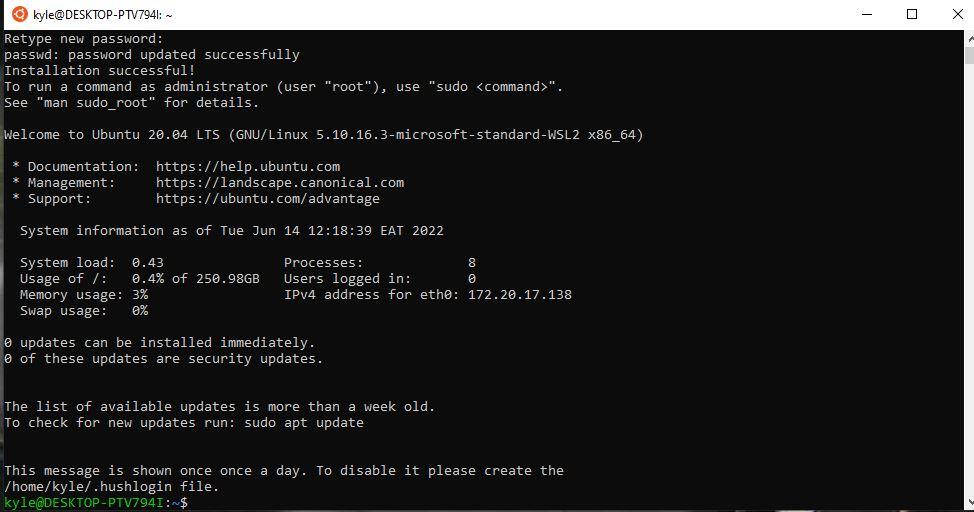
8. Finally, update and upgrade Ubuntu to start using it.
That’s it! You now have Ubuntu successfully installed on your Windows system.
Final Word
Installing Ubuntu on Windows has never been this easy. Microsoft has eased things, unlike where you had to dual boot Windows and Ubuntu or use one as a virtual machine. Using WSL, you can effortlessly download and install the Ubuntu terminal on your Windows system. This guide covers two methods you can use to install Ubuntu on Windows from Windows Store and which will work for your case.
Source: linuxhint.com