Install Tailwind CSS with Laravel
This article elaborates on the installation of Tailwind CSS with “Laravel”.
Prerequisites
Before installing the Tailwind CSS with Laravel, the below-listed applications must be installed in your system. If these applications are not installed, first install them with the help of the following links:
- Xampp: https://www.apachefriends.org
- Php: https://www.php.net/downloads
- Composer: https://getcomposer.org/download/
- Installer: https://laravel.com/
How to Install Tailwind CSS with Laravel?
The user can easily install and set up the Tailwind CSS with Laravel for making the PHP-based website more interactive and eye-catching by following the below-given essential steps:
Step 1: Create a New Laravel Project
First, open up the folder in the code editor where the user wants to create a new Laravel project.
After that, open the “New Terminal (Ctrl+Shift+`)” and run the following command to create the new Laravel project i.e., “first-project” in this case:
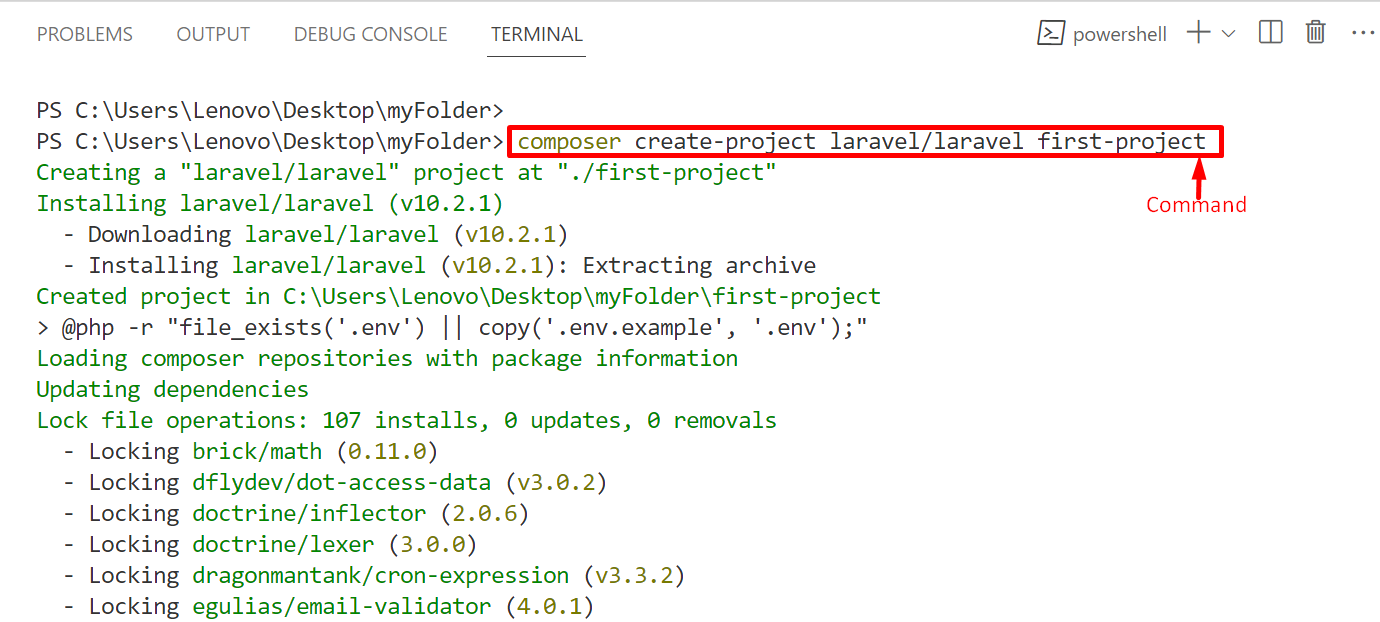
The outcome shows that the “first-project” is created successfully.
Next, navigate to the “first-project” folder/directory using the “cd (change directory)” command:

Step 2: Install Tailwind CSS With Dependencies
Now, install Tailwind CSS with its dependencies for the newly created Laravel project in the project directory with the help of the “npm(node package manager)” command:
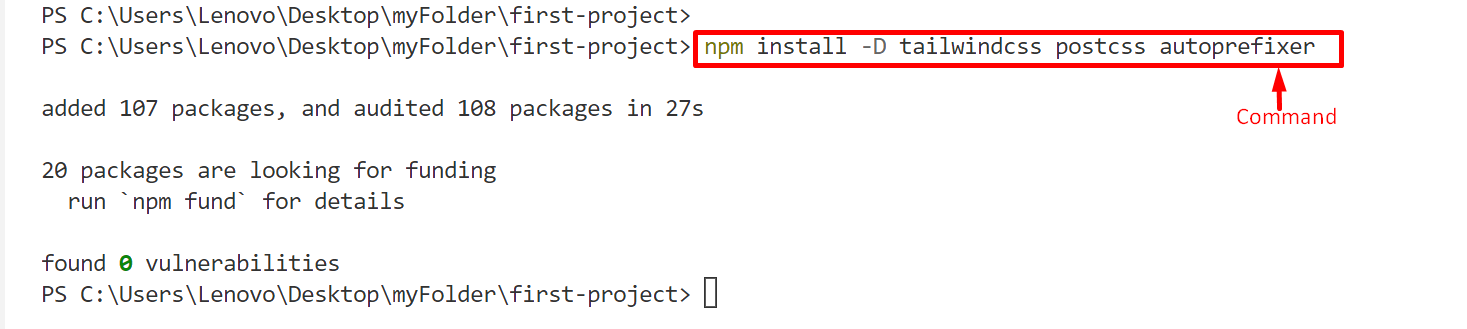
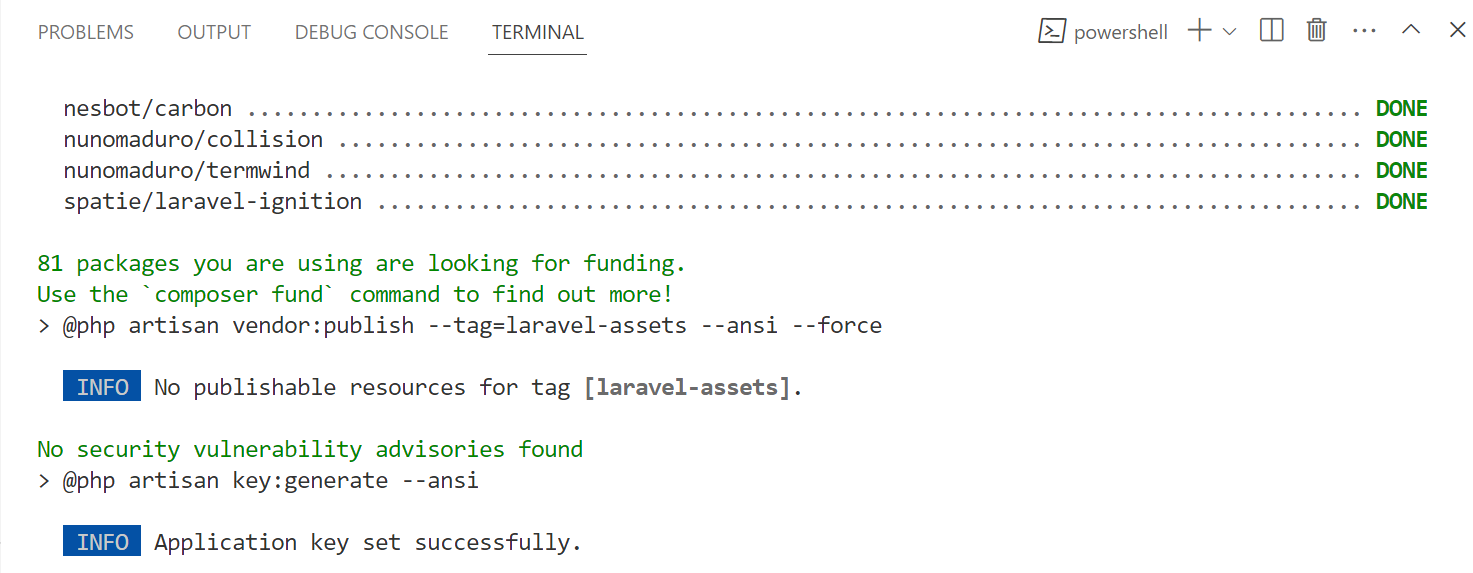
As seen, “Tailwind CSS” and its dependencies are installed successfully.
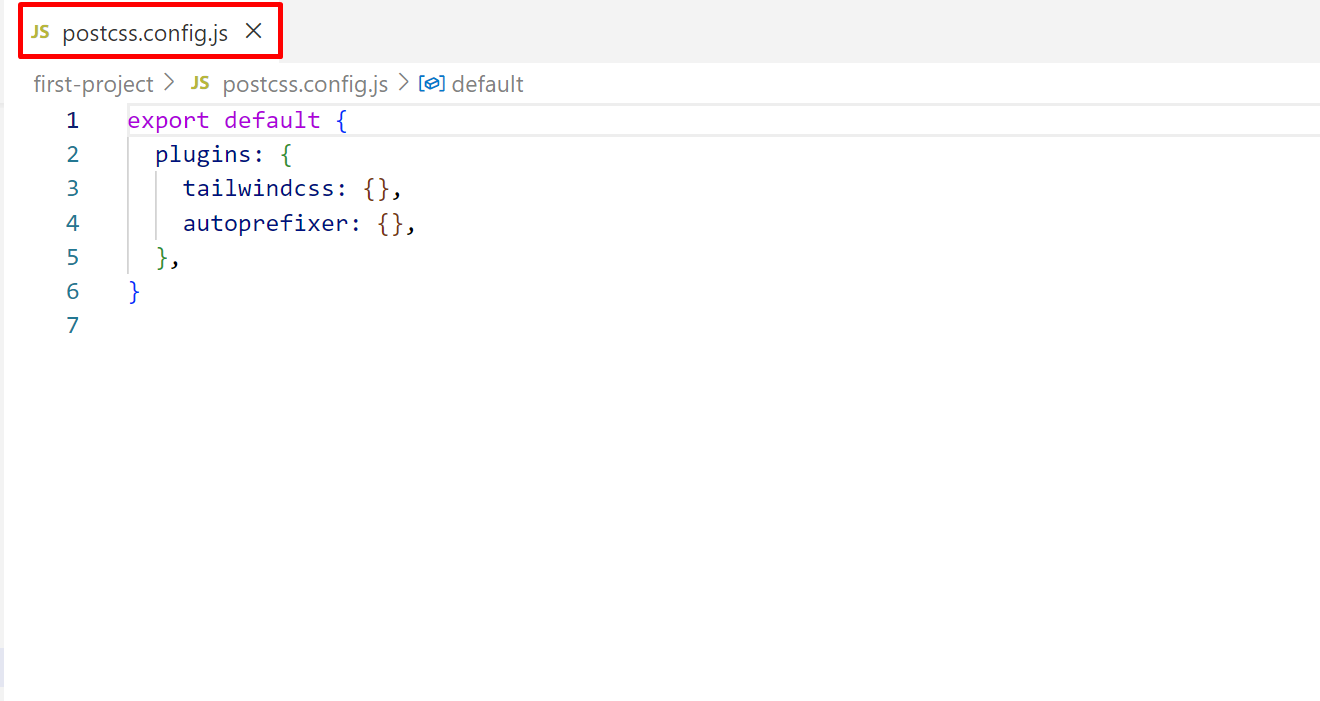
Step 3: Create Configuration Files
Create the configuration files “tailwind.config.js” and the “postcss.config.js” for configuring Tailwind CSS in the “first-project” Laravel project by executing this command:

The configuration files have been created successfully.
Now, open these files one by one created in the “first-project” file structure:
File 1: tailwind.config.js

File 2: postcss.config.js
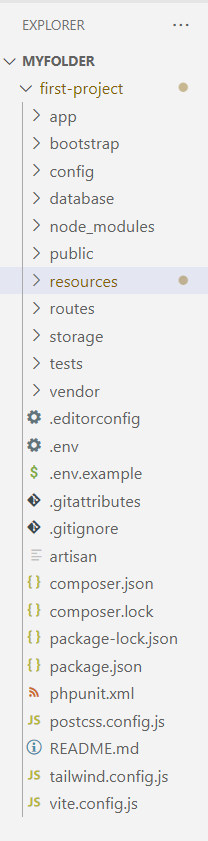
After the above-stated steps, the “first-project” file structure looks like this:
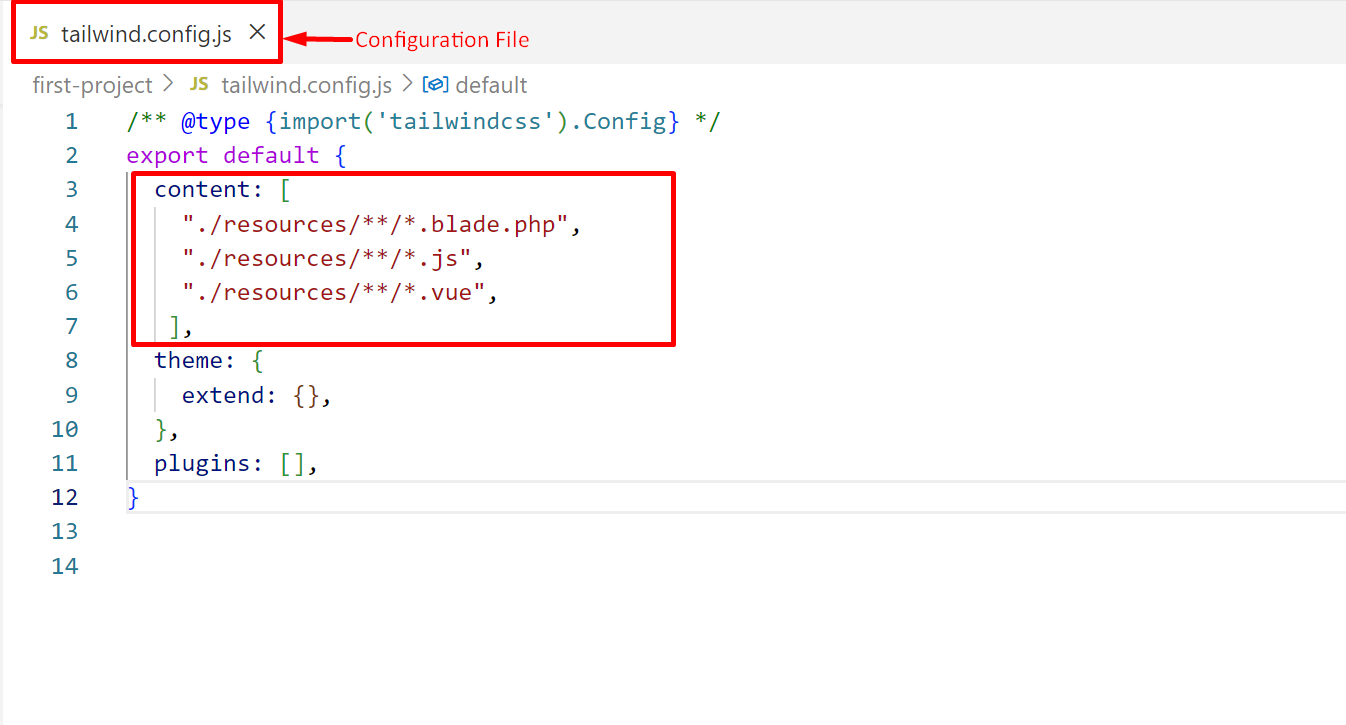
Step 4: Configure Template Path
Now, open the “tailwind.config.js” file and configure the template path (in which the user wants to style using the Tailwind CSS) by specifying their exact location in the “content” section:
"./resources/**/*.blade.php",
"./resources/**/*.js",
"./resources/**/*.vue",
],
In the above command:
- The “resources” represents the directory where all of the “blade.php”, “js” and “vue” templates are present by default.
- The “**” is utilized to match zero or more directives.
- The “*” is used to match everything except for the hidden files and the slashes:
Save (Ctrl+S) the new changes and close the file.
Step 5: Add Tailwind Directives
Now, add the predefined tailwind directives in the “resources/css/app.css” file to add the Tailwind CSS base styles, pre-designed components, and utilities classes, respectively:
@tailwind components;
@tailwind utilities;
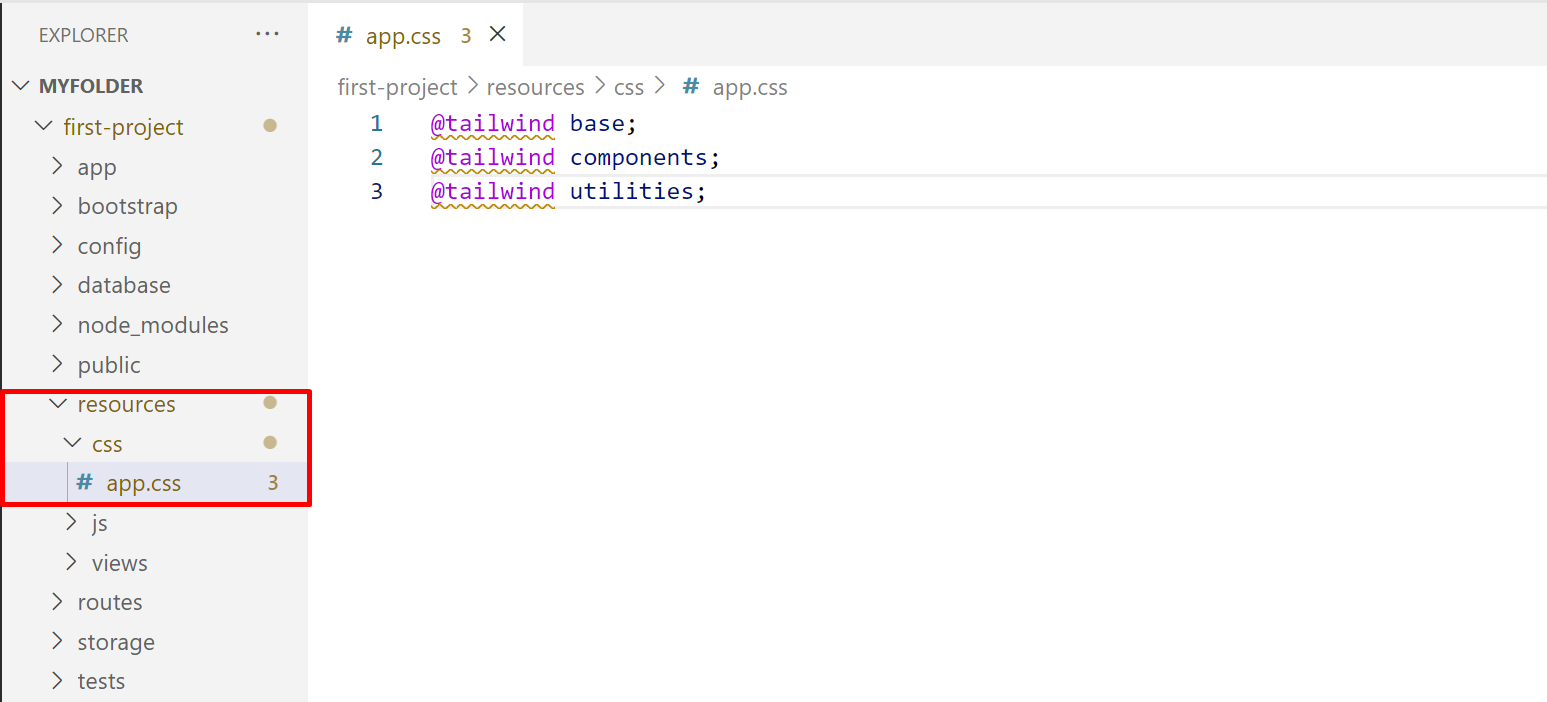
After doing so, save and close the file.
Step 6: Apply Tailwind CSS and Start the Build Process
Lastly, rewrite the “resources/views/welcome.blade.php” template and type simple HTML code in it for the testing purpose:
In the above code lines:
- In the header section, the “<link>” tag specifies the location of the Tailwind CSS file that is generated by the “asset()” function.
- Next, in the body section, the “<h1>” tag specifies the first heading element on which the Tailwind CSS classes “Font Size”, “Text Color”, “Text Align”, “Font Weight”, and the “Font Decoration” are applied for styling.
Now, run the “dev” script available in the main “package.json” file for the development of server with the help of the following command:
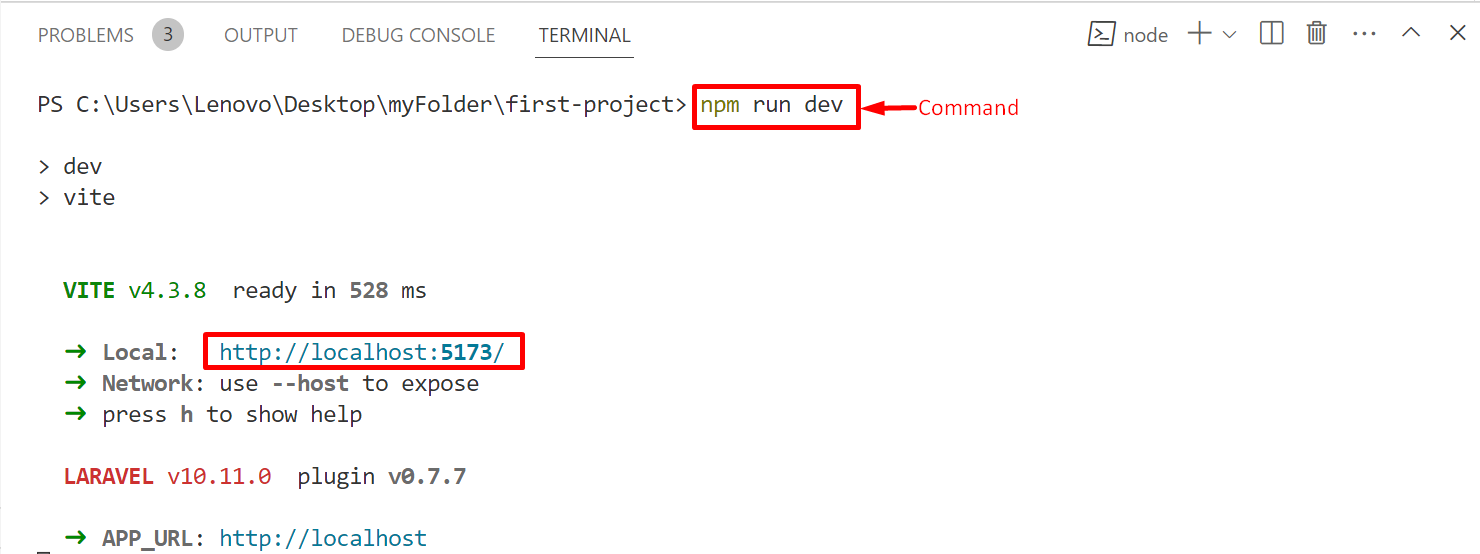
As seen, the above command is executed successfully. Now, click on the “localhost” to show the output.
Output
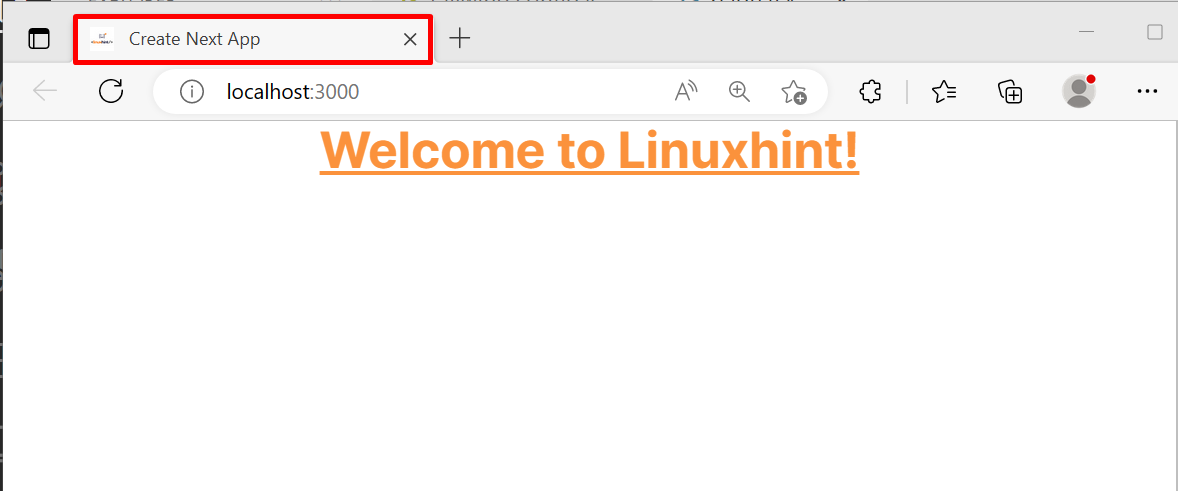
The output confirms that Laravel’s “first-project” application is deployed successfully at the local host.
Conclusion
“Tailwind CSS” installation with “Laravel” can be easily performed using the “npm(node package manager)”. It involves creating a project and then installing the Tailwind CSS with its essential dependencies in it. After that, configure its template path in the configuration file and the directives in its main CSS file. Lastly, write the code and build it using the “npm”. This article demonstrated the complete procedure to install Tailwind CSS with Laravel.
Source: linuxhint.com