Install Minikube on Ubuntu 22.04 LTS
In this article, I am going to show you how to install Minikube on Ubuntu 22.04 LTS. I will also show you how to start a local Kubernetes cluster with Minikube and the basics of Kubernetes as well. So, let’s get started.”
Table of Contents
- Things You Will Need
- Installing Docker on Ubuntu 22.04 LTS
- Installing KVM/QEMU on Ubuntu 22.04 LTS
- Installing VirtualBox on Ubuntu 22.04 LTS
- Installing Minikube
- Installing kubectl – The Kubernetes Command-Line Tool
- Starting a Kubernetes Cluster with Minikube
- Basics of Kubernetes
- Managing Minikube Kubernetes Cluster
- Conclusion
- References
Things You Will Need
To set up a Kubernetes cluster with Minikube, you will need either Docker, KVM/QEMU, or VirtualBox installed on your Ubuntu 22.04 LTS machine.
To install Docker on Ubuntu 22.04 LTS, read the Installing Docker on Ubuntu 22.04 LTS section of this article.
To install KVM/QEMU on Ubuntu 22.04 LTS, read the Installing KVM/QEMU on Ubuntu 22.04 LTS section of this article.
To install VirtualBox on Ubuntu 22.04 LTS, read the Installing VirtualBox on Ubuntu 22.04 LTS section of this article.
Installing Docker on Ubuntu 22.04 LTS
In this section, I am going to show you how to install Docker CE on Ubuntu 22.04 LTS so that you can use it as a driver for Minikube.
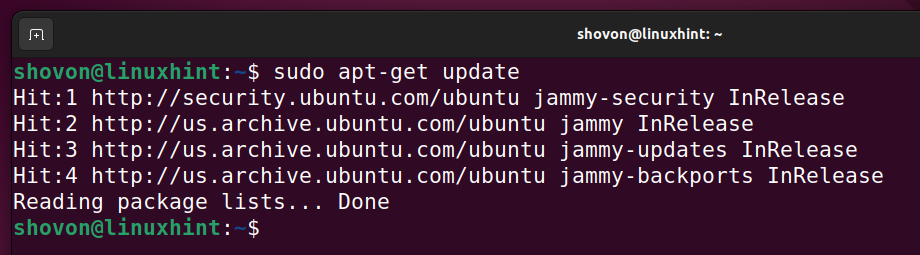
First, update the APT package repository cache with the following command:
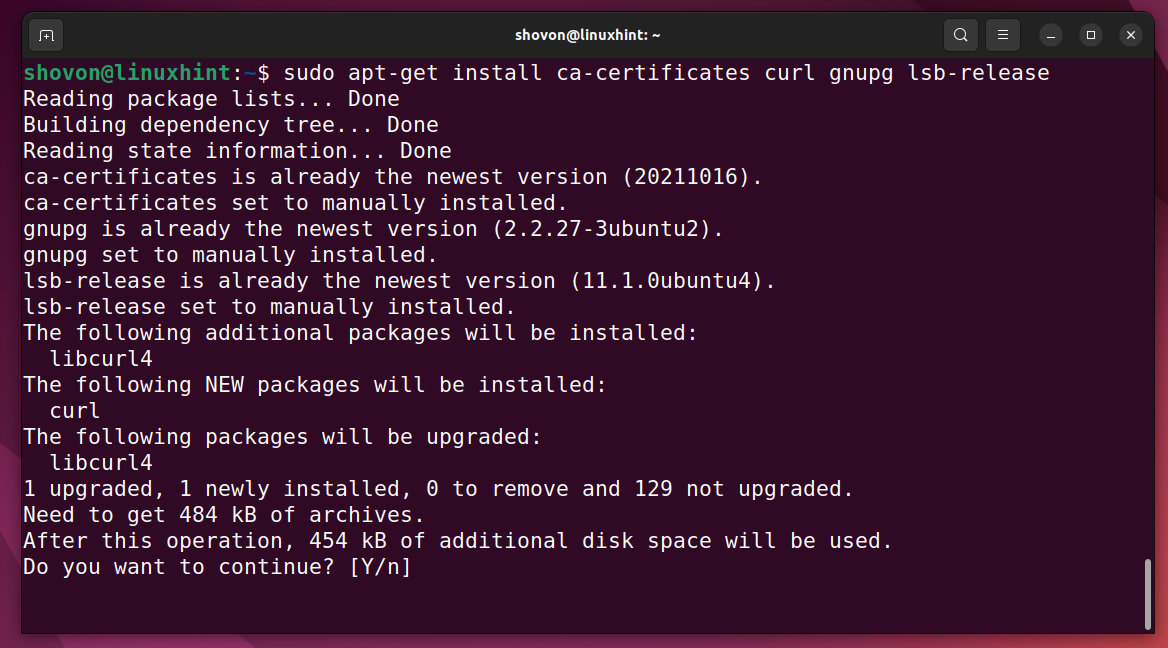
Install the required dependencies with the following command:

To confirm the installation, press Y and then press <Enter>.
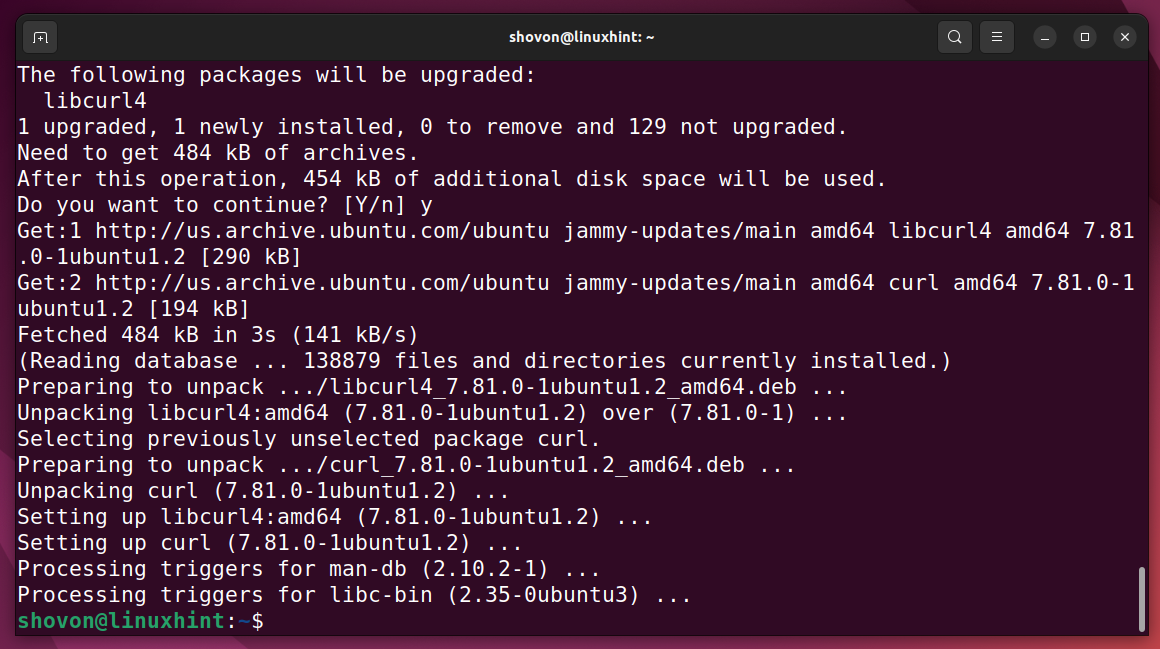
The required dependencies should be installed.
To install the GPG key of the official Docker CE repository, create a new directory /etc/apt/keyrings as follows:

Download the GPG key file of the official Docker CE repository with the following command:

Now, add the official Docker CE package repository on your Ubuntu 22.04 LTS machine with the following command:

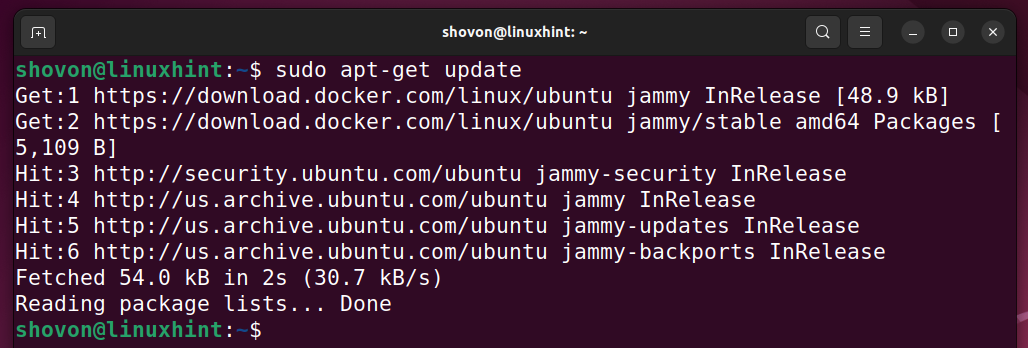
Update the APT package repository cache for the changes to take effect.
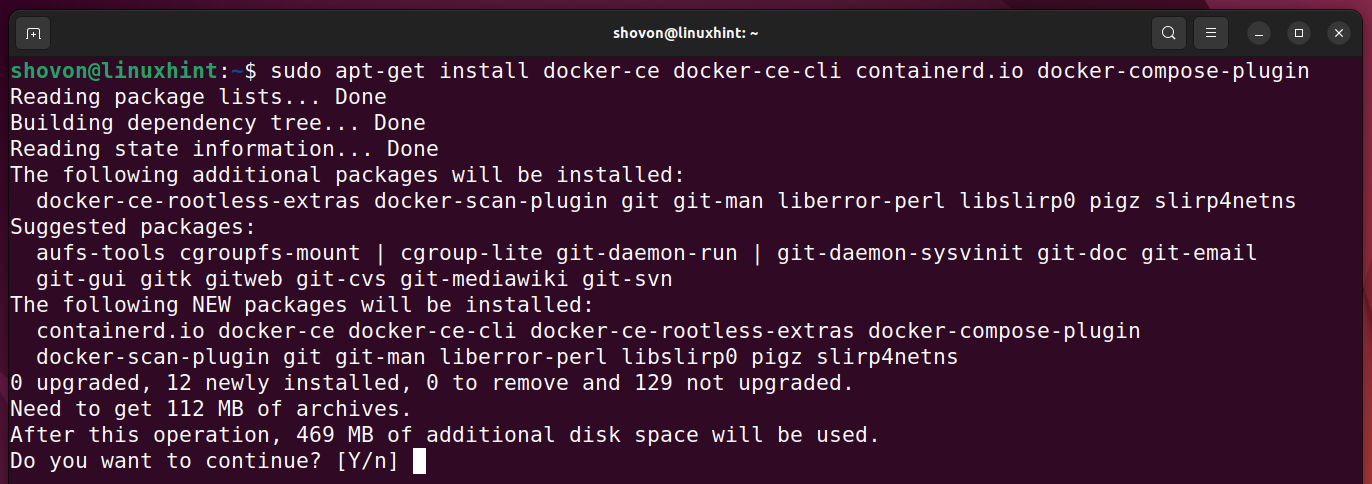
Install Docker CE from the official Docker CE package repository with the following command:

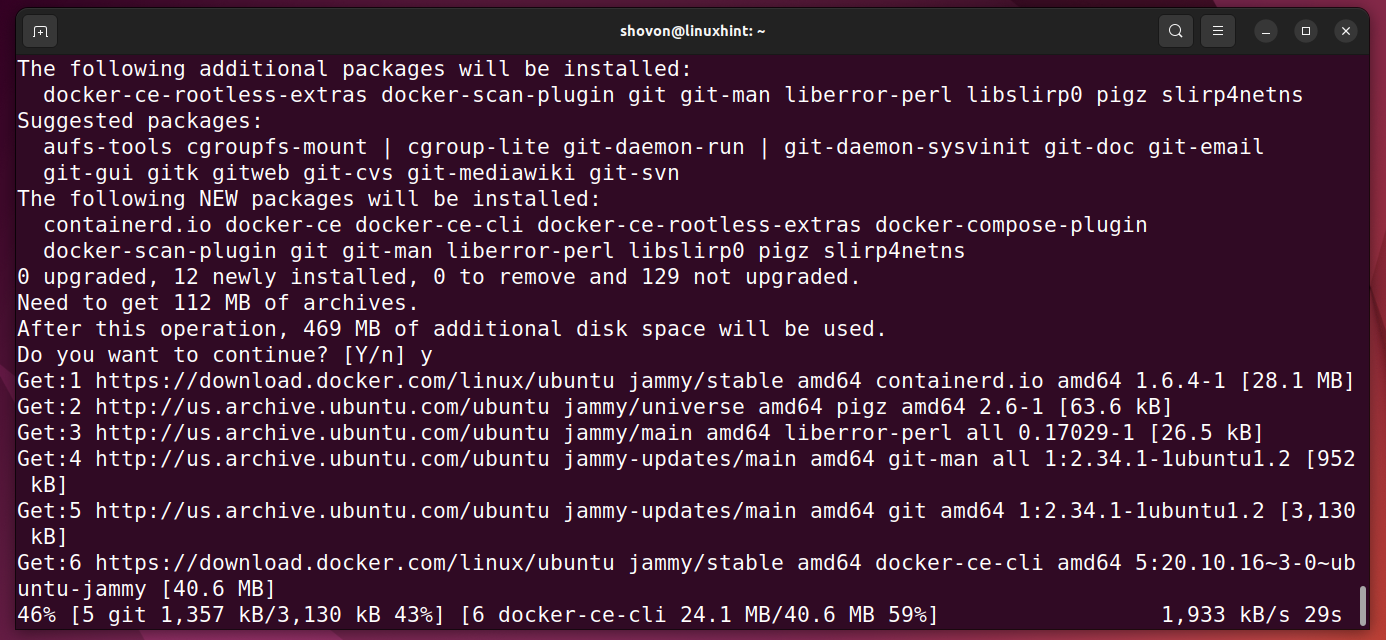
To confirm the installation, press Y and then press <Enter>.
Docker CE and all the required dependency packages are being downloaded and installed. It will take a while to complete.
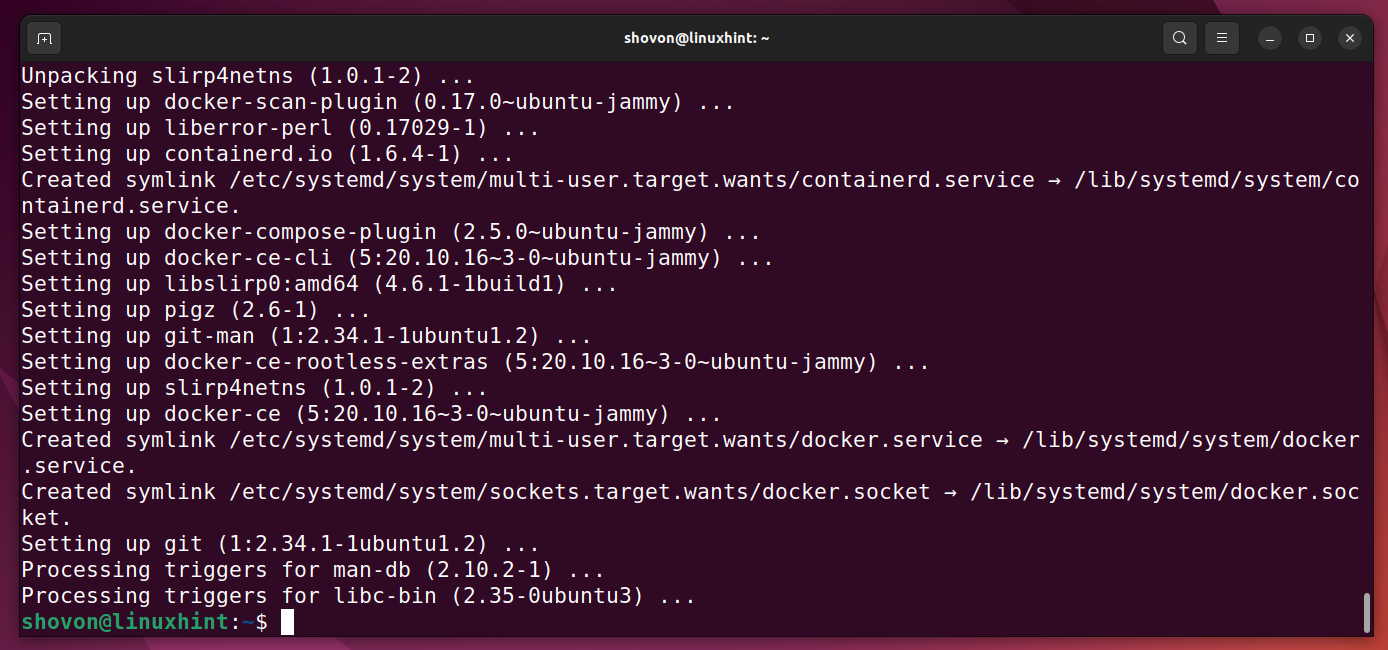
At this point, Docker CE should be installed.
Now, add your login user to the docker group with the following command:

For the changes to take effect, reboot your computer with the following command:
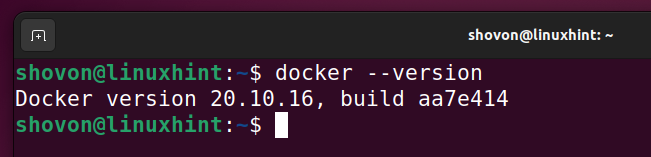
Once your computer boots, you can verify whether Docker is working with the following command:
Installing KVM/QEMU on Ubuntu 22.04 LTS
In this section, I am going to show you how to install KVM/QEMU on Ubuntu 22.04 LTS so that you can use it as a driver for Minikube.
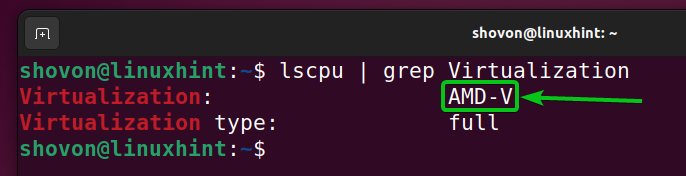
First, make sure that you have hardware virtualization enabled with the following command:

If hardware virtualization is enabled, you will see the text AMD-V (For AMD processors) or VT-X/VT-D (For Intel processors) in the Virtualization section.
If hardware virtualization is not enabled, you can enable it from the BIOS of your motherboard. Every modern processor support this feature.

Update the APT package repository cache with the following command:

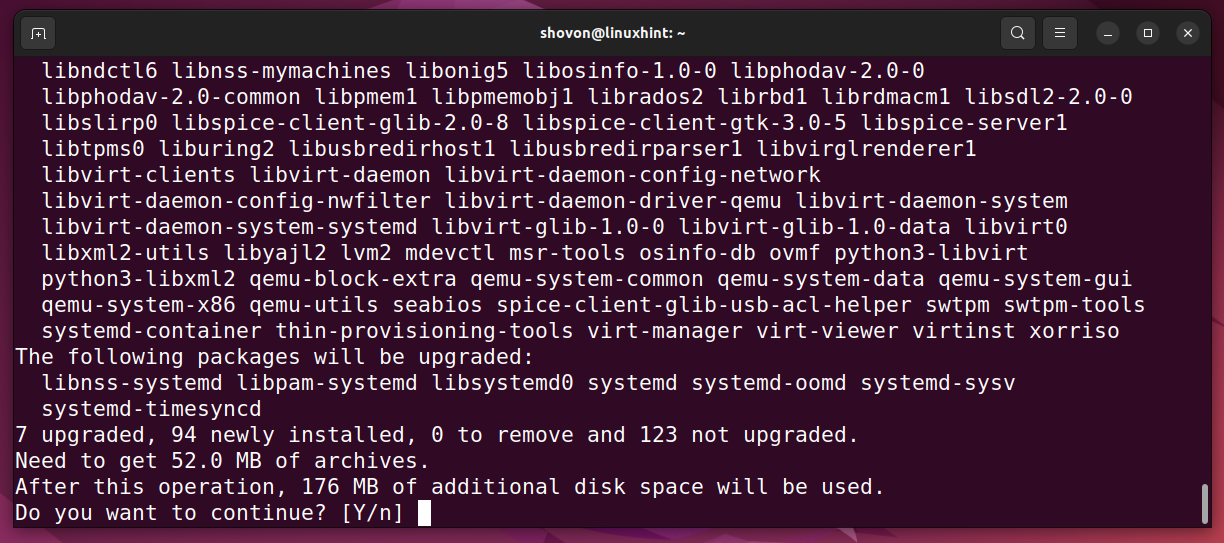
To install KVM/QEMU on Ubuntu 22.04 LTS, run the following command:

To confirm the installation, press Y and then press <Enter>.
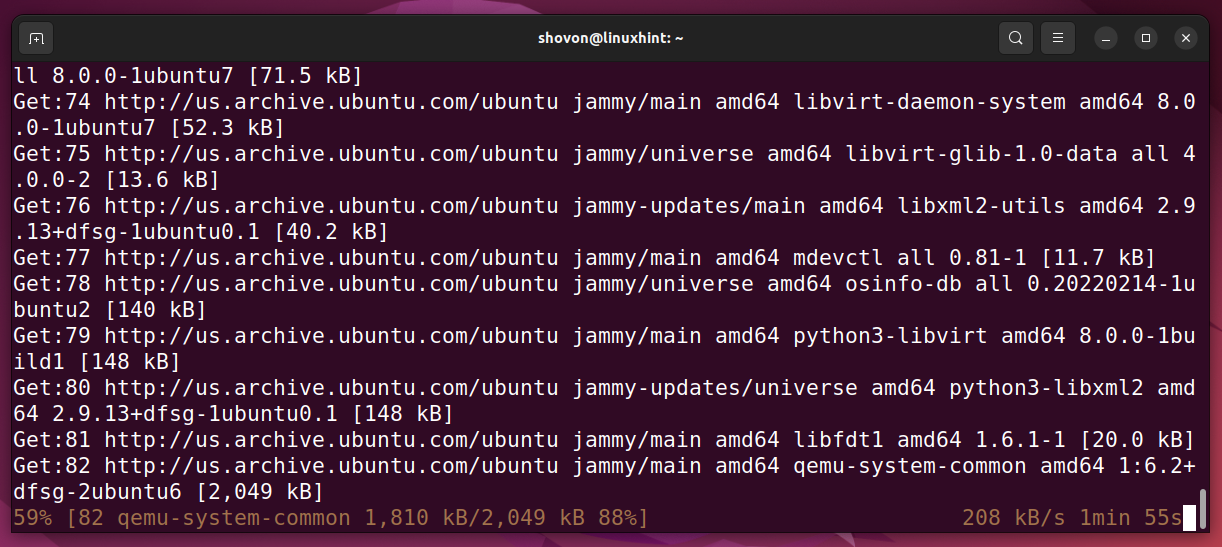
KVM/QEMU and all the required dependency packages are being downloaded from the internet. It will take a few minutes to complete.
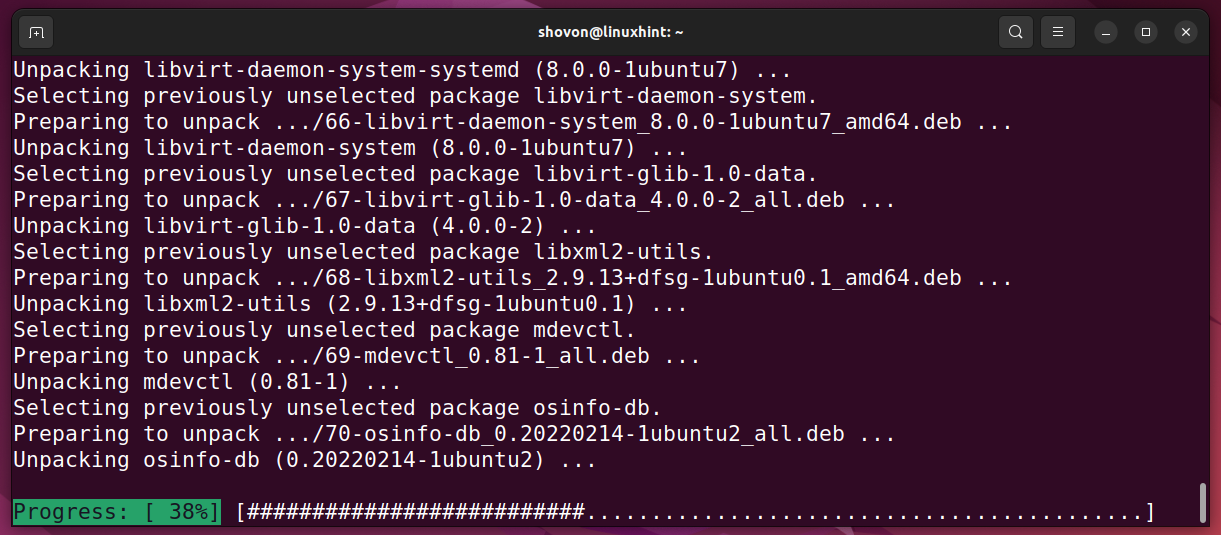
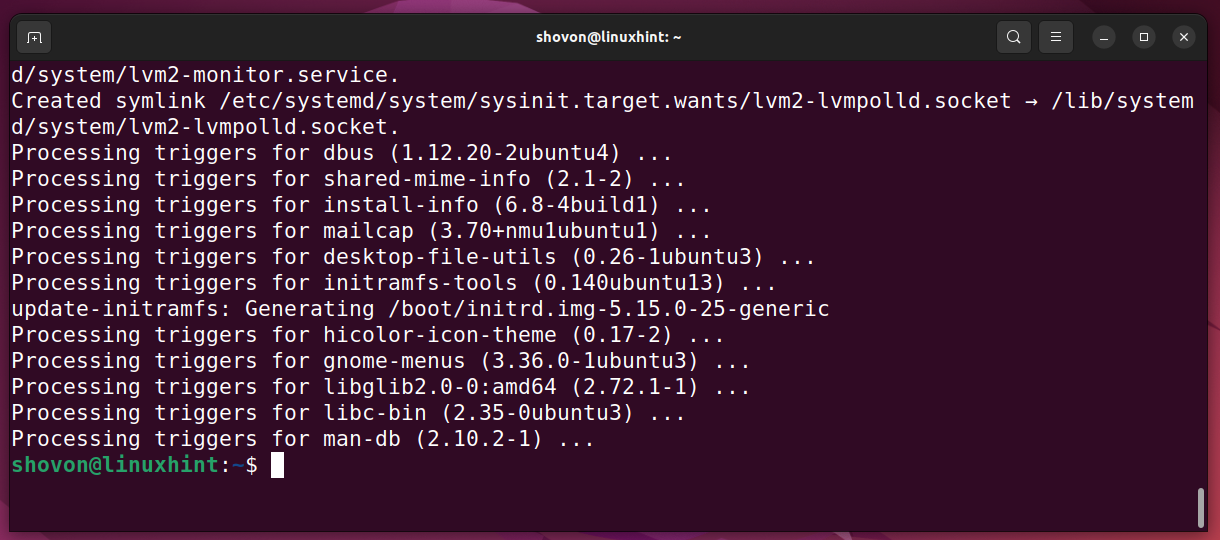
KVM/QEMU and all the required dependency packages are being installed. It will take a few minutes to complete.
KVM/QEMU and all the required dependency packages are installed at this point.
Add your login user to the kvm group with the following command:

Add your login user to the libvirt group with the following command:

For the changes to take effect, reboot your computer with the following command:

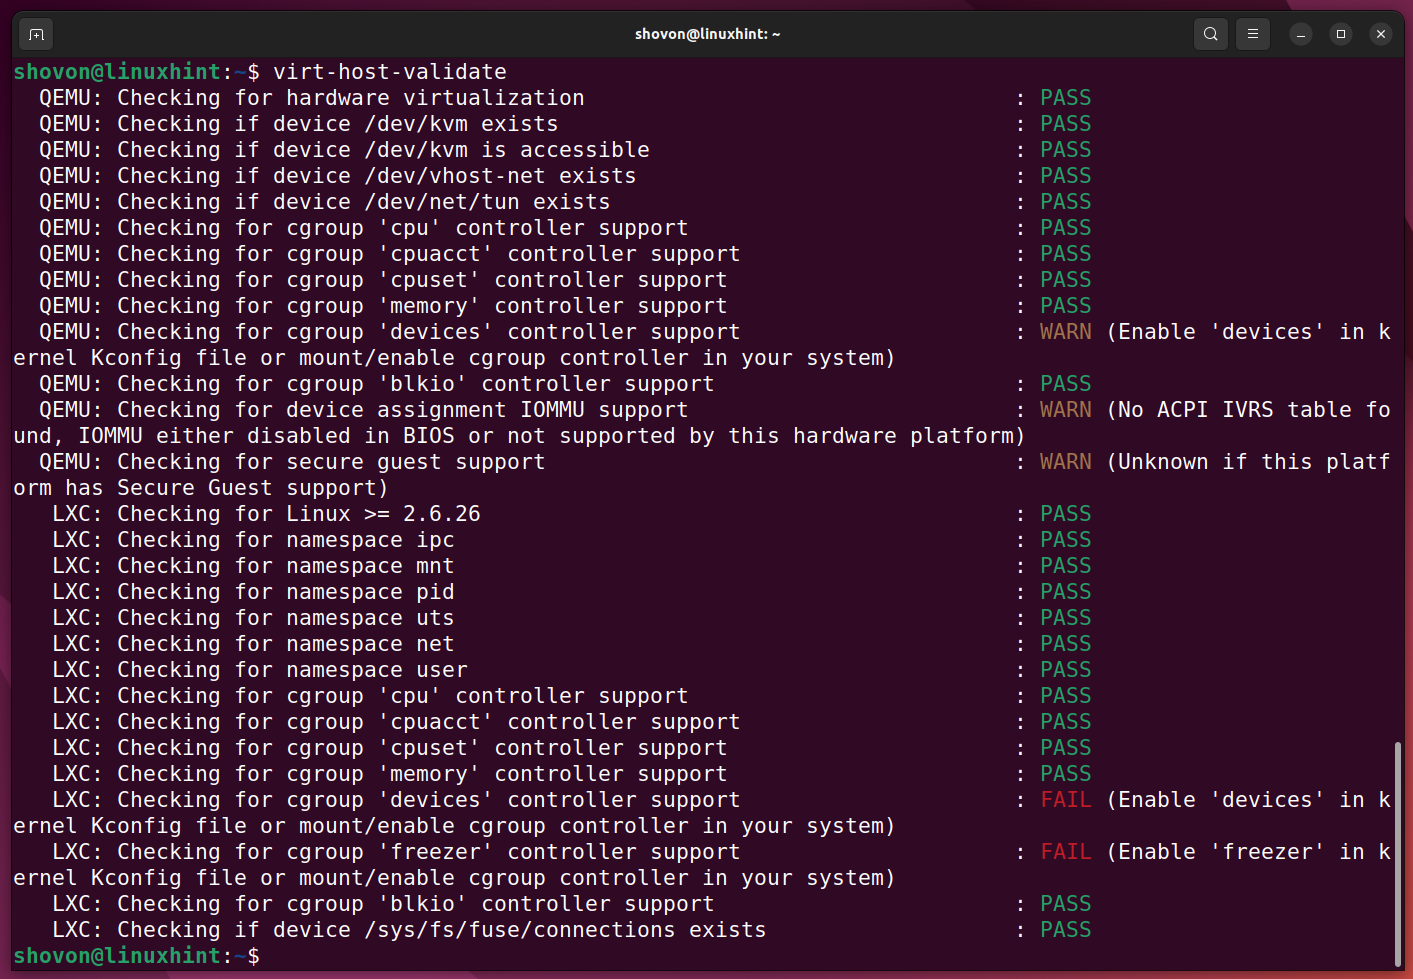
Once your computer boots, run the following command to check if all the KVM/QEMU components are working correctly.
NOTE: Some of the LXC features might FAIL, but it does not matter in this case.
Installing VirtualBox on Ubuntu 22.04 LTS
In this section, I am going to show you how to install VirtualBox on Ubuntu 22.04 LTS so that you can use it as a driver for Minikube.
First, make sure that you have hardware virtualization enabled with the following command:

If hardware virtualization is enabled, you will see the text AMD-V (For AMD processors) or VT-X/VT-D (For Intel processors) in the Virtualization section.
If hardware virtualization is not enabled, you can enable it from the BIOS of your motherboard. Every modern processor support this feature.
Update the APT package repository cache with the following command:

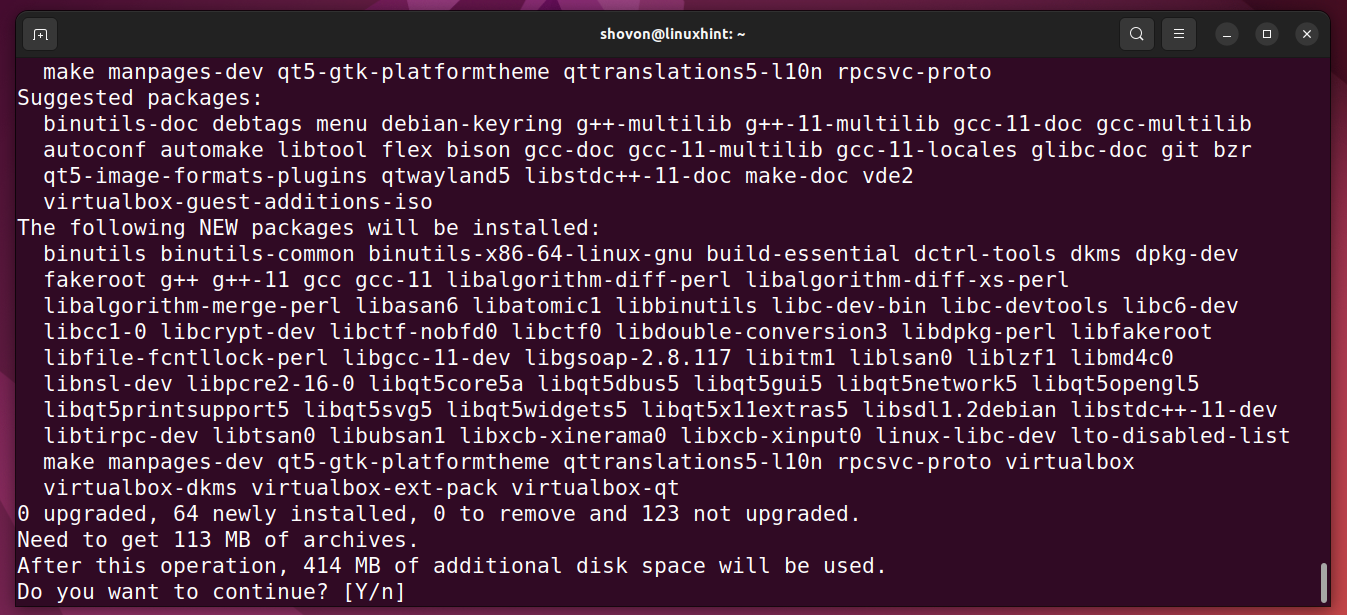
To install VirtualBox on Ubuntu 22.04 LTS, run the following command:

To confirm the installation, press Y and then press <Enter>.
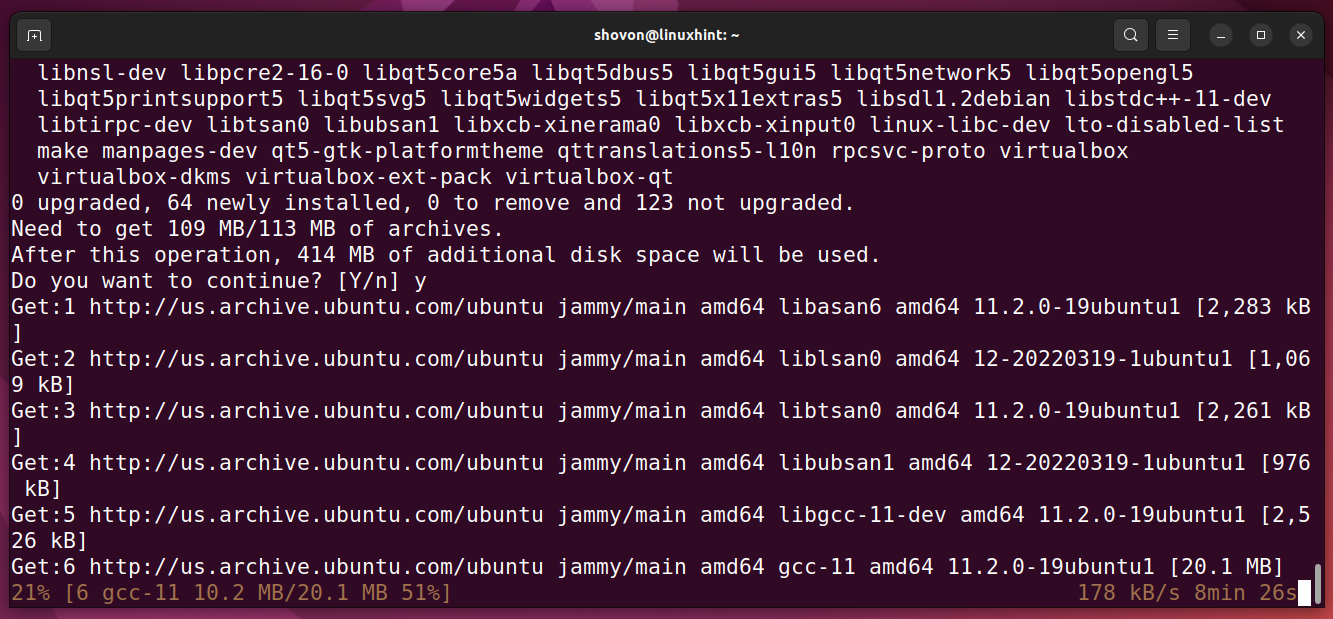
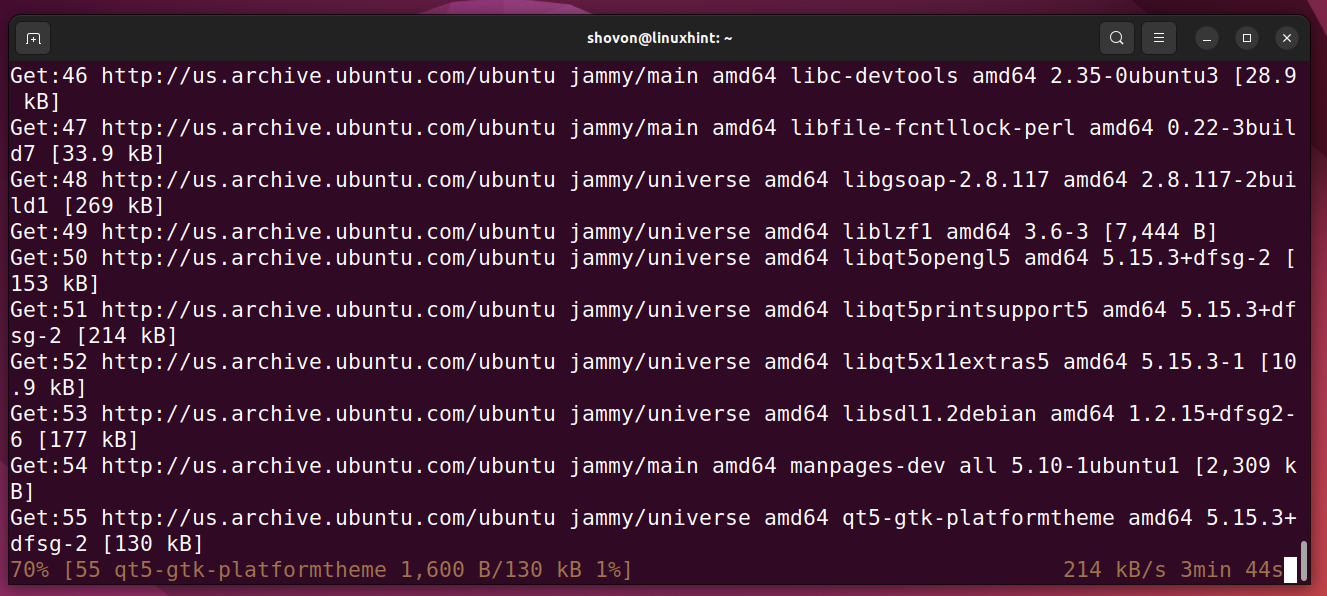
VirtualBox and all the required dependency packages are being downloaded from the internet. It will take a few minutes to complete.
Select <Ok> (by pressing <Tab>) and press <Enter>.

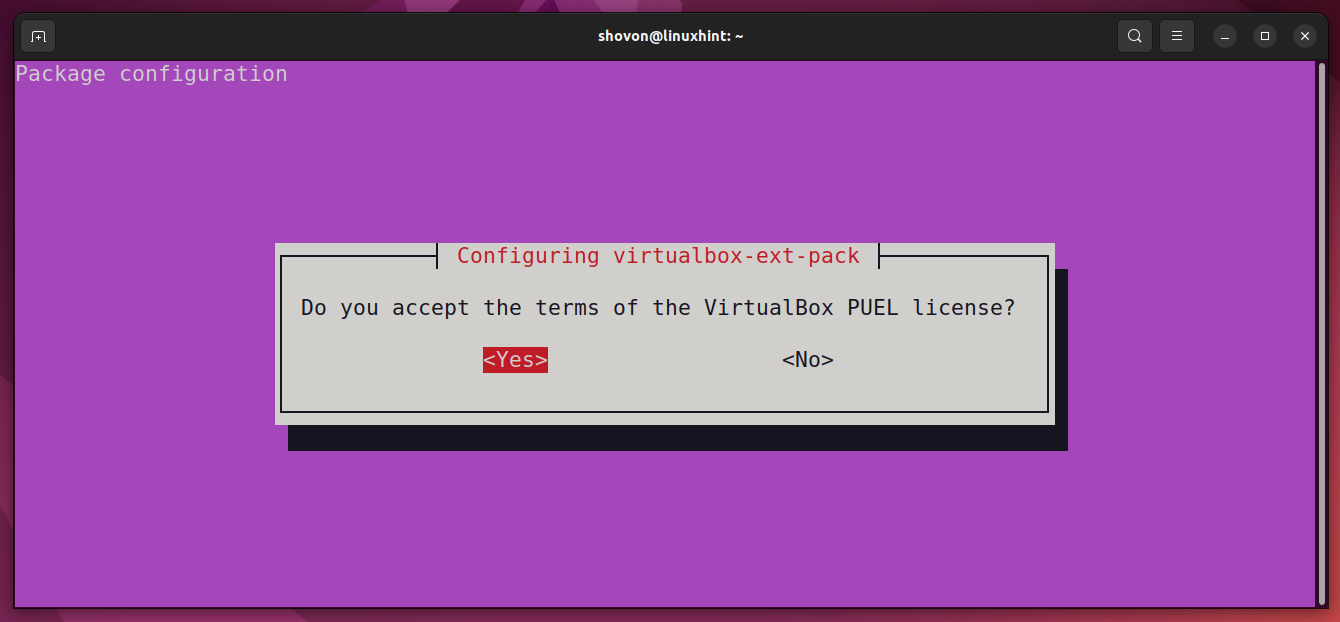
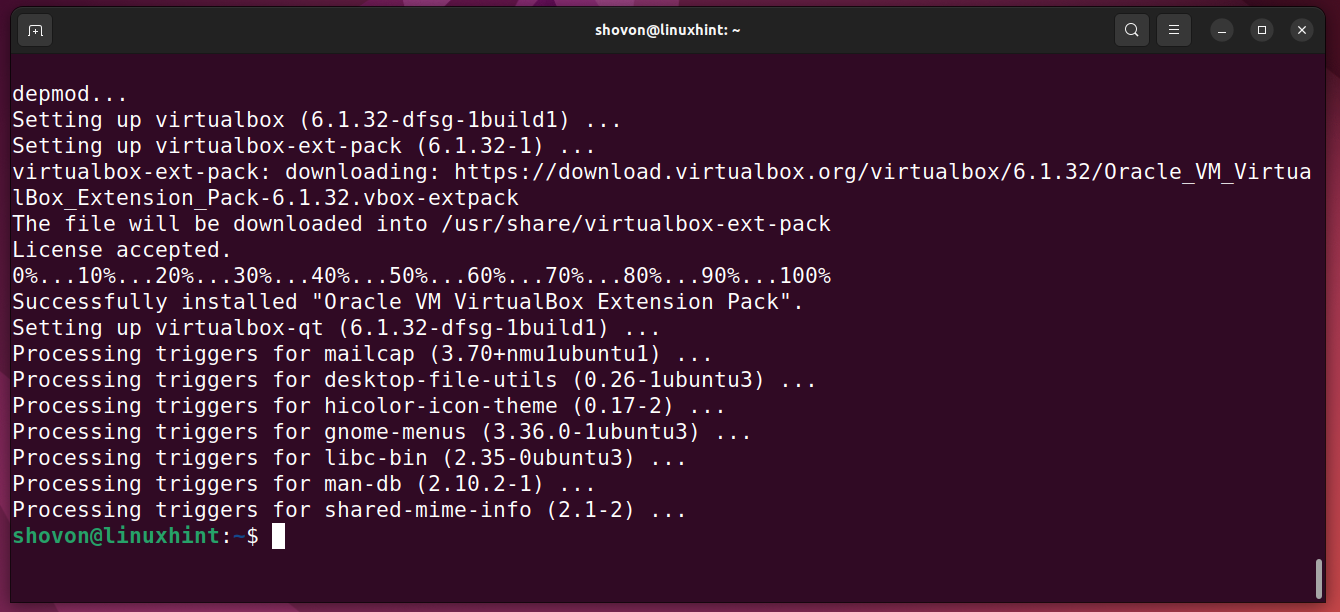
To accept the VirtualBox Extension Pack license, select <Yes> and press <Enter>.
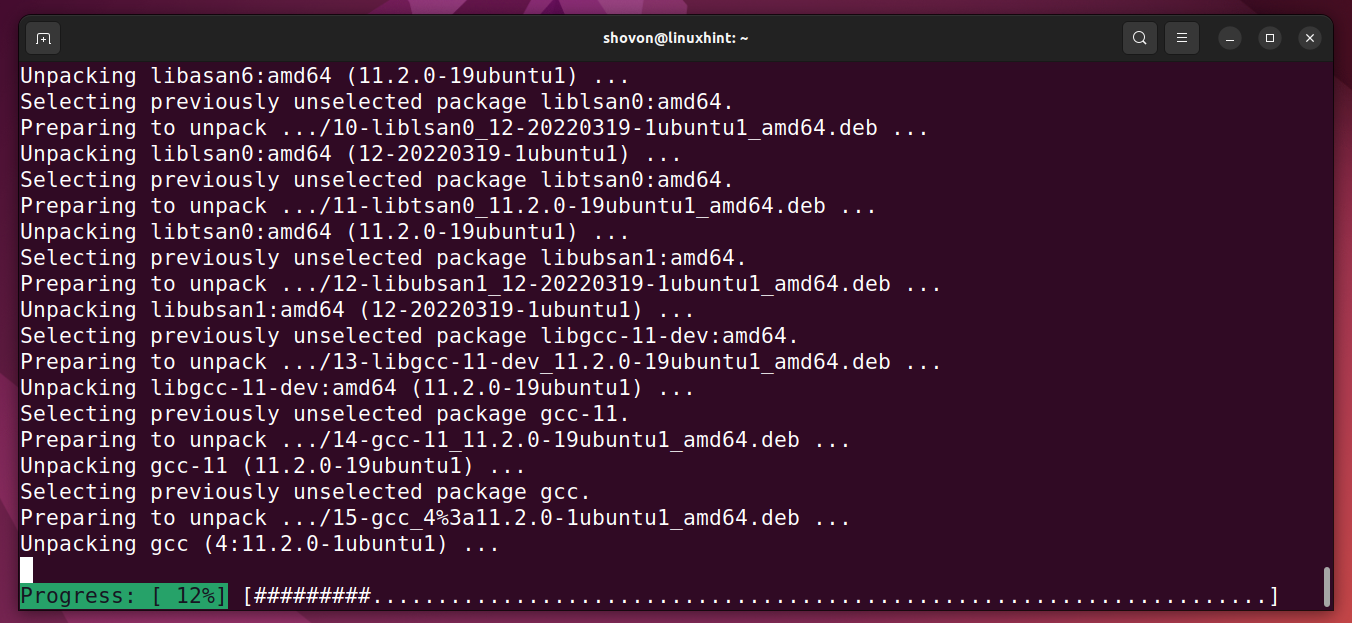
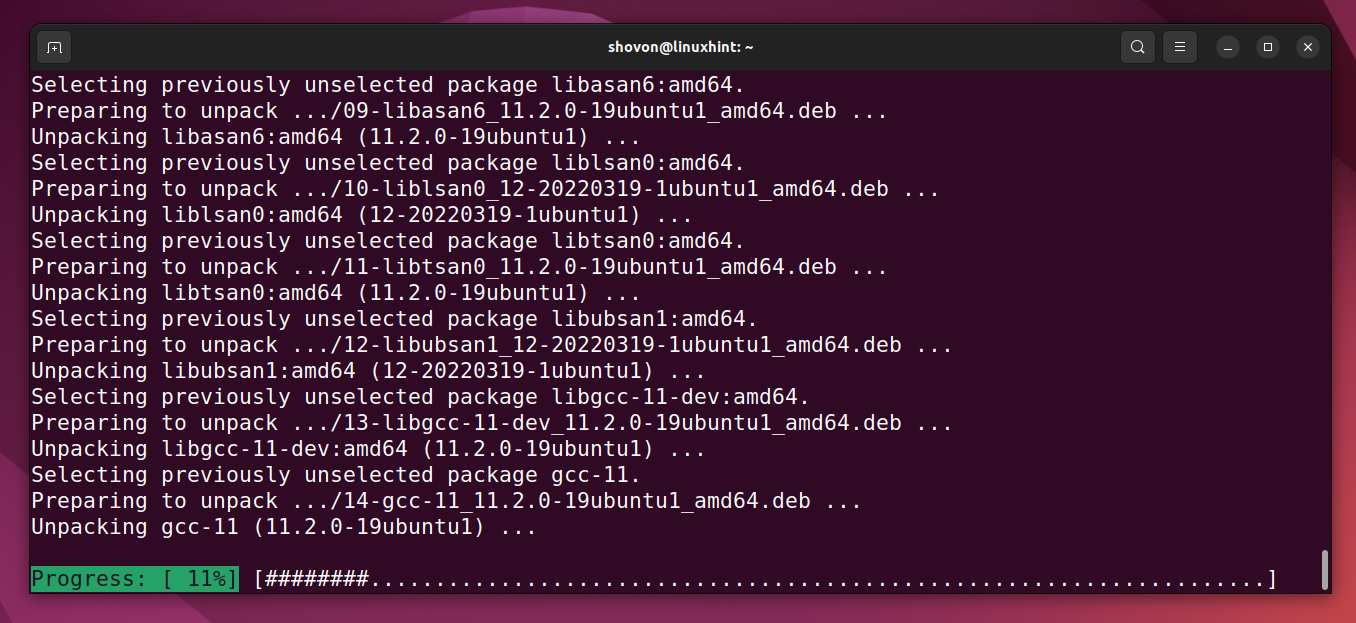
VirtualBox installation should continue. It will take a few minutes to complete the installation.
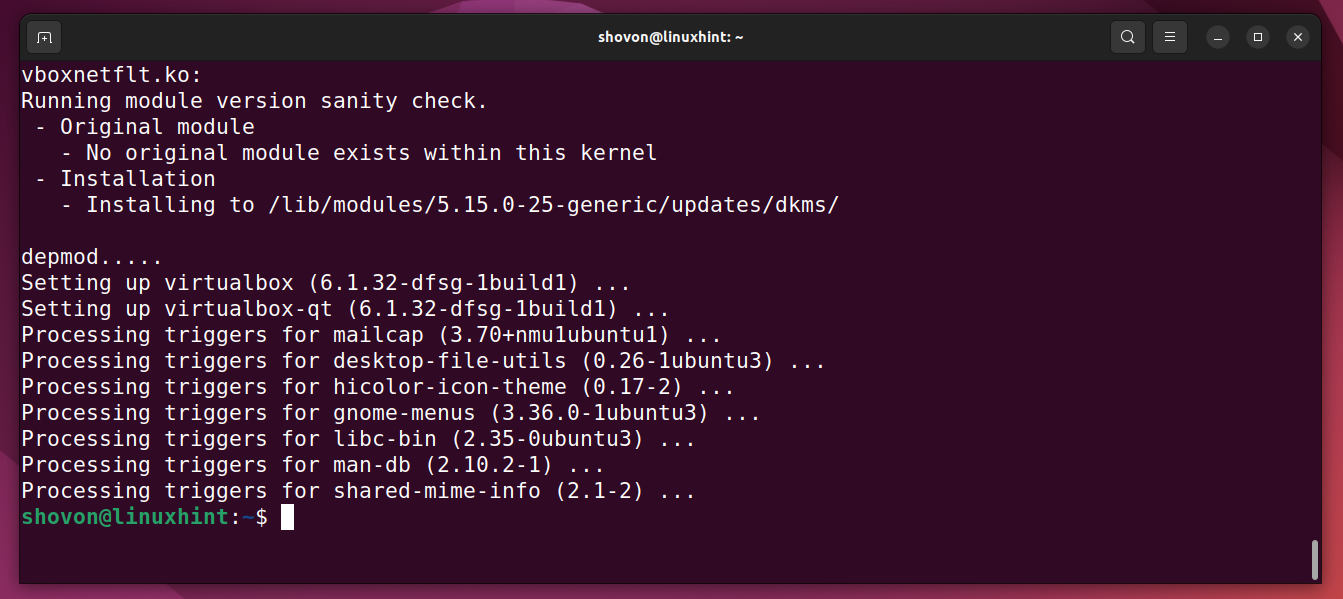
At this point, VirtualBox should be installed.
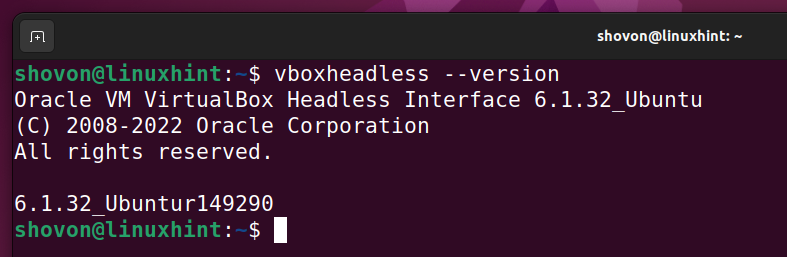
To confirm whether VirtualBox is working, run the following command:
Installing Minikube
In this section, I am going to show you how to install the latest version of Minikube on Ubuntu 22.04 LTS.
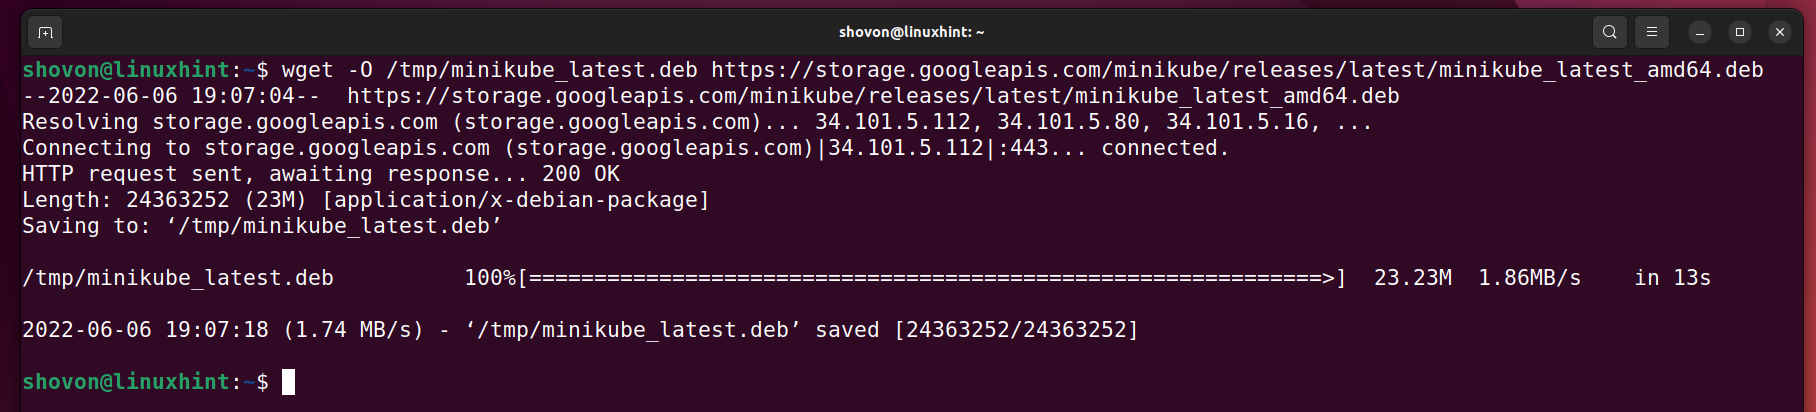
To download the Minikube DEB package from the official website of Minikube as follows:

Minikube DEB package file minikube_latest_amd64.deb file is being downloaded. It will take a few seconds to complete.

Minikube DEB package file should be downloaded and saved in the /tmp/ directory as minikube_latest.deb.
To install Minikube from the DEB package file minikube_latest.deb, run the following command:

To confirm the installation, press Y and then press <Enter>.
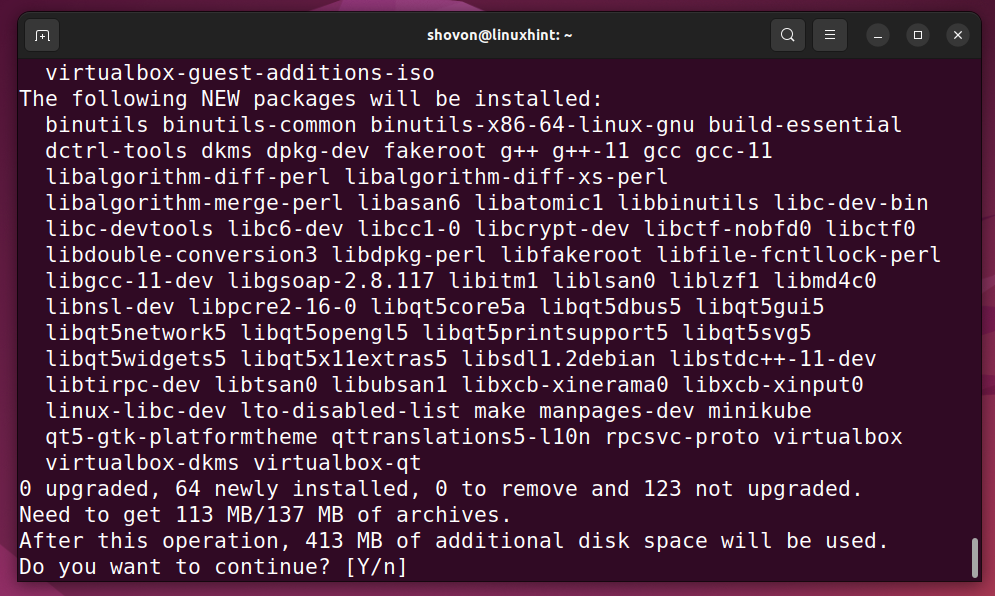
All the required dependency packages are being downloaded from the internet. It will take a few minutes to complete.
Minikube and the required dependency packages are being installed. It will take a few minutes to complete.
Minikube should be installed at this point.
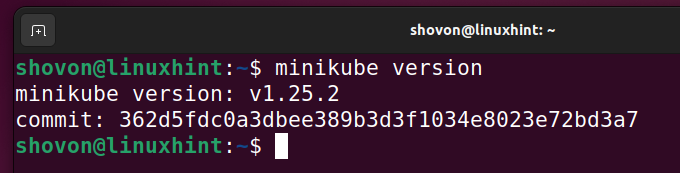
To check whether Minikube is installed, run the following command:
Installing kubectl – The Kubernetes Command-Line Tool
In this section, I am going to show you how to install the Kubernetes command-line tool kubectl on Ubuntu 22.04 LTS. kubectl is used to inspect and manage the Kubernetes cluster resources and view cluster logs. It’s also used to deploy, configure, and manage applications on the Kubernetes cluster.
On Ubuntu 22.04 LTS, you can install the latest version of Kubernetes command-line tool kubectl from the snap store as follows:

kubectl is being downloaded and installed. It will take a few seconds to complete.

At this point, kubectl should be installed.

Starting a Kubernetes Cluster with Minikube
In this section, I am going to show you how to start a local Kubernetes cluster with Minikube using the Docker, KVM/QEMU, and VirtualBox drivers.
If you want to start a local Kubernetes cluster with Minikube using the Docker driver, run the following command:
NOTE: You must have Docker installed for this to work. If you need any assistance, read the Installing Docker on Ubuntu 22.04 LTS section of this article.

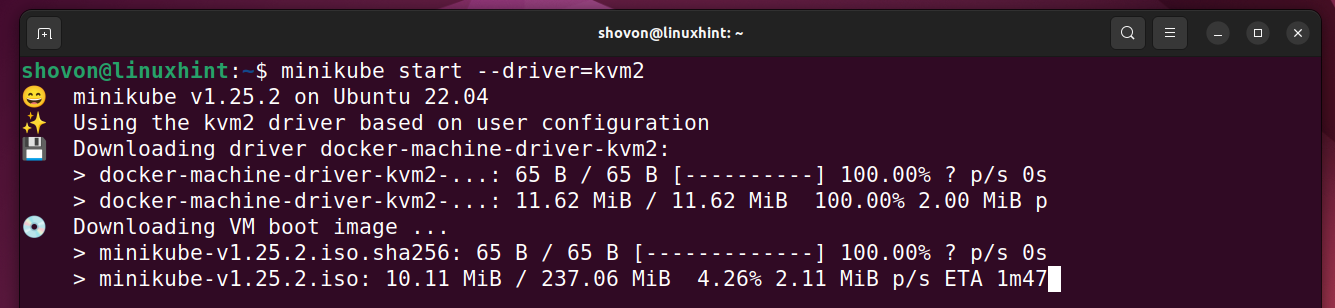
If you want to start a local Kubernetes cluster with Minikube using the KVM/QEMU driver, run the following command:
NOTE: You must have KVM/QEMU installed for this to work. If you need any assistance, read the Installing KVM/QEMU on Ubuntu 22.04 LTS section of this article.

If you want to start a local Kubernetes cluster with Minikube using the VirtualBox driver, run the following command:
NOTE: You must have VirtualBox installed for this to work. If you need any assistance, read the Installing VirtualBox on Ubuntu 22.04 LTS section of this article.

NOTE: I will use the KVM/QEMU driver in this article for the demonstration. The other drivers will work the same way.
Minikube is downloading all the required files to set up a local Kubernetes cluster. It will take a while to complete.
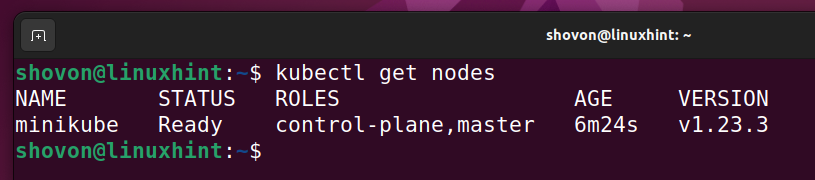
At this point, Minikube should create and configure a local Kubernetes cluster.
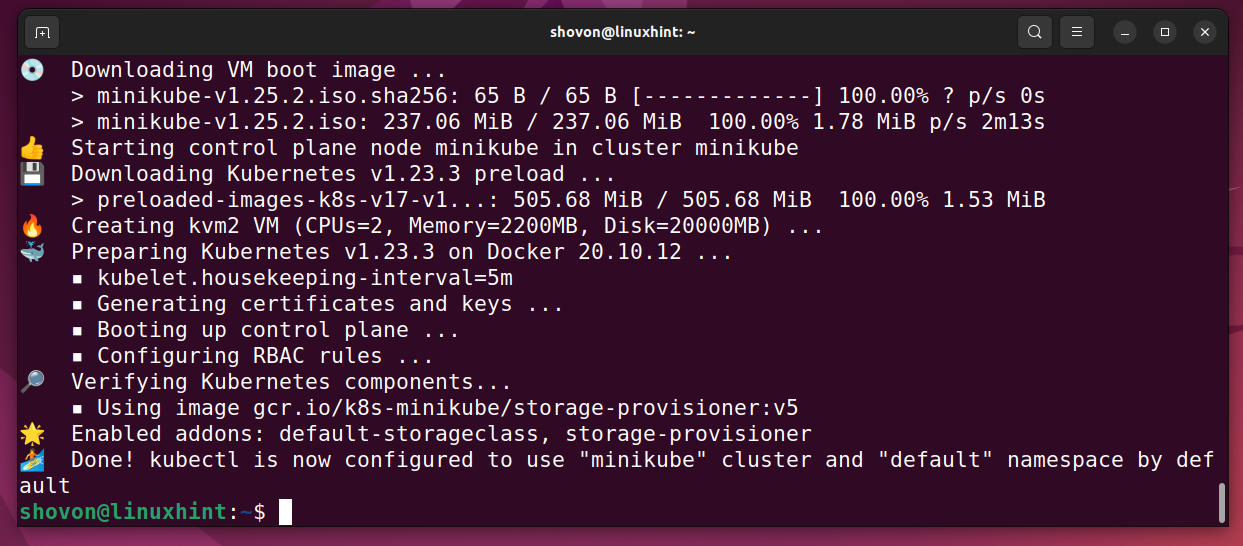
As you can see, Minikube has created a new Kubernetes cluster.
Basics of Kubernetes
In this section, I am going to show you the basics of Kubernetes. It should help you get started with Kubernetes.
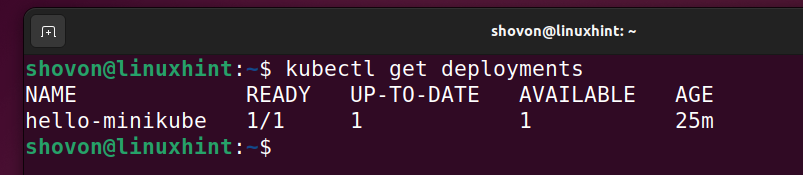
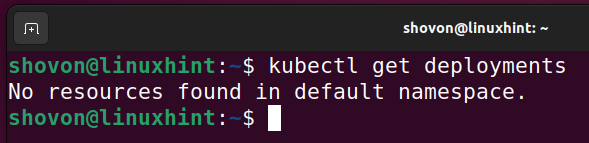
As you have just created a new Kubernetes cluster with Minikube, you won’t see any deployments as of yet.

To create a new echoserver deployment hello-minikube, run the following command:

A new deployment hello-minikube should be created, as you can see in the screenshot below.

To expose the deployment hello-minikube on the port 8080, run the following command:

A new service should be created for the hello-minikube deployment, as you can see in the screenshot below. This service will expose the port 8080 of the hello-minikube deployment.

To find the service URL of the hello-minikube deployment, run the following command:
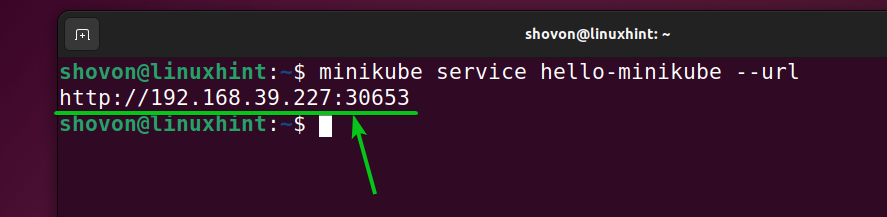
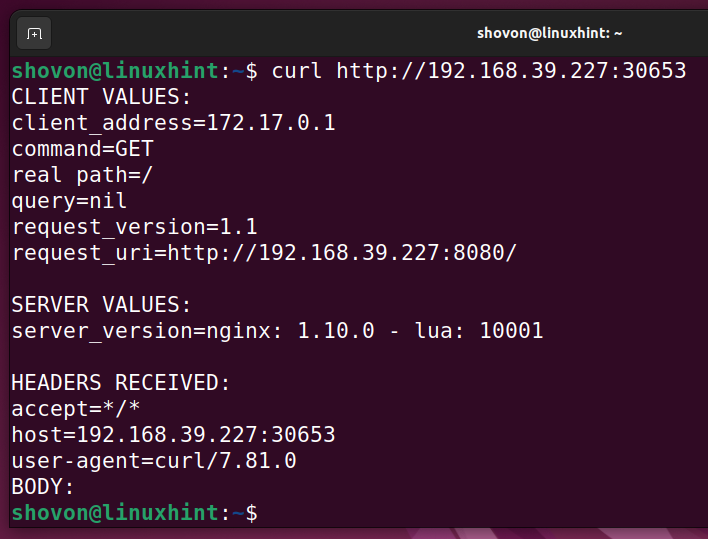
Once you know the service URL of the hello-minikube deployment, you can access the service with curl as follows:

If everything works, you will see the following output. It means the service of the hello-minikube deployment is accessible.
NOTE: If you don’t have curl installed on your computer or want to learn how to use curl, read this article.
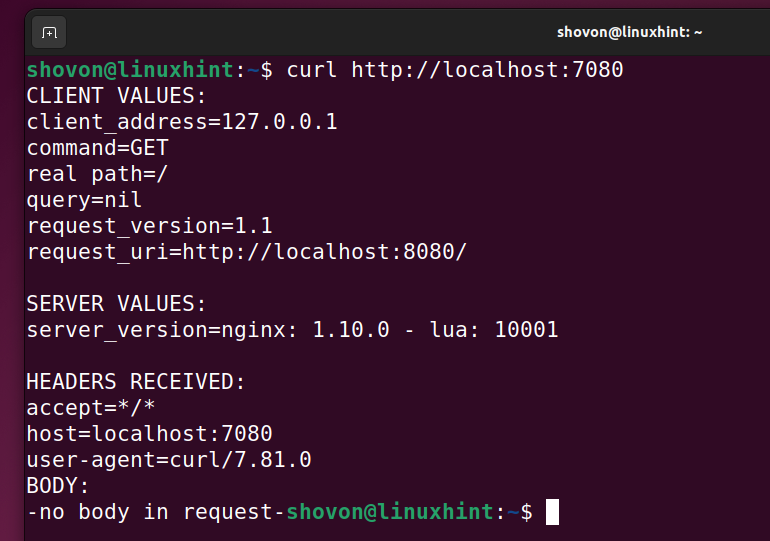
You can also forward the port 8080 of the hello-minikube deployment to the port 7080 (let’s say) of your computer as follows:
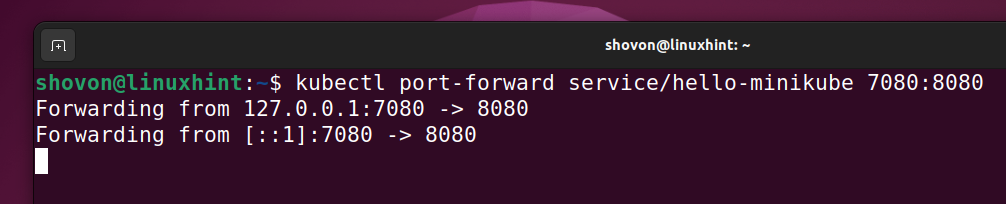
Now, you should be able to access the service of the deployment hello-minikube using the URL http://localhost:7080.
You can find a lot of information on each of the services of your Kubernetes deployments with the following command:

To delete a service hello-minikube from the hello-minikube deployment, run the following command:

The hello-minikube service should be removed, as you can see in the screenshot below.

Right now, I have only the hello-minikube deployment. Let’s delete it.
To delete the hello-minikube deployment, run the following command:

The hello-minikube deployment should be removed from the Kubernetes deployment list, as you can see in the screenshot below.
Managing Minikube Kubernetes Cluster
You can start, stop, pause, and resume/unpause the Kubernetes cluster that you’ve created with Minikube.
To pause the Kubernetes cluster with Minikube, run the following command:

To resume the Kubernetes cluster with Minikube, run the following command:

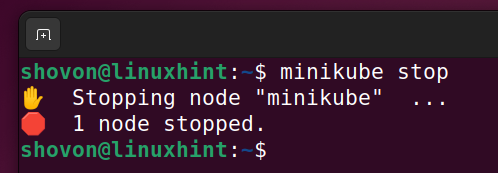
To stop the Kubernetes cluster with Minikube, run the following command:
Once the Kubernetes cluster is stopped, you can start it again with Minikube. If you don’t remember how to start a Kubernetes cluster with Minikube, read the Starting a Kubernetes Cluster with Minikube section of this article.
Conclusion
In this article, I have shown you how to install Minikube and Kubernetes command-line tool kubectl on Ubuntu 22.04 LTS and how to create a local Kubernetes cluster with Minikube using the Docker, KVM/QEMU, and VirtualBox drivers. I have also shown you the basics of using Kubernetes on your computer. This should help you get started with Kubernetes and Minikube.
References
Source: linuxhint.com