Install Jellyfin on Raspberry Pi | Watch media from a web browser
If you want to install Jellyfin on Raspberry Pi, you should follow the guidelines provided in the article so that you will be able to access the Jellyfin web interface.
Installing Jellyfin on Raspberry Pi
The Raspberry Pi OS doesn’t include the Jellyfin repository; thus, you cannot install it directly onto your system. After adding the repository, you can then install it on your device. The following simple steps-by-step instructions will help you in installing Jellyfin on your Raspberry Pi device:
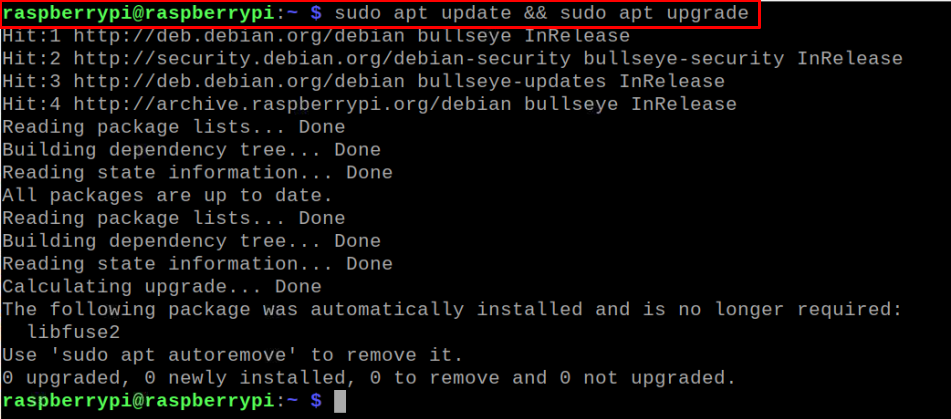
Step 1: Update Packages list of Raspberry Pi
Initially, you will need to update your packages list installed on your Raspberry Pi through following command:
Step 2: Add GPG Key
Now add GPG key using the following command to verify the package authenticity:

Step 3: Add Jellyfin Repository
By updating the packages on Raspberry Pi, it’s now time to add Jellyfin repository in Raspberry Pi repository list through following command:

Step 4: Update Raspberry Pi Repository List
After adding the Jellyfin repository, use the following command to update the Raspberry Pi repository list.

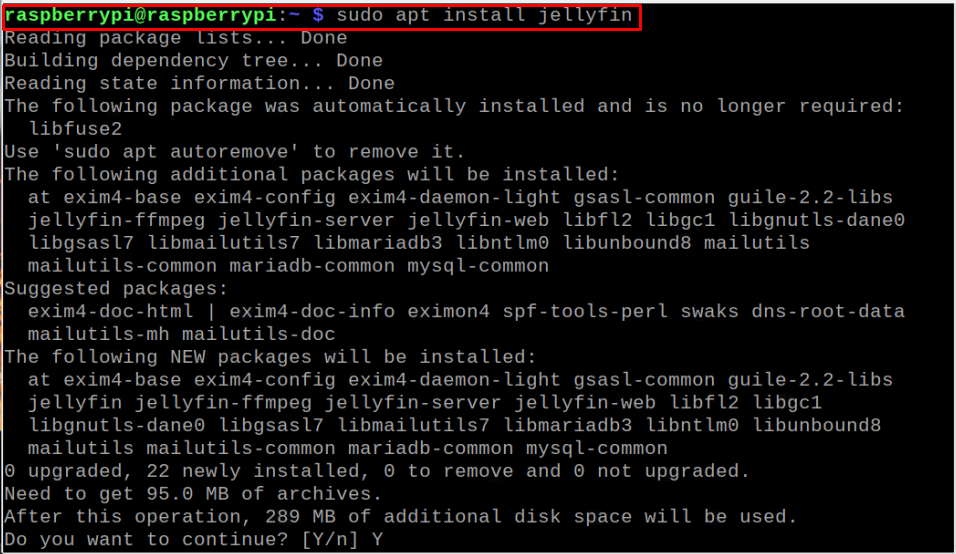
Step 5: Install Jellyfin
After the update, you can install the Jellyfin on your Raspberry Pi device through following command:
Check Jellyfin version through following command:

The above output shows that the latest version of Jellyfin is installed on your system.
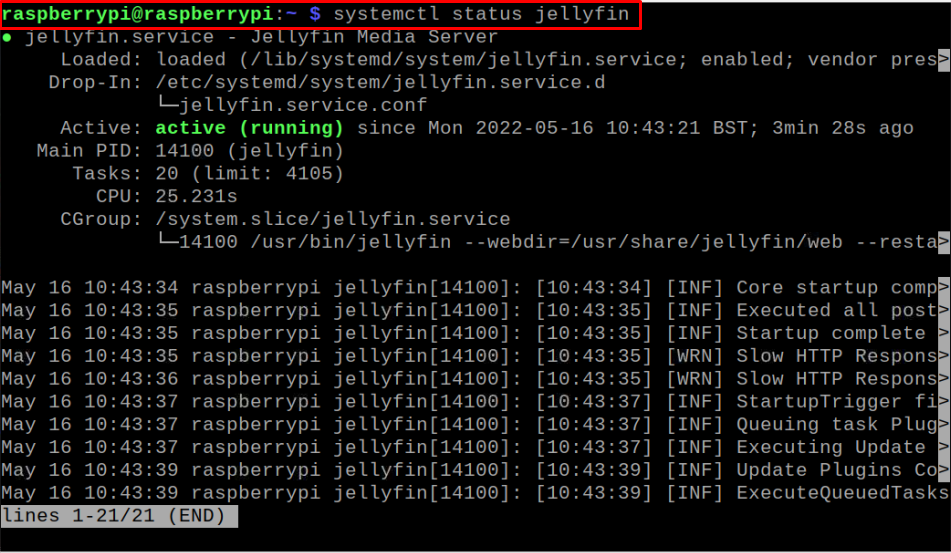
You can check the Jellyfin running status using the following command:
To enable Jellyfin after the system reboots, use the following command:

Step 6: Access the Jellyfin Web Interface
Now, to access the Jellyfin web interface on your browser, first you will need to find out your Raspberry Pi IP address using the following command:

Then use the address “http://192.168.18.218:8096” on your browser to open the web interface of Jellyfin. In the address, change the IP address with your device IP address.
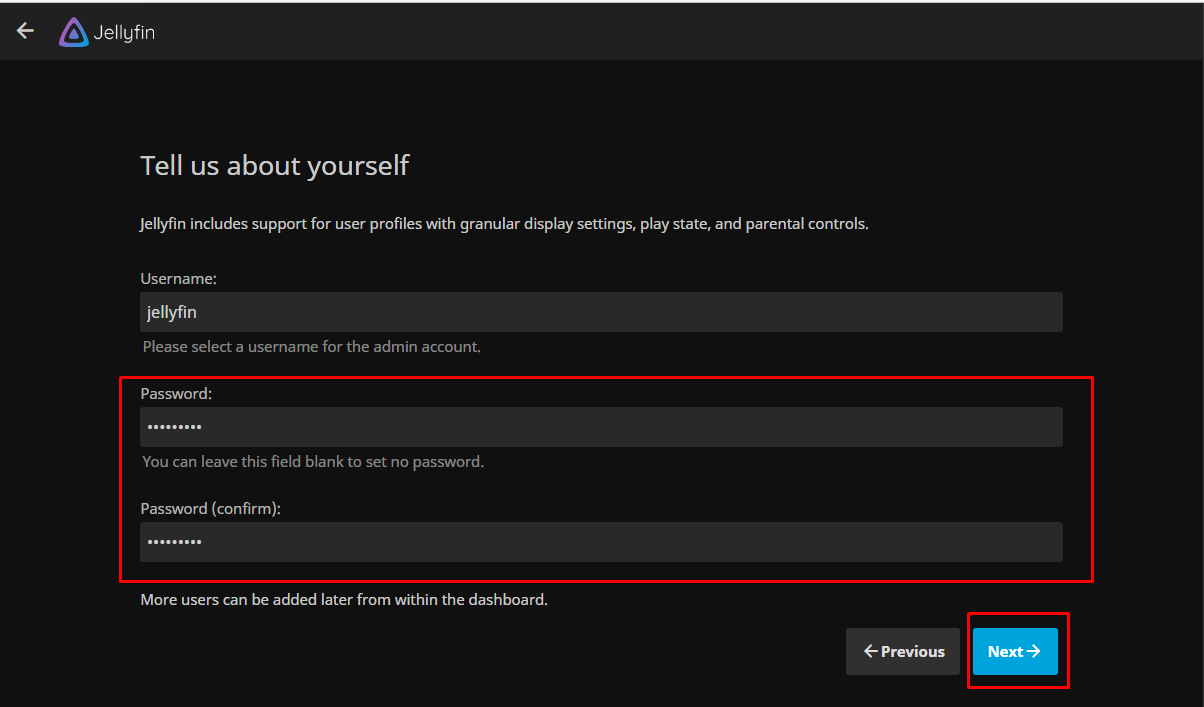
This will open the Jellyfin welcome page on your browser. Proceed towards the next step using the “Next” option.

Set your Jellyfin account username and password.
You can click on the “Add Library” to add your media files from here or simply choose the “Next” button to add the files later.

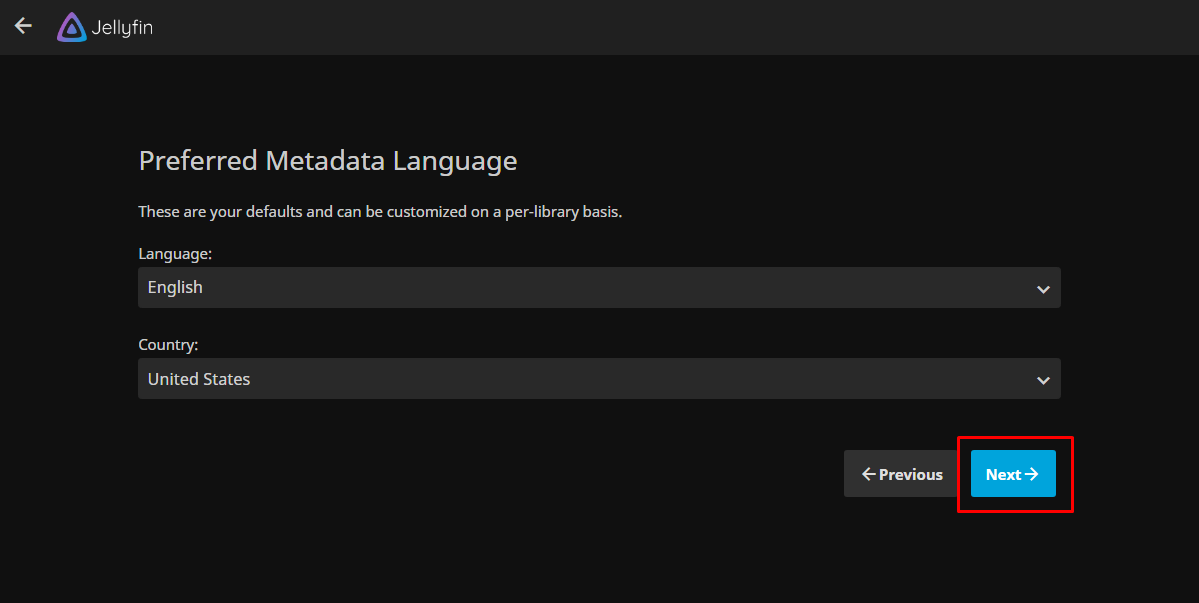
Choose your language,
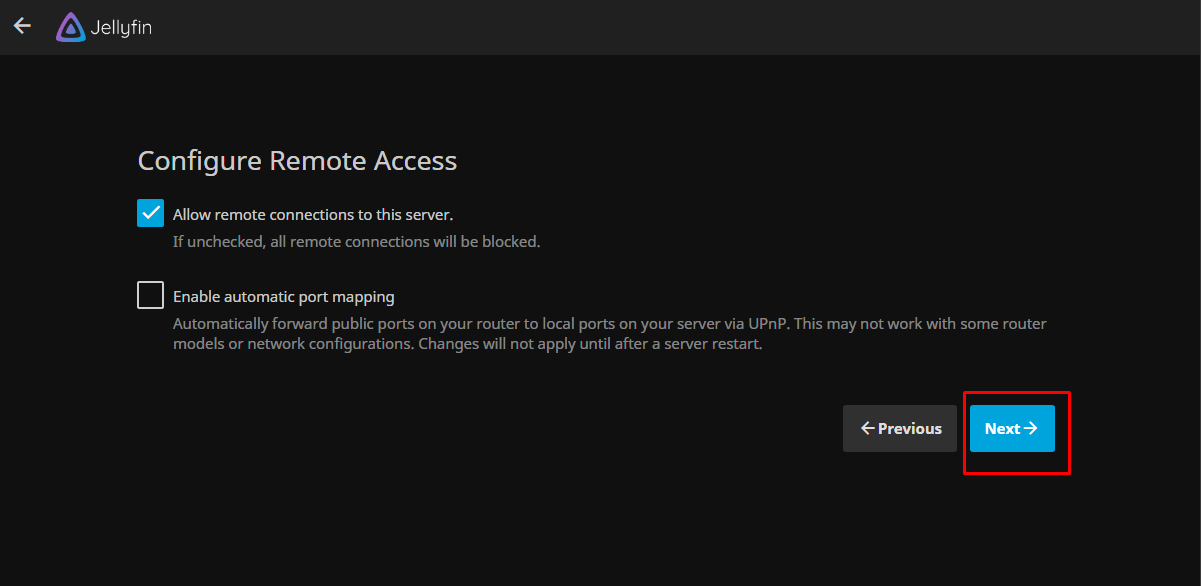
Allow remote connections and proceed to the next step.
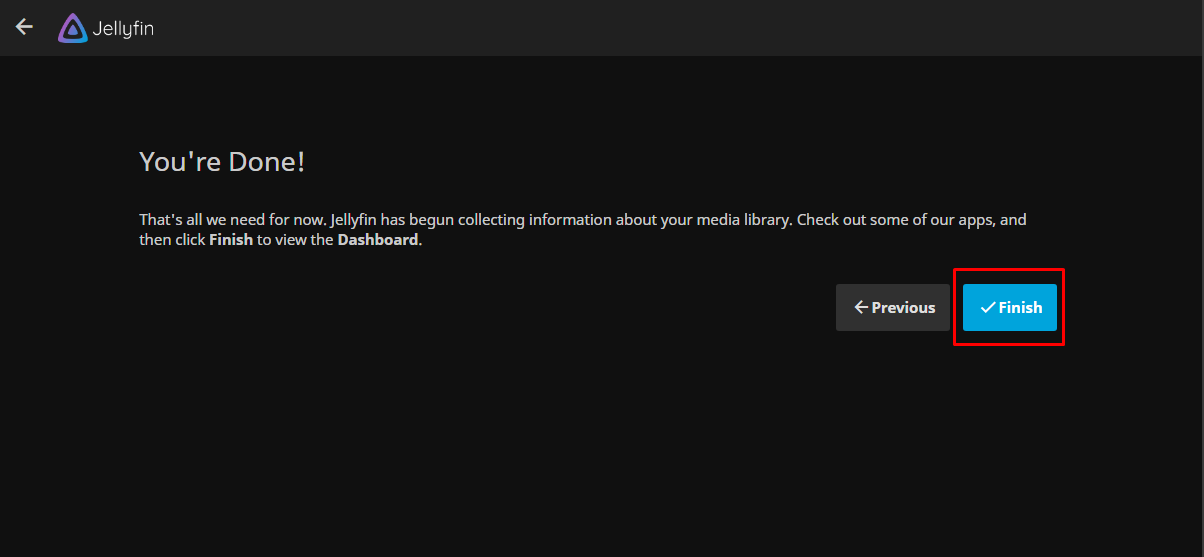
Click on the “Finish” option to view Jellyfin dashboard.
Sign in with your Jellyfin account.

This shows the Jellyfin dashboard on your browser.

Now, you can add media libraries such as photos, videos and any other file and can run it on your browser because the Jellyfin server is now successfully loaded up on your browser.

This completes the Jellyfin setup.
Conclusion
Jellyfin is an open-source online application that allows access to the media from an online server. On Raspberry Pi, you can install it by adding the source repository and using the apt installer. You can then access Jellyfin dashboard on any web browser using the Raspberry Pi IP address and with proper configuration, you will then be able to use its web interface.
Source: linuxhint.com