Install Google Chrome on Linux Mint
Google Chrome is a web browser that appears as a default browser for Windows users. The majority of people choose to access the internet on it due to its user-friendly UI. Whereas, on Linux distributions, the default web browser is Mozilla Firefox and Chrome is not available on Linux mint. Fortunately, you can set up Google Chrome on the Linux mint system by following the instructions listed below.
In this tutorial, we will go through two strategies to install Chrome onto your Linux Mint 21 machine.
Method 1: Installing Google Chrome from a Web Browser
The first method that we are discussing here is downloading Google Chrome from your currently running web browser and then installing it by running the downloaded installer file.
Installation of Google Chrome on Linux Mint can be done by adhering to the steps provided below. This practice is best for beginners that do not want to go for the terminal method.
Initially open the available browser. Linux mint has Mozilla Firefox as its default browser, so we launched it and searched Google Chrome. This takes us to the official website of Google from where we can download Chrome.

Here we can see a “Download Chrome” button.
After clicking this button, we have been directed to the next screen, where the installation process would begin. But before that, we have to select the download package. Select the first option which is for Debian/Ubuntu distributions.
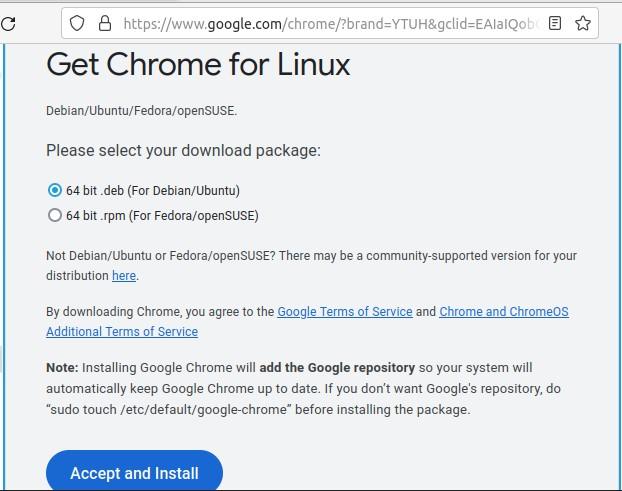
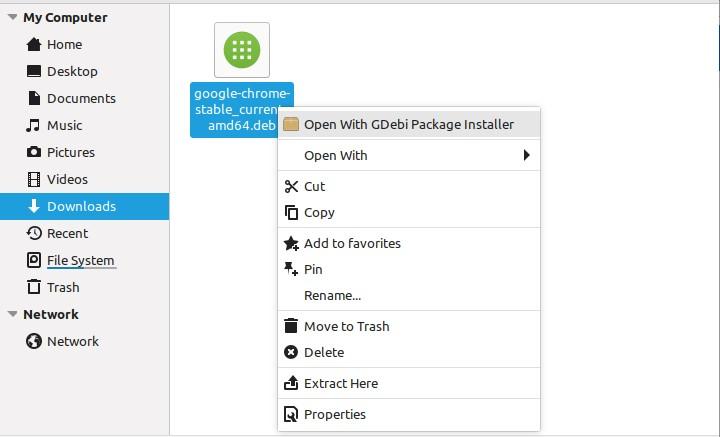
The installation will proceed once you hit “Accept and Install”. The “Downloads” folder would hold onto this file. Now that we have opened this installer inside the GDebi package installer, we will launch it.
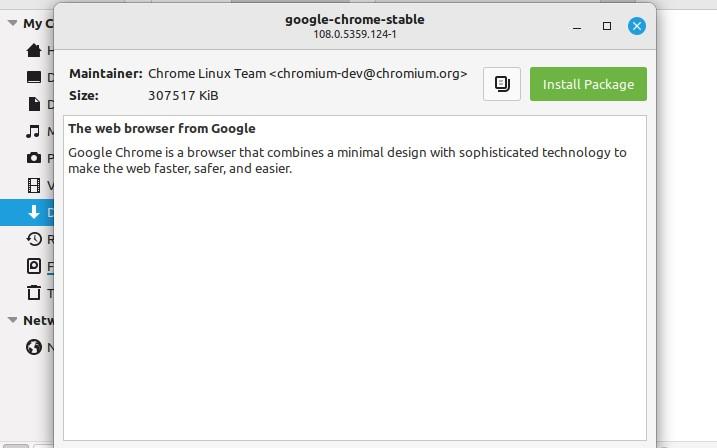
You will have the choice to install the package on the following page. Hit this button.
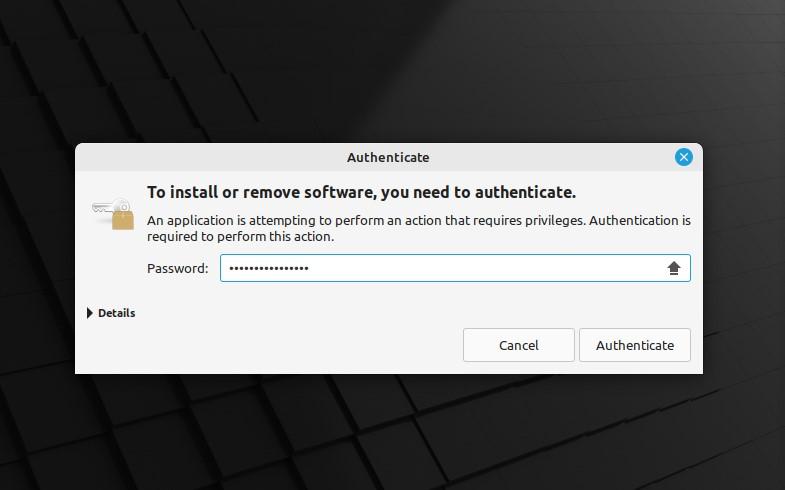
As you clicked the install button, a new window will open which requires authentication. For this, you need to input your admin password and it will authenticate it.
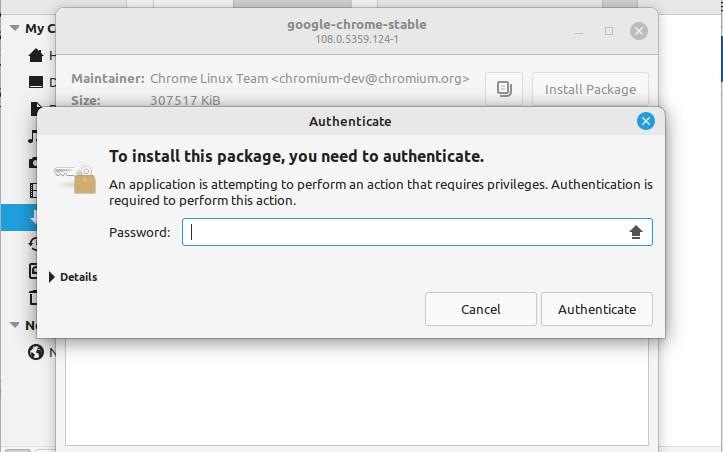
As soon as the authentication is done, the installation of the package gets started.
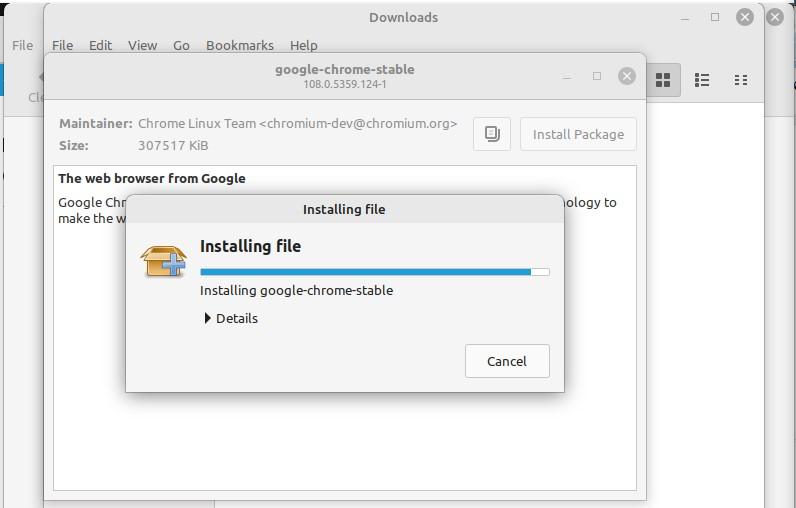
The installation will end in a few moments.
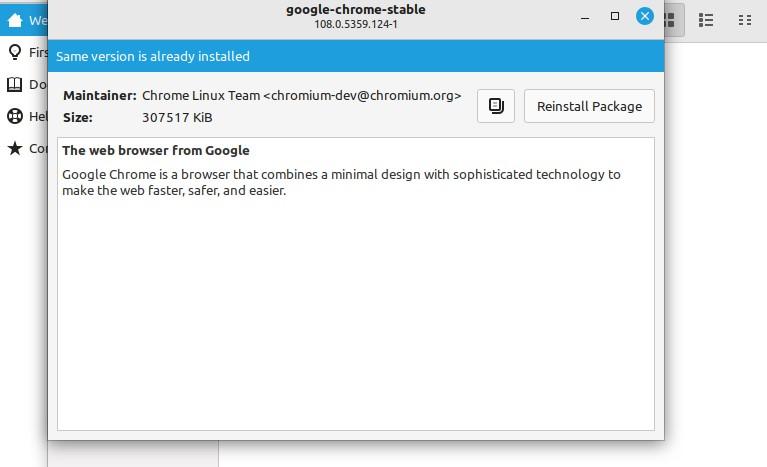
After finishing the installation, the screen shown below will appear. This shows that the Google Chrome browser is installed onto our Linux mint distribution.
Now that Google Chrome has been installed properly on Linux mint, we ought to look for it in the application menu.

The snapshot above shows that Google Chrome is installed on our machine and is available to browse.
We can also make Google Chrome our default web browser for Linux mint. From the application, menu search “preferred application”.
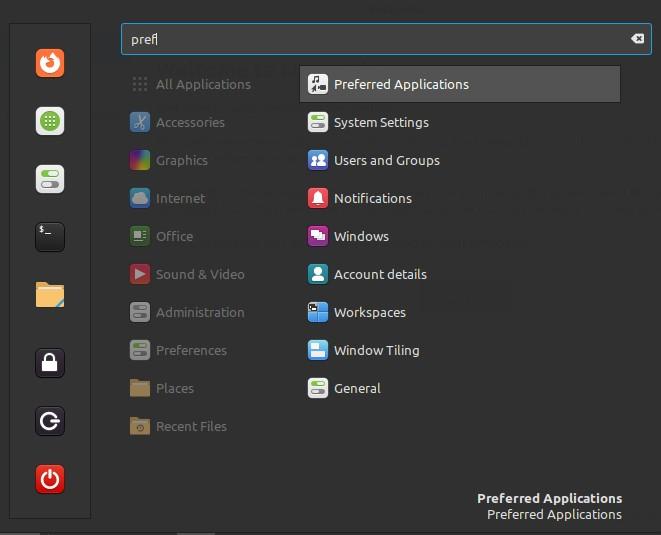
When you hit this option it will launch a new tab with a range of options.

You will find an option “web” here. Right in front of this option “Firefox Web Browser” is set as the default browser. A drop-down menu icon shows that we have other options as well. You will see “Google Chrome” in the dropdown menu. Simply hit this option to make Chrome your default web browser for Linux mint.
Lastly, to delete chrome from your machine, search Chrome from the application menu and right-click on it to see all the options.
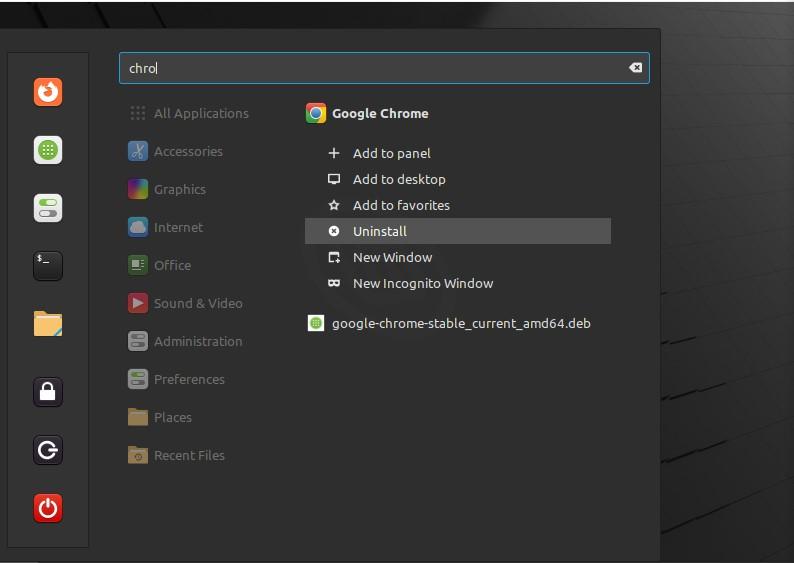
Hitting the “Uninstall” option will open a prompt that will ask you if you want to uninstall the chrome package. Press the “OK” button to continue the deletion process.

You need to authenticate by entering the password.
The package will be deleted in a few seconds and the chrome will be removed from your machine.
Method 2: Installing Google Chrome from the Terminal
Some people avoid using the command line while others find it easier to work from the terminal. The installation of Google Chrome through the web browser is elaborated above. Now, we will see how to install it from the command line in Linux mint.
To begin this method, we need to open the terminal. For installing Chrome, we have to download the .deb Package first as Linux mint is a Debian-based Linux distribution. As we have already downloaded it in the above method and it is saved in our system, we do not need to download it again.
First, we have to make our system up-to-date. To do this, use the terminal to execute the following command:
Hit Enter key to start updating the apt-cache.
It will prompt you to input the password for the sudo user.
Input the password and press Enter key again.
Ign:1 http://packages.linuxmint.com vera InRelease
Hit:2 http://archive.ubuntu.com/ubuntu jammy InRelease
Get:3 http://security.ubuntu.com/ubuntu jammy-security InRelease [110 kB]
Hit:4 http://packages.linuxmint.com vera Release
Get:5 http://archive.ubuntu.com/ubuntu jammy-updates InRelease [114 kB]
Get:6 http://archive.ubuntu.com/ubuntu jammy-backports InRelease [99.8 kB]
Hit:7 https://dl.google.com/linux/chrome/deb stable InRelease
Get:9 http://security.ubuntu.com/ubuntu jammy-security/main i386 Packages [227 kB]
Get:10 http://archive.ubuntu.com/ubuntu jammy-updates/main i386 Packages [401 kB]
Get:11 http://security.ubuntu.com/ubuntu jammy-security/main amd64 Packages [549 kB]
Get:12 http://archive.ubuntu.com/ubuntu jammy-updates/main amd64 Packages [795 kB]
Get:13 http://security.ubuntu.com/ubuntu jammy-security/main Translation-en [117 kB]
Get:14 http://security.ubuntu.com/ubuntu jammy-security/main amd64 DEP-11 Metadata [41.6 kB]
Get:15 http://security.ubuntu.com/ubuntu jammy-security/main amd64 c-n-f Metadata [7,580 B]
Get:16 http://security.ubuntu.com/ubuntu jammy-security/universe amd64 Packages [627 kB]
Get:17 http://archive.ubuntu.com/ubuntu jammy-updates/main Translation-en [177 kB]
Get:18 http://security.ubuntu.com/ubuntu jammy-security/universe i386 Packages [481 kB]
Get:19 http://archive.ubuntu.com/ubuntu jammy-updates/main amd64 DEP-11 Metadata [96.9 kB]
Get:20 http://archive.ubuntu.com/ubuntu jammy-updates/universe amd64 Packages [781 kB]
Get:21 http://security.ubuntu.com/ubuntu jammy-security/universe Translation-en [83.7 kB]
Get:22 http://security.ubuntu.com/ubuntu jammy-security/universe amd64 DEP-11 Metadata [13.3 kB]
Get:23 http://security.ubuntu.com/ubuntu jammy-security/universe amd64 c-n-f Metadata [11.0 kB]
Get:24 http://archive.ubuntu.com/ubuntu jammy-updates/universe i386 Packages [557 kB]
Get:25 http://archive.ubuntu.com/ubuntu jammy-updates/universe Translation-en [134 kB]
Get:26 http://archive.ubuntu.com/ubuntu jammy-updates/universe amd64 DEP-11 Metadata [257 kB]
Get:27 http://archive.ubuntu.com/ubuntu jammy-updates/multiverse amd64 Packages [8,020 B]
Get:28 http://archive.ubuntu.com/ubuntu jammy-updates/multiverse amd64 DEP-11 Metadata [940 B]
Get:29 http://archive.ubuntu.com/ubuntu jammy-backports/universe amd64 DEP-11 Metadata [11.4 kB]
Fetched 5,703 kB in 43s (131 kB/s)
Reading package lists... Done
Building dependency tree... Done
Reading state information... Done
6 packages can be upgraded. Run 'apt list --upgradable' to see them.
Once the system gets updated, we will run the following command to install the chrome package:
You need to authenticate by entering the password again.
Reading package lists... Done
Building dependency tree... Done
Reading state information... Done
The following additional packages will be installed:
libu2f-udev
The following NEW packages will be installed:
google-chrome-stable libu2f-udev
0 upgraded, 2 newly installed, 0 to remove and 10 not upgraded.
Need to get 93.0 MB of archives.
After this operation, 315 MB of additional disk space will be used.
During the installation, the process will pause and ask you whether you want to continue or not with the options “Y/N”, type “y” to continue.
Get:1 https://dl.google.com/linux/chrome/deb stable/main amd64 google-chrome-stable amd64 108.0.5359.124-1 [93.0 MB]
Get:2 http://archive.ubuntu.com/ubuntu jammy/main amd64 libu2f-udev all 1.1.10-3build2 [4,190 B]
Fetched 93.0 MB in 2min 28s (627 kB/s)
Selecting previously unselected package google-chrome-stable.
(Reading database ... 573497 files and directories currently installed.)
Preparing to unpack .../google-chrome-stable_108.0.5359.124-1_amd64.deb ...
Unpacking google-chrome-stable (108.0.5359.124-1) ...
Selecting previously unselected package libu2f-udev.
Preparing to unpack .../libu2f-udev_1.1.10-3build2_all.deb ...
Unpacking libu2f-udev (1.1.10-3build2) ...
Setting up google-chrome-stable (108.0.5359.124-1) ...
update-alternatives: using /usr/bin/google-chrome-stable to provide /usr/bin/x-w
ww-browser (x-www-browser) in auto mode
update-alternatives: using /usr/bin/google-chrome-stable to provide /usr/bin/gno
me-www-browser (gnome-www-browser) in auto mode
update-alternatives: using /usr/bin/google-chrome-stable to provide /usr/bin/goo
gle-chrome (google-chrome) in auto mode
Setting up libu2f-udev (1.1.10-3build2) ...
Processing triggers for mailcap (3.70+nmu1ubuntu1) ...
Processing triggers for desktop-file-utils (0.26+mint2+vera) ...
Processing triggers for gnome-menus (3.36.0-1ubuntu3) ...
Processing triggers for man-db (2.10.2-1) ...
As soon as the installation of the Chrome package is done, it is preferable to update and upgrade the system along with Chrome will be updated to its latest version.
First, run the command:
Hit:1 https://dl.google.com/linux/chrome/deb stable InRelease
Ign:2 http://packages.linuxmint.com vera InRelease
Hit:3 http://archive.ubuntu.com/ubuntu jammy InRelease
Hit:4 http://security.ubuntu.com/ubuntu jammy-security InRelease
Hit:5 http://packages.linuxmint.com vera Release
Hit:6 http://archive.ubuntu.com/ubuntu jammy-updates InRelease
Get:8 http://archive.ubuntu.com/ubuntu jammy-backports InRelease [99.8 kB]
Fetched 99.8 kB in 4s (22.4 kB/s)
Reading package lists… Done
Building dependency tree... Done
Reading state information... Done
10 packages can be upgraded. R‘n 'apt li– --upgrada’le' to see them.
Then, write this command to upgrade:
Reading package lists... Done
Building dependency tree... Done
Reading state information... Done
Calculating upgrade... Done
The following packages have been kept back:
grub-common grub-pc grub-pc-bin grub2-common
The following packages will be upgraded:
gir1.2-javascriptcoregtk-4.0 gir1.2-webkit2-4.0 libjavascriptcoregtk-4.0-18
libsnmp-base libsnmp40 libwebkit2gtk-4.0-37
6 upgraded, 0 newly installed, 0 to remove and 4 not upgraded.
Need to get 27.1 MB of archives.
After this operation, 0 B of additional disk space will be used.
Type “y” to continue upgrading.
Get:1 http://security.ubuntu.com/ubuntu jammy-security/main amd64 gir1.2-webkit2-4.0 amd64 2.38.3-0ubuntu0.22.04.1 [96.0 kB]
Get:2 http://archive.ubuntu.com/ubuntu jammy-updates/main amd64 libsnmp-base all 5.9.1+dfsg-1ubuntu2.4 [201 kB]
Get:3 http://security.ubuntu.com/ubuntu jammy-security/main amd64 gir1.2-javascriptcoregtk-4.0 amd64 2.38.3-0ubuntu0.22.04.1 [31.9 kB]
Get:4 http://security.ubuntu.com/ubuntu jammy-security/main amd64 libwebkit2gtk-4.0-37 amd64 2.38.3-0ubuntu0.22.04.1 [18.8 MB]
Get:5 http://archive.ubuntu.com/ubuntu jammy-updates/main amd64 libsnmp40 amd64 5.9.1+dfsg-1ubuntu2.4 [1,070 kB]
Get:6 http://security.ubuntu.com/ubuntu jammy-security/main amd64 libjavascriptcoregtk-4.0-18 amd64 2.38.3-0ubuntu0.22.04.1 [6,966 kB]
Fetched 27.1 MB in 1min 48s (251 kB/s)
(Reading database ... 573614 files and directories currently installed.)
Preparing to unpack .../0-gir1.2-webkit2-4.0_2.38.3-0ubuntu0.22.04.1_amd64.deb .
..
Unpacking gir1.2-webkit2-4.0:amd64 (2.38.3-0ubuntu0.22.04.1) over (2.38.2-0ubunt
u0.22.04.2) ...
Preparing to unpack .../1-gir1.2-javascriptcoregtk-4.0_2.38.3-0ubuntu0.22.04.1_a
md64.deb ...
Unpacking gir1.2-javascriptcoregtk-4.0:amd64 (2.38.3-0ubuntu0.22.04.1) over (2.3
8.2-0ubuntu0.22.04.2) ...
Preparing to unpack .../2-libwebkit2gtk-4.0-37_2.38.3-0ubuntu0.22.04.1_amd64.deb
...
Unpacking libwebkit2gtk-4.0-37:amd64 (2.38.3-0ubuntu0.22.04.1) over (2.38.2-0ubu
ntu0.22.04.2) ...
Preparing to unpack .../3-libjavascriptcoregtk-4.0-18_2.38.3-0ubuntu0.22.04.1_am
d64.deb ...
Unpacking libjavascriptcoregtk-4.0-18:amd64 (2.38.3-0ubuntu0.22.04.1) over (2.38
.2-0ubuntu0.22.04.2) ...
Preparing to unpack .../4-libsnmp-base_5.9.1+dfsg-1ubuntu2.4_all.deb ...
Unpacking libsnmp-base (5.9.1+dfsg-1ubuntu2.4) over (5.9.1+dfsg-1ubuntu2.2) ...
Preparing to unpack .../5-libsnmp40_5.9.1+dfsg-1ubuntu2.4_amd64.deb ...
Unpacking libsnmp40:amd64 (5.9.1+dfsg-1ubuntu2.4) over (5.9.1+dfsg-1ubuntu2.2) .
..
Setting up libsnmp-base (5.9.1+dfsg-1ubuntu2.4) ...
Setting up libjavascriptcoregtk-4.0-18:amd64 (2.38.3-0ubuntu0.22.04.1) ...
Setting up gir1.2-javascriptcoregtk-4.0:amd64 (2.38.3-0ubuntu0.22.04.1) ...
Setting up libsnmp40:amd64 (5.9.1+dfsg-1ubuntu2.4) ...
Setting up libwebkit2gtk-4.0-37:amd64 (2.38.3-0ubuntu0.22.04.1) ...
Setting up gir1.2-webkit2-4.0:amd64 (2.38.3-0ubuntu0.22.04.1) ...
Processing triggers for man-db (2.10.2-1) ...
Processing triggers for libc-bin (2.35-0ubuntu3.1) ...
For launching Google Chrome from the terminal, write the following command:
Google Chrome will be successfully launched and you can now use it or make it your default web browser.
There is a possibility that Chrome won’t be a good fit for you. In such a case, removing Chrome from your system is as easy and simple as installing it. From the terminal, you need to write the below-mentioned command and Chrome will be removed from your system.
The command we would write is:
Hit Enter key to the process.
Write the password for the sudo user and press Enter.
Building dependency tree... Done
Reading state information... Done
E: Unable to locate package google-chrome
The Chrome browser will be successfully removed from your machine.
Conclusion
Installing Google Chrome onto Linux Mint 21 can be done with two methods. You can either install it by downloading the Chrome installation package from Chrome’s website or you can also install it from the terminal with the command line. Both techniques have been elaborated on in this article. You can install and configure Chrome as your default internet browser by following the instructions explained in this guide.
Source: linuxhint.com