Install and Setup WireGuard on Raspberry Pi | Step by Step Guide
In this article, we will guide you how to install and setup WireGuard on Raspberry Pi.
How to Install WireGuard on Raspberry Pi
To install WireGuard on Raspberry Pi, you should need to follow the below-given steps.
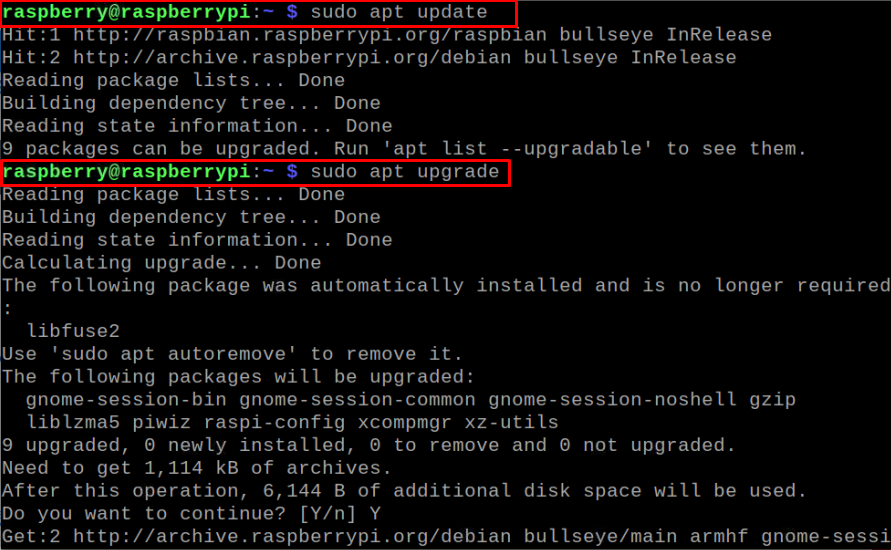
Step 1: First, ensure the Raspberry Pi’s package list is up to date. This can be done using the following commands:
$ sudo apt upgrade
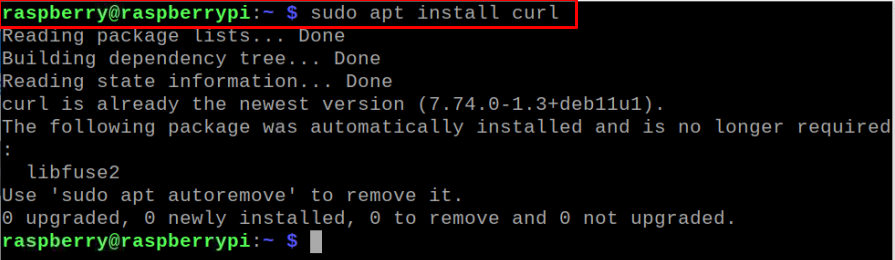
Step 2: Next, install the command-line tool called curl as this will be required in running the scripts file. To down curl, use the following command.
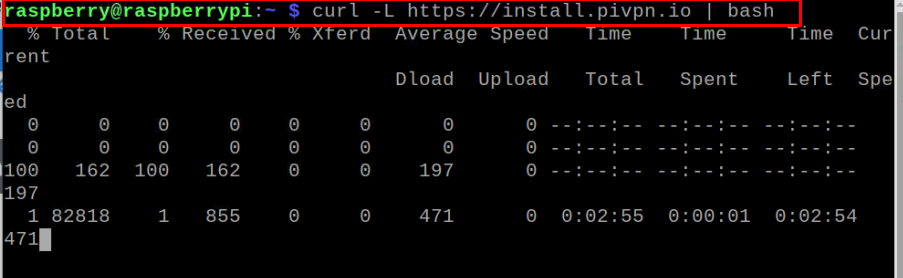
Step 3: After installing curl, execute the following command to download the PiVPN setup script.
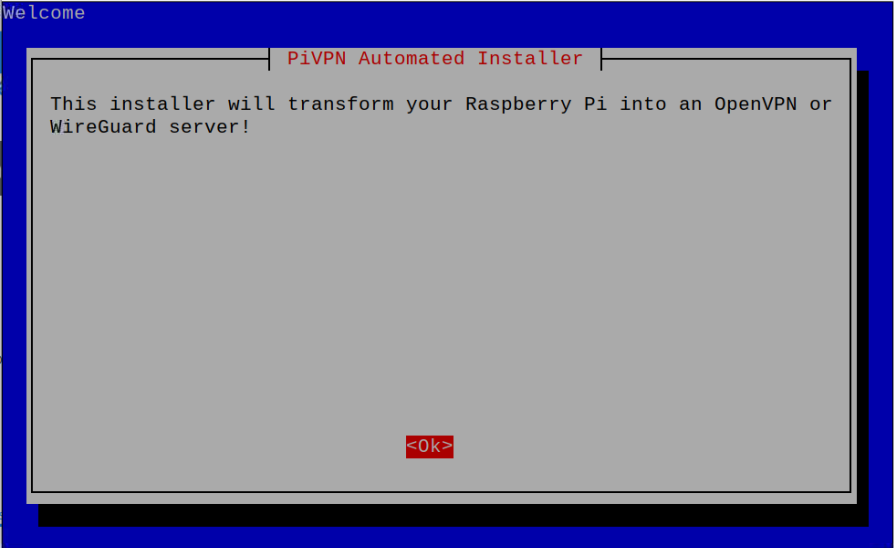
Step 4: When you run the above script, you will see the first screen greeted with the message as shown below. To move forward, press Enter.
Step 5: The next screen will explain why your Raspberry Pi must have a static IP address, Press Enter to move to the next screen.

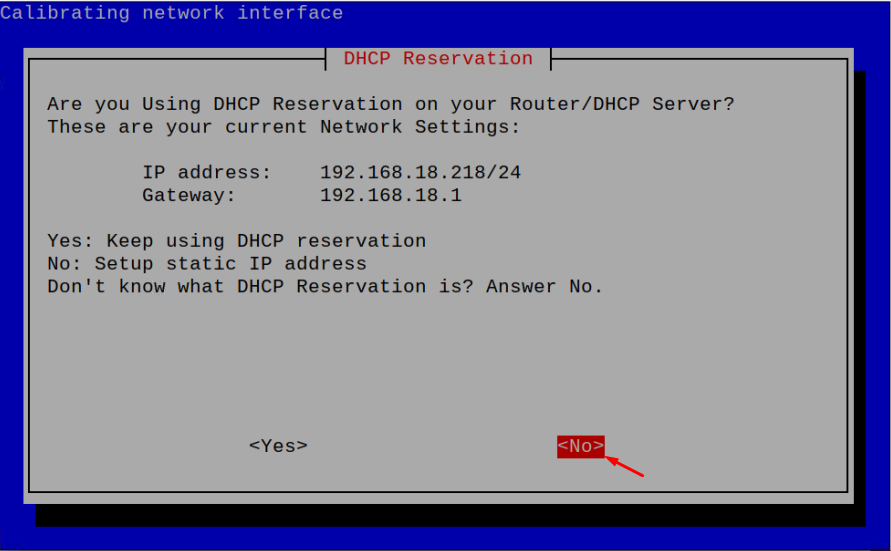
Step 6: In this step, you will need to choose the “No” option as you haven’t used DHCP reservation and you will have to set a static IP address by yourself in the next step.
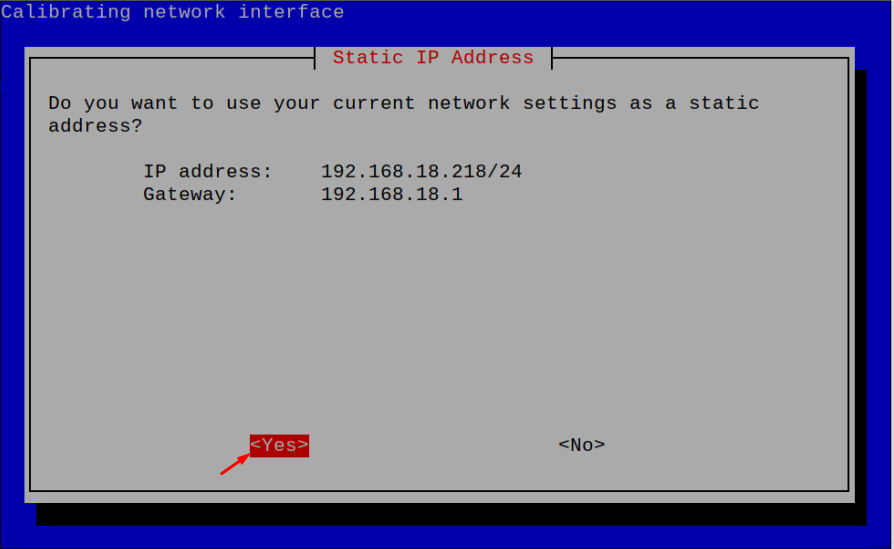
Step 7: To set the static IP address, the installation script will use the current network setting as default. If this information is correct, press Enter on the “Yes” option.
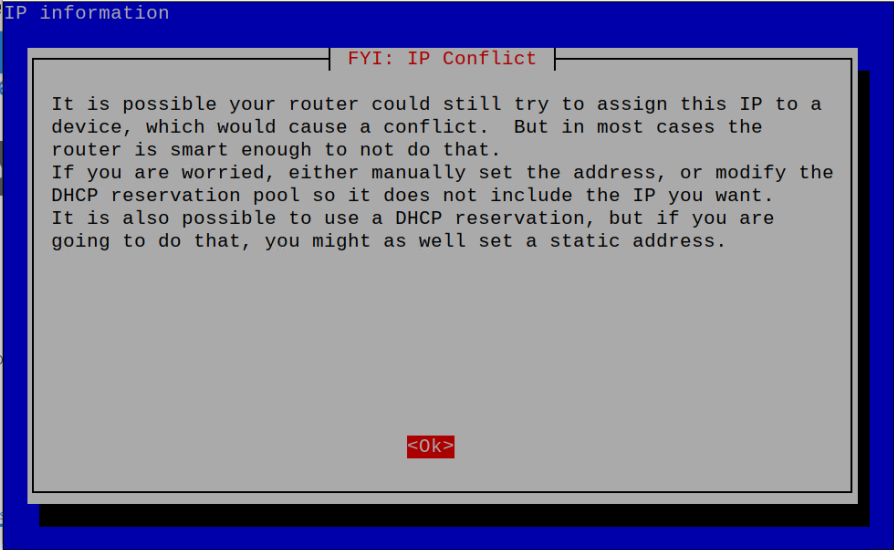
Step 8: Press Enter by ignoring the warning that appears in the next on-screen.
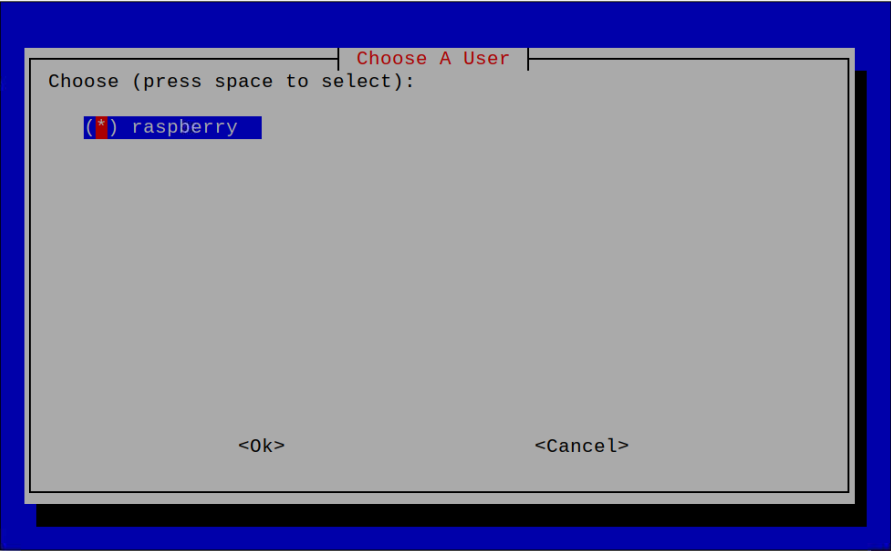
Step 9: In this step, you will need to choose a local user so press the “Enter” key to continue.

Step 10: Select “pi” as a user and press Enter.
Step 11: Select the VPN service as “WireGuard” and press Enter.

Step 12: In this step, keep the WireGuard port number same as recommended by the installer and press Enter.
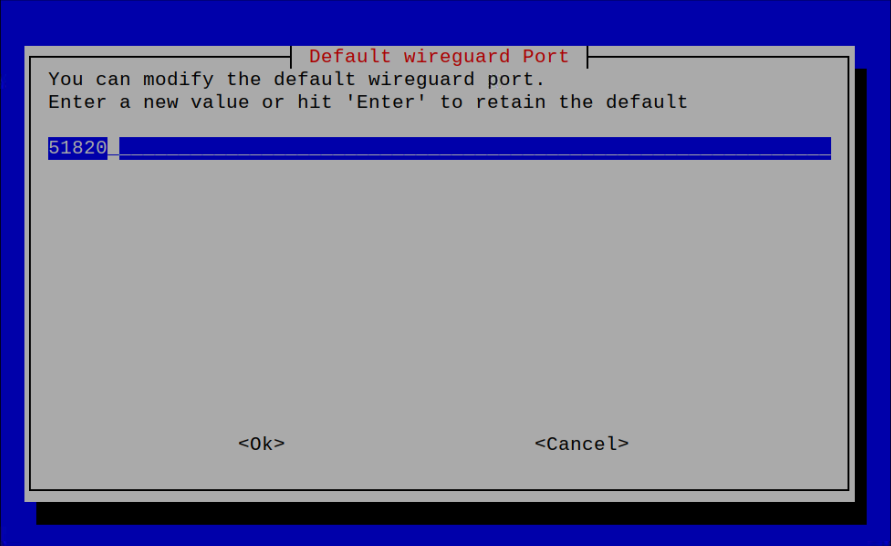
Step 13: Confirm the port setting by choosing the “Yes” option and press Enter.

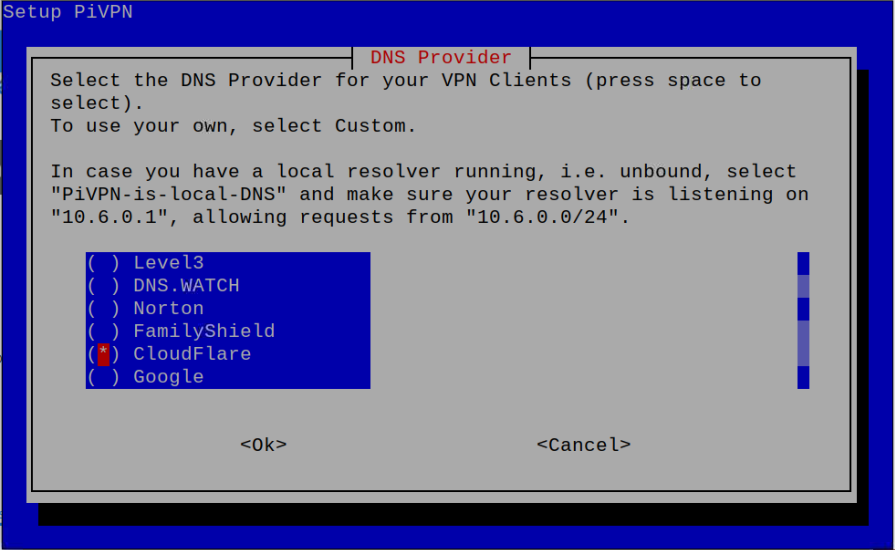
Step 14: Provide your DNS provider as CloudFlare which is relatively fast as compared to others.
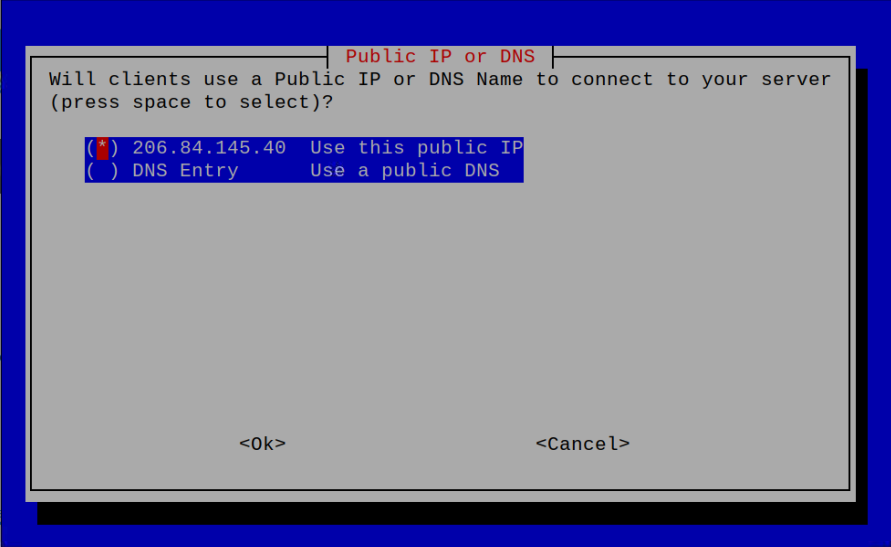
Step 15: There are two ways to access the WireGuard VPN but here we are sticking with accessing it through a public IP address. Choose the first option and press Enter.
Step 16: The process will generate a server key that WireGuard requires.

Step 17: Select OK on the unattended upgrade screen.

Step 18: Enable the unattended upgrades by choosing the “Yes” option and press Enter.

Step 19: The next screen confirms the successful installation of WireGuard on Raspberry Pi.

Step 20: Choose the “Yes” option to reboot your device.

Step 21: Press Enter to confirm the reboot.

.This completes the installation of WireGuard on Raspberry Pi.
How to Setup WireGuard on Raspberry Pi
The final task is to set up WireGuard so that it will work on other client devices as well. The following steps are needed to complete WireGuard Setup.
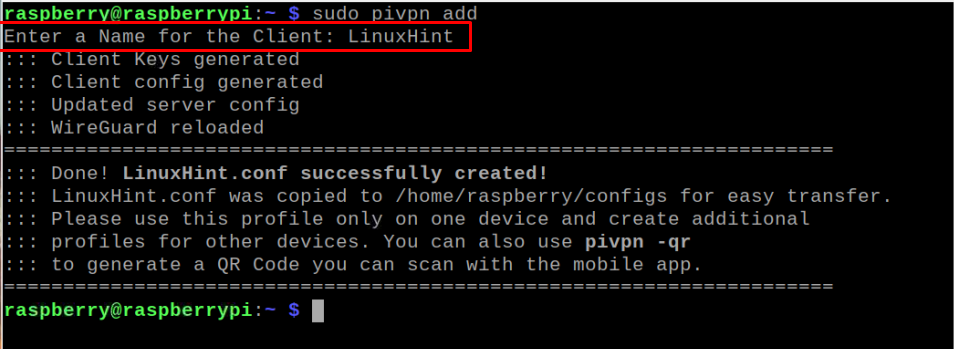
Step 1: First, create a new profile for WireGuard with the help of following command:

Step 2: Enter your client name and press Enter. This will create your profile on WireGuard.
Step 3: Next, add the following command to generate QR code on the terminal.

Now, install the WireGuard application on your mobile and scan the QR code.

Name your Tunnel and click on the “CREATE TUNNEL” option.

At this point, WireGuard is successfully set up on your Raspberry Pi.
Conclusion
WireGuard is a perfect open-source VPN that keeps your identity secure, making the Internet browsing experience extremely fast. The installation of WireGuard on Raspberry Pi is pretty simple, which can easily be set up through the bash command, and once the installation is completed, you can then use it on your mobile device by scanning the QR code.
Source: linuxhint.com