Improve SD Card Lifespan Using Log2RAM – Raspberry Pi
In this tutorial, you will see how you can improve the SD card performance of Raspberry Pi using Log2RAM.
Improve SD card performance of Raspberry Pi using Log2RAM
Log2RAM pushes the log files to the RAM and these files get deleted upon reboot because RAM is a volatile memory. The following steps will guide you in improving your Raspberry Pi’s SD card performance through Log2RAM:
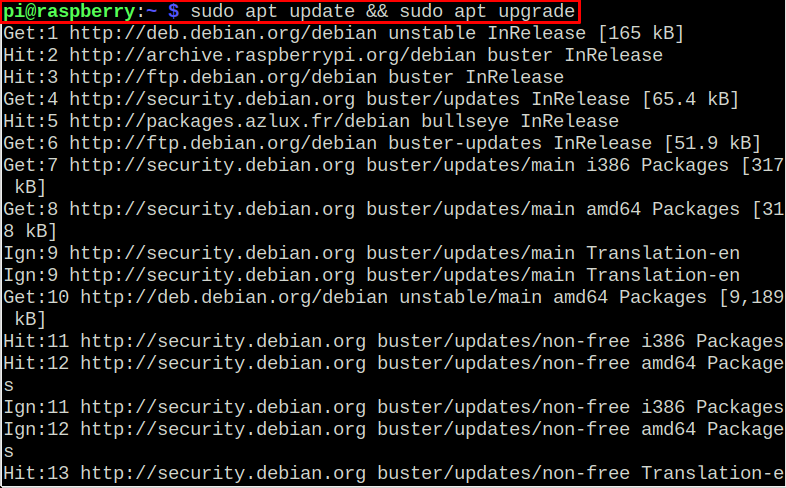
Step 1: Update Raspberry Pi
First, run the following commands to update the packages on your Raspberry device.
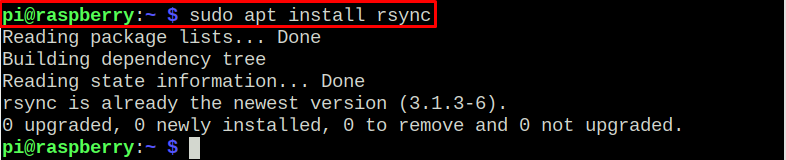
Step 2: Install Rsync
Next, you will need to install Rsync software on your Raspberry Pi device that allows you to synchronize the contents between the two parties (source and destination).
Step 3: Add GPG Key
Now, add GPG key require to successfully add Log2RAM repository using the following command:

Step 4: Add Log2RAM Repository
Next, you will require to add a Log2RAM repository using the following command in order to install the latest version of the software on your Raspberry Pi.

Step 5: Update Packages
After adding the Log2RAM repository, update Raspberry Pi packages list through following command:
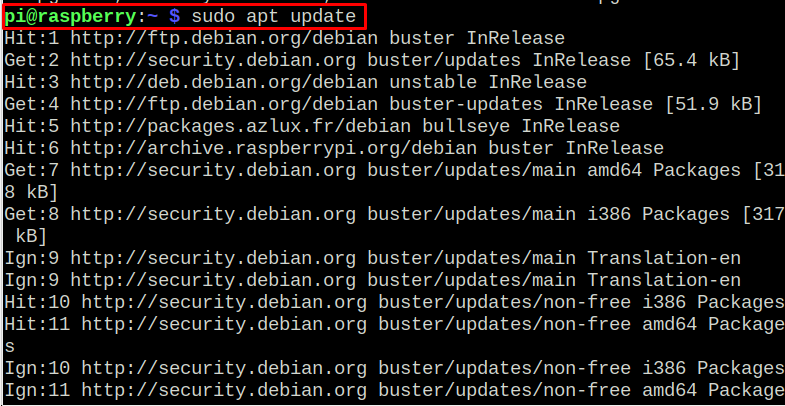
The above output confirms that the repository list is successfully updated on Raspberry Pi.
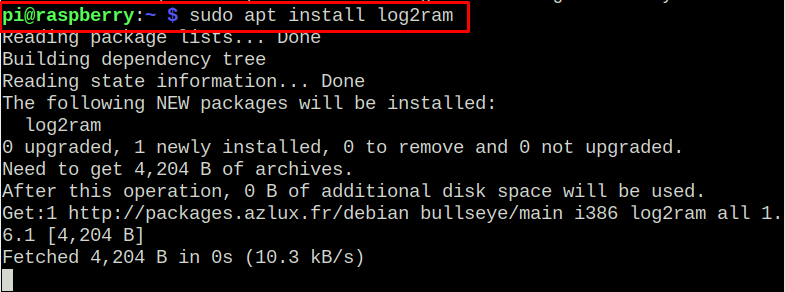
Step 6: Install Log2RAM
Now, you can install Log2RAM on Raspberry Pi through following command:
Step 7: Reboot Raspberry Pi
After the installation, reboot the Raspberry Pi device.
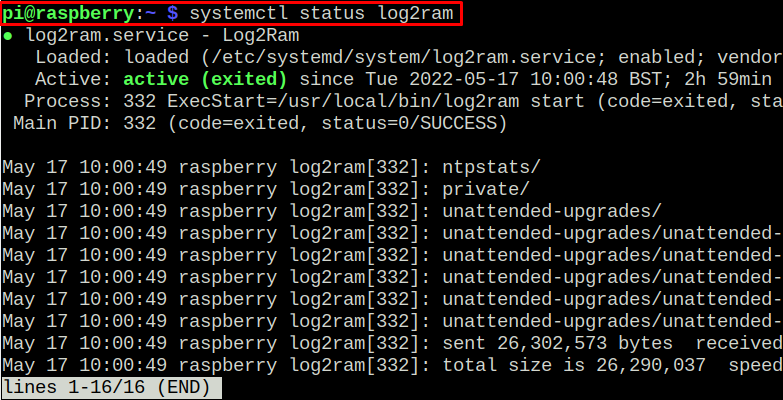
Step 8: Check Log2RAM Status
After the reboot, check Log2RAM status using the following command:
Step 9: Configuring Log2RAM
After the reboot, use the following command to open configuration file of Log2RAM on Raspberry Pi:
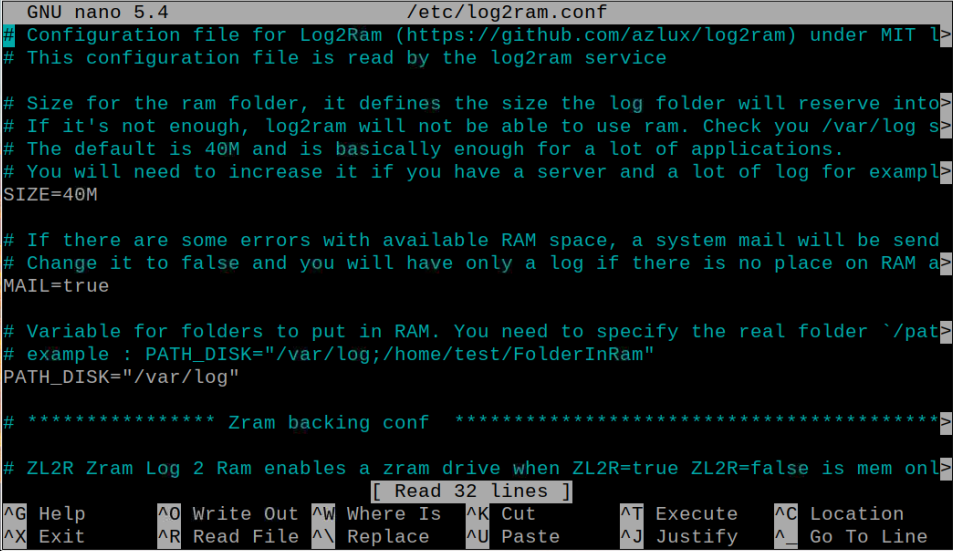
Now, you will need to specify the amount of RAM you want to allocate for the mount by locating the line “SIZE=40M”. You can set the size to a maximum 128M. You can proceed to the next step as 40M is enough for the log files as they aren’t large enough to fill up the space.
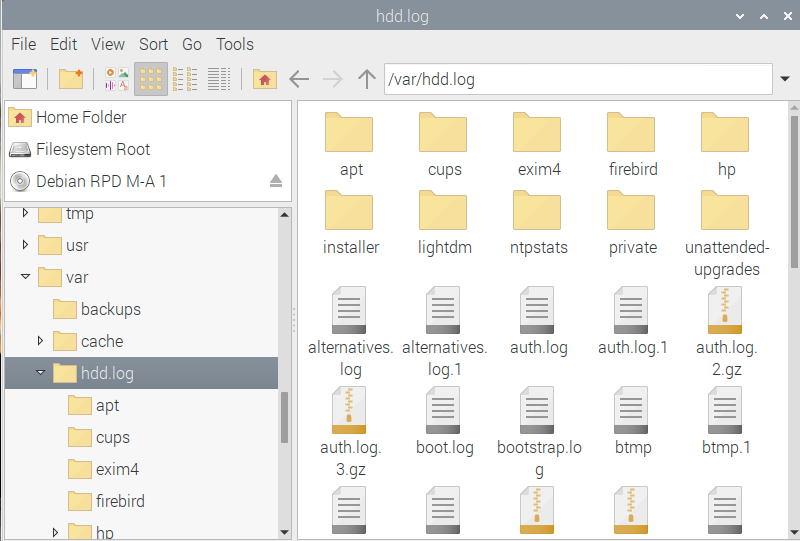
After ensuring and configuring the Log2RAM service on your Raspberry Pi, your log files will now synchronize to SD card and it will also limit the amount of data on your SD card. Thus, it helps to extend your SD card lifespan. To view the log files go to the location”/varhdd.log”.
You can also confirm the Log2RAM allocation using the following command:
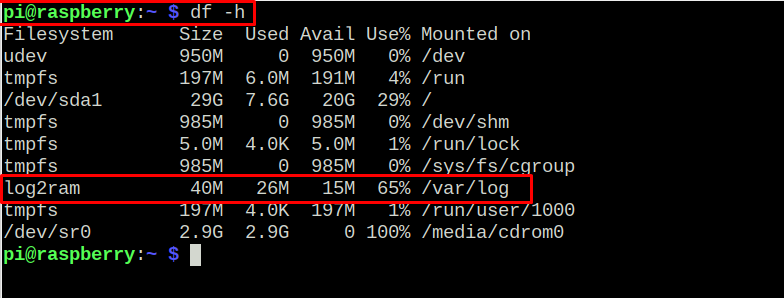
The above output confirms that Log2RAM is successfully configured on Raspberry Pi and all your Raspberry Pi records are stored in it.
Conclusion
Log2RAM offload the record files to RAM on your Raspberry Pi, thus reducing the number of writes to the SD card. With this tool, the lifespan of the Raspberry Pi SD card is greatly improved. The above-mentioned steps will help you in increasing your SD card performance by installing Log2RAM. After the installation and configuration, it will handle the log files by itself.

Source: linuxhint.com