ImageMagick – Reducing File Sizes
A beautiful and large picture is just about great; it’s usually accompanied by tremendous quality. However, there are many, many times when you can’t afford to have pictures that are too big in size. At times, all you want is a decent-sized picture or even one that is less than a particular given size. In such cases, all the programmer wishes for is a way to find a middle ground between quality and size. Theoretically, if you give up quality altogether, then file size shouldn’t be a problem, but the real deal is to find a compromise between quality and file size. In this tutorial, we’ll be discussing ways to reduce the file size of pictures using ImageMagick (without compromising quality too much).
Installing ImageMagick
We will need ImageMagick for this, so first, let’s install it:
The Quality Switch
The first and easiest way to reduce the size of a photo/picture/video is to reduce the quality of the photo. The quality switch represents the JPEG/MIFF/PNG compression level. For JPEG and MPEG, a quality of 1 represents the highest level of compression and the lowest image quality, while 100 represents the least level of compression and the best quality.
So let’s look at an example; the picture I took of a tree is 4624×3468 in terms of resolution and is 5.70226MiB. This is the original picture, a JPEG, to be specific.

Now, the point is that we want to reduce the size of the image. So let’s try to set the quality switch settings to something a bit different and see what happens.
convert tree_4624x3468.jpg -quality 25 tree_4624x3468_quality25.jpg
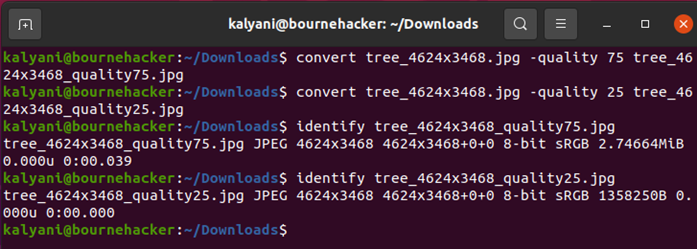
I reduced the quality to 75 for one picture and 25 for another. The original image was 5.70226MiB, but the image that was a quality of 75 became 2.74664MiB while that of quality 25 became 1358250 (1.295MiB). Here, I’d personally go with the 75% quality.
Now, since we also care about the actual quality of the photo, let me show you the photos:
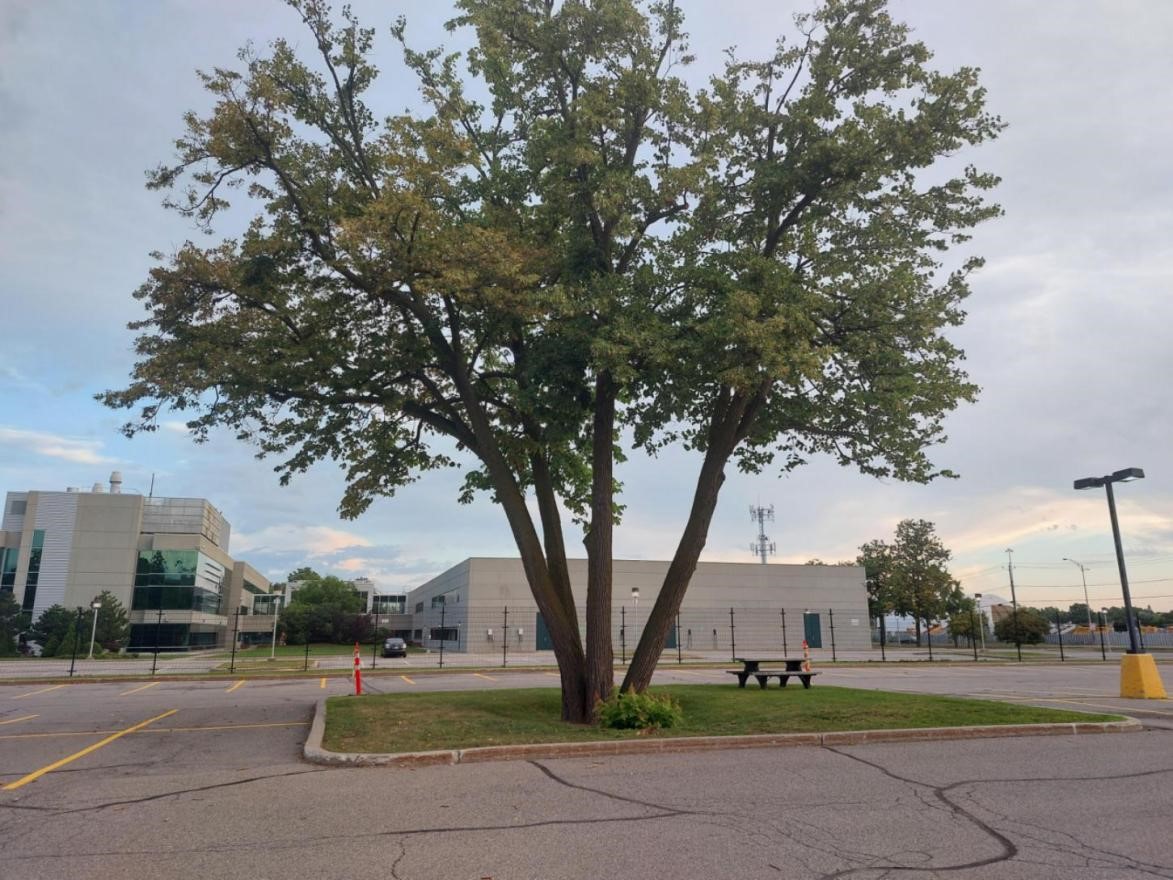
tree_4624x3468_quality75.jpg
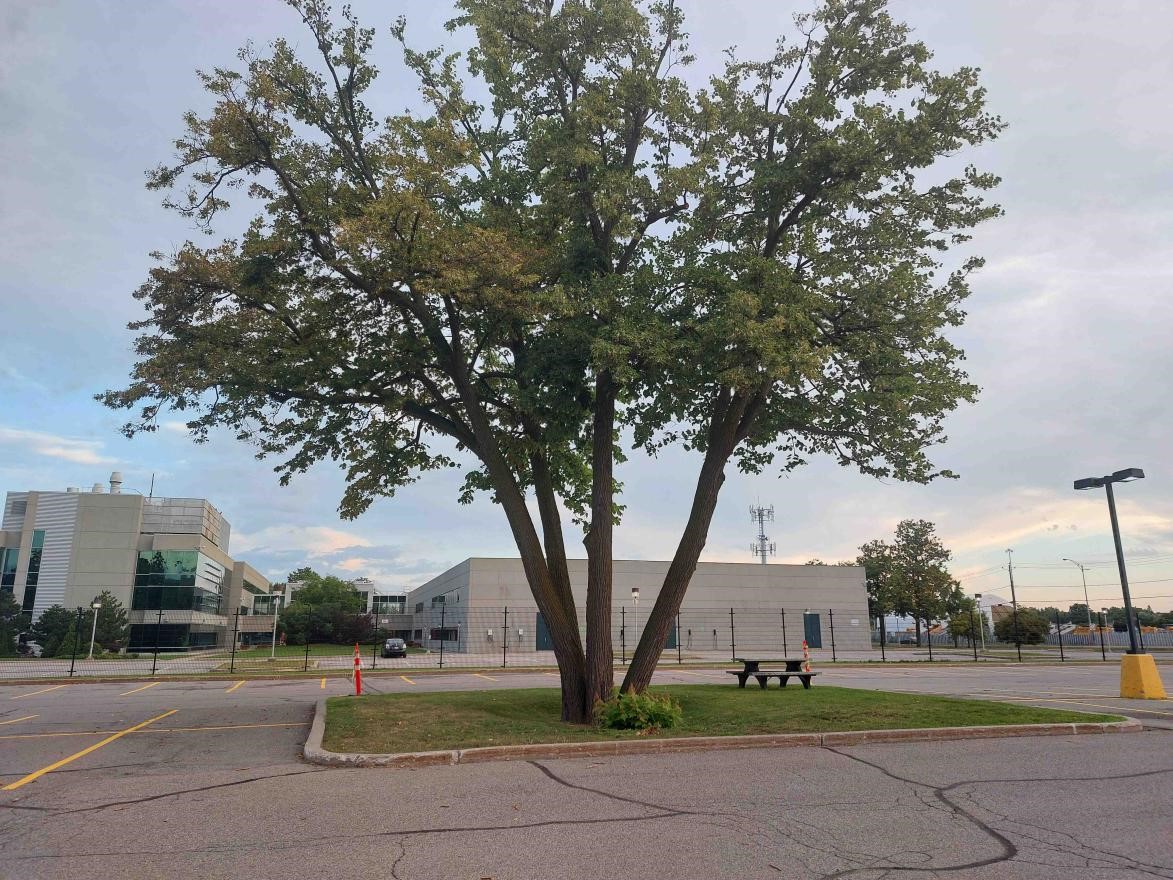
tree_4624x3468_quality25.jpg
As you can see, the quality hasn’t been affected too much, but the file size is smaller.
Now, I tried doing the same with PNG, and this is what I got:
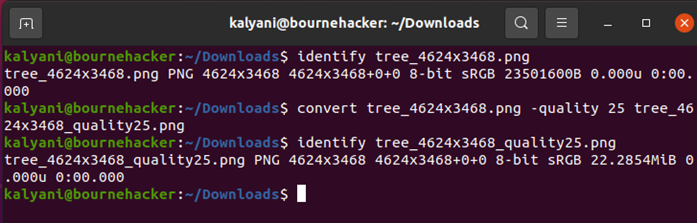
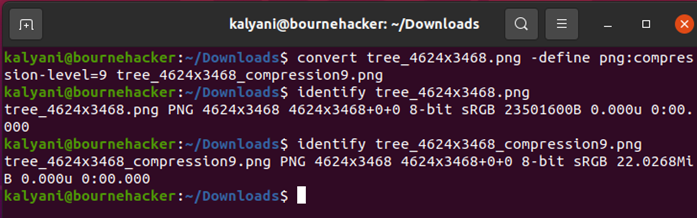
So, it went from 23501600B (22.413MiB) to 22.2854MiB. For a JPEG, it went from 5.70226MiB to 1.295MiB. For non-lossy formats such as PNG, the quality switch is a lot tougher.
Resizing Pictures
Resizing pictures is another way. For example:
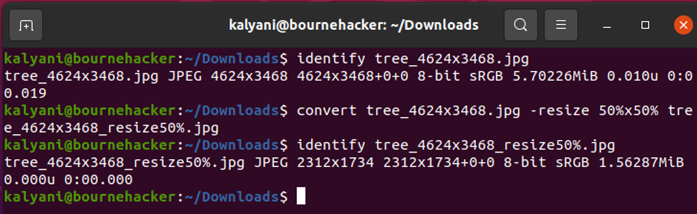
As you can clearly see, the picture that was 4624×3468 was 5.70226MiB, while the one that was 2312×1734 is only 1.56287MiB.
The Define Switch
The define switch is followed by a key and its given value.
-define key{=value}…
The list of possible key values can be found at https://imagemagick.org/script/defines.php.
For PNG, you can use png:compression-level=value. The value can be anything from 0 to 9. A value of 0 will provide you with the least compression, but it’s quick, and a value of 9 will provide you with the best compression but is the slowest. Anything in between also goes.
For example:
In most instances, what a programmer wants is to set a maximum size for a photo. So, suppose for an instance that you want to set a maximum size for a photo. You can use the define switch to do this.
-define jpeg:extent={size}
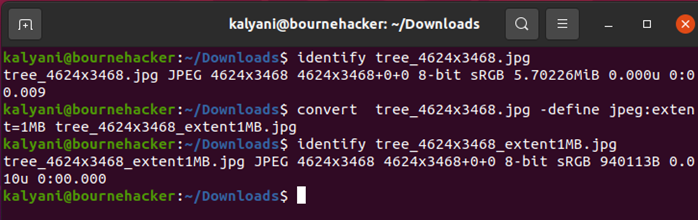
As you can see in the picture above, it set it to a resolution of 4624×3468 and a size of 0.897MiB. So, as you requested, ImageMagick has created a photo that is less than the maximum size of 1MB.
Strip Switch
Pictures we take with cameras come with Metadata. Removing the Metadata can also clear up some space. In ImageMagick, we do this using the strip switch.
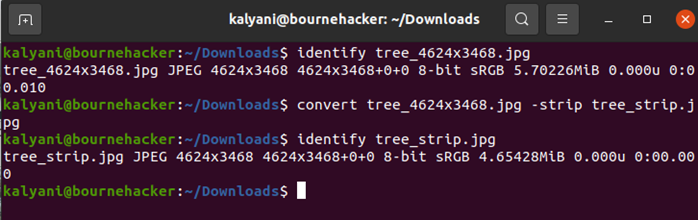
Here, as you can see, the original photo is 4624×3468 and 5.7MiB. But the image that has had its Metadata stripped is 4.65MiB.
Colorspace Switch
You can also try switching up the colorspace. In this first instance, I’ll turn it gray.
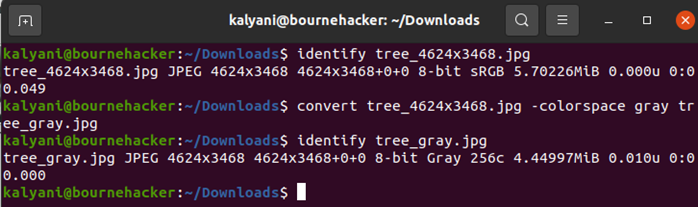
As you can see, the reduction of the image size is not too large, but there is a reduction – from 5.70226MiB to 4.44997MiB.
Alternatively, I also tried the following:
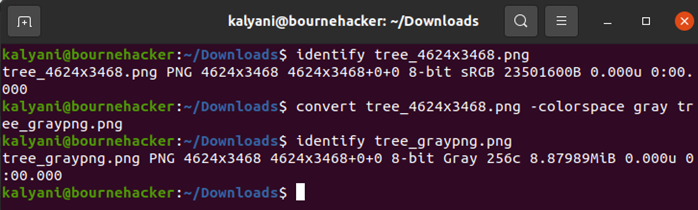
In the case of a PNG, my original photo, that’s 4624×3468, is 22.42MiB, but when I turn it gray, it becomes 8.88MiB.
Colors Switch
You can also opt to change the number of colors used. In this particular case, I’m going to use only 16 colors on a PNG.
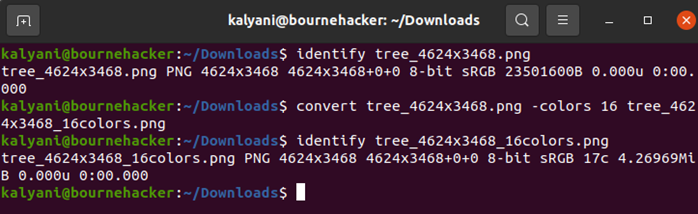
The original PNG was 4624×3468 and 22.42MiB. However, when I changed the colors to only 16, the image became 4.27MiB in size. And the photo looks like this:
tree_4624x3468_16colors.png
Using Multiple Switches
Now, you don’t have to use a single switch on a photo! You can combine as many switches as you want on a picture.
So, in example 1, I’m going to take a PNG photo of a tree. This original photo is 4624×3468 and 22.42MiB in size, and I’m going to use multiple switches and see where it takes me.
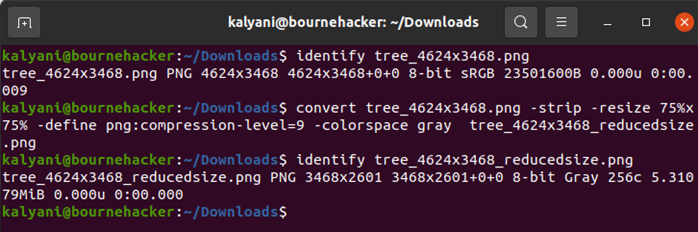
So this PNG, with an original size of 22.42MiB, turned into a picture of 5.3MiB. The resultant picture is about 23% of the original size.
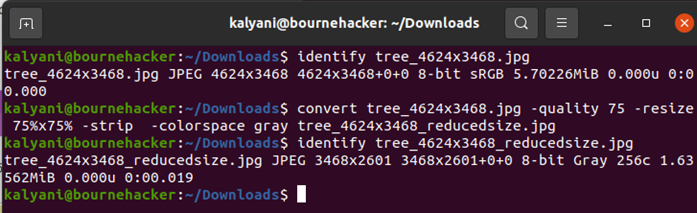
So next, let’s check out a JPG.

So, here, for the JPG, we went from an original size of 5.7MiB to about 2.2MiB for a colored image.
But if it weren’t colored:
Here, we went from an original size of 5.7MiB to 1.6MiB for a gray image.
If you had wanted to, you could have set a max limit on the size too. The point is that you can reduce the size if you really set your mind to it.
Conclusion
When writing code for a particular purpose, we tend to use pictures too, and sometimes, we just can’t afford to have pictures that are too large in size. In such cases, the main focus of the programmer is to find a compromise between the size of the picture and the quality of the picture. We don’t want to use pictures that are too low in quality, but we also can’t afford to have large-sized pictures. So, we need ways to reduce the size of the picture. ImageMagick offers a variety of ways to reduce the size of your picture in the form of various switches – quality, resize, define, etc. You can use one or more of them to adjust the size of the picture.
Source: linuxhint.com