HTML Page Structure
HTML stands for Hypertext Markup Language. Several tags are utilized to make a structure of web pages. These tags are also known as HTML elements. The HTML elements display content on the browser.
The learning outcomes of this article are:
In the upcoming section, the HTML document structure will be discussed.
What is an HTML Document Structure?
A document of HTML structure looks like this:
<html lang="en">
<head>
<meta charset="UTF-8">
<meta http-equiv="X-UA-Compatible" content="IE=edge">
<meta name="viewport" content="width=device-width, initial-scale=1.0">
<link rel="stylesheet" href="">
<title>Document</title>
</head>
<body>
<h2>Linuxhint</h2>
<p>Best tutorial website</p>
</body>
</html>
The elements that are used in the above-mentioned code are explained below:
- “<!DOCTYPE html>” is the declaration of an HTML5 document.
- “<Html Lang=”en”>” is the he primary component of an HTML page. The lang attribute with the value “en” represents the English language.
- “<head>” holds the meta-information about the page.
- “<meta charset = “UTF-8”>” specify the UTF-8 encoding when translating the code to human-readable text to the browser or vice versa.
- “<link rel= “stylesheet” href=” “>” contains the link to the CSS stylesheet.
- “<title>” defines an HTML page title that will display on the browser’s title bar.
- “</head>” closing tag of the <head> element.
- “<body>” element contains the content visible on the browser.
- “<h2>” element determines the heading in document.
- “<p>” defines a paragraph.
- “</body>” is the closing tag of the body element.
- “</html>” is the closing tag of the html root element.
Output
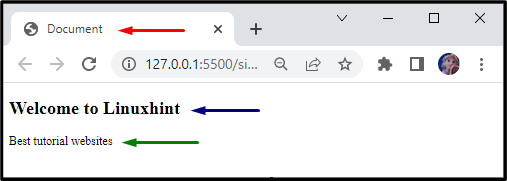
In the output above, the red arrow represents the title, the blue arrow represents the heading, and the green arrow represents the paragraph.
What are HTML Tags?
There are several tags used to constitute an HTML page. These tags are also known as HTML elements and are determines by a starting tag, content in the tag, and ending tag. The tags are of two types that are:
- Paired tags
- Empty tags
Example 1: How to Use Paired Tags in HTML?
HTML elements having a start and close tags are called paired tags. Some examples of paired tags are mentioned below:
<p> The paragraph tag</p>
<i> This text is italic </i>
<del> A strikethrough text </del>
These elements are written inside the body element of the HTML file.
The output of the above-mentioned code is shown below:
So, the result of the <h1> tag is pointed by the blue arrow, <p> tag is indicated by the green arrow, <i> tag is indicated by the pink arrow, and the red arrow is pointing to a result of <del> tag.
Example 2: What are Empty Tags in HTML?
Some HTML tags are known as empty elements because they consist of only start tags, such as <br>, <hr> tags, and more.
What are HTML Elements and Attributes?
The HTML elements, sometimes known as tags, can be associated with attributes. These attributes are written in the start tag and utilized to add additional information to the elements. Attributes have names and values.
Example: HTML Page Structure
Below is an example of an HTML page:
- “<div>” element specifies a division or component in an HTML document.
- “class” is the attribute that specifies class names for an element to be used in CSS and JavaScript:
After the div container is added. Now, we will specify a header section by utilizing the following elements:
- “<header>” element contains the initial introductory part.
- “<a>” is an anchor tag that creates a hyperlink to HTML files.
- “href” is the attribute with <a> tag that contains the link of other HTML files.
- “<nav>” tag has a combination of navigation links.
- “<ul>” is utilized to add an unordered list to the HTML document, such as a bulleted list.
- “<li>” represents an item in a list:
<a href="#">LOGO</a>
<nav>
<ul>
<li> <a href="#"> Home</a></li>
<li> <a href="#"> About US</a></li>
<li> <a href="#"> Contact</a></li>
<li> <a href="#"> FAQs</a></li>
</ul>
</nav>
</header>
After adding the header element, add a div element with the class name “main” that holds the image. To place an image, an HTML “<img>” tag is utilized associated with the attributes:
- “src” is the attribute that specifies the path of an image.
- “alt” attribute is utilized to specify some text that will display on the screen in place of the image if the image fails to load:
<img src="images/bgimg.jpg" alt="">
</div>
Then, add a div with the class name “article”. It holds the elements listed below:
- “<article>” element specifies self-contained and independent content.
- “<h2>” is added to include the heading.
- “<p>” element is used to specify a paragraph in HTML:
<article>
<h2>Article Heading</h2>
<p>Linuxhint is the best online website. It is developed for educational purposes. We write articles and make videos to teach the World online!</p>
</article>
</div>
Then, add a footer element as follows:
- “<footer>” element adds a footer to the HTML document. It normally contains information about copyright data, links, and about the author.
- “<small>” element specifies the small font size:
<small>Copyright- All rights reserved</small>
</footer>
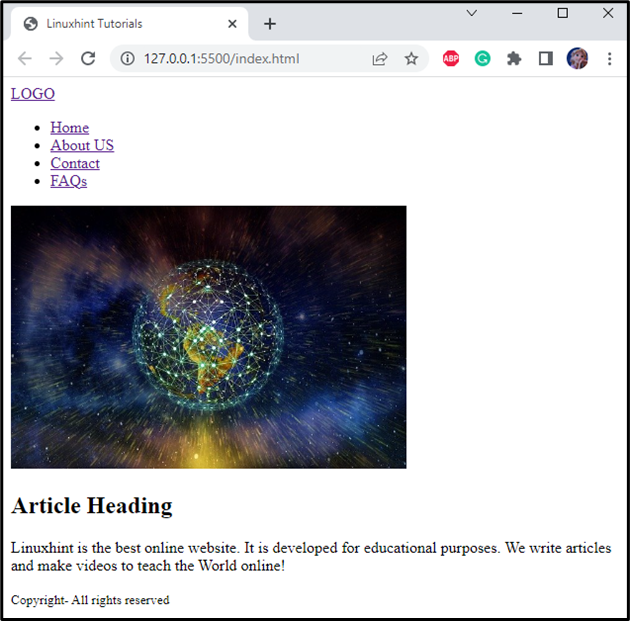
So, we have learned about several elements and attributes used in an HTML document. Now, save the changes in the file and open it on web browser. As a result, your web page will look like this:
Now, let’s style our web page using CSS.
Style “body” Element
margin: 0;
padding: 0;
box-sizing: border-box;
font-family: Verdana, Geneva, Tahoma, sans-serif;
}
Below are the properties applied to the HTML body section:
- “margin” property is utilized to add space around the element.
- “padding” property used for inserting space inside the element’s border or around the content of the element.
- “box-sizing” with the value “border-box” extends the width and height of the animal to the border edges.
- “font-family” property is set with the list of values. This list is provided to ensure that if the browser does not support the first style, the other will be used.
Style “container” div
max-width: 90%;
margin: 0 auto;
}
Here:
- “max-width” property specifies the element’s maximum width.
- “margin” property adds space around the element.
Style “main” div
display: flex;
justify-content: center;
}
The main element is styled with the following properties:
- “display” property flex makes the element’s layout flexible for the items within it.
- “justify-content” property sets the item’s alignment of the flexible element vertically.
Style “header” Element
padding-top: 10px;
padding-bottom: 10px;
background-color: #ffffff;
display: flex;
justify-content: space-between;
align-items: center;
}
The header element is decorated with the properties mentioned below:
- “padding-top” property adds the space at the top of the element.
- “padding-bottom” property sets the space from the bottom of the element.
- “background-color” property allocates the element’s background color.
- “display” property with the value “flex” will make the element flexible for the items within it.
- “justify-content” with the value space-between will add space between its items.
- “align-items” property sets the item’s alignment horizontally.
Style “ul” of “header” Element
list-style: none;
display: flex;
}
The ul element of the header tag is applied with these styling properties:
- “list-style” property is set to “none” that will remove the bulleted style from the list.
- “display” property will work the same as discussed before.
Style “a” Element
text-decoration: none;
padding: 10px;
color: #000000;
}
Here:
- “text-decoration” property with the value “none” removes the underline from the text.
- “padding” property adds space inside the boundary of the element.
- “color” property specifies the font’s color.
Style “img” Element
object-fit: cover;
width: 100%;
height: 300px;
}
The “img” element is styled by providing the following properties:
- “object-fit” sets the content of the replaced element.
- “width” property defines the element’s width.
- “height” property is used to define the element’s height.
Style “article” Element
width: 450px;
text-align: center;
margin: auto;
}
The article element is styled with the properties explained below:
- “width” property is utilized for the setting of the element’s width.
- “text-align” defines the text alignment of the element.
- “margin” property generates space around the element.
Style “footer” Element
padding-top: 20px;
padding-bottom: 20px;
background-color: #000000;
color: #ffffff;
text-align: center;
}
The “footer” element is styled with the properties that are explained below:
- “padding-top” property adds space at the top of the element’s content.
- “padding-bottom” property is used for adding the bottom space of the element’s content.
- “background-color” sets the element’s background color.
- “color” is utilized to specify the font color.
Style “h2” of “article” Element
text-align: center;
}
The h2 element within the article tag is applied with the “text-align” property with the value center.
Style “p” of “article” Element
font-family: Verdana, Geneva, Tahoma, sans-serif;
font-size: 20px;
}
Here:
- “font-family” property is set with the values Verdana, Geneva, Tahoma, sans-serif. This list is provided to ensure that if the first style is not supported by the browser, the other will be applied.
- “font-size” sets the size of the font.
Here is the final look of the HTML page after applying the CSS properties:

That was all essential information related to the structure of an HTML page.
Conclusion
An HTML document is a structure of a web page. Several elements are used in HTML documents that instruct the browser what to display on the web page. These elements may be paired with their start and end tags or may be empty, such as <br>, <hr> tags, and more. The HTML elements are applied styling properties with the use of CSS. For better understanding, this article has explained the HTML page structure with the help of a practical example.
Source: linuxhint.com