HTML Image Size | Explained
HTML allows us to use images in web pages and make them more appealing by applying different styles. If you need to change the aspect ratio of the image or your image doesn’t fit your web page layout, you can resize it. For this purpose, you can utilize the “width” and “height” properties on the “img” tag. These property values can be easily set in CSS pixels.
In this manual, you will learn the method to resize the image in HTML.
Before starting, it is required to add the image to the HTML file upon which the image resize operation will be performed.
How to Embed an Image in HTML?
To add an image in HTML, use the following syntax:
The description of the above mentioned syntax is described below. The “img” tag uses two attributes:
-
- “src” is used to provide the path (URL) of the image.
- “alt” is used to provide the alternative text if the image is not displayed.
HTML
The code below represents two divs. In the first div, we added a heading in the top center of our web page as “Image Size in HTML” by using the <h1> tag:
<center>
<h1>Image Size in HTML</h1>
</center>
</div>
The second div is added with the class named “container” and to represent the image in the center, we have used the <center> tag. Inside the center, write the below-mentioned code to add an image:
<center>
<img src="images/butterfly.jpg" alt="alternate-text">
</center>
</div>
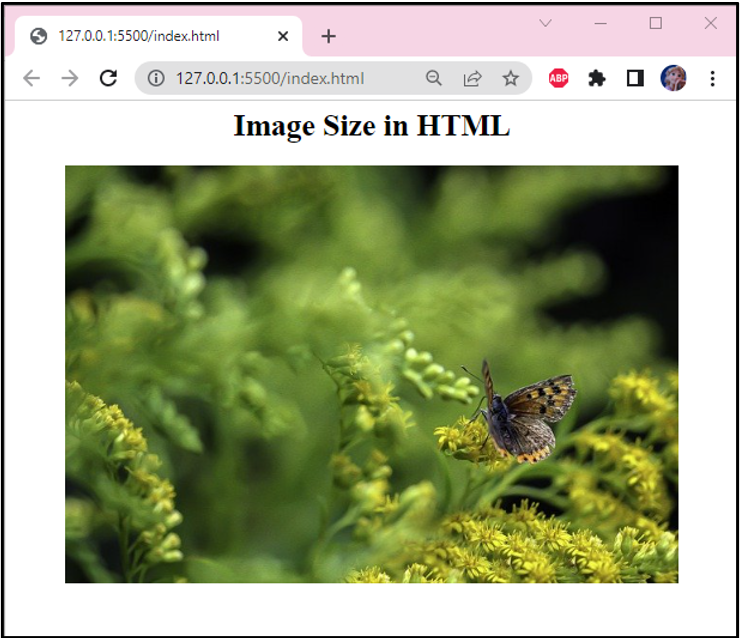
The selected image with “640*437” aspect ratio will look like this:
The next section will demonstrate the method to resize an image.
How to Resize the Image in HTML?
You can customize the size of the image or resize it by using “width” and “height” attributes to set its width and height.
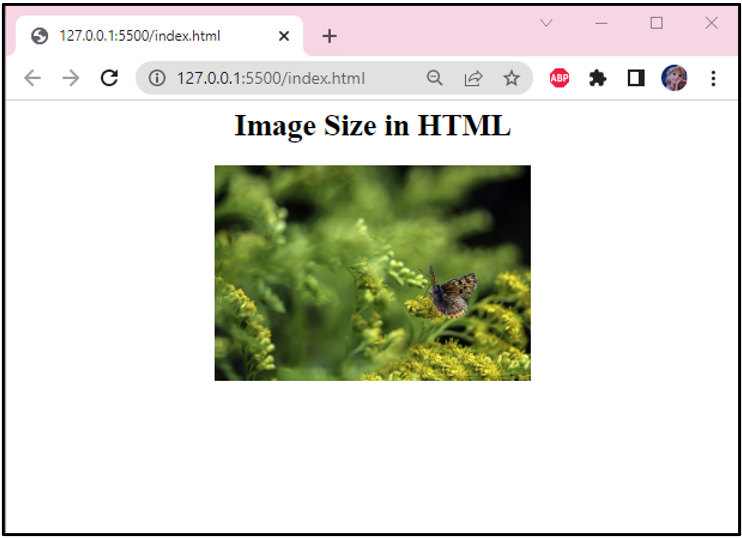
Now, let’s set the width value of the added image as “300” and see how it works:
It can be seen that the image width has been changed, and it is resized successfully:
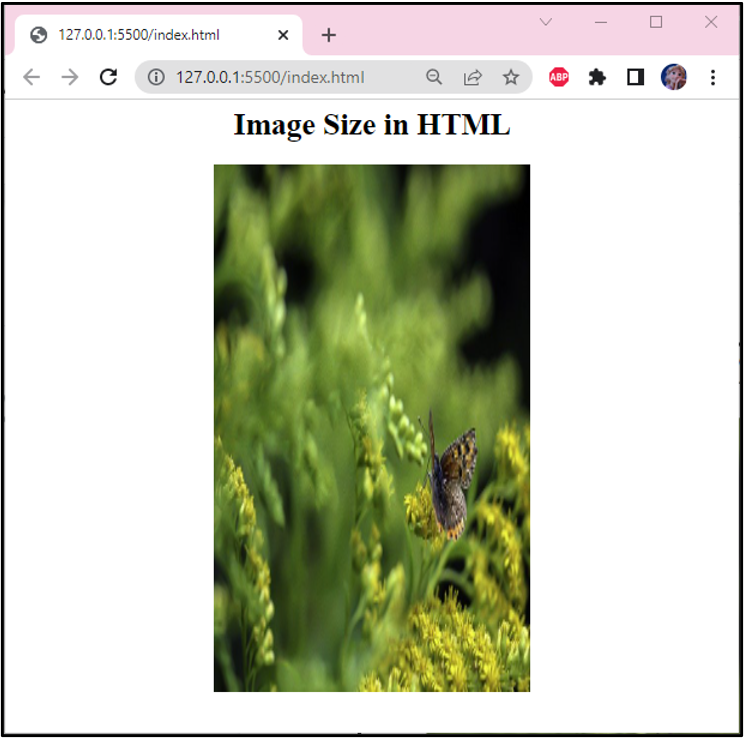
In addition to the width, the “height” attribute can also be utilized for the same purpose. To view the size difference, set “550” pixels as image height:
You can clearly observer the difference in the image size:
That’s how width and height attributes are used to resize the image.
Conclusion
In HTML, the “height” and “width” attributes are utilized for resizing the image. You can change the default aspect ratio of the added image by setting the values of these attributes. As a result, a clear difference can be seen with respect to image size. This blog has demonstrated the method to use height and weight properties for resizing images in HTML.
Source: linuxhint.com