HTML button type=”submit” Attribute
HTML is used to make the structure of the web page, and the scripting languages like JavaScript are utilized to make the web page more interactive and dynamic. Moreover, HTML offers different attributes to its elements that help to code JavaScript. For instance, we need forms in almost every application to enter information. To submit form data to the server, it is required to have a button that will fetch the typed information and send it to JavaScript for further processing.
This guide will teach about the HTML “<button>” having attribute value “submit”. So, let’s dive in!
How to Add HTML button type=“submit” Attribute?
In HTML, first, add a <div> having a class name “myform”. Then, perform the following steps:
- Inside the div, add <h1> tag for the heading.
- Then, add two text boxes for first and last names with labels. The “for” attribute of the “label” tag and the “id” attribute of the “input” tag must be the same. This will associate the caption with the input control.
- Add a button with the “type” value set as “submit”, “value” as “submit”, and “id” as “submit”.
- After that, associate the “addData()” function with the submit button, which will trigger when the button is clicked. This form will take the data from the user and display them on the same page.
- Lastly, specify <p> tags where the submitted data needs to be displayed. These <p> tags have assigned ids as “displayfname” and “displaylname” that will be utilized in the JavaScript file to access them and perform the further operation.
HTML
<h1>The button type "Submit" attribute</h1>
<label for="fname">First name:</label>
<input type="text" id="fname" name="fname"><br><br>
<label for="lname">Last name:</label>
<input type="text" id="lname" name="lname"><br><br>
<button type="submit" value="submit" id="submit" onclick="addData()">Submit</button>
<p> You have submitted First name : <span id="displayfname">__________.</span><br>
You have submitted Last name : <span id="displaylname">___________.</span></p>
</div>
Let’s apply some CSS styles to the above-mentioned div. Here, the “.myform” refers to the div name mentioned in the HTML file:
- Assign the “background-color” property value as “#81b29a”.
- “text-align” as “center” aligns the content of the div in the center.
- The “height” property value is set as “300px”.
- “font-size” is set as “large”.
CSS
background-color: #81b29a;
text-align: center;
height: 300px;
font-size: large;
}
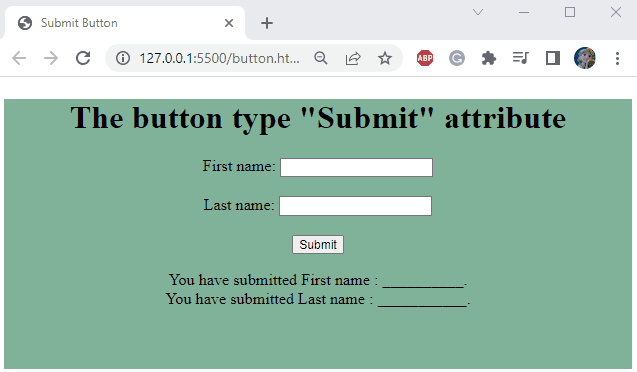
Note: We have not added the JavaScript code. As a result, the submit button will not respond:

Now, let’s move to code the JavaScript function that will be triggered on the button click. To do so, firstly, create a new file having an extension as “.js”. Then, define a function named “addData()”. This function will first fetch the value of both input fields by accessing them using their ids in the document.getElementById() method. Then, display the fetched value as the inner text of the added labels.
JavaScript
var fname = document.getElementById("fname").value;
var lname = document.getElementById("lname").value;
document.getElementById("displayfname").innerText = fname;
document.getElementById("displaylname").innerText = lname;
}
It can be observed that after entering the first and last name when the “Submit” button is clicked, the names are displayed in the labels:
We have learned how the HTML submit button functions with practical demonstration.
Conclusion
In HTML, there are hundreds of elements like paragraphs, input fields, buttons, and more. More specifically, the HTML button element with the attribute value “submit” is utilized to submit the data values to the form handler or to process the input values. In this guide, we have utilized the submit button to invoke a JavaScript function with practical examples.
Source: linuxhint.com