How to Utilize Git-Filter-Repo to Remove Specific Files from Your Repository?
Git is the most common and popular tool for managing programming projects to the remote host. Removing the unnecessary files keeps the repository clean and prevents you from messing up situations for the files.
When the files are committed to the project, they stay forever, and even after removing them, the “.git” folder keeps a record of it. In that particular situation, the “git-filter-repo” tool is considered to rewrite the Git commit history and remove the specific files from every last commit.
This tutorial will illustrate the procedure to remove the specific files using the “git-filter-repo” tool.
How to Utilize Git-Filter-Repo to Remove Specific Files from Your Repository?
The “git-filter-repo” is a tool to rewrite the Git repository tool and can be helpful in removing the files from the Git commit history. For a practical manual, walk through the mentioned instructions.
Step 1: Move to the Project Directory
Initially, move to the project repository with the help of the “cd” command. For instance, we have moved to the “perk” repository:
![]()
Step 2: Install git-filter-repo
Afterward, install the “git-filter-repo” tool with the given command:
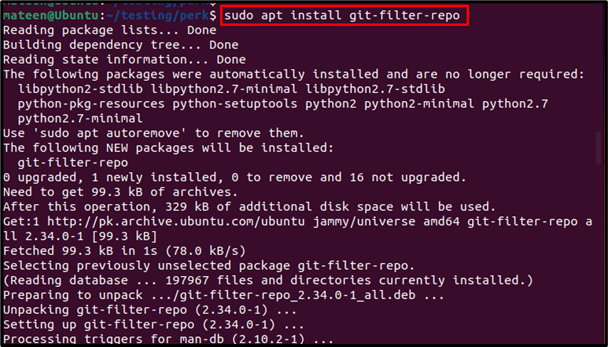
The “git-filter-repo” tool is installed.
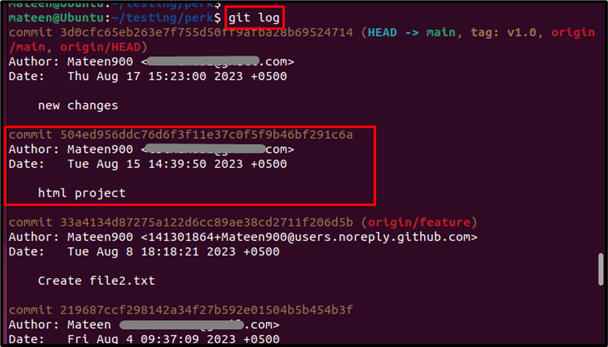
Step 3: Check Log
Check the log history of the repository and select the particular commit you want to remove. Let’s say, we want to remove the “html project” commit from the history:
Step 4: Delete Specific Files From Commit
Use the “git-filter-repo” tool and put the file path in the following command syntax:
In our case, we want to remove the “index.html” file, so the command will be as follows:
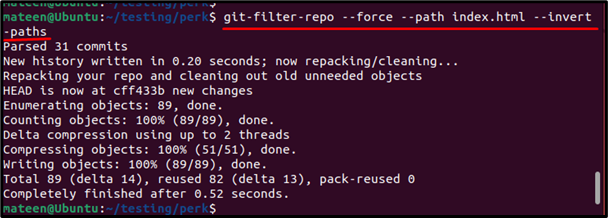
Upon executing the command, the file “index.html” is removed, and the commit history is rewritten.
Step 5: Verify the Log History
Now, verify the log history and check if the particular commit has been removed:
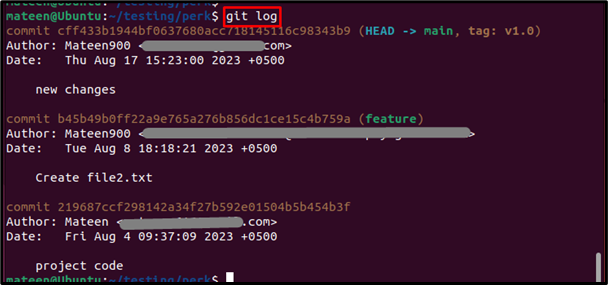
As you can see, the commit history has been rewritten with no “html project” commit
Step 6: Push the Changes to the Remote
After rewriting the commit history, push the applied changes to the remote host:

By following these steps, you can remove the specific files from the Git repository along with its commit history.
Conclusion
The “git-filter-repo” tool is utilized to remove specific files from the Git repositories. To do so, use the command syntax “git-filter-repo –force –path <file path> –invert-paths” and replace it with your file path. After that, use the “git log” command and verify the log history. This post has performed the practical demonstration of removing the file from the Git repository along with its commits using the “git-filter-repo” tool.
Source: linuxhint.com