How To Use Zenmap Nmap GUI
This tutorial explains how to install and use the Zenmap Graphical User Interface for Nmap (Network Mapper) in Debian and Ubuntu Linux distributions.
While the installation process focuses on Debian-based Linux distributions like Ubuntu (I also included instructions for CentOS), the rest of the tutorial on Zenmap usage is valid for all Linux distributions with popular X Window Managers.
After reading this article, you can execute different scan types for various purposes, including vulnerability detection and exploitation. All instructions are optimized for new and experienced Nmap users.
All examples in this document contain screenshots, making it easy for every reader.
Brief Introduction to Nmap and Zenmap
Nmap is among the best tools to analyze network traffic, for port scanning, diagnose network problems and implement malicious techniques for penetration testing, among more usages.
It is known as the “Swiss Army knife” for sysadmins and hackers.
Nmap works by analyzing packet responses and comparing them to rules and protocol standards.
Nmap is executed from the command line. Users who want to use Nmap through a graphical interface should opt for Zenmap, the Nmap frontend, a friendly graphical user interface for users unfamiliar with the Linux terminal.
Installing Zenmap on Debian and Ubuntu
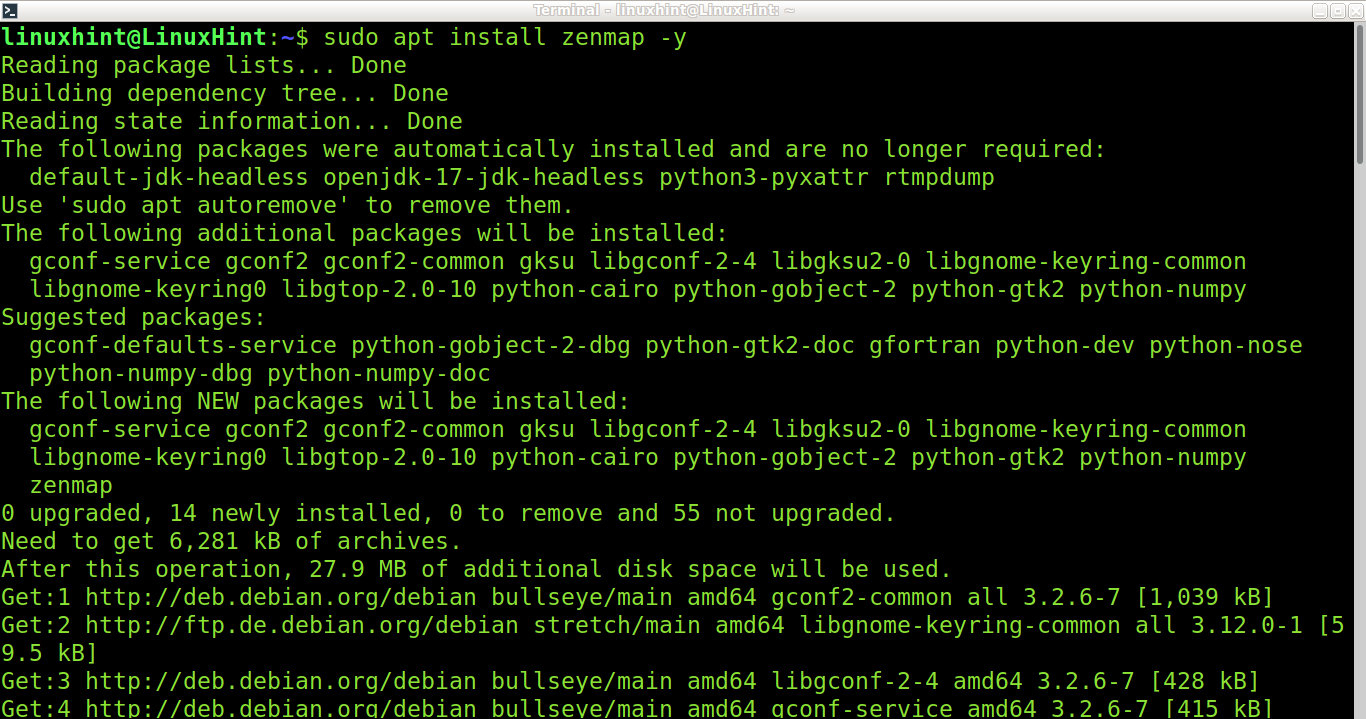
On Debian and Ubuntu, you can install Zenmap using the apt packages manager, as shown in the following screenshot:
On CentOS, you can install Zenmap by running the following command:
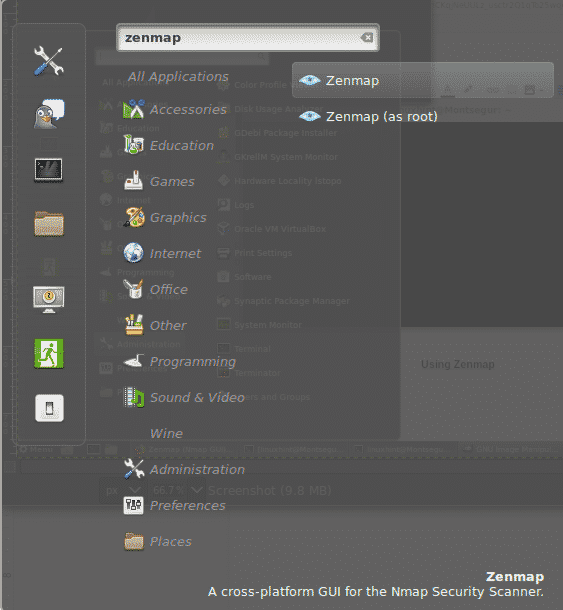
After installation, you can run Zenmap from the console or the Apps menu.
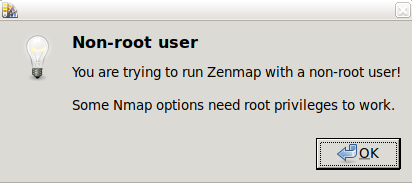
You can use Zenmap as a non-privileged or a privileged user since several functions (not all) only work with root privileges.
 If you run Zenmap as an unprivileged user, you will see the following warning. For many common scanning purposes, you can ignore it and press OK to continue, or you can open it with privileges.
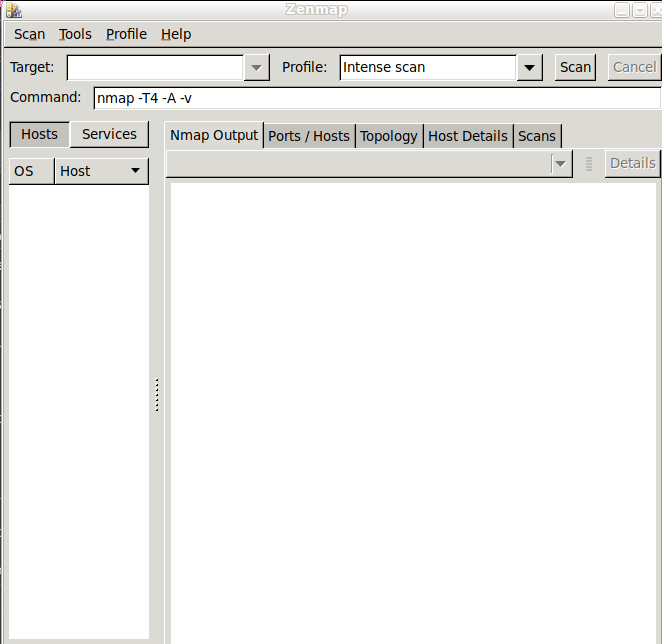
 Zenmap interface is very intuitive; a quick view shows the following three top menu options:
- Scan: from this menu, you can save and open scan results
- Tools: this menu allows to compare scan results, search among results, and filter hosts
- Profile: this menu will enable you to create and edit profiles with predefined options; here, you can define the type
Here are the following three fields:
- Target: You can define an IP, host, IP range, and more
- Profile: Here, you can edit your scan characteristics
- Command: The full-scan command to be executed in Nmap
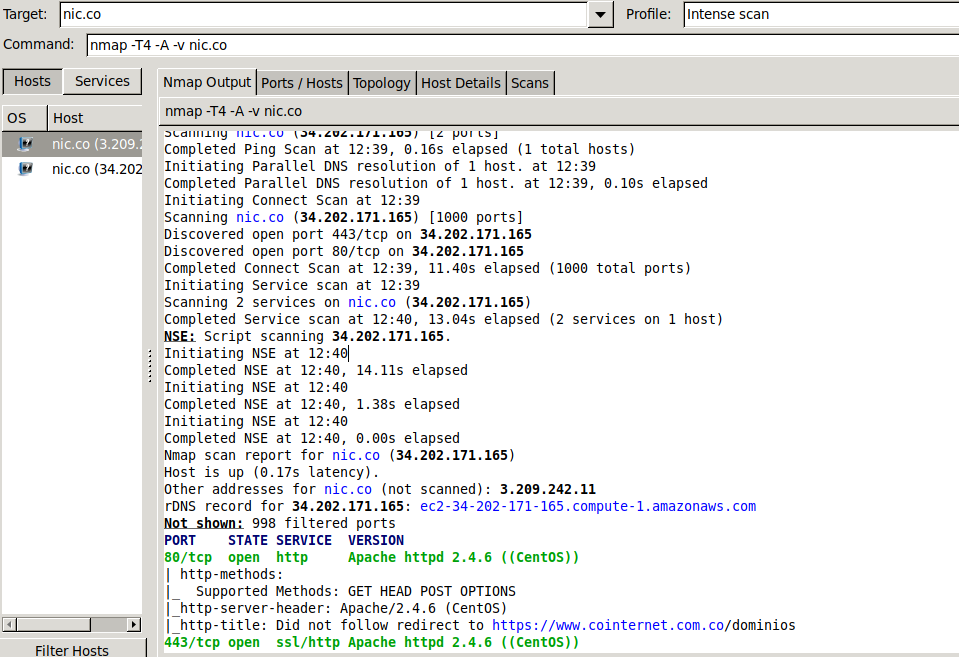
By default, Zenmap displays the Intense scan profile, executing the command nmap -T4 -A -v, where the -T4 flag defines an aggressive scan, based on the following classification:
- Paranoid/-T0: Extremely slow, useful to bypass IDS (Intrusion Detection Systems)
- Sneaky/-T1: Slow, also useful to bypass IDS
- Polite/-T2: Neutral
- Normal/-T3: Default mode when no mode is specified
- Aggressive/-T4: Fast scan
- Insane/-T5: Faster than previous Aggressive scan type
The -A flag enables version and OS detection, tracerouting, and NSE scripts. The -v (Verbosity) flag returns additional information in the output.
Type a target on the Target field that is identified with an IP, domain, IP range, or addressing rule, and press the scan button.
 As you can see, the defined target in my case was nic.co, which returned two open ports (among default scanned ports) and CentOS as the operating system.
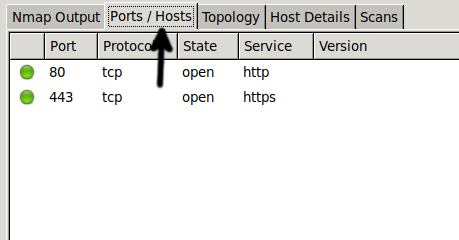
You can get detailed information on the tabs next to the Nmap Output tab. For example, the Ports / Hosts tab will display open ports.
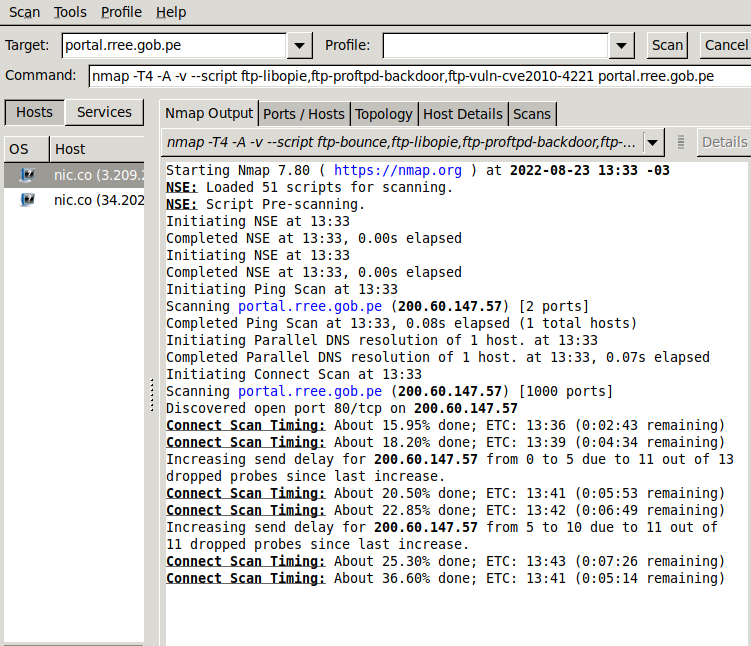
 You can add NSE scripts to include vulnerability scans and exploitation in your scan process.
NSE (Nmap Scripting Engine) enables additional functions to the Nmap regular scans, such as vulnerability detection or exploitation.
The Nmap Scripting Engine (NSE) is a set of scripts classified by categories. Users can write their scripts with custom features.
Note: The Nmap NSE is deeply explained in this tutorial we released a year ago.
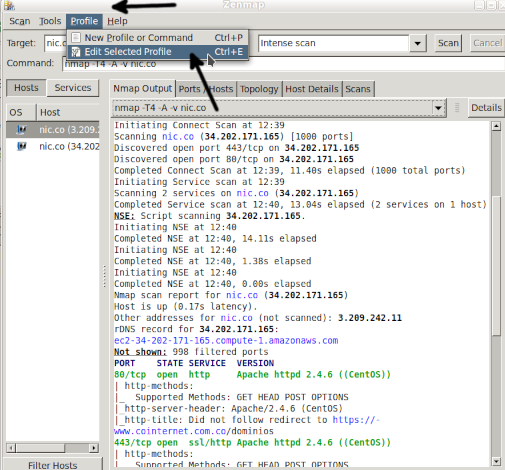
To include NSE scripts in your scan, edit your profile by pressing Profile on the top menu and some available options (You can edit the current profile or create a new one).
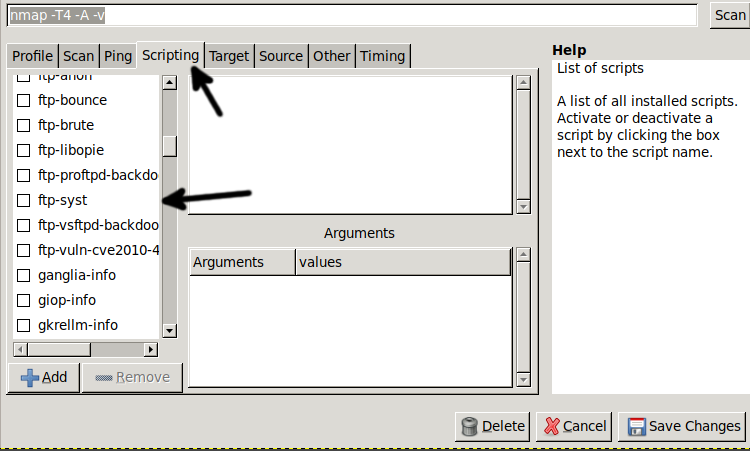
 To see available scripts, press the Scripting tab. On the left side, select the scripts you want to include in your scans.
For example, if you are testing your FTP server security, you may want to select NSE scripts to find FTP vulnerabilities or security holes for common attacks.
You can even launch a brute force attack with your scan to test your server configuration before multiple login attempts.
The NSE is a very important Nmap component you should dedicatedly explore.
Select the relevant scripts for your scan purposes.
Note: If executed as a non-root user, some functions may not work.
 Next to the Scripting tab, you can see the Target tab. By pressing it, you can define ports, IP ranges, target files, excluded hosts, etc.
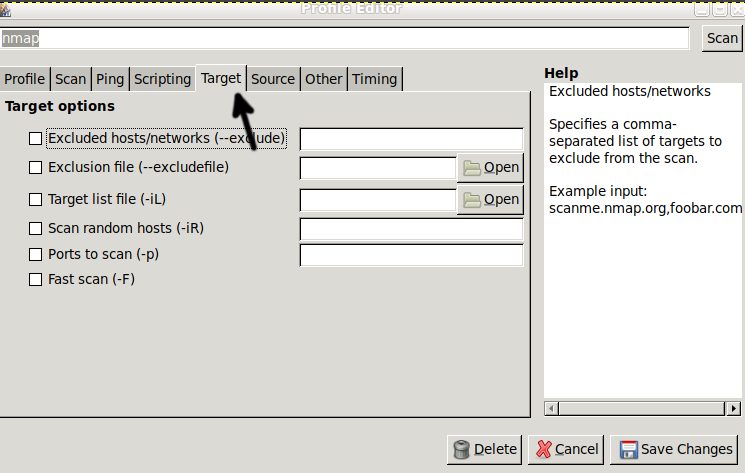 Explore the rest of the tabs defining your desired command and press the Save Changes button to apply modifications to your profile.
Then click the Scan button to launch your new scan.
 Zenmap is an intuitive graphical interface, and you can find more information on it at How To Use Zenmap To Scan a Network.
Conclusion
Zenmap would be the first option for Windows users. The “Command” field turns Zenmap into a good learning interface too. You can use the graphic interface while learning what commands you execute to carry out the scan.
Some users find it difficult or don’t like interacting with the terminal or console. This tutorial explains how to install and use Zenmap, the Nmap graphical interface, and a friendly interface for users unfamiliar with terminals or even MS Windows. Thus, Zenmap will display the commands used, and using Zenmap would be an excellent introductory way to learn to use it through the console.
In some cases, users may find the Zenmap data return visually more organized than when returned in the console. Results are classified by type in tabs users can browse.
Source: linuxhint.com