How to Use Windows Mail App
Mail App is a built-in Windows app and the finest email client that allows you to connect to and manage all your email accounts so you can check your emails. It supports a number of widely used email accounts, including Outlook, Gmail, Yahoo Mail, and Exchange.
This article demonstrates the basics of how to use Windows Mail App, which comprises of:
- How to Download the Mail App on Windows
- How to Setup the Mail App in Windows
- How to Use the Mail App in Windows
- How to Uninstall the Mail App on Windows
How to Download the Mail App on Windows?
To download the Mail App on Windows, you can follow the below-given procedure:
Step 1: Open the Microsoft Store
Microsoft Store is an application store provided by Microsoft for the user to get the Windows application in just one click. To open Microsoft, press the Window key + S to open the Start Menu and type Microsoft in the search bar. Then click on the Open button to open it.
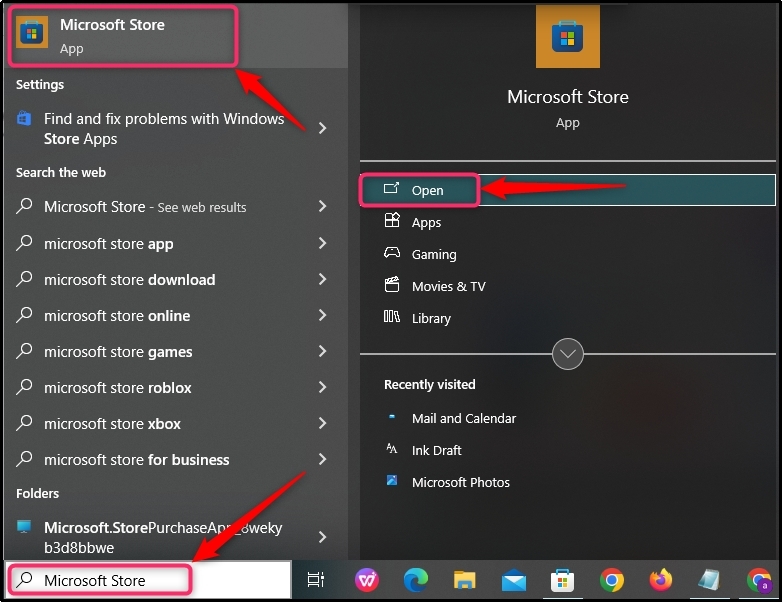
Pro Tip: You can also access the Microsoft Store from the taskbar.
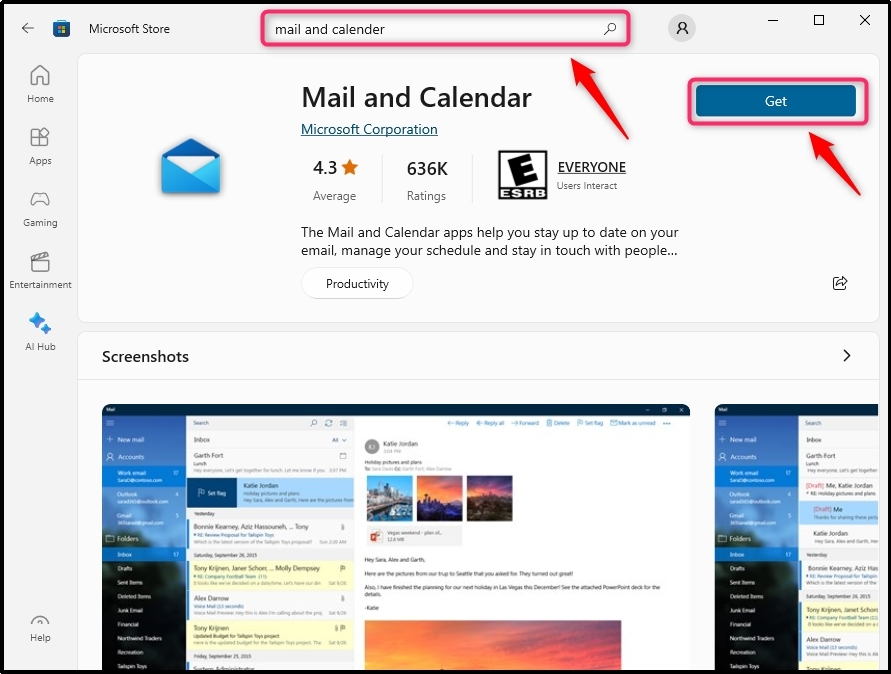
Step 2: Find the Mail App
After opening the Microsoft Store, write mail and calendar in the search bar. Once the application is opened, hit the Get button to download and install the application.
How to Setup the Mail App in Windows?
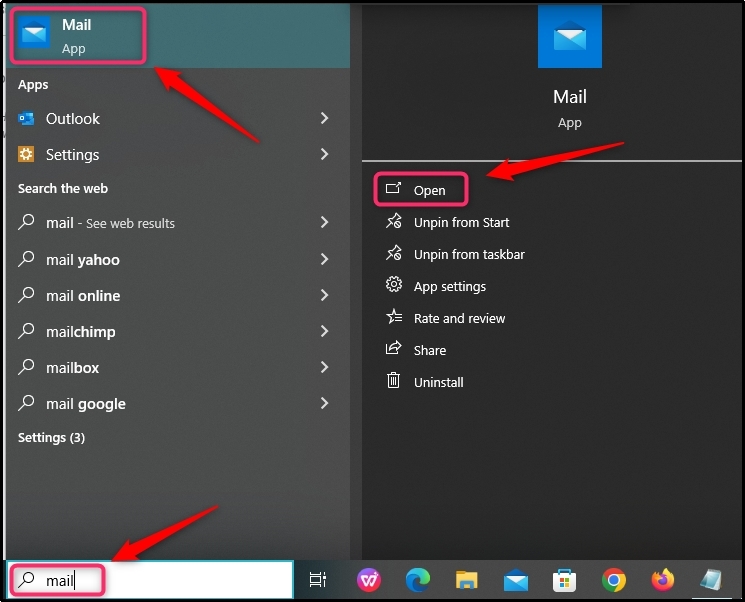
Step 1: Open the Mail App
Open the Start Menu with the help of the “Window + S” key, type Mail in the search bar, and click on the Open button to open it.
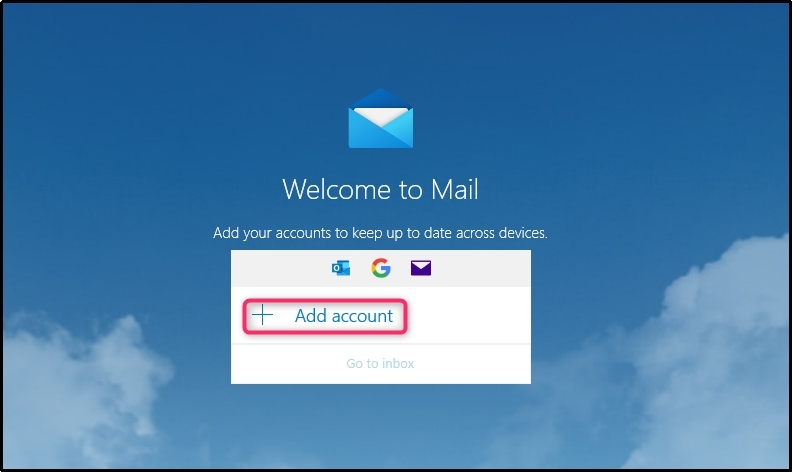
Step 2: Add Accounts
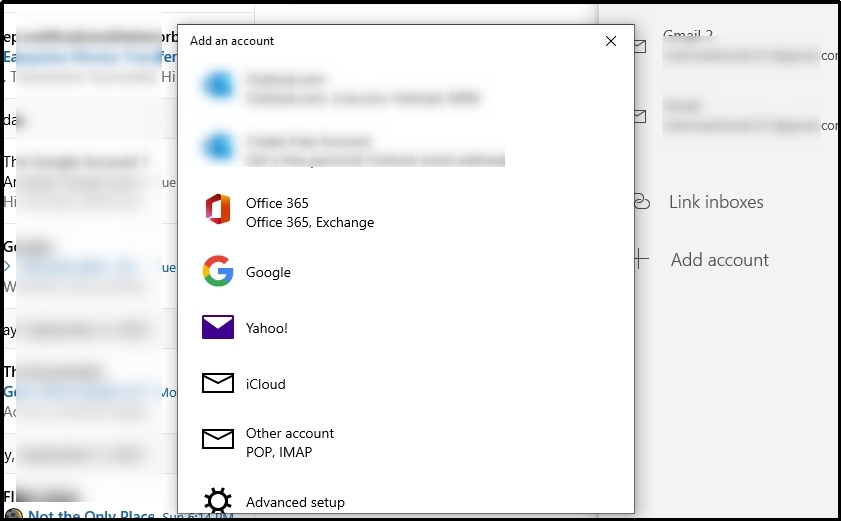
After that, add your email account by clicking on the Add account button.
A pop-up selection window will appear, which contains the list of emails already in your system. Select the email account type and click to add them.
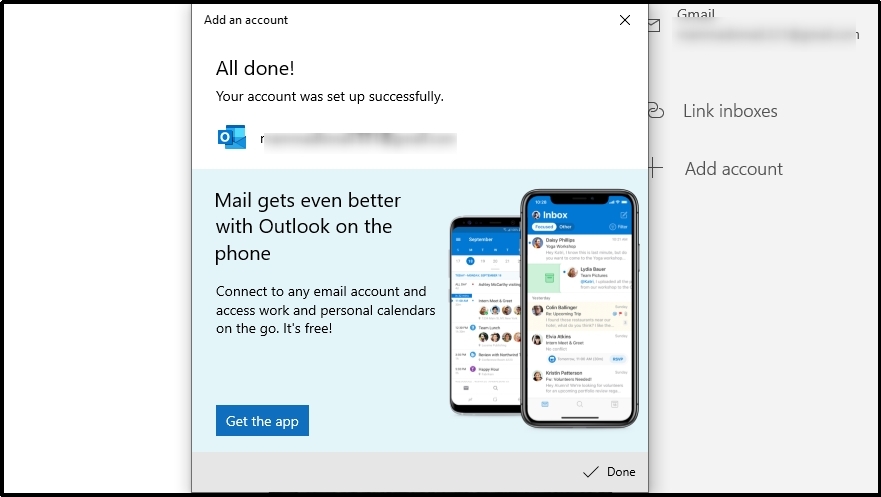
Upon addition, a message will appear which indicates that you have added your account successfully.
Step 3: Add a New Account
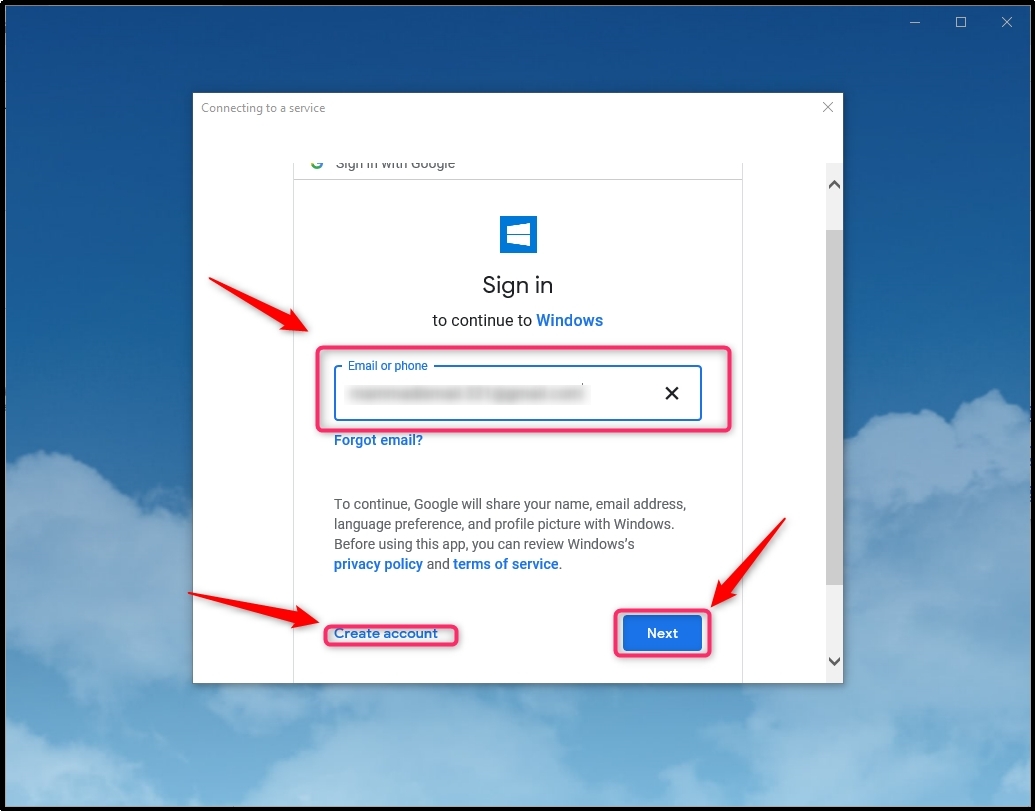
If you don’t have an email in your system or want to add a new email in your Windows Mail App, simply select the email service provider and add the email with the password. Or if you don’t have an email account, simply click on Create account button to create a new account.
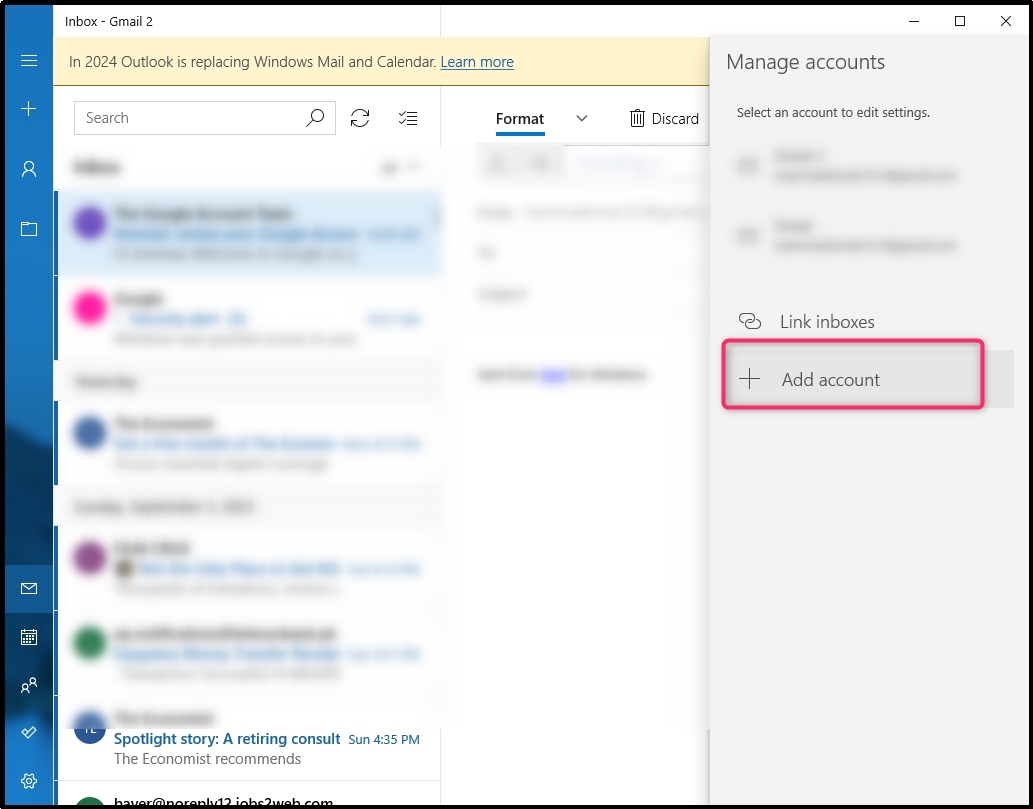
Pro Tip: If you want to add multiple accounts to the Windows Mail App, click on the Accounts option from the sidebar.
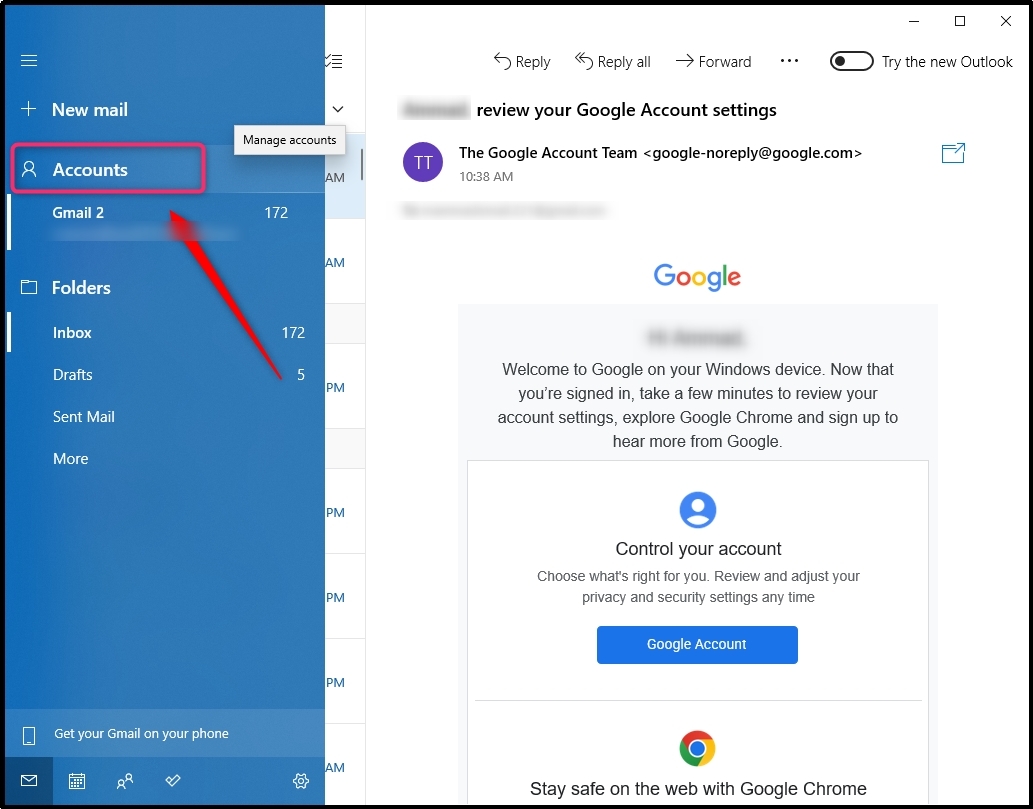
After that, a sidebar will open on the right side of the Mail App, click on the Add Account button to add more accounts in the Windows Mail App.
How to Use the Mail App on Windows
After setting up the Windows Mail App, let’s have a detailed look at how to use it.
Step 1: Create a New Email
To create a new mail on Windows Mail App, simply click on the plus(+) button located in the sidebar.
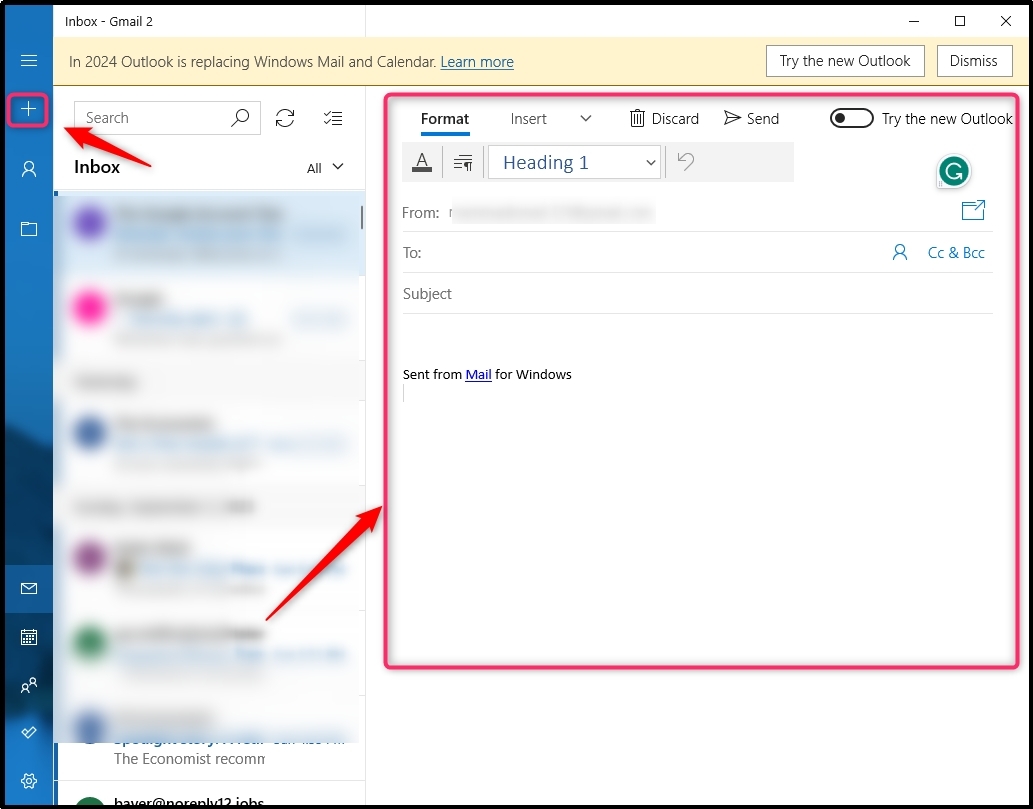
There in the highlighted box, you can insert the email ID of the person in the To: option and add people to Cc by clicking on the Cc option. In the Subject, you can write your email subject while under the subject section, you have to write your email accordingly.
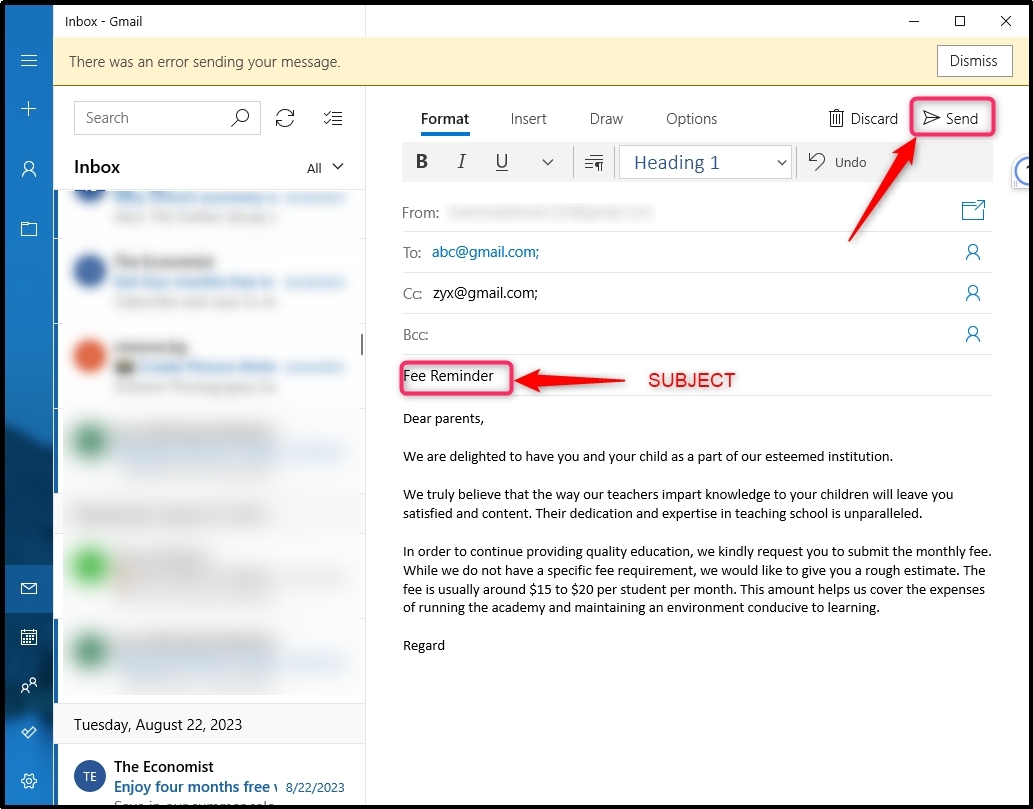
Note: To send an email, simply select the Send button after completing the email and carefully varying it.
Step 2: Receive and Reply to the Email
The inbox contains all the email records you have received. To check the received emails, open the sidebar and select on the Inbox. If you want to reply to any email, click to open the email and select the Reply button located at the top bar of the Mail App.

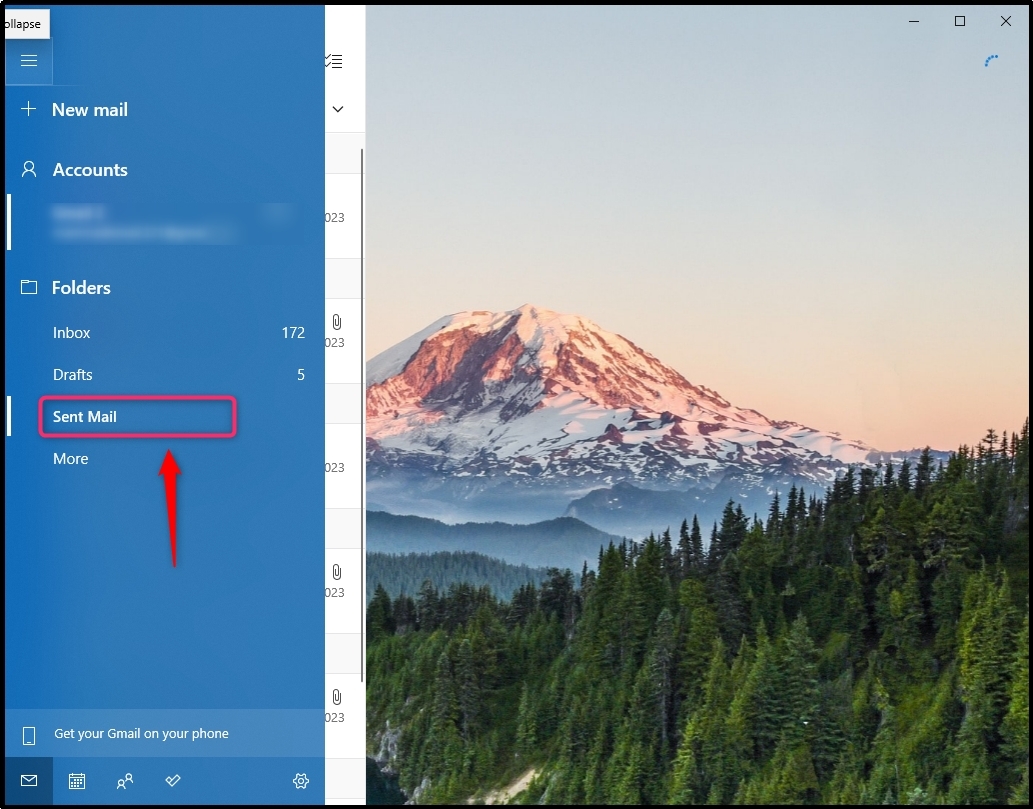
Step 3: Check the Sent Emails
Sent Mail contains all the email records that you have sent or forwarded to any person or organisation. To check the sent emails, select the Sent Mail to open the sent emails on Windows Mail App.
Step 4: Create a Favourite Folder
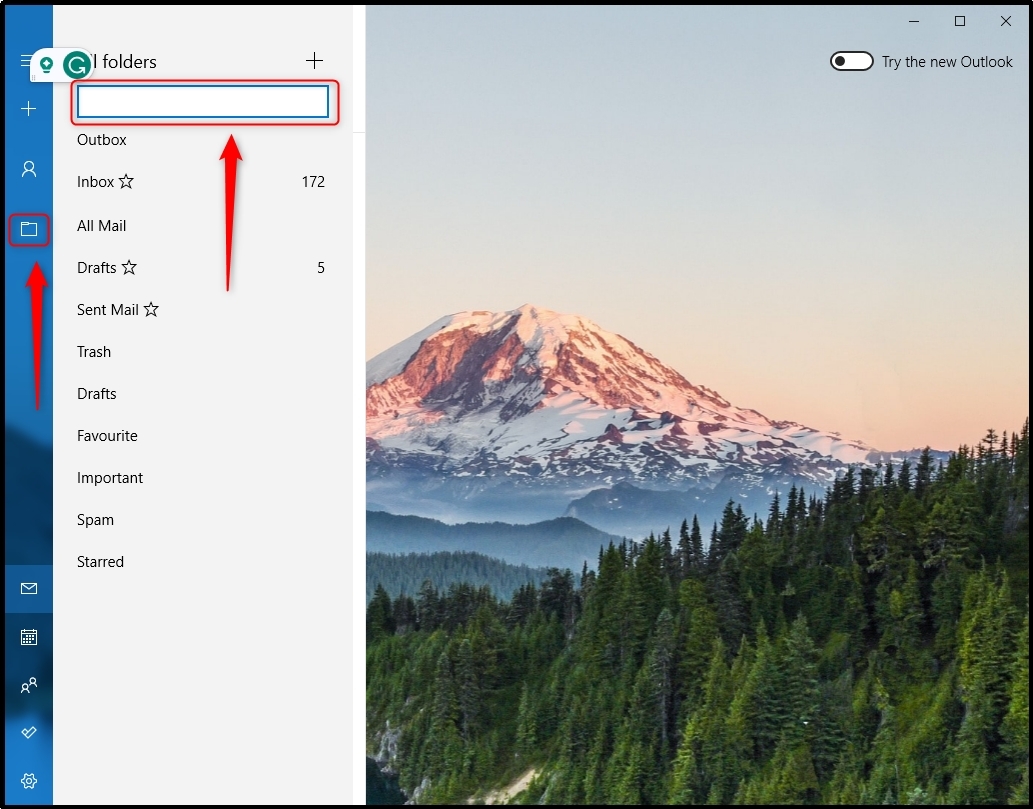
Some emails are more important than others and you can move such emails to your favourite folder so that you can find them later. A favourite folder can be created in Windows Mail App by selecting the folder button from the sidebar, naming the folder, and clicking on the + button to add the new folder.
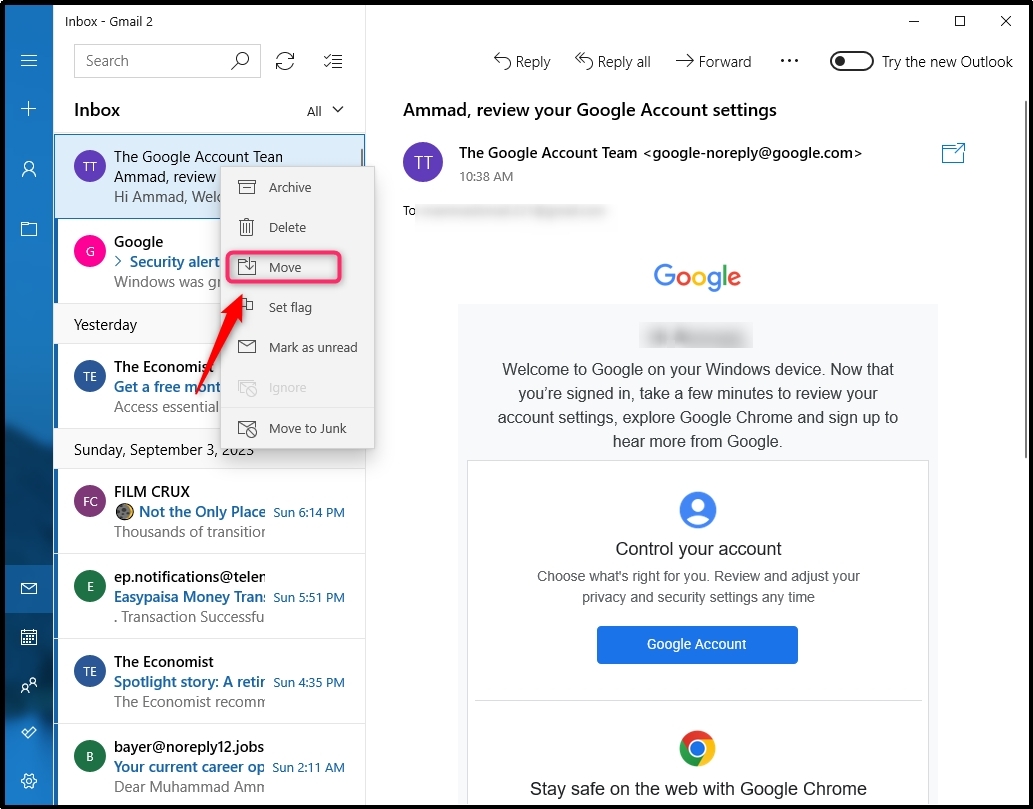
Once the folder is created, move the email to that folder. For this right-click on the email and select Move.
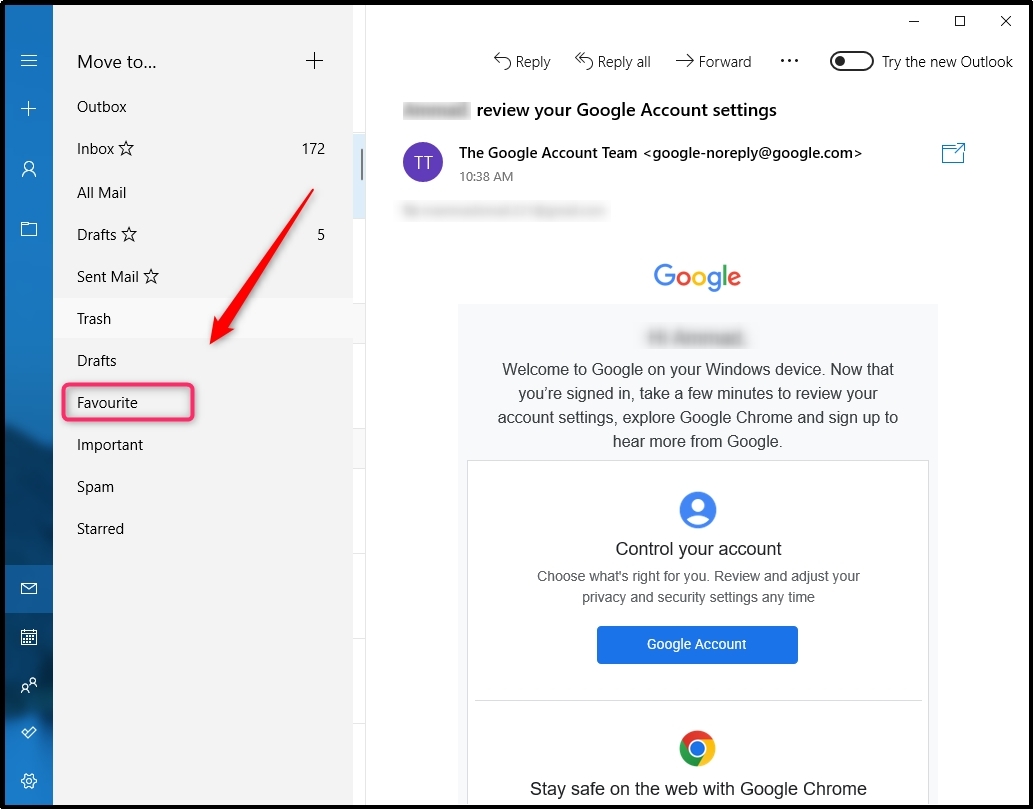
After clicking on the Move option, select the folder where you want to move like Favourite.
How to Uninstall the Mail App on Windows
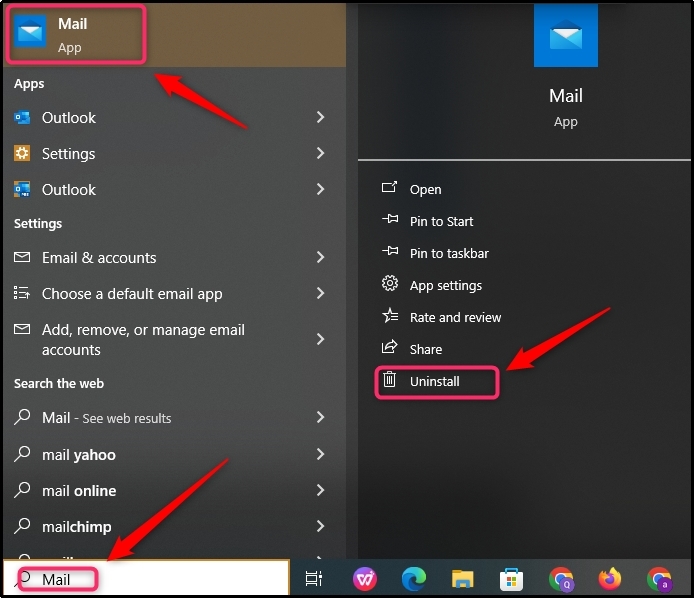
If the Windows Mail App is causing some issue in your operating system, you can uninstall it by opening the start menu, typing the Mail, and clicking on the Uninstall button.
Conclusion
In this guide, we have discussed how to manage and use the Windows Mail App step-by-step. We started by discussing the downloading and installing procedure. Then, we discussed how to create and manage folders, how to compose and send emails, how to reply to and forward emails, and how to manage our contacts. Finally, we have also provided the method to uninstall Windows Mail app in case someone is having an issue with the app.
Source: linuxhint.com