How to Use Upscale in Stable Diffusion?
Creating visually stunning images from text is one of the powerful features of Stable diffusion. However, the images generated by the Stable diffusion are usually 512 x 512 resolution which is too small for today’s world technology standard. There are many problems associated while resizing the image such as losing the quality and detail of the image etc. Catering to this rising need of its users, Stable Diffusion introduces the “Upscaling” feature.
This article covers the following aspect:
What is Upscaling in Stable diffusion?
Stable Diffusion provides a powerful method known as “Upscaling” to enhance the resolution of an image. When enlarging the image, the pixels will lose their quality and details of the image and hence, resulting in a blurred image.
Upscaling in Stable Diffusion tries to maintain the quality and detail while resizing the image.
When an image is set to upscale, the neural network and efficient algorithm analyse various aspects and dimensions of the images such as pixel value to determine the diffusion rate. Hence, a clearer image is generated without compromising the quality.
How to Use Upscaling in Stable Diffusion?
Before using Upscale in Stable Diffusion Web UI, it is required that Stable Diffusion be installed in the operating system. For this purpose, you can refer to the article “How to install Stable Diffusion on Windows” which is a comprehensive guide to easily install it.
Here is a step-by-step tutorial for you to use the Upscale feature of Stable Diffusion:
Step 1: Locate the Stable Diffusion Directory
To use Upscale in Stable Diffusion Web UI, open the stable diffusion directory where you have previously installed it:
Step 2: Cloned Repository of Stable Diffusion
We have cloned the stable diffusion repository from Git. Open the cloned repository to run the Web UI:

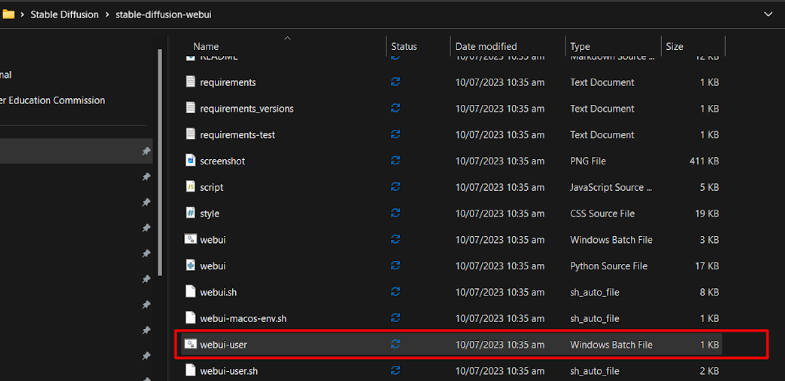
Step 3: Choose “webui-user” Batch File
Scroll down the directory and you will find a file named “webui-user” batch file:
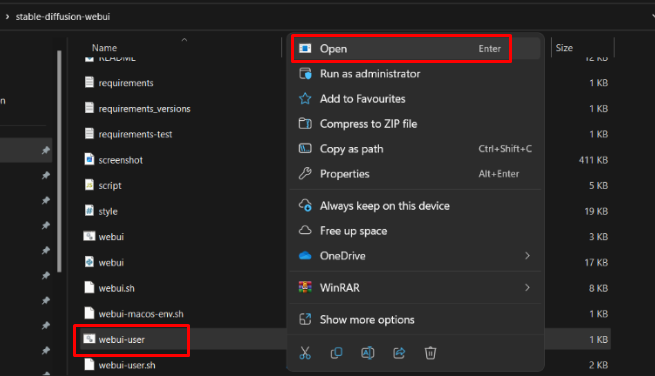
Step 4: Run the Batch File
Click on a Batch file to run it. This will take some time and will start the Stable Diffusion Web UI:
Step 5: Open the URL in the Browser
Scroll down the CMD that has opened when you run the Batch File. You will find a local URL. To open this URL in the web browser, press “Ctrl with mouse click”:

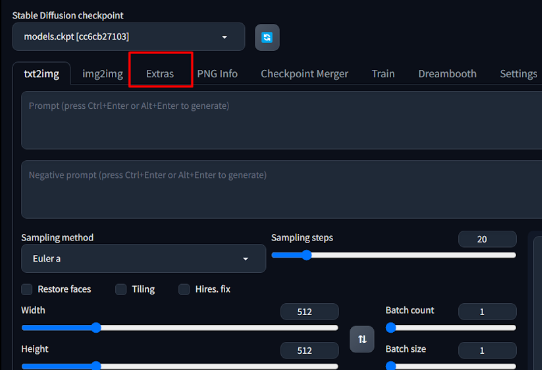
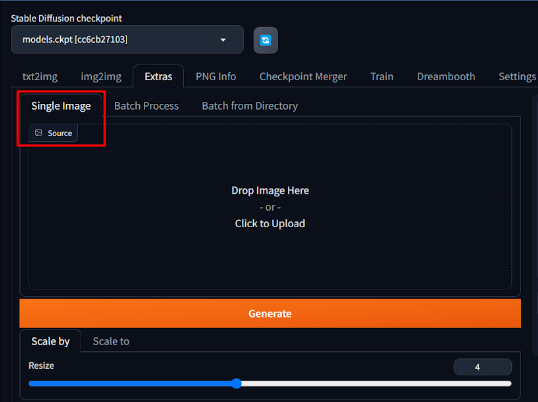
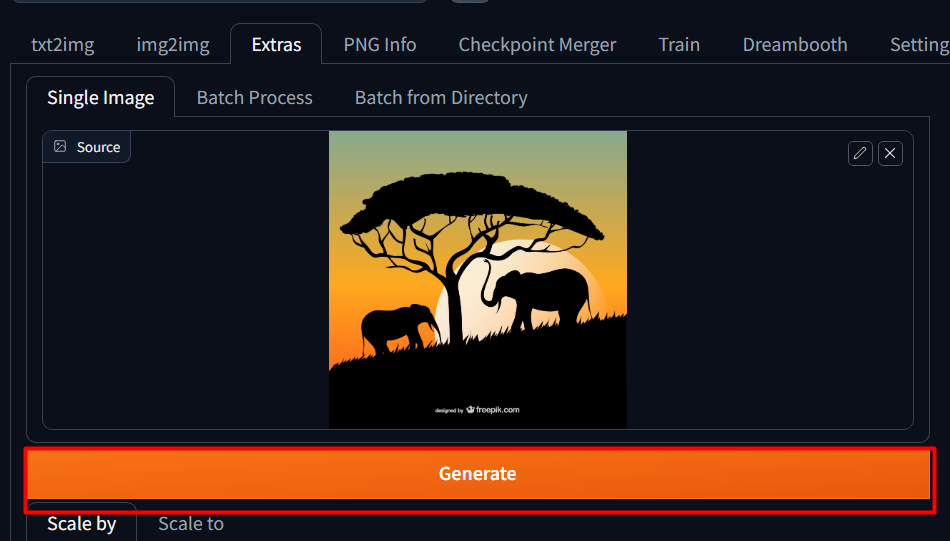
Step 6: Go to Extras Option
From the Stable Diffusion Web UI, click on “Extras” from the various options:
Step 7: Press the “Single Image” Option
After that, click on “Single Image” to upscale one image. You can also upscale multiple images too. For this purpose, click on Batch Process. Here, we are upscaling a single image:
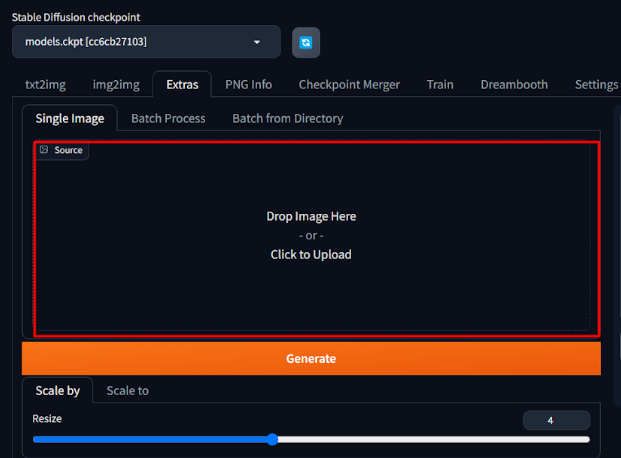
Step 8: Drag and Drop the Image
To upload the image on Web UI, click on the highlighted box and select the image you want too upscale:
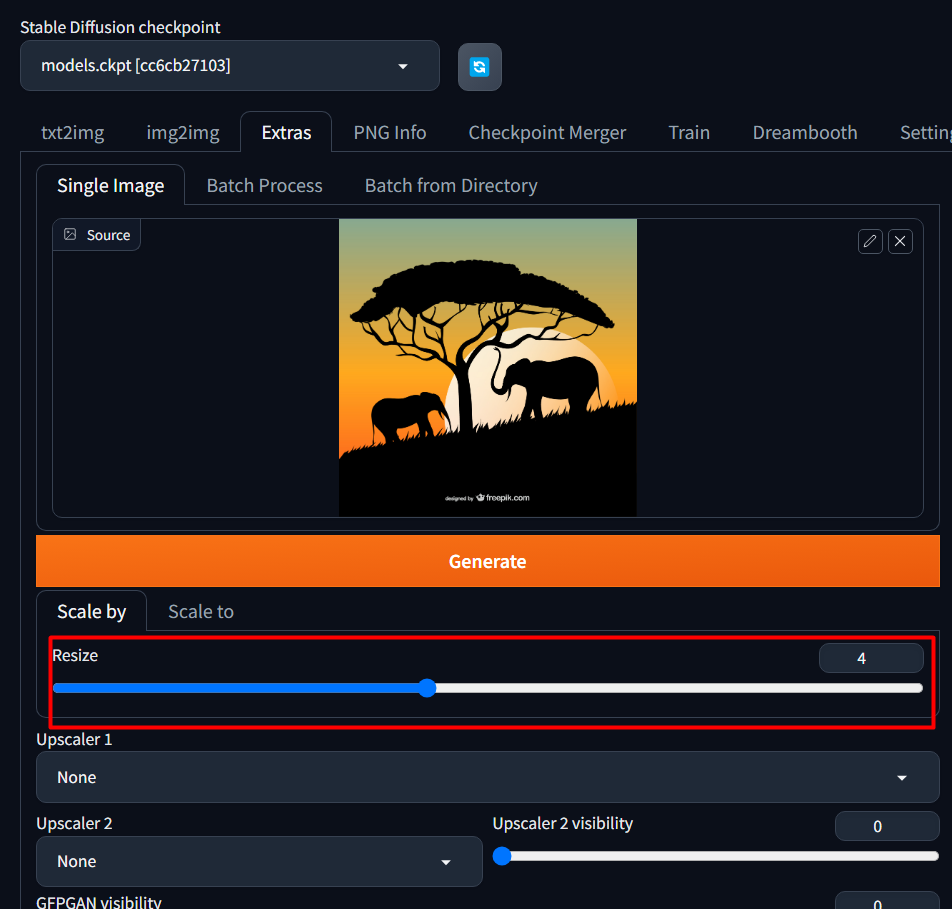
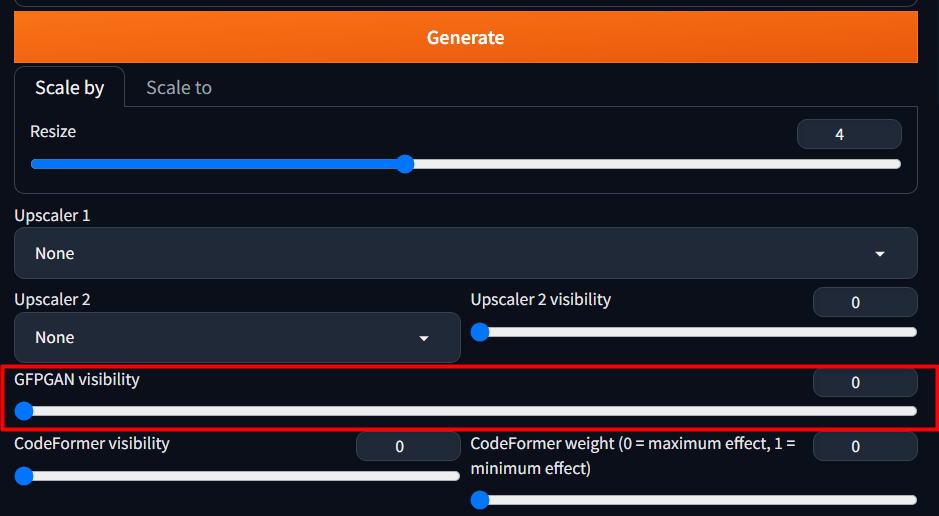
Step 9: Resize the Image
The highlighted field will allow you to resize your image. For example, if your image’s current size is 512 x 512, then selecting the resizing scale to 2 means that the image after Upscaling will have a 1024 x 1024 resolution. By default, the resize scale is set to 4:
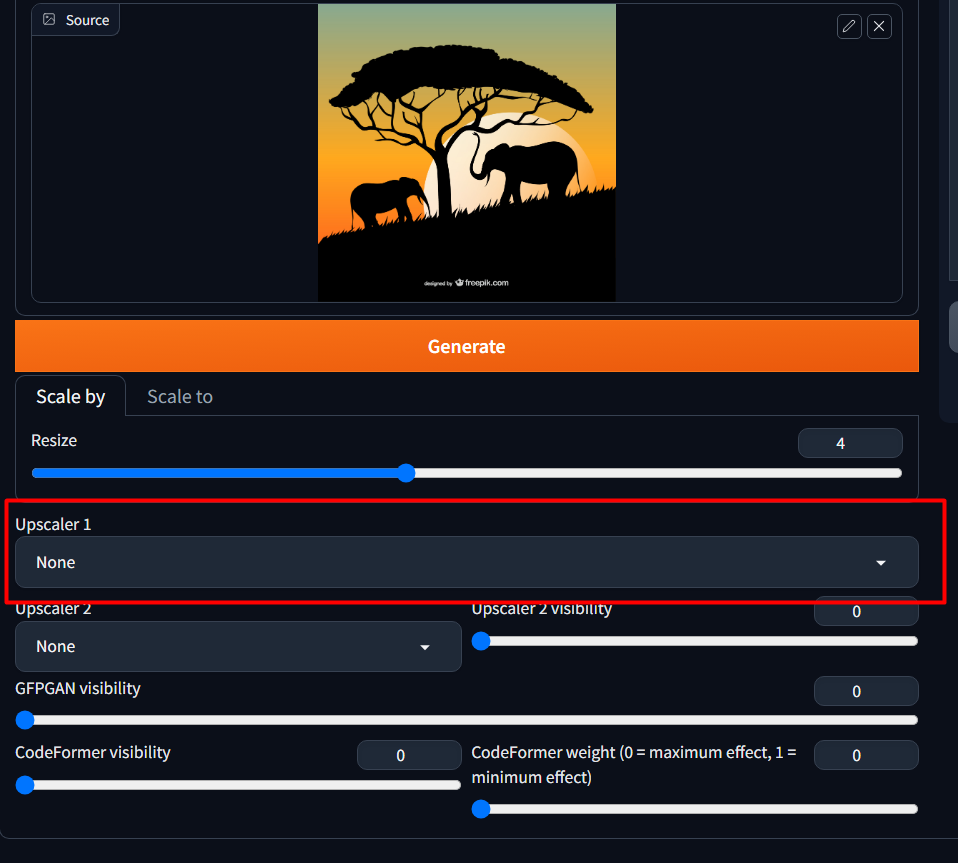
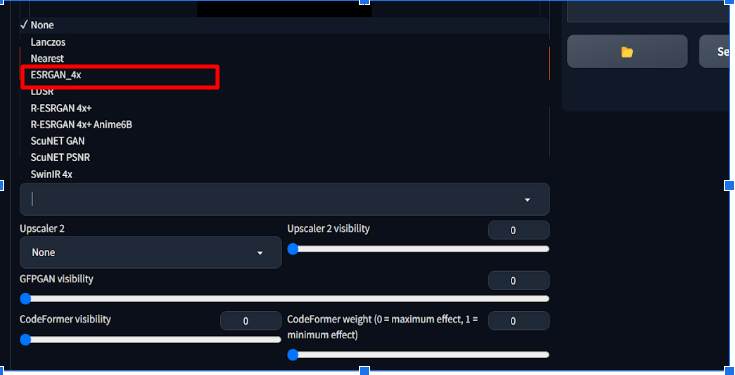
Step 10: Select Different Models of Upscaling
You can select various models from Upscaler 1. All these models have various capabilities and potentials:
Step 11: Choose a Model
Here, by clicking on Upscaler 1, we have selected the “ESRGAN_4X” model from the list:
Step 12: GFPGAN Visibility
You can use GFPGAN visibility if your image contains any faces. Here, we have set it to default which is 0 as the image does not contain any face:
Step 13: Hit the “Generate” Button
By clicking the “Generate” button, Stable Diffusion will start the process of your image Upscaling. This will take some time depending on the specs of your system:
Bonus Tip: You can view the progress of the upscaling process in your CMD.

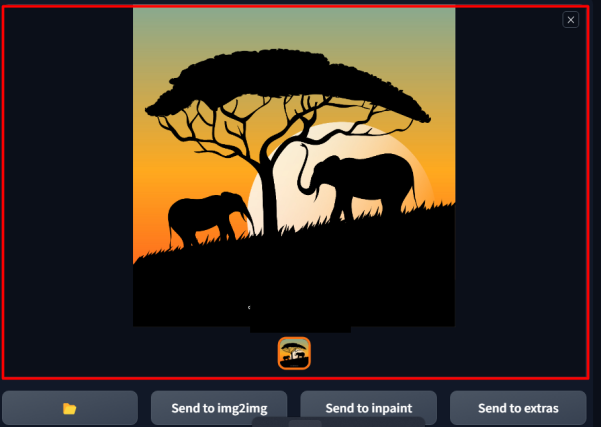
Output
Here, the image has been upscaled by Stable Diffusion:
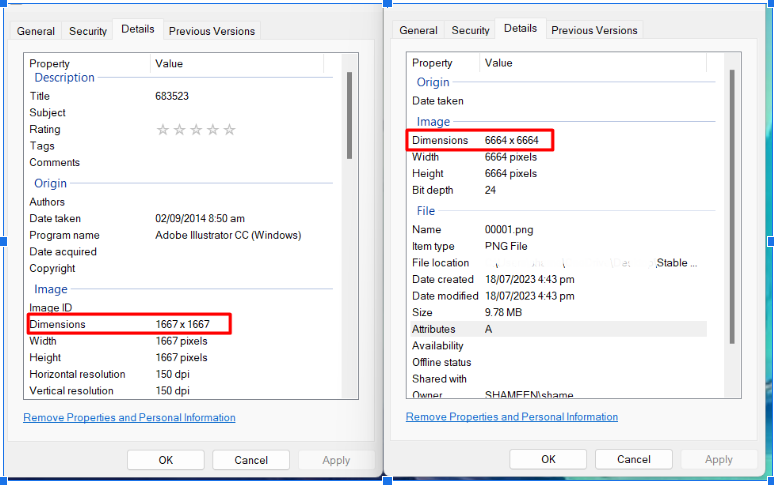
Comparison Between the Original Image and Upscaled Image
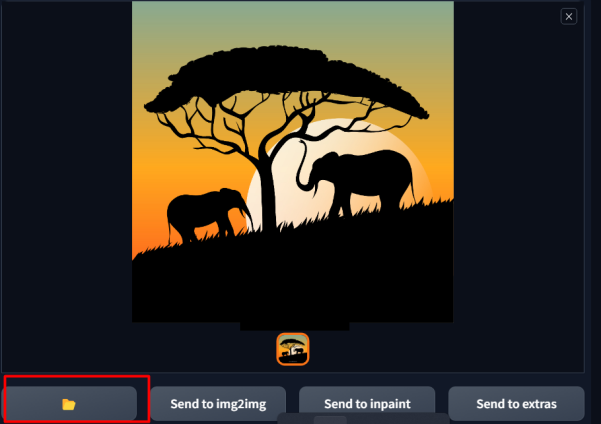
You can also compare the properties of two images i.e., Original Image and Upscaled Image. To download the image to your local machines, click on the “Open Image Output Directory”:
Here, we have provided a comparison between the two images; one which was original and the other one which was upscaled by the Stable Diffusion. The original image is given on the left side whose pixels are “1667”. The image on the right side is generated by stable diffusion after Upscaling in which the pixel size was increased to “6664”:
Different Upscaler Models
Various upscale models are provided by Stable Diffusion. Following is a brief description of them:
LDSR
- Refers to Latent Diffusion SuperModel.
- Initially released with the 1.4 version of Stable Diffusion.
- Also creates some decently sharp images, however, there are many drawbacks of it too.
- Used for Upscaling but is slow in operations.
ESRGN 4x
- Refers to Enhanced Super-Resolution Generative Adversarial Networks.
- An enhanced version of the SRGAN version.
- It produces decently sharp images while retaining their fine details.
- Works better than LDSR.
R-ESRGN 4x
- Refers to Real Enhanced Super-Resolution Generative Adversarial Networks.
- An enhanced version of ESRGAN 4x.
- Widely used for the restoration of images.
That is all from the guide to give detailed usage of Upscaling in Stable Diffusion.
Conclusion
You can upscale an image in Stable Diffusion by uploading it, choosing a model for it, and then selecting the resizing size of the image to enhance it. Upscaling in Stable Diffusion offers various models and options that range from resizing the image to selecting the visibility of the faces if any in the image. However, the processing time will depend on the resources of your system. This article provides a practical demonstration to perform Upscaling in Stable Diffusion.
Source: linuxhint.com