How to Use the HTML DOM Element removeChild Method in JavaScript
JavaScript is an adaptable dynamic programming language that helps in customizing HTML content. The customization process includes the creation, addition, and removal of elements. Likewise, creation and addition provide the removal method known as “removeChild()” which removes the child element/node of the associated HTML parent element(s). It helps to remove unnecessary child nodes to make the content more precise and accurate.
This write-up elaborates on the use of the HTML DOM Element “removeChild()” method in JavaScript.
How to Use the HTML DOM Element “removeChild()” Method in JavaScript?
The “removeChild()” method removes the specified child node of the HTML element. It is helpful to remove the parent element’s child node present at a particular index. It does not remove the child node permanently and remains saved in the memory.
Syntax
In the above syntax:
-
- element: It represents the targeted HTML parent element.
- node: It is the mandatory parameter of the “removeChild()” method that specifies the child node that needs to be removed.
HTML Code
First, have a look at the following HTML code:
<p>Click on the given button:</p>
<button onclick="myFunc()">Remove Child</button>
<ul id="list1">
<li>Welcome</li>
<li>to</li>
<li>Linuxhint</li>
<li>website</li>
</ul>
In the above code lines:
-
- The “<h2>” tag specifies the subheading of level 2.
- The “<p>” tag defines a paragraph statement.
- The “<button>” tag adds a button with an attached “onclick” event to allow the execution of the “myFunc()” when the event triggers.
- The “<ul>” tag creates an unordered list with an assigned id “list1”. It contains a list of four items listed with the help of the “<li>” tag.
Note: The above-written HTML code is followed in all examples of this write-up.
Example 1: Applying the HTML DOM Element “removeChild()” Method to Remove a Specific Child From the List
This example applies the “removeChild()” method to remove a specific child from the given HTML parent element:
function myFunc() {
const mylist = document.getElementById("list1");
mylist.removeChild(mylist.children[2]);
}
</script>
In the above code snippet:
-
- The function “myFunc()” is defined.
- In its definition, the variable “mylist” is declared with the “const” keyword that utilizes the “getElementById()” method to access the added unordered list via its assigned id “list1”.
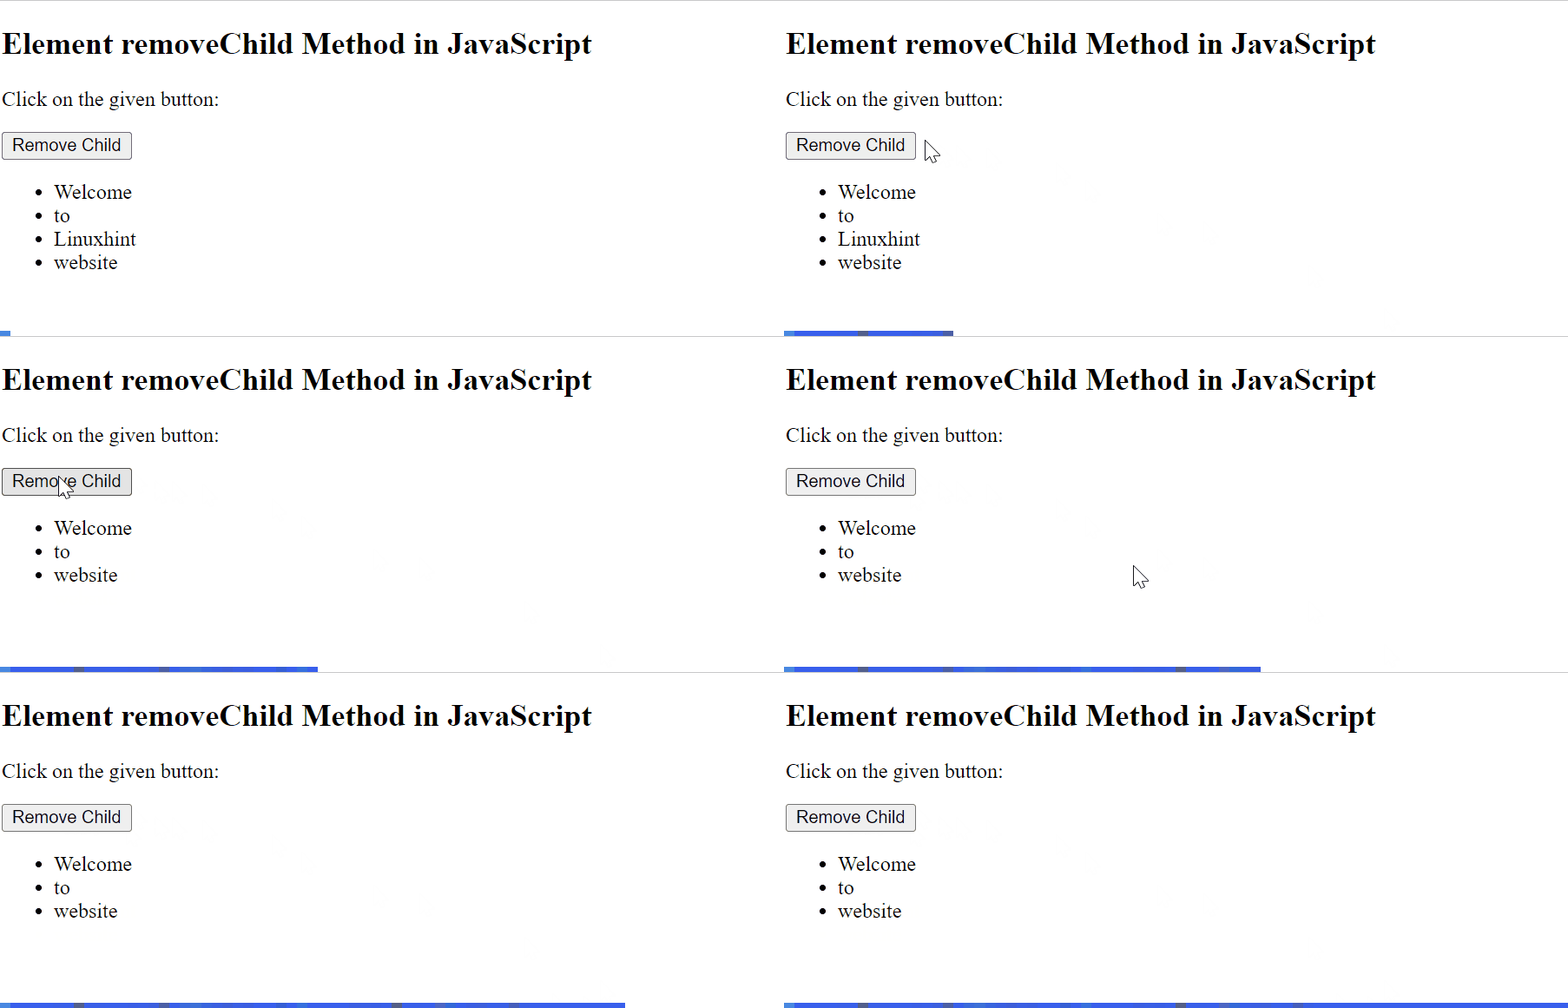
- Next, the function applies the “removeChild()” method upon the fetched unordered list to remove its child placed at the “third” index i.e., “2”.
Output

As seen, the third indexed child node of the given element removes upon button click.
Example 2: Applying the HTML DOM Element “removeChild()” Method to Remove All Children From the List
This example utilizes the “removeChild()” method to remove all the child nodes of the target HTML element:
function myFunc() {
const Child = document.getElementById('list1');
while (Child.firstChild) {
Child.removeChild(Child.firstChild);
}
}
</script>
According to the above code:
-
- Likewise, define the stated function. In its definition, the “Child” variable accesses the unordered list via its assigned id “list1” using the “getElementById()” method.
- Next, the “while” loop applies the “firstChild” property as its condition to get the first child node of the fetched unordered list.
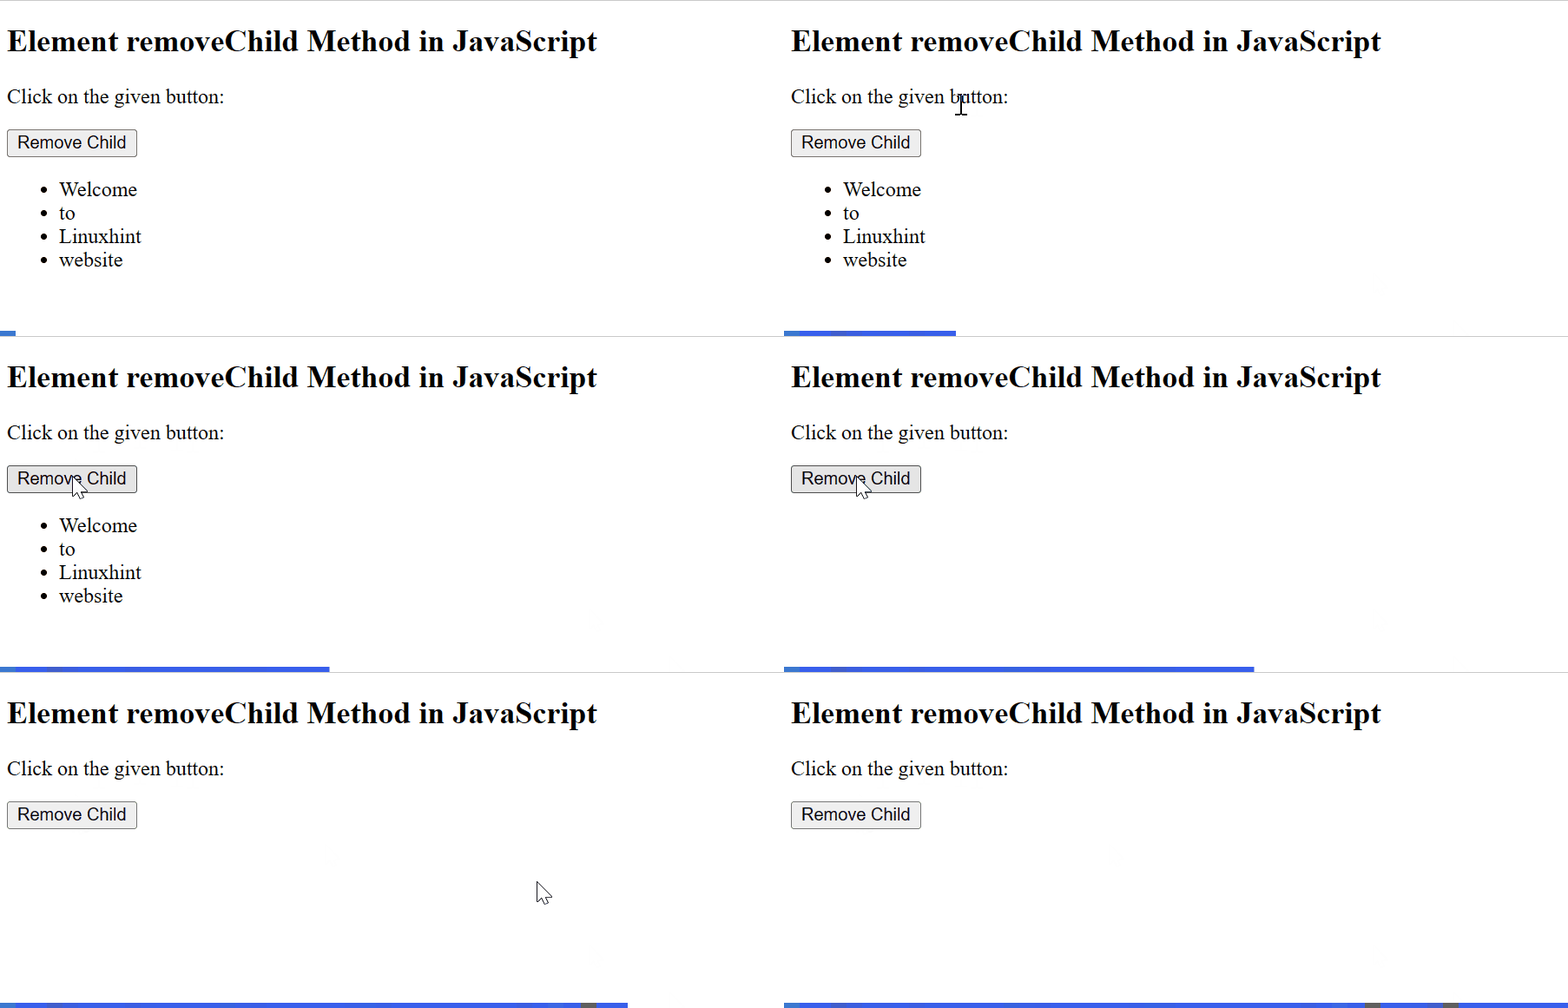
- In the “while” loop body, the “removeChild()” method is defined to remove all the child nodes of the accessed parent element.
Output

In this output, all the child nodes of the targeted HTML element i.e., “<ul>” are removed with the help of the “removeChild()” method.
Example 3: Applying the HTML DOM Element “removeChild()” Method to Remove the First and Last Child From the Parent Node
The discussed method can also be implemented with the “firstChild” and “lastChild” properties to remove the first and last child instantly from the parent element:
function myFunc() {
const Child = document.getElementById('list1');
Child.removeChild(Child.firstChild);
}
</script>
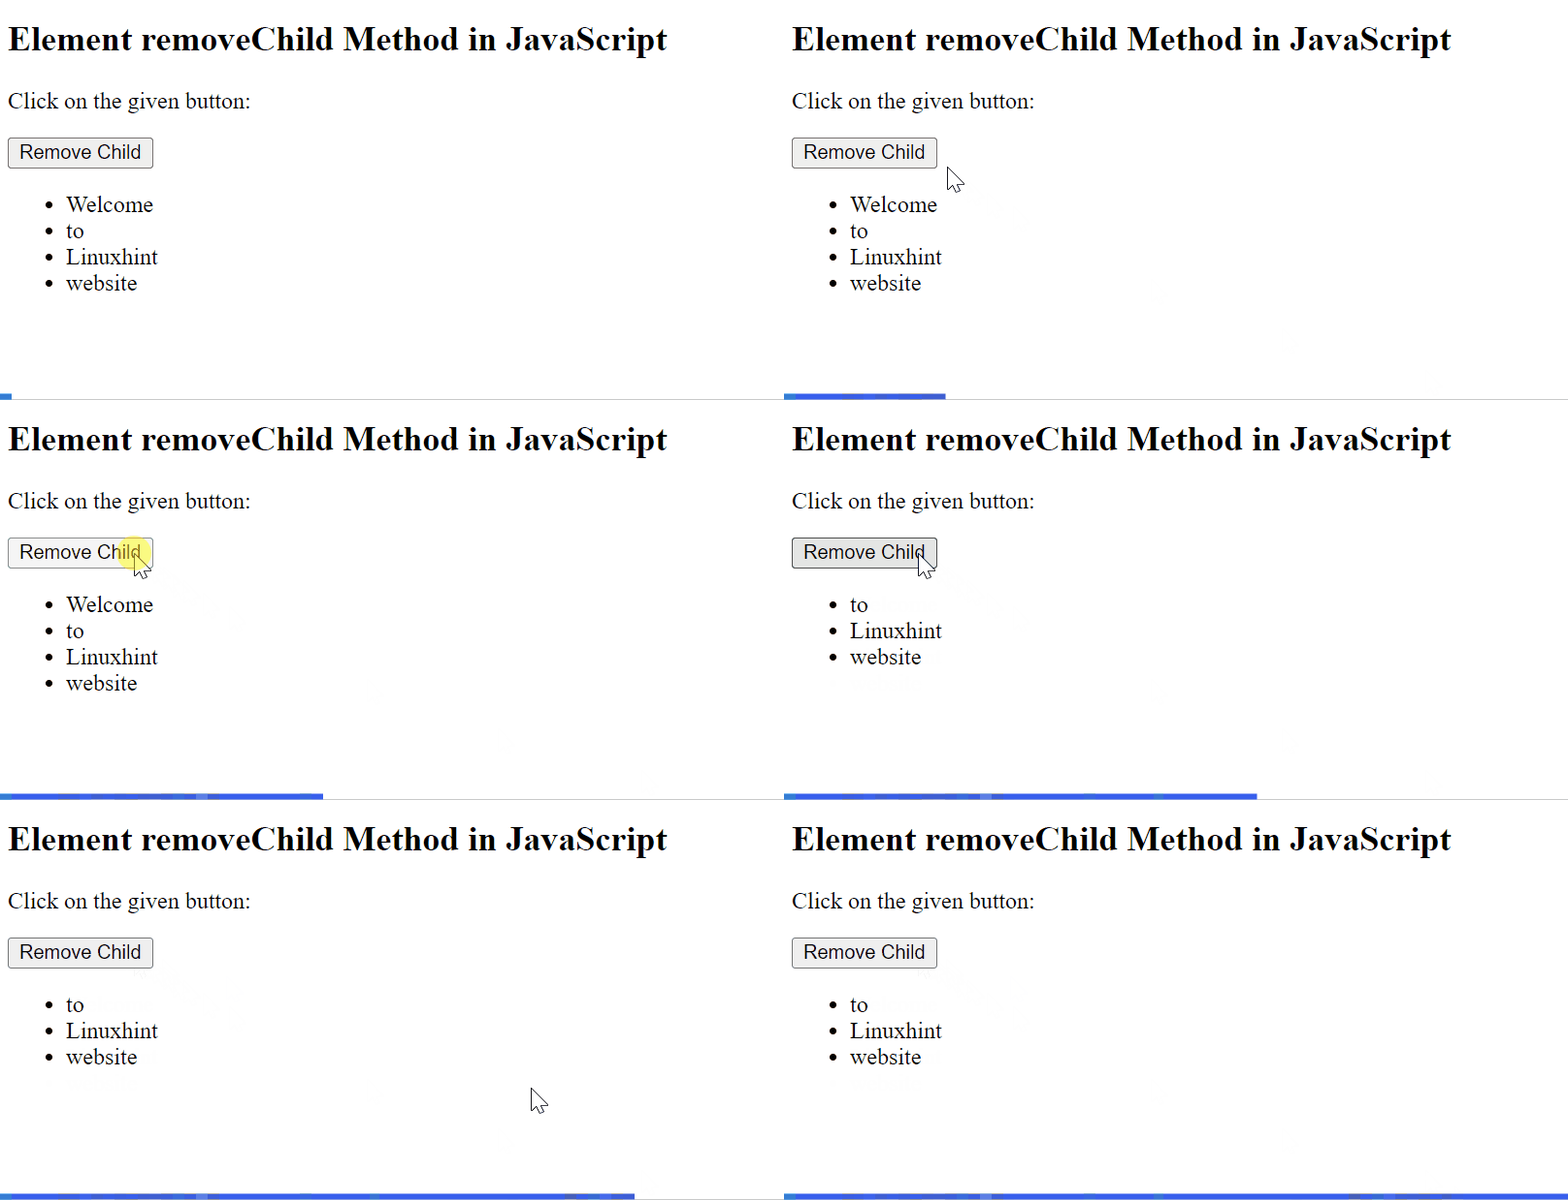
Here, the “removeChild()” method applies the “firstChild” property as its argument to remove the first child of the accessed unordered list i.e., the parent element.
Output

As analyzed, the output implies that the first child node removes upon the button click. In addition, the last child can also be omitted with the help of the “lastChild” property.
Note: If the user wants to add the child node again once it is removed, then use “createElement()” and “appendChild()” methods explained in this article.
Conclusion
JavaScript uses the element “removeChild()” method for removing the child node of the particular HTML element instantly. It assists the users in removing all, specific, first, and last child nodes of the parent element. It uses the “firstChild” and the “lastChild” property for the removal of the first and last child nodes. This write-up provided a detailed view of the “removeChild()” method in JavaScript.
Source: linuxhint.com
