How to Use the Curl Command in Bash
The full form of curl is the Client URL. It is a command-line tool that is used to transfer the data from or to any server using a particular protocol such as HTTP, HTTPS, FTP, TELNET, LDAP, etc. A specific URL is used by this tool to communicate with a web server or the application server to get or send the data. It can be used directly from the terminal or by using any script. Downloading the files from the server, debugging, endpoint testing, and other tasks can be done using curl. The different uses of the curl command are shown in this tutorial.
Syntax:
The syntax of the curl command is given as follows:
The curl command is used with the valid URL address to retrieve the data from the server or send the data to the server. Different options can be used with the curl command to do different types of tasks.
Curl Options
The purposes of different curl options are described in this part of the tutorial.
| Option | Purpose |
| -A, –user-agent <name> | To send the name of the user agent to the server. |
| -d, –data <data> | To send the HTTP POST data. |
| -i, –include | To add the protocol response headers in the output. |
| -I | To get the HTTP headers information only. |
| -o, –output <file> | To write the output in the file instead of the terminal. |
| -O, –remote-name | To write the output in the remote file. |
| -T, –upload-file <file> | To upload a local file into the server. |
| -u, –user <user:password> | To use a username and password for the server. |
| -f, –fail | To fail to print the output if an error occurs. |
| -s, –silent | To work on the silent mode. |
| -h, –help <category> | To get an information about using any command. |
| -V, –version | To display the version of the command. |
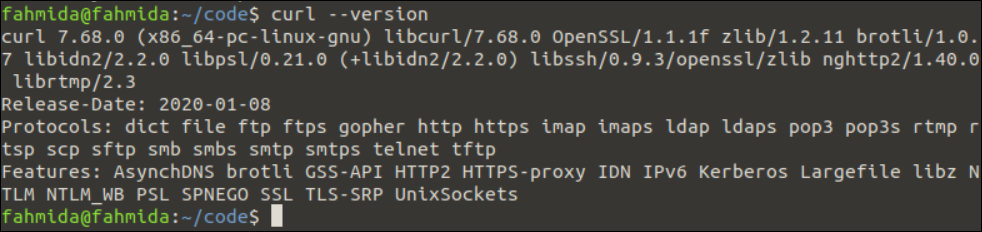
Check the “Curl” Version
Run the following command to print the installed version of the curl command:
The following output shows that the curl 7.68.0 version is installed on the system:
Different Examples of the “Curl” Command
The different uses of the curl command are shown using the different URL addresses in this part of the tutorial.
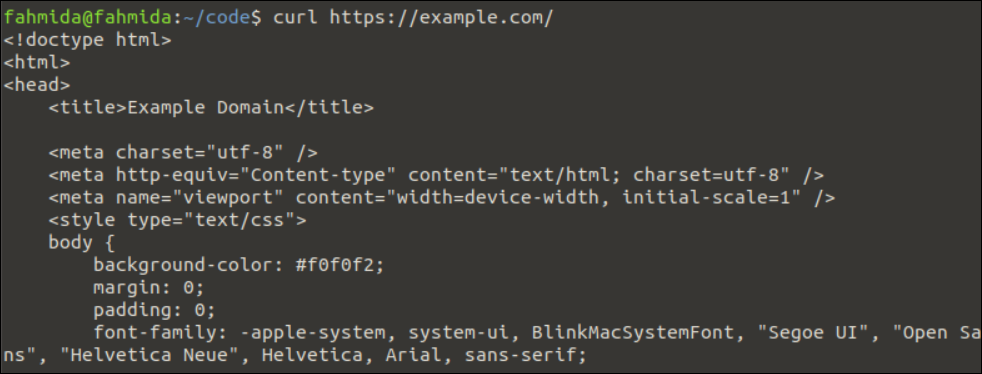
Example 1: Send the GET Request to the Server
The method of sending a GET request to a server using the “curl” command is shown in this example.
Run the following “curl” command without any option to send a get request to the https://example.com server:
The following output appears after executing the previous command. The content that is returned by the URL address is printed in the output which was used in the “curl” command:
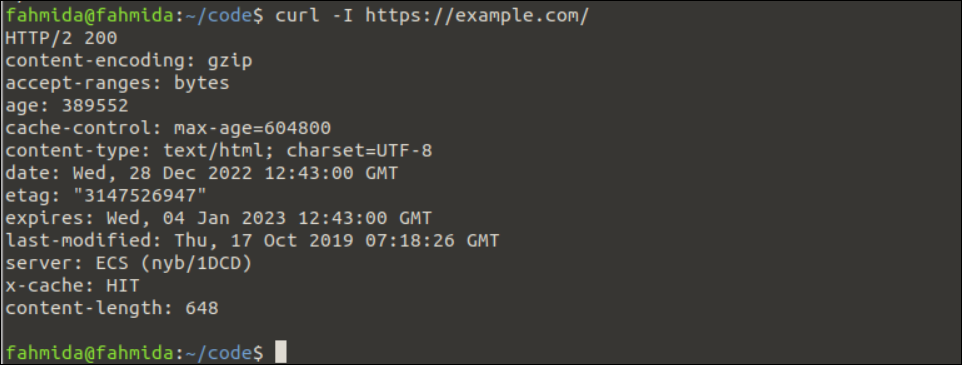
Example 2: Get Only the HTTP Headers
The method of getting the HTTP headers information only of the server using the “curl” command is shown in this example. The -I option is used with the “curl” command to do this task.
Run the following “curl” command with -I option to get the HTTP headers information of the https://example.com server:
The following output appears after executing the previous command. Only the HTTP headers information of the URL address that is used in the “curl” command is printed in the output:
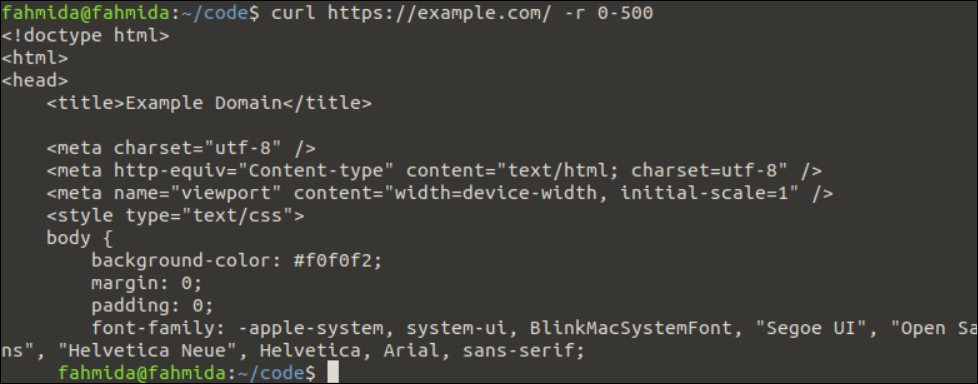
Example 3: Read the Particular Range of Bytes
The method of reading the particular range of bytes from the server using the “curl” command is shown in this example. The -r option is used with the “curl” command to do this task.
Run the following “curl” command with -r option to read the maximum data of 500 bytes from the https://example.com server:
The following output appears after executing the previous command. The first 500 bytes of the output that is returned by the “curl” command based on the given URL address are printed in the output:
Example 4: Get the Output in the JSON Format
The method of getting the output in the JSON format from the server using the “curl” command is shown in this example. The -H option and “Accept: application/json” header are used with the “curl” command to do this task.
Run the following “curl” command with the -H option to read the content of the https://linuxhint.com/echo/get/json server in JSON format. If the server does not support the JSON format, no JSON output is generated.
The following output appears after executing the previous command. According to the output, https://linuxhint.com supports the JSON format and the output of the “curl” command is printed in the JSON format:
Example 5: Set the Maximum Limit of the Transfer Rate
The “curl” command can be used to upload a file to the server or download a file from the server. The maximum transfer rate for uploading or downloading the files can be set for the “curl” command using the –limit-rate option. The transfer rate is assigned based on the bytes per second by default. But if you want, you can assign the rate in kilobytes (K), megabytes (M), or gigabytes (G).
Run the following command to set the transfer rate limit to upload or download the files for the https://linuxhint.com server. Here, the maximum limit of the transfer rate is set to 10 megabytes.
Example 6: Send the Cookie with a GET Request
The cookie information can be sent to the server using the -b option with the cookie or the filename which contains the cookie information in the “curl” command.
Run the following command to send the cookie information with the GET request to the https://linuxhint.com/echo server:
Conclusion
The “curl” is a very useful command of Linux to communicate with the server and perform the different types of tasks. The basic uses of this command are explained in this tutorial using multiple examples that will help the Linux users to understand the concept of this command.
Source: linuxhint.com