How to Use SCP from Windows to Linux
In the Linux Operating system, we use the SCP command to copy the files or directories from our local machine to a remote server or from a remote server to our local machine. It can also be used to transfer the files between two remote servers using your local machine. It is a very useful command line utility and comes in handy when we need to transfer our files securely. SCP is the short form of Secure Copy Protocol. This command uses SSH keys or Secure Shell keys for the secure transfer of data.
SSH keys are a couple of private and public keys that are used to establish an encrypted and encoded connection between a remote server and a client server. SCP is famous for its ease of use, secured transfer, and preinstalled availability. SCP Command commands a set of options whose purpose is to keep track of its functionality and control its behavior. The following are a few options that are used more popularly:
SCP – P port: Allocates the port that is required for a connection to a remote server.
SCP -p: Keeps record of modification dates, access dates, creation dates, etc.
SCP -q: Used to disable the non-error messages and progress bar.
SCP -r: It removes and copies whole directories.
SCP -s: A program that specifies the name of the program that is used to encrypt the connection. The program must be the one that can understand the SSH options.
SCP -v: Enables the debugging options and displays the process step by step. It becomes helpful when we are facing authentication or connection problems.
When we are copying or moving the data from one server to another. The whole connection is secured by making sure that all the files and passwords are encrypted so that any stalker that comes in traffic does not get his hands on anything sensitive.
Syntax:
The following command is used to move the files from a local system to a remote one:
-
- OPTION – Scp options such as cipher, ssh configuration, ssh port, limit, recursive copy…etc.
- [user@]SRC_HOST:]file1 – Source file
- [user@]DEST_HOST:]file2 – Destination file
The following command is used to transfer the directories of files from the remote to the local system.
Transfer Files Using SCP in Linux from Local to Remote System
The SCP allows us to transfer the files from local to remote system or from remote to the local system. We can perform both tasks using SCP utility. To get a better understanding of the use of SCP, we perform the file transfers from remote to local system and from local to remote system.
Let’s suppose we have a file named “myfile” in our local system and we want to transfer it to the remote system. To do so, we must have an SSH connection between the local and the remote system. To check the installation of the SSH, we first open the command prompt in our local system. Then, we write a command to check whether we have an access to the SCP or not.
After running the previous command, we get the output that is shown in the following snippet which shows that the usage here is SCP, followed by flags and the source in a target computer.

Now, we create a new file using a notepad which we named “myfile” where we write the simple “this is SP file transfer” text as shown in the following figure:

Now, we transfer the file from our local system to the remote system. For that, we must have the IP and the path of the remote system where we want to store the file. But before that, we must have the SSH installed in our remote system. To check for the SSH installation, we run the following command:
After running the command, we receive this output which shows that we do not have an installed SSH in our system:
![]()
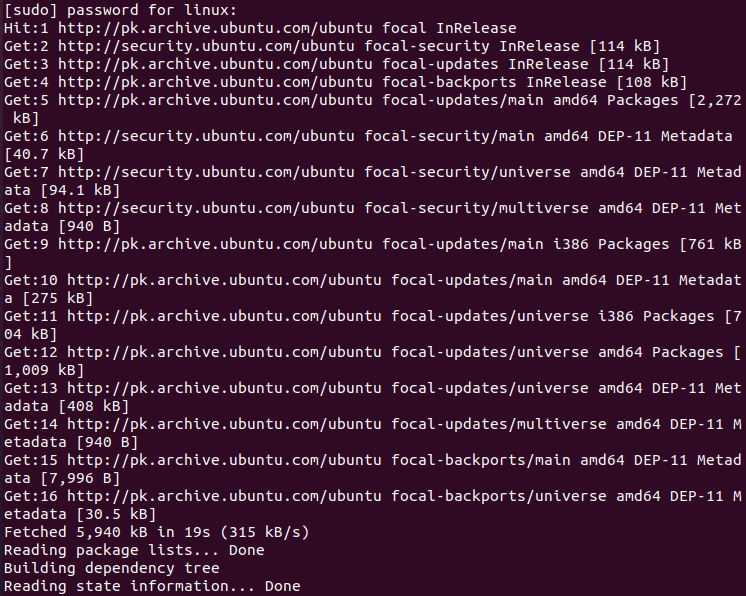
For the installation of SSH, let us first update the system to the latest version. To update the version, we run the following command:
After running the previous command, our system is upgraded. As shown in the following snippet, we successfully updated the system:
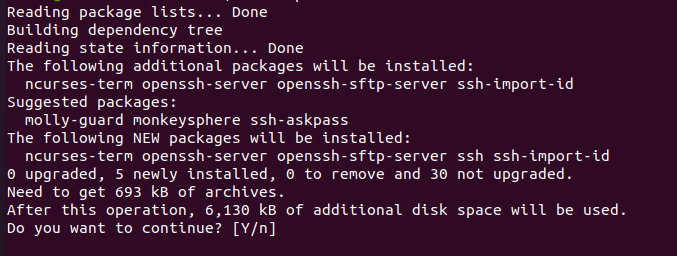
Now, we install SSH in our remote system. For that, we run the command that is displayed in the following after pressing “enter”, and our installation starts:
When we run the command for the installation of SSH, it will ask for permission to continue the installation or not by entering the “y” letter to grant the permission to install the SSH services.
Now, we successfully install the SSH server. Our next step is to allow the port 22/tcp for SSH. To do so, we write the following command in the terminal:
We get this message on running the previous command.
![]()
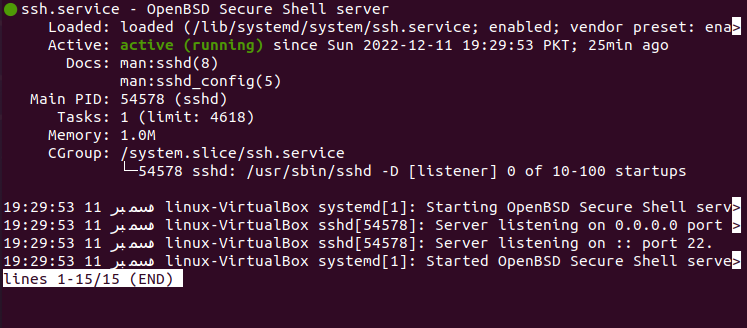
Let us check the status of the SSH again whether it is working or not. To check this, we write the previously-mentioned command that is used to check the status of the SSH. After that, as in the following snippet, we can see that our SSH is now active.
We now attempt to copy the file from the local system to the remote system. For this, we open the command prompt in the local system.
It allows us to transfer the “myfile.txt” file to the remote system named “linux” along with the “10.0.2.255” IP address and also the location where it is to be stored. As we can see in the following, we successfully transferred the file from the local to the remote user.


Conclusion
In this article, we introduced you to the SCP commands that are used to transfer files from one system to another. We also performed an example to explain how we can perform this task without any problems.
Source: linuxhint.com