How to Use Pagination on HTML Tables Using JavaScript
This post will define the process to use pagination on HTML tables using JavaScript.
How to Use Pagination on HTML Tables Using JavaScript?
In Pagination, the content is divided into small chunks to display on the different pages by clicking on the buttons that navigate the pages.
Example
Let’s see the given example to understand the process of creating pagination on HTML tables in JavaScript. It will take two steps:
Step 1: Add the Table in HTML File
First, create a table in an HTML file, using the “<table>” tag:
Step 2: Set Pagination of Table in JavaScript
Now, in JavaScript file, apply the pagination process on the table. To do so, first, we will get the table element using the “getElementById()” method:
Set the number of rows of table to display per page:
Get the total number of rows of the table using the “length” property and store it in a variable “rowCount”:
Get the tag name of the first cell of the table in the first row and check if the table has a head row that will return a boolean value:
Create an array to hold each row of the table to display on the pages:
Let’s create a loop counter for starting the count from 2nd row of the table:
Create a variable “th” that holds the first row of the table that is table head<th> using the ternary operator:
Now, call the Math.ceil() method for counting the number of pages by dividing the total rows of a table by number of rows to display per page:
Check the page count and set the content on the pages:
for (i = j, ii = 0; i < rowCount; i++, ii++){
tr[ii] = table.rows[i].outerHTML;
}
table.insertAdjacentHTML("afterend","<br><div id='buttons'></div");
sort(1);
}
In the above following code:
- Iterate the table using “for” loop and assign every row including its tag name with its content to the array.
- Create a new div that holds the buttons.
- Call the “sort()” function by passing 1, which indicates that the default page will be the first page.
Set the content on the page by creating pages while clicking the user’s button. To do so:
- First, we will define a function called “sort()” that will take a page as a parameter when the user clicks on the specified button.
- Then, rows will be displayed on the page by displaying the first row as a permanent, that is, table head(s).
- Finally, create the pagination buttons by calling the “pageButtons()” function:
var rows = th, s = ((rowsPerPage * page)- rowsPerPage);
for (i = s; i < (s + rowsPerPage) && i < tr.length; i++)
rows += tr[i];
table.innerHTML = rows;
document.getElementById("buttons").innerHTML = pageButtons(pageCount, page);
}
Now, create buttons “previous” and “next” buttons with pagination buttons based on the page counts:
var prevButton = (current == 1)? "disabled" : "";
var nextButton = (current == pageCount)? "disabled" : "";
var buttons = "<input type='button' value='";
for (i = 1; i <= pageCount; i++){
buttons += "";
}
buttons += "' onclick='sort("+(current + 1)+")' "+ nextButton +">";
return buttons;
}
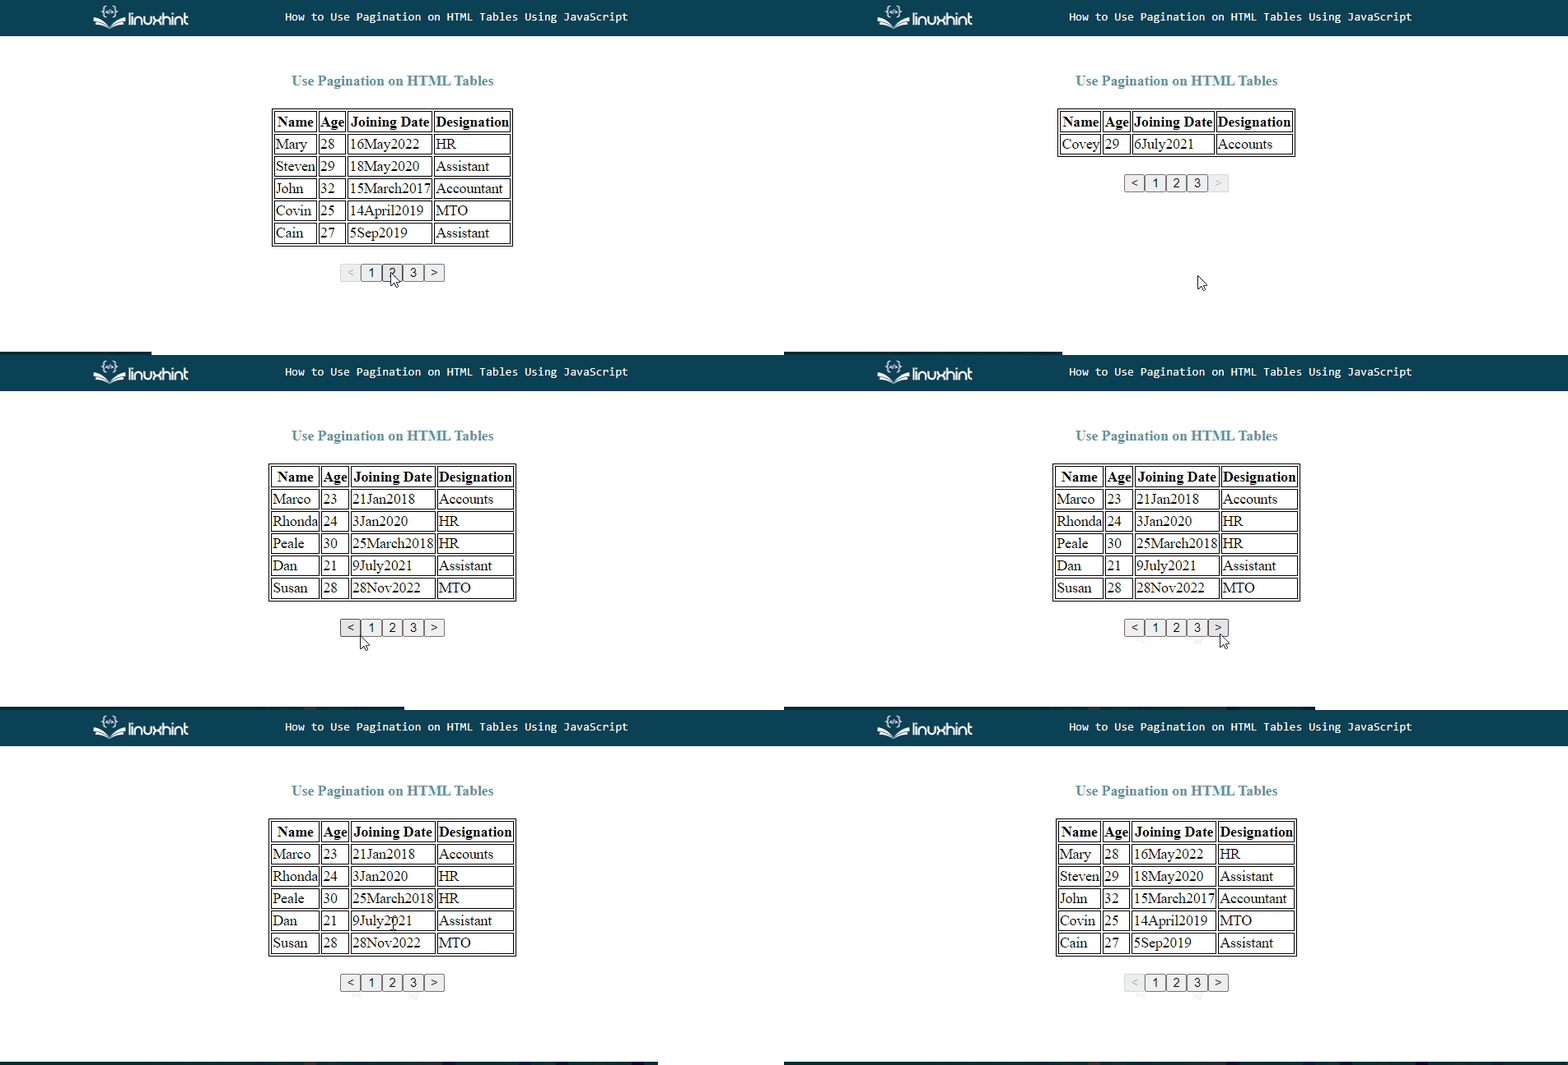
Here, you can see every page shows a unique content by clicking on the buttons:

That’s all about the pagination on the HTML tables in JavaScript.
Conclusion
For using pagination on the HTML tables, first, create a table in an HTML file and then create pagination in a JavaScript file by creating an array that stores the rows, set the number of rows to display per page, create a loop counter to start count from 2nd row of the table for displaying rows on the pages. Set the table head as a permanent row on every page and load other rows on the pages based on the count. This post defined the process to use pagination on HTML tables using JavaScript.
Source: linuxhint.com
