How to Use Image Viewer on Raspberry Pi
To view your digital images and pictures, Raspberry Pi comes with a built-in Image Viewer application, which allows users to view their digital gallery, use various features like rotate, zoom in, zoom out, flip, and adjust the size of the image, and many others. This tutorial will provide a guide on how to use Image Viewer on the Raspberry Pi system.
Let’s begin!
How to Use Image Viewer on Raspberry Pi
To use Image Viewer, first you should know how to run it. You can run it both from the terminal and the desktop.
Run Image Viewer Through the Terminal
To run it through the terminal, type the below-mentioned command:


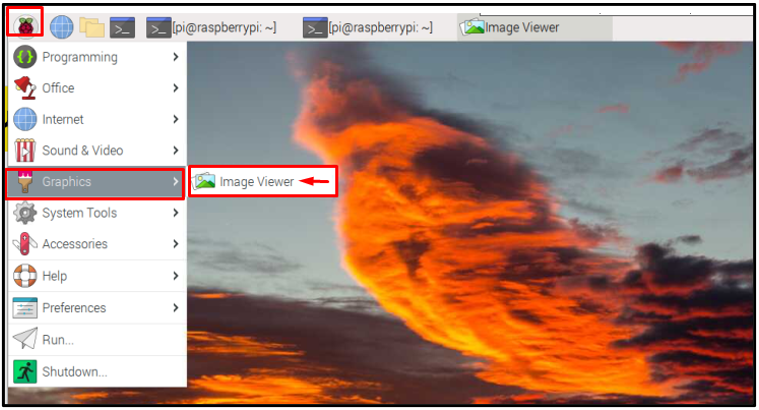
Run Image Viewer through the Desktop
To run Image Viewer from the desktop, go to the “Graphics” option from the “Application Menu” and then click on “Image Viewer” to run the application.
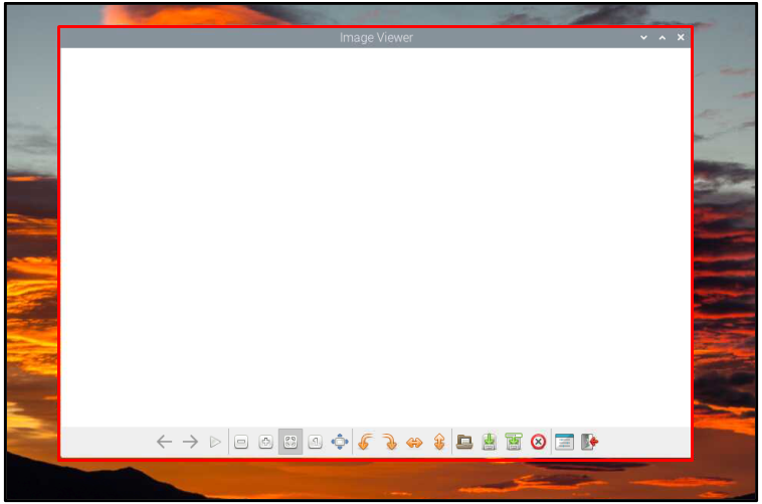
How to Use Various Options of Image Viewer
The Image Viewer has different options for performing different tasks. Let’s discuss them how you can use these options.
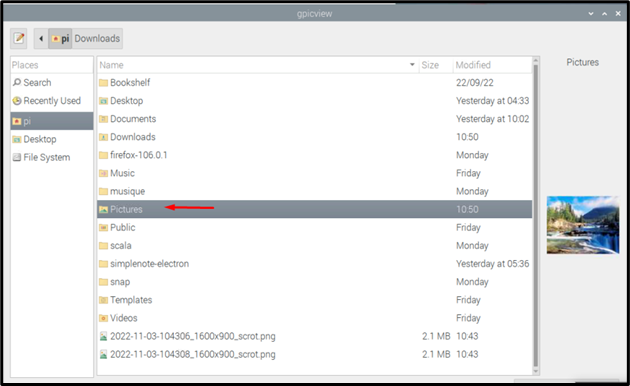
Open a File
To open a file in the Image Viewer, click on the Open file option.

Select any image from your system directory.
Choose your required image and click on the “Open” button or double-tap on the image to open the image.
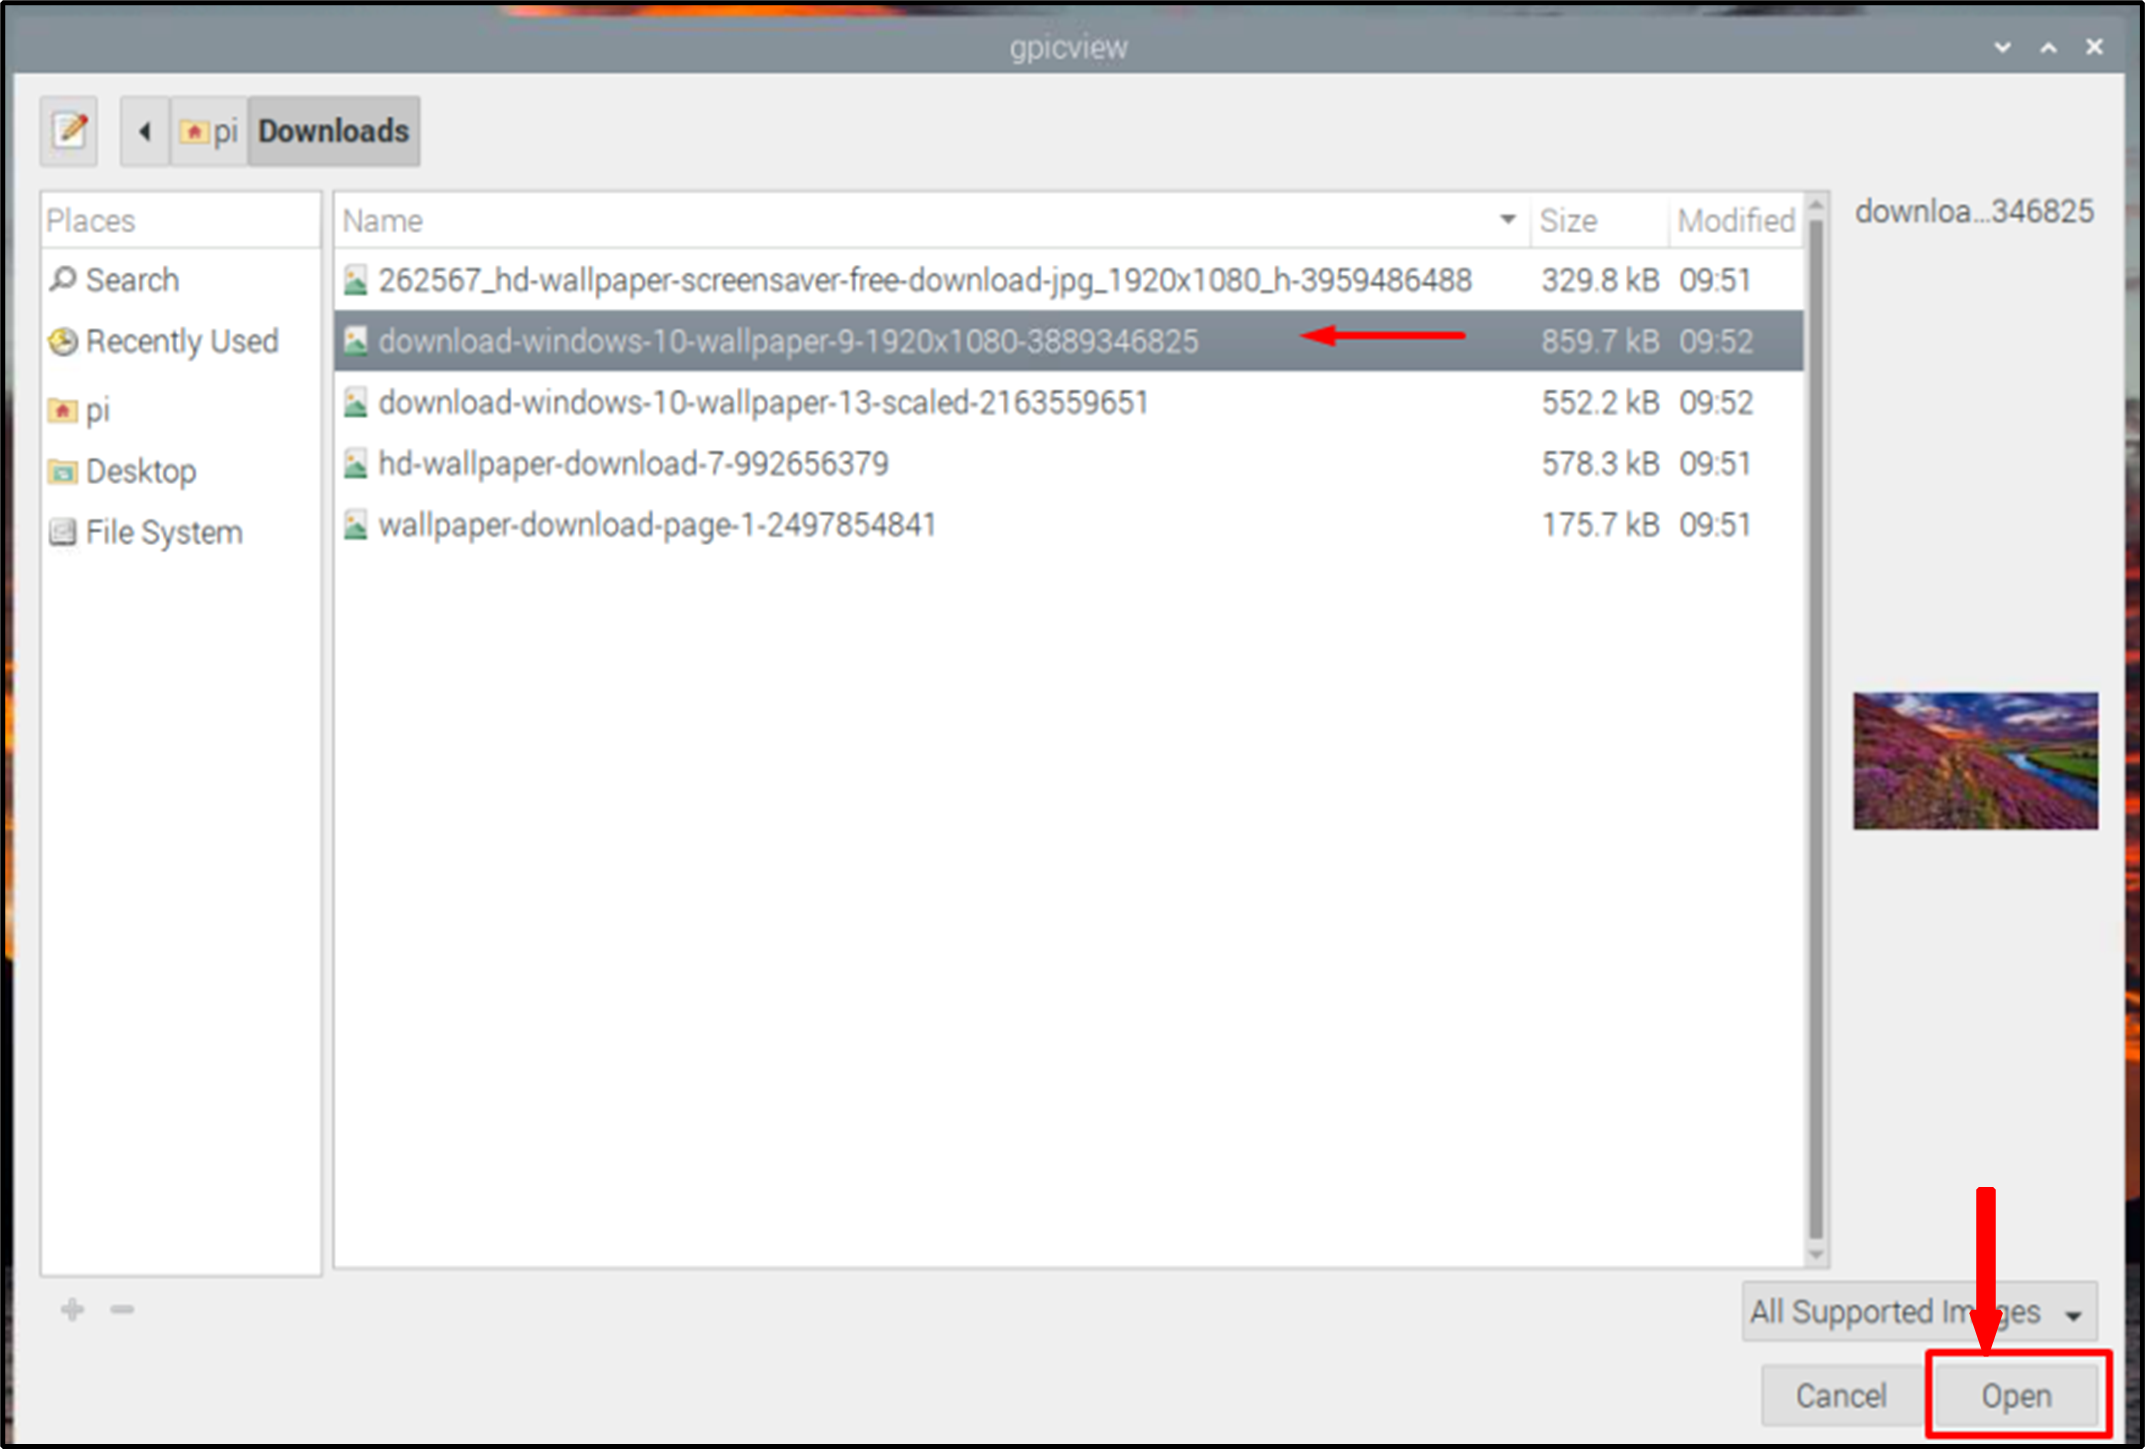
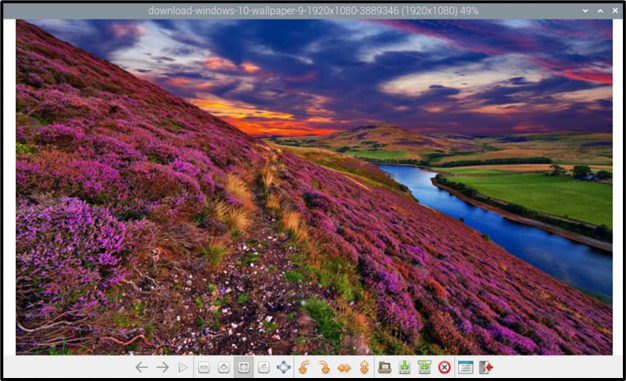
As a result, the image will appear on the screen.
Zoom in Images
Image Viewer provides a feature to zoom in the images. Utilize this feature by clicking on the “+” button highlighted in the image below. Click on this button multiple times to zoom in the image.

Zoom out Images
You can also zoom out the image according to your choice. The process is like the zoom in the image, however, instead of “+” button, you should select the “-” button.
Rotate Image in Anticlockwise Direction
Sometimes you may feel the need to rotate your images due to the wrong orientation of an original image, so the Image Viewer has provided this image rotation facility. To rotate the image anticlockwise, click on the “Rotate Anticlockwise” button and the orientation of your image will be changed as shown in the below image.

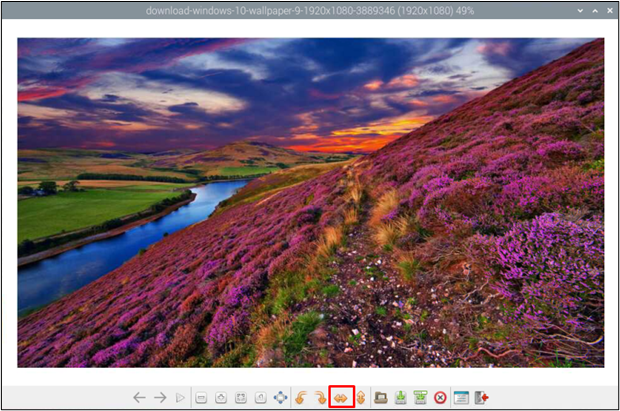
Rotate Image in Clockwise Direction
Just like rotating anticlockwise, we can also rotate the images clockwise in Image Viewer. To rotate the images clockwise, click on the “Rotate Clockwise” button as shown in the image below:

Flip Horizontal
To flip an image horizontally, click on the “Flip Horizontal” button as shown in the image below:
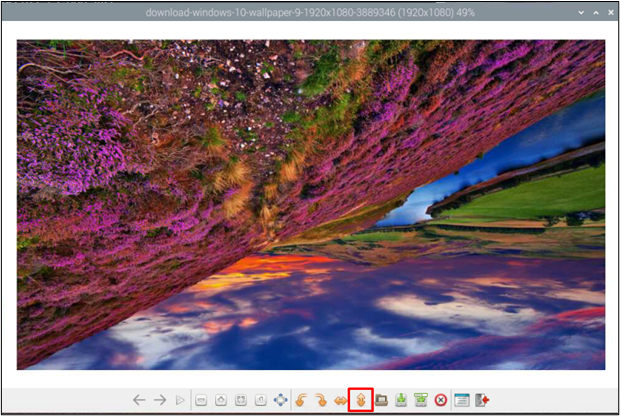
Flip Vertical
To turn the images upside down in the image viewer, you can click on the “Flip Vertical” button, as shown in the image below:
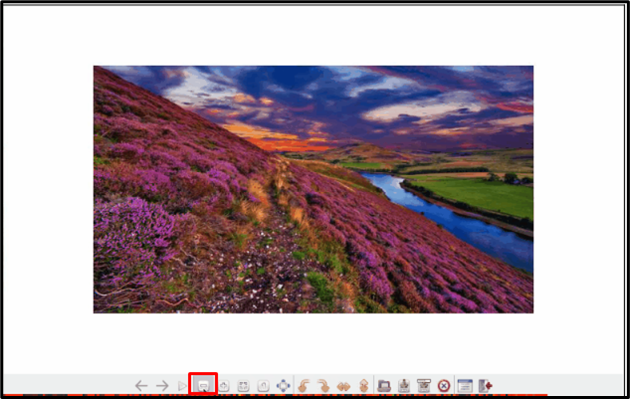
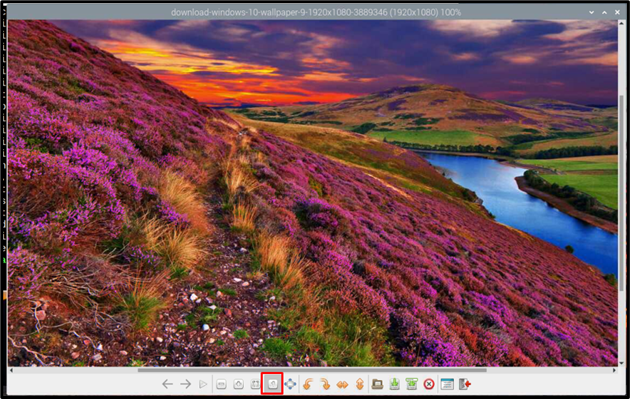
Fit Image to Window Size
To fit image to window size, you can use the highlighted button shown in the image below:|

Full Screen Image
To make the image appear on the entire screen, you can click on the “Full Screen” button, as highlighted in the image below.

After pressing the button, your image will spread to the entire screen. However, you may experience a black color border because the original size of the image is smaller than the screen.

Original Size Image
In the previous full-screen option, we have seen a black border because the original size of the image was smaller than the screen size. However, if you want to display the same image to a full desktop, without black borders, you can click on the Original Size button to resolve it.
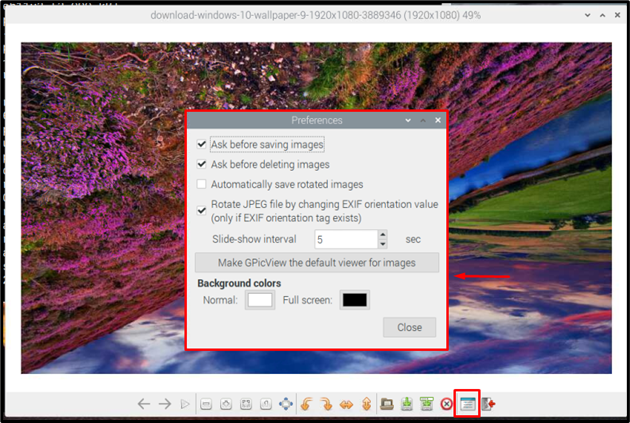
Preferences
This button can be used to set the preferences of your Image Viewer according to yourself. There are multiple options which you can checkbox to automatically save the rotated image or to ask for permission before saving or deleting an image.
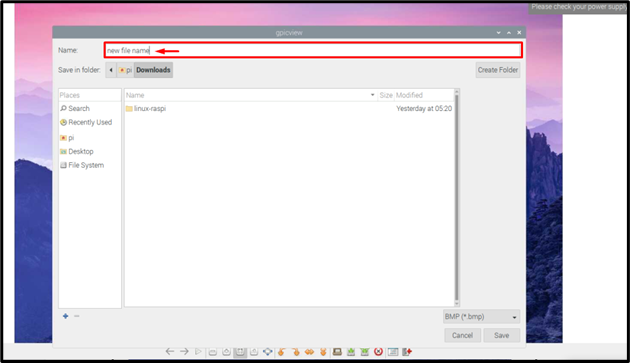
Save the Image
Save and Save As buttons are both used to save the images with changes that you have made. Save will automatically save the image to default directory with default name.

Whereas, Save as will ask you for a name and location to save the file.
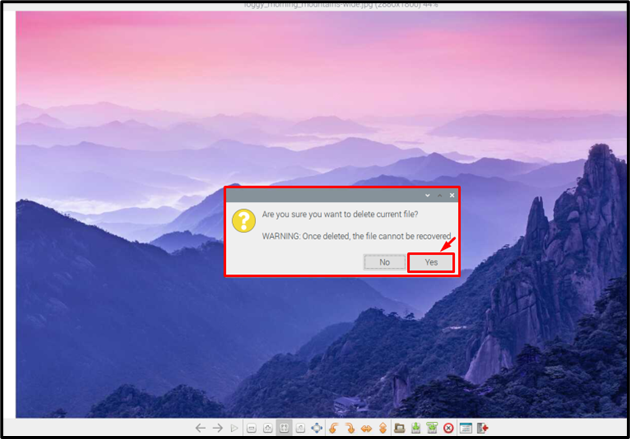
Delete a File
Just like any other delete option, the Delete File button in the image viewer is also used to delete the image.
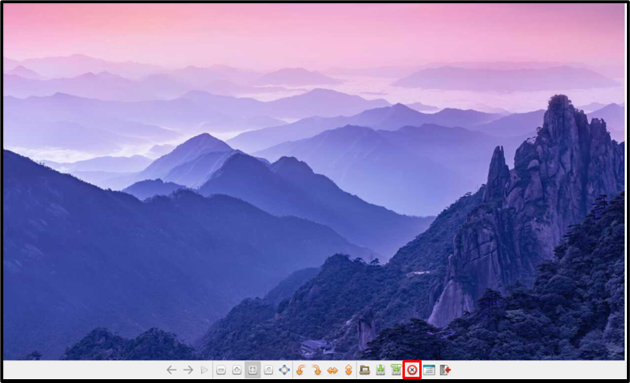
A warning dialogue box will appear on the screen after clicking on the Delete File button:
In this way you can use several options on Image Viewer and start using it on your Raspberry Pi system.
Conclusion
To access digital galleries and image files, a system requires an Image viewer. Luckily, the Raspberry Pi system comes with its own built-in Image Viewer, which is easy to use and can be accessed through both terminal and desktop. Image viewer provides multiple buttons that can be used to perform various tasks like rotating the image, flipping the image, zooming in, zooming out, and others.
Source: linuxhint.com