How to Use HTML DOM Audio play() Method in JavaScript
The “Audio” feature on a web page makes a site more interactive and user-engaged. This feature helps in understanding the provided information to the viewer in a more engaging way as compared to the written content. It also improves the user experience in many other situations. Keeping these factors in view, JavaScript offers the audio “play()” method to play the embedded audio via the HTML “<audio>” element.
This guide explains the HTML DOM audio “play()” method in JavaScript.
How to Use the HTML DOM Audio “play()” Method in JavaScript?
The DOM (Document Object Model) audio “play()” method is utilized to play the associated audio and remains to play until it finishes or the user does not stop or pause it. The desired audio is specified with the help of the HTML “<audio>” tag. This method is usually implemented with the “pause()” method to stop the current audio.
Syntax
In the above basic syntax, the “audioObject” refers to the recorded audio specified via the “<audio>” tag. Moreover, it does not require any additional parameters to perform this task.
Let’s use the above-defined syntax practically.
Example: Applying the HTML DOM Audio “play()” Method to Play the Given Audio
This example shows the practical implementation of the “play()” method to start the particular audio and pause it using the “pause()” method.
HTML Code
First, go through the following code:
<p>The DOM play() method helps to play the current audio.</p>
<audio controls id="myAudio">
<source src="Audio.mp3" type="audio/mp3">
</audio><br><br>
<button onclick="jsFunc1()" >Play the Audio</button>
<button onclick="jsFunc2()">Pause the Audio</button>
In the above code lines:
-
- The “<h2>” tag specifies the subheading of level 2.
- The “<p>” tag adds the given paragraph statement.
- The “<audio>” tag uses the “controls” attribute to handle audio controls (pause, play, volume, etc.) as well as an id “myAudio” to access it.
- Inside the “<audio>” element, the “<source>” tag specifies the current audio using the “src” attribute and the audio type i.e., “audio/mp3”.
- The “<button>” tag adds a new button with a mouse “onclick” event to allow the execution of the function “jsFunc1()” when this event occurs.
- The last “<button>” tag also attaches an “onclick” event that executes the function “jsFunc2()” at a button click.
JavaScript Code
Now have a look at the below-stated code:
var t = document.getElementById("myAudio");
function jsFunc1() {
t.play();
}
function jsFunc2() {
t.pause();
}
</script>
In the above code block:
-
- Firstly, the “var” keyword declares a variable “t” that utilizes the “getElementById()” method to access the recorded audio using its id “myAudio”.
- Next, the defined “jsFunc1()” function applies the “play()” method to play the accessed audio.
- Lastly, the function named “jsFunc2()” utilizes the “pause()” method to pause the played audio.
Output
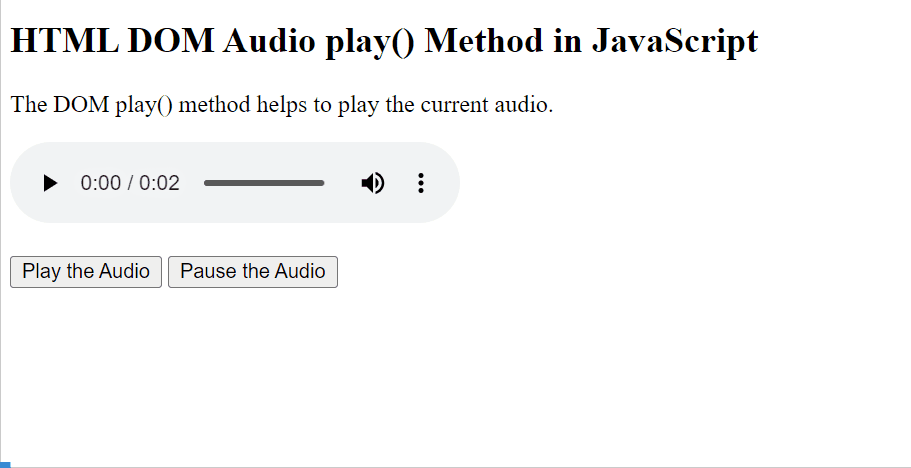
The above outcome first plays the given audio and then pauses it via their associated buttons. However, the user can also “play” and “pause” the audio using the icon displayed via the “controls” attribute.
Conclusion
In JavaScript, the HTML DOM audio “play()” method assists the users to play the target audio with the help of the HTML “<audio>” tag. Once the audio is played, it can be paused/stopped as well with the help of the “pause()” method. This guide briefly explained the HTML DOM Audio “play()” method in JavaScript.
Source: linuxhint.com