How to Use git config Command
This tutorial will describe the usage of the git config command on Windows.
What is git config Command?
The “git config” command is a convenience function that is utilized to change and set Git basic configuration values.
How to Use git config Command?
Windows users often use the git config command with several options for customizing the working of Git. However, when this command is executed without any parameter or option, it displays the related manual on the terminal.
Syntax
The general syntax of the git config command is provided below:
Different Options of git config Command
Here, we have enlisted some most important git config command options along with their description:
| Options | Description |
|---|---|
| –global | Use a global config file to perform various operations that is accessible for all present users for all projects. |
| –system | Use a system config file to perform operations that is available for all existing users and projects. |
| –local | Use a repository config file only for current projects. |
| –add | Utilize for adding a new variable in Git. |
| –edit | Use to open the editor. |
| –file | Use to config the given file. |
Now, let’s discuss the configuration levels of the git config command.
What are the Configuration Levels git config Command?
There are three configuration levels that are equal to the “.gitconfig text file”, such as:
- local project: These types of configs are only accessible for the current project and saved in the project’s directory name “.git/config”.
- global: These configs are available for the current users for all projects and saved in the “~/gitconfig” file, which is used to save a per-person configuration.
- system: These configs are accessible for all the users and projects on the git and saved in “/etc/gitconfig”.
For differentiation, the below-given sections will consider a scenario of setting the username and email in all git configuration levels. So, let’s head towards it.
How to Use git config Command With Local Configuration Level?
In the local configuration level, the “git config” command configures the username and email with the “–local” option. Let’s check out both one by one.
Example 1: Configure Username
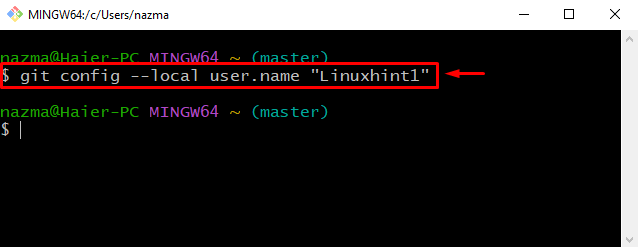
To configure the username in the local configuration level, use the “git config” command and add the “–local” option as mentioned below. For instance, we have specified “Linuxhint1” as a local “user.name” in the current project:
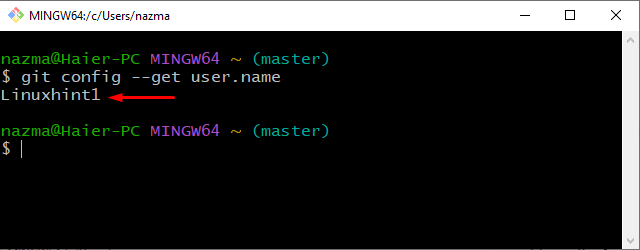
For the verification of the above operation, add the “–get” option with the “user.name” key:
Below-given output indicates that the username is successfully added to the Git project directory:
Example 2: Configure Email
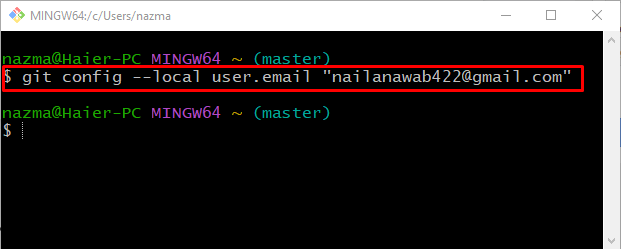
You can also configure a local email with the same git config command. However, it is required to specify the email address with the “user.email” key:
Next, add the “–get” option with the “user.email” key for verification:
The given output shows that our email “nailanawab422@gmail.com” is successfully added to the Git project directly:

Want to make changes in the global configuration level of git? Check out the following section!
How to Use git config Command With Global Configuration Level?
When you want to set a username or email for all currently available git users, switch to the global configuration of the git config command.
To understand the stated concept, check out the below-mentioned examples.
Example 1: Change Username
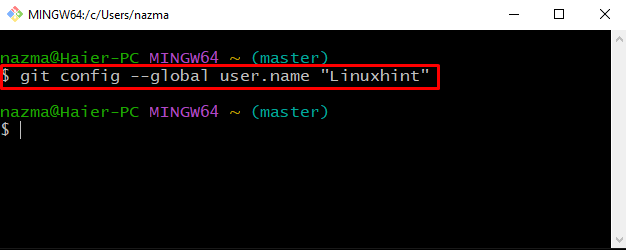
To change the user name in the global configuration level, use the “git config” command and add “–global” option. Here, we have specified “Linuxhint” as our global “user.name”:
For verification, use the “–get” option with the “user.name” key:
The given output indicates that we have successfully set “Linuxhint” as a global user name:

Example 2: Change User Email
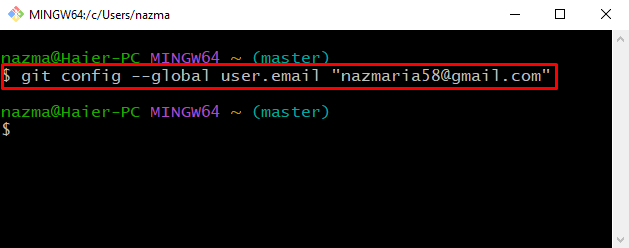
To change the user email globally, add the “–local” option with the “git config” command:
In our case, we have specified “nazmaria58@gmail.com” as a global “user.email”:
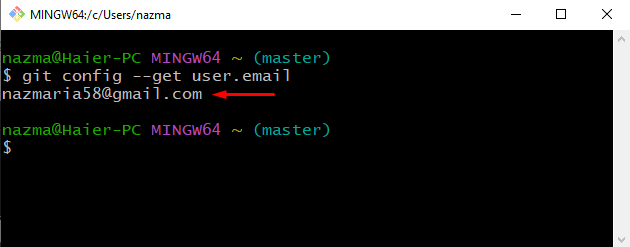
Now, verify the changed user email by executing the “–get” option with the “user.email” key:
As you can see, our specified user email is configured:
To perform configuration for overall git system users, step into the system configuration level.
How to Use git config Command With System Configuration Level?
In this example, we will check out the examples of changing the username and email using the “–system” options.
Example 1: Change Username
To change the username for all git users, first, move to the repository using the “cd” command:
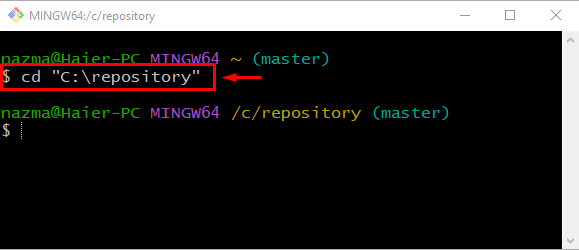
After doing so, run the “git config” command with “–system” option:
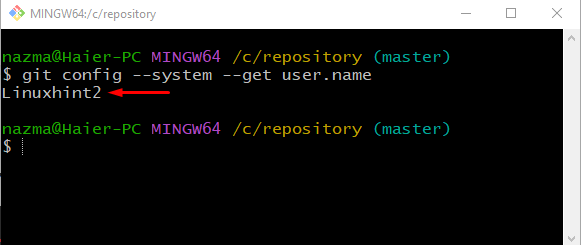
Here, we have specified “Linuxhint2” as a git system user:

For verification, utilize the “–get” option with the “user.name” key:
Example 2: Change Email
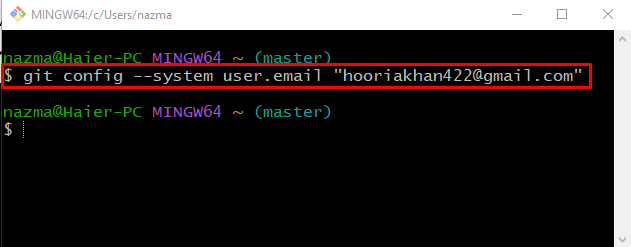
Run the below-provided command to change the user email using the “–system” option:
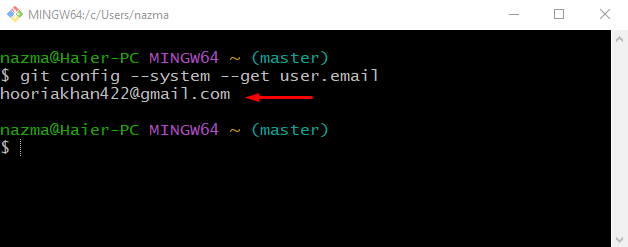
Execute the “git config” command with the “–get” option to show the added email:
Let’s check out the usage of “–add” and “–edit” options with the “git config” command.
How to Add a New Variable Using git config Command?
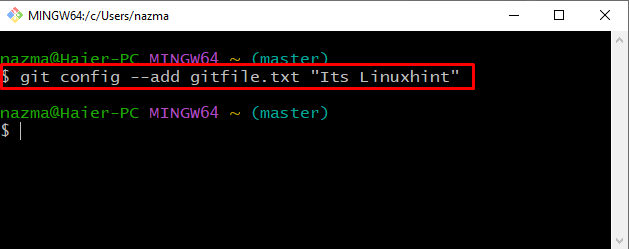
When Windows users require to add a new variable in the Git files without changing the present data, the “–add” option can be utilized with the “git config” command to add without altering any existing values or data.
For instance, we want to add “Its Linuxhint” in our “gitfile.txt” file. For this purpose, run the below-provided command and specify the variable with the “user.gitfile” key:
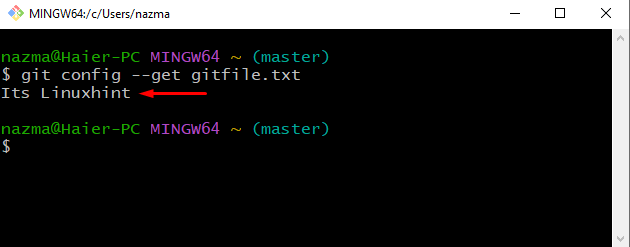
For verification, use the “–get” option with “gitfile.txt” and press “Enter”:
How to Open a Text Editor Using git config Command?
Sometimes writing a particular text or message in the terminal becomes difficult. To resolve this issue, we have many choices, including pre-installed editors, such as “vim”, “GNU Nano”, and “Atom”. For Windows “Notepad++” is a highly recommended text editor.
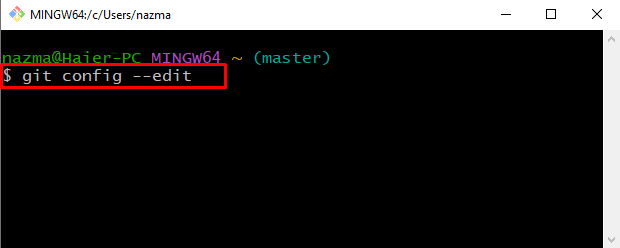
To open the text editor using the “git config” command, add the “–edit” option as follows:
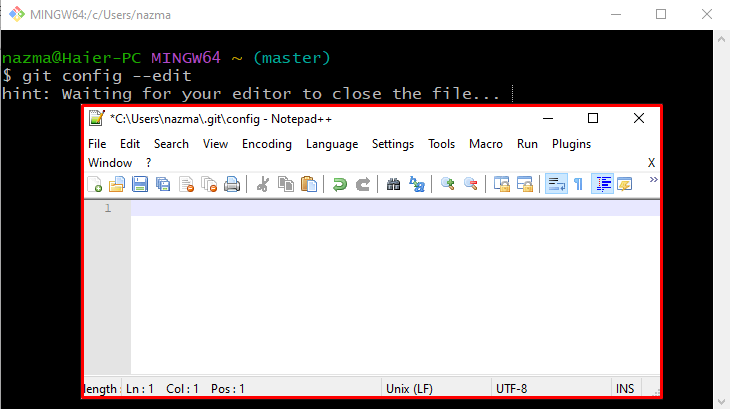
As a result, a text editor will open up on your screen, which you have configured during Git installation. For instance, our configured text editor is “Notepad++”:
That’s all! We have effectively described the information related to the usage git config command.
Conclusion
The “git config” command is a function that is used to set and change Git values through three configuration levels: “local”, “global”, and “system”. This command uses multiple options to perform various operations on Git, such as changing the Username and Email via different configuration levels, adding variables, and opening the text editor. In this tutorial, we have demonstrated the usage of the git config command on Windows.
Source: linuxhint.com