How to Use a Plugin for Typography in Tailwind?
Tailwind CSS is a famous utility-first framework for developing responsive and customizable web designs. It offers a range of official plugins developed by the Tailwind CSS team. The topography plugin provides a set of prose classes to style any HTML content with beautiful and consistent typography. It enables users to easily control aspects like font family, font size, line height, tables, block code, lists, headings, and more.
This article will explain the procedure to use a plugin for typography in Tailwind.
How to Use a Plugin for Typography in Tailwind?
To use the plugin for typography in Tailwind, look at the below-listed steps:
- Install the typography plugin in the project
- Add typography plugin in the “tailwind.config.js” file
- Utilize the prose classes of typography plugins in the HTML program
- Verify the output by viewing the HTML web page
Step 1: Install Typography Plugin in Tailwind Project
First, open the terminal and execute the given-provided command to install the typography plugin in the project:
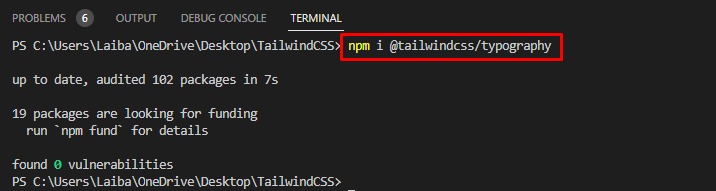
The typography plugin has been installed successfully.
Step 2: Add Typography Plugin in Tailwind Config File
Then, open the “tailwind.config.js” file and add the typography plugin to it:
content: ["./index.html"],
plugins: [
require(‘@tailwindcss/typography’),
],
};
Step 3: Utilize Typography Plugins in HTML Program
Now, make an HTML program and use the prose classes of typography plugins to style HTML content with typographic defaults, such as headings, lists, tables, code blocks, and more. For instance, we have used “prose”, “lg:prose-xl”, “<h1>”, “<p>”, “<blockquote>”, “<code>”, “<h3>”, “<ul>”, “<li>” elements in our HTML program:
<article class="prose lg:prose-xl m-5">
<h1 class="text-center">Typography</h1>
<p>
Tailwind CSS is a popular utility-first framework for creating responsive and customizable web designs.
One of the features that make Tailwind CSS stand out is its official plugin for typography.
The topography provides a set of classes to style any HTML content with beautiful and consistent typography.
</p>
<blockquote>
<p>Typography allows users to control various aspects of <code>typography</code>, such as font family, font size, font weight, line height, letter spacing, text alignment, text color, text decoration, and more.
</p>
</blockquote>
<h3>Five different typography sizes are included out of the box: </h3>
<ul>
<li>prose-sm</li>
<li>prose-base</li>
<li>prose-lg</li>
<li>prose-xl</li>
<li>prose-2xl</li>
</ul>
</article>
</body>
Here, the “<article>” element has two classes i.e., “prose” and “lg:prose-xl”. These classes are used for styling purposes. The “prose” defines a specific text formatting style and “lg:prose-xl” indicates that the style should be applied on large screens.
Step 4: View HTML Web Page
Finally, run the HTML program and view the web page to verify the output:
In the above web page, it can be observed that the typography plugin has been applied successfully.
Conclusion
To use the plugin for typography in Tailwind, first, install the typography plugin in the project. Then, open the “tailwind.config.js” file and add the typography plugin to it. Next, utilize the prose classes of typography plugins in the HTML program and verify the output by viewing the HTML web page. This article has explained the method to use plugins for typography in Tailwind.
Source: linuxhint.com