How to Update Stable Diffusion Web UI?
This article covers the aspect of demonstration for updating Stable Diffusion Web UI.
What are Prerequisite to Update for Stable Diffusion?
Before updating Stable Diffusion onto your system, we must verify that our system fulfils certain system requirements. To read more about these system requirements, visit this link.
To install or update Stable Diffusion on Windows, follow the prerequisite instructions which are given below:
Note: It is recommended to use Python 3.10.6 or above versions with Stable Diffusion and make sure to check the “Add Python 3.10 to PATH” checkbox during Python installation.
Let us explore the updating of Stable Diffusion on Windows:
How to Update Stable Diffusion Web UI?
Before installing Stable Diffusion, it is required that Stable Diffusion be installed in the operating system. For this purpose, you can refer to the article “How to Install Stable Diffusion on Windows” which is a comprehensive guide to easily install it.
To update to the latest Web UI of Stable Diffusion, here is a step-by-step tutorial:
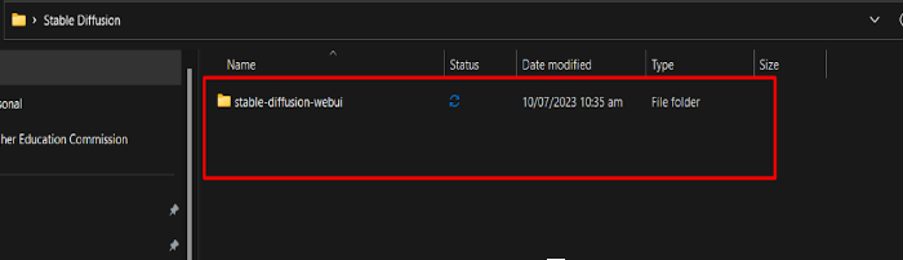
Step 1: Locate the Stable Diffusion Directory
To update Stable Diffusion Web UI, open the stable diffusion directory where you have previously installed it:

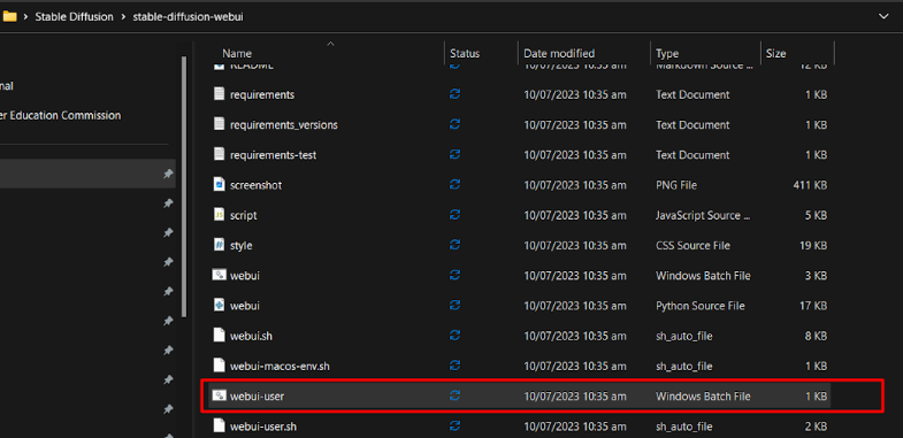
Step 2: Cloned Repository of Stable Diffusion
We have cloned the stable diffusion repository from Git. Open the cloned repository to update the Web UI:
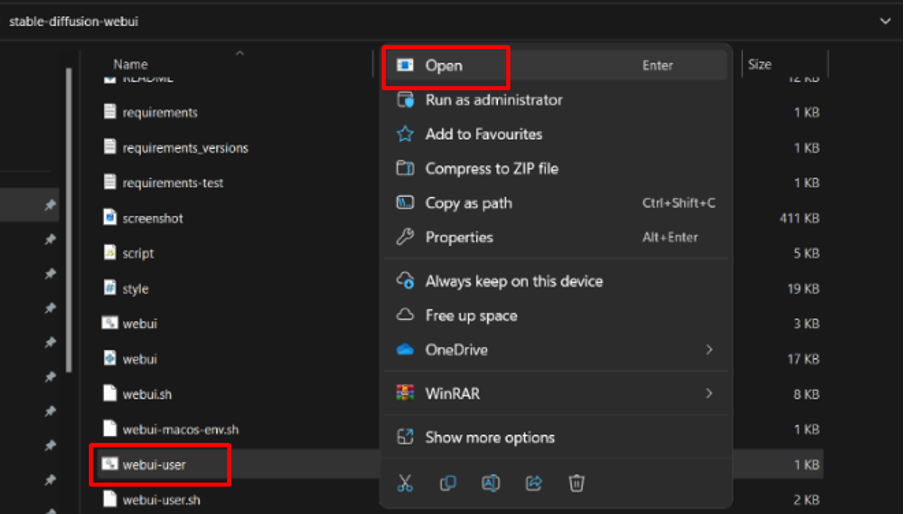
Step 3: Choose “Webui-user” Batch File
Scroll down the directory and you will find a file named “webui-user” batch file.
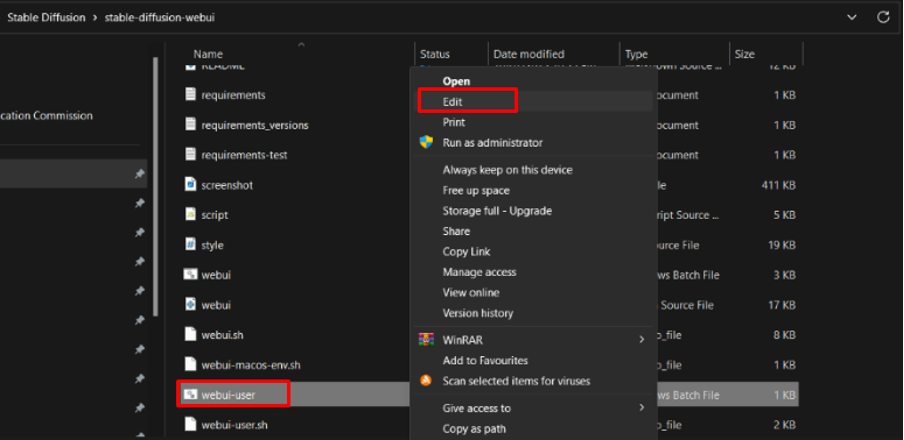
Step 4: Edit the Batch File
Open the file by clicking on the “right button” of the mouse and then hit the “Edit” button:
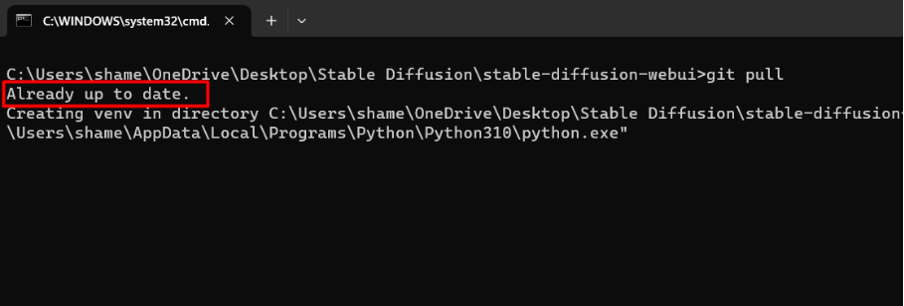
Step 5: Command “Git Pull”
The file is opened in text format. In this file, write “git pull” at the top of it and save the changes:
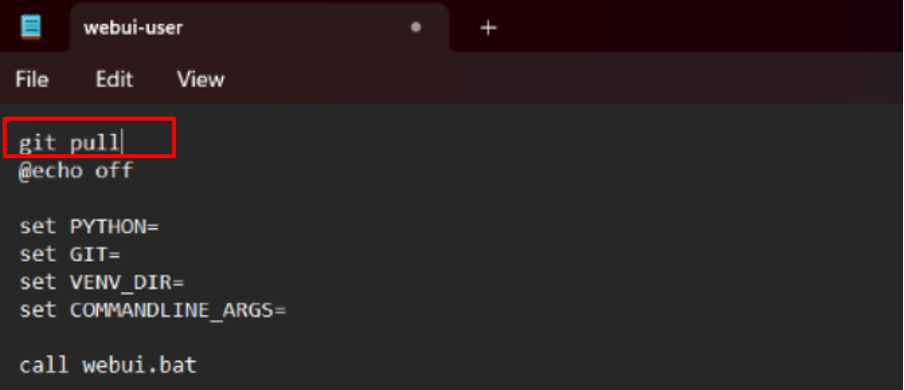
It automatically updates the Stable Diffusion Web UI whenever the batch file is running.
Step 6: Run the Batch File
After saving the changes, click on this “webui-user” batch file that you have edited and saved. Click on open to run the file:
Now, your Stable Diffusion Web UI will automatically update each time the batch file is executed:
In this way, users can update the Stable Diffusion Web UI.
Conclusion
Stable Diffusion is continually updating its versions to provide high-quality image generation services and a better user experience. If you have installed Stable Diffusion by cloning the git repository, the one-line command “git pull” is all you need to edit your “webui-user” batch file. This article has provided a step-by-step guide of updating Stable Diffusion Web UI.
Source: linuxhint.com