How to Uninstall Java on Windows 10
This post describes the method for uninstalling Java on Windows 10.
How to Uninstall Java on Windows 10?
At this moment, the latest release of Java is Java17. So, for installing the new version, first, uninstall the existing version. To do so, follow the given instructions.
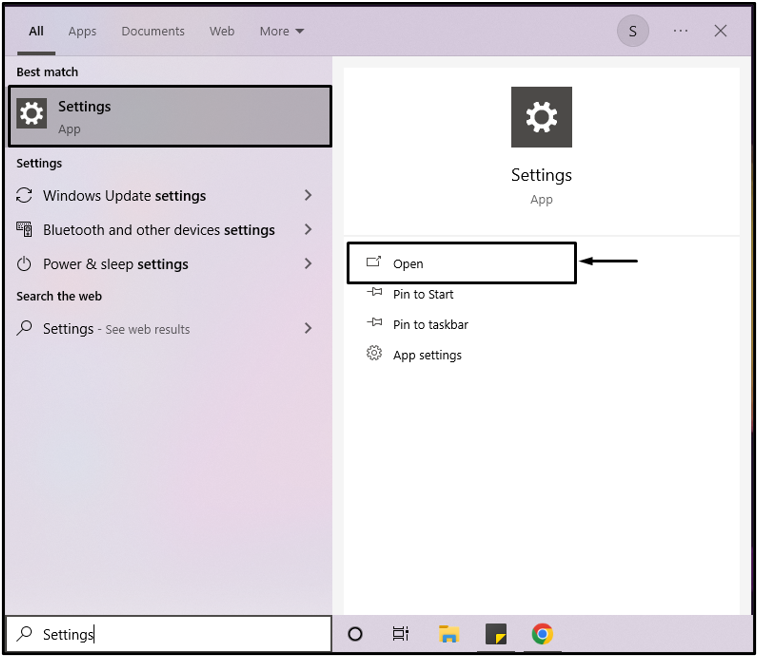
Step 1: Open Windows Settings
Open up System “Settings” with the help of the “Startup” menu:
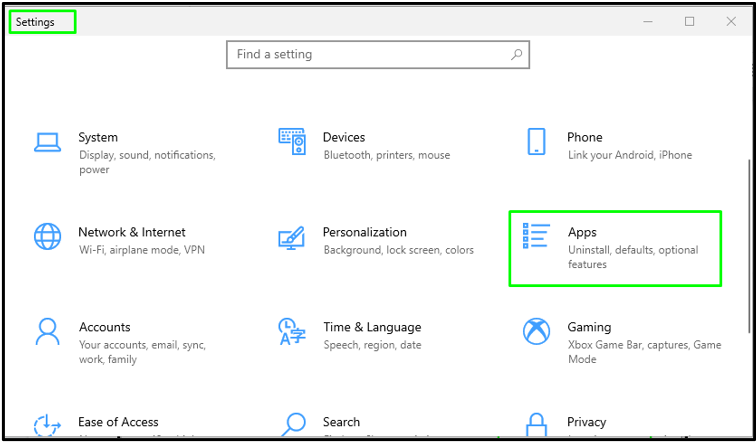
Step 2: Select Apps
Select “Apps” in the list of the given categories:
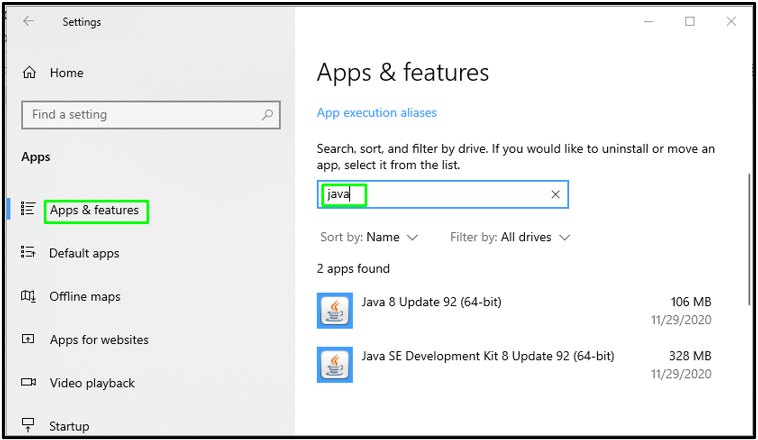
Step 3: Search for Java
Search for Java in the highlighted field. As a result, the opened application will enlist the installed versions of “Java” and “JDK” (Java Development Kit) found in your Windows 10 system:
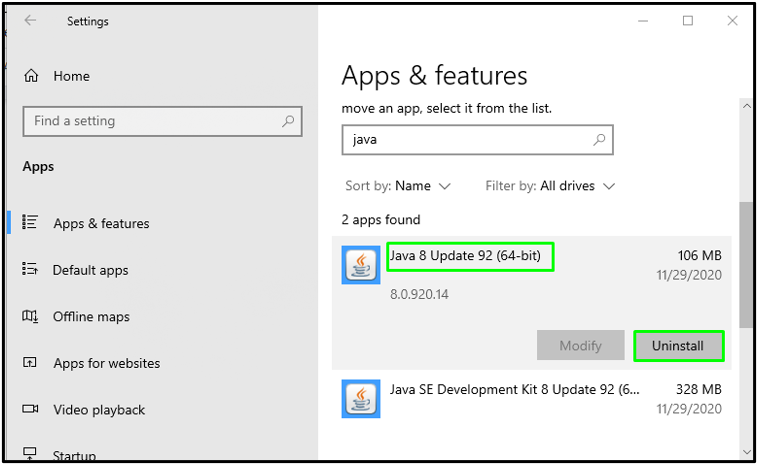
Step 4: Uninstall Java
Now, uninstall Java and the related packages one by one by clicking the “Uninstall” button:
Note: We have used this method to uninstall a single Java file. You can follow the same steps for uninstalling multiple files. However, first, uninstall Java and then uninstall the other packages.
How to Verify Java Uninstallation?
You can verify Java uninstallation using:
-
- GUI
- Command Prompt
Let’s check out both methods one by one!
Method 1: Verify Java Uninstallation on Windows 10 Using GUI
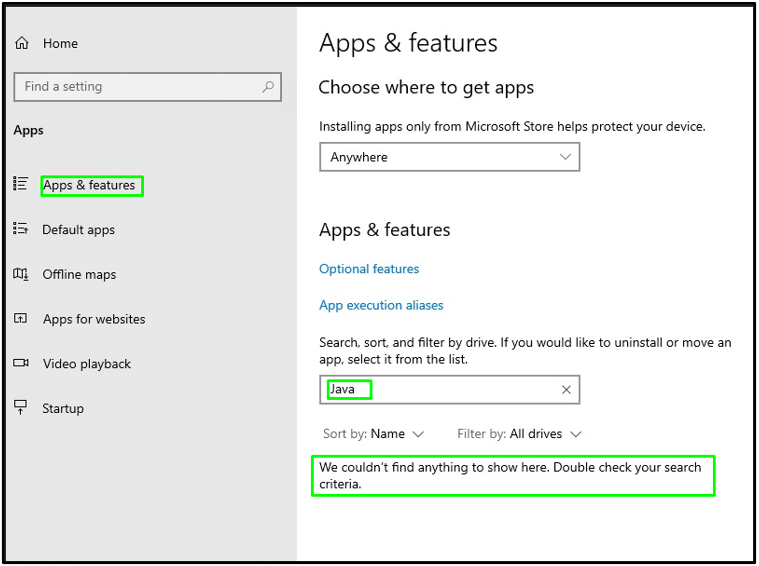
To verify whether Java is uninstalled on Windows 10, search for “Java” in the “Apps & features” search bar. If this operation outputs no results, it means that Java does not exist on your system:
Method 2: Verify Java Uninstallation on Windows 10 Using Command Prompt
Command Prompt or CMD can also be utilized for the verification of Java uninstallation. For this purpose, firstly open it on your Windows 10:

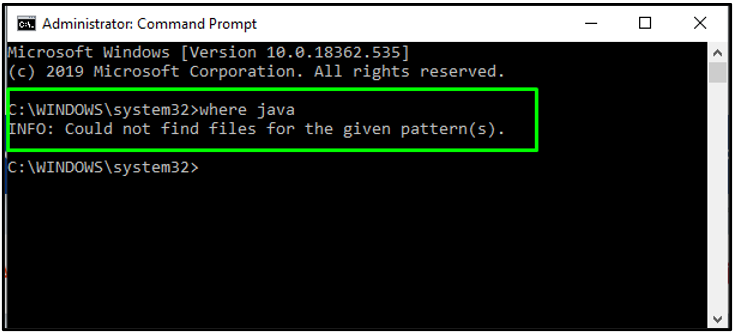
Then, write out the “where-java” command to find the location of Java files:
The given output indicates that Java is successfully uninstalled from Windows 10:
We provided all the information related to uninstalling Java on Windows 10.
Conclusion
To uninstall Java on Windows, open System “Settings”. Then, select the “Apps” category from the list of other available options and search for “Java” in the given search bar. Lastly, click on the fetched Java packages and click the “Uninstall” button. After doing so, you can verify Java uninstallation using Command Prompt or the System Settings app. This post described the procedure for uninstalling Java on Windows 10.
Source: linuxhint.com