How to Uninstall Git on Windows
Git is a freely available, well-known tracking application that allows users to work smoothly within a team-friendly environment. However, sometimes, Windows users encounter issues such as Git crashing, not being compatible with other installed software or applications, frequently hanging Windows systems, and many others. The solution for the specified problems is to re-install Git. To do so, you must uninstall the existing Git application first.
This guide will demonstrate the method of uninstalling Git on Windows. So, let’s begin!
How to Uninstall Git on Windows?
If you are a Windows user who wants to uninstall Git from their system, follow the given instructions.
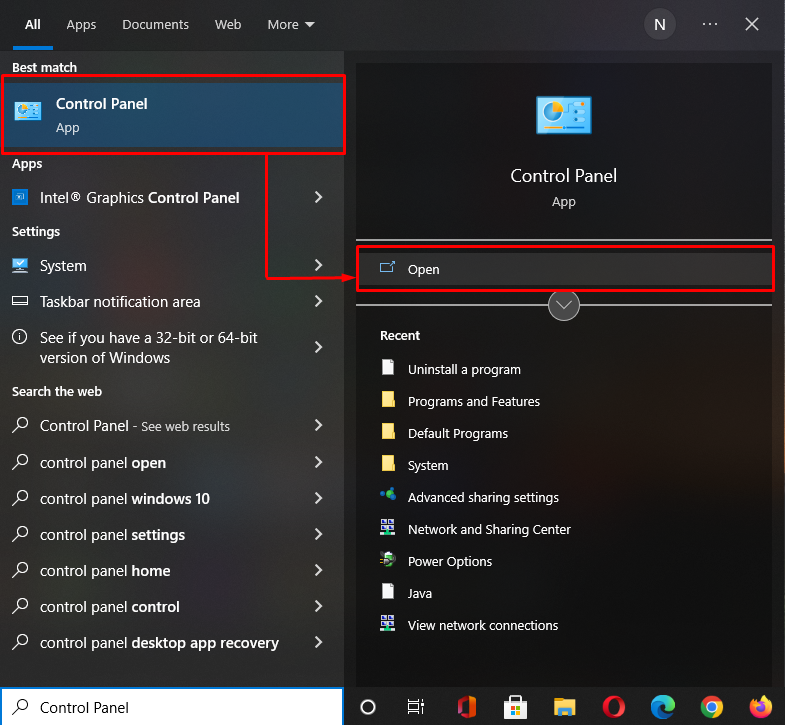
Step 1: Open Control Panel
First, open up the “Control Panel” using the “Startup” menu:
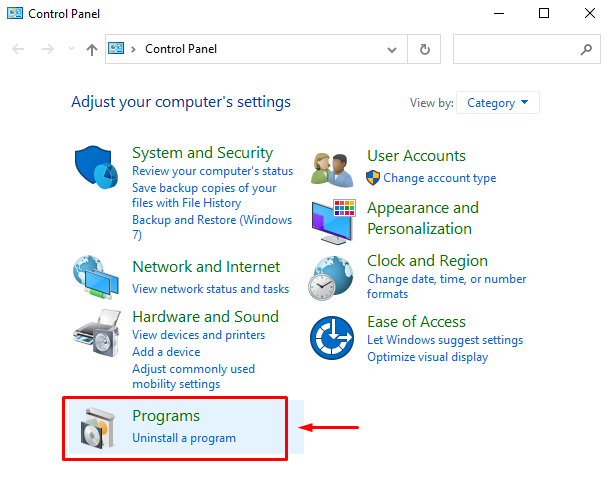
Step 2: Open Programs
Select “Programs” from the list of “Control Panel” categories:
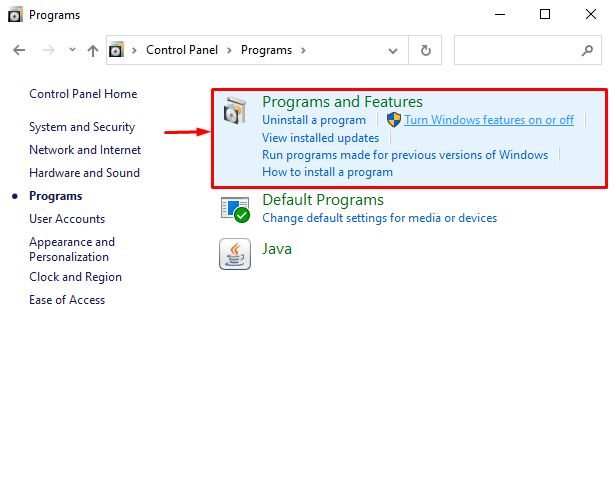
Again, click on the “Programs and Features” option under the “Programs” window:
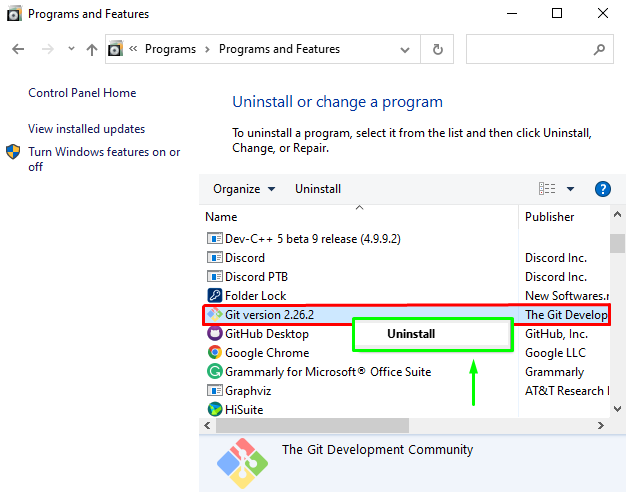
Step 3: Uninstall Git
From the list of the installed programs, select “Git” and click on the “Uninstall” option:
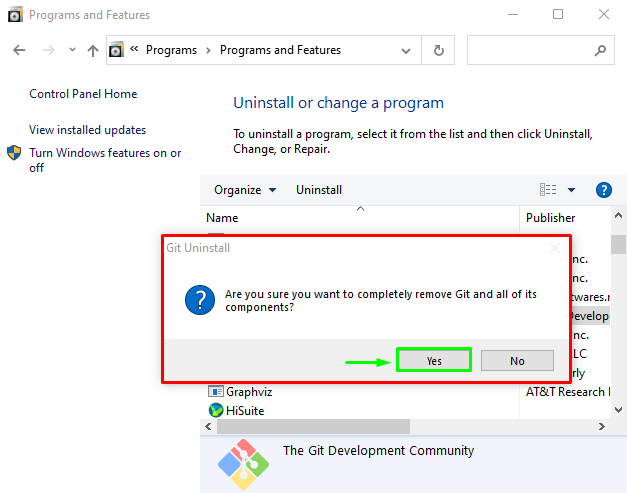
From the confirmation dialog box, click on the “Yes” button to verify the Git uninstallation operation:
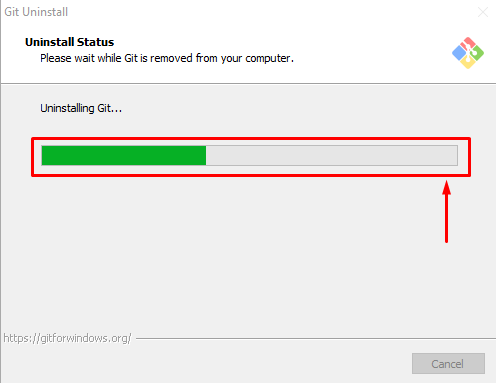
Now, wait for a few minutes until “Git” is uninstalled from your Windows system:
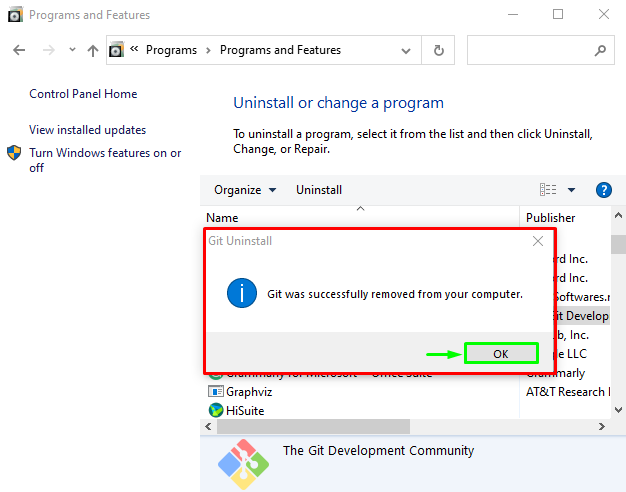
The given message indicates that we have successfully uninstalled “Git” from our system:
We have demonstrated the method of uninstalling Git on Windows.
Conclusion
To uninstall Git on Windows, first, open up the “Control Panel”, select the “Programs” category, and go to the “Programs and Features” option. Next, scroll down the opened window to “Git”, right-click on it, and select the “Uninstall” option from the drop-down menu. To complete the specified uninstallation process, click on the confirmation dialog box “OK” button and wait for a few minutes. This guide illustrated the method of uninstalling Git on Windows.
Source: linuxhint.com