How to Turn On/Off System Protection in Windows 10 & 11?
System Protection is a feature provided by Windows that creates and saves “Restore Points” on the selected drive before making any significant changes such as updating the drivers. This helps in restoring the system to an old restore point if the updates cause issues for the user.
This feature can be turned on and off in case the user does not want to create any restore points. Moreover, in Windows 11, users have to manually enable the System Protection feature to start saving the restore points before any changes.
This article will discuss the procedure to turn on or off the System Protection feature in Windows using the following outline:
How to Turn On/Off System Protection From the Control Panel in Windows 10 & 11?
Follow the steps provided below to turn the System Protection feature on/off using Control Panel.
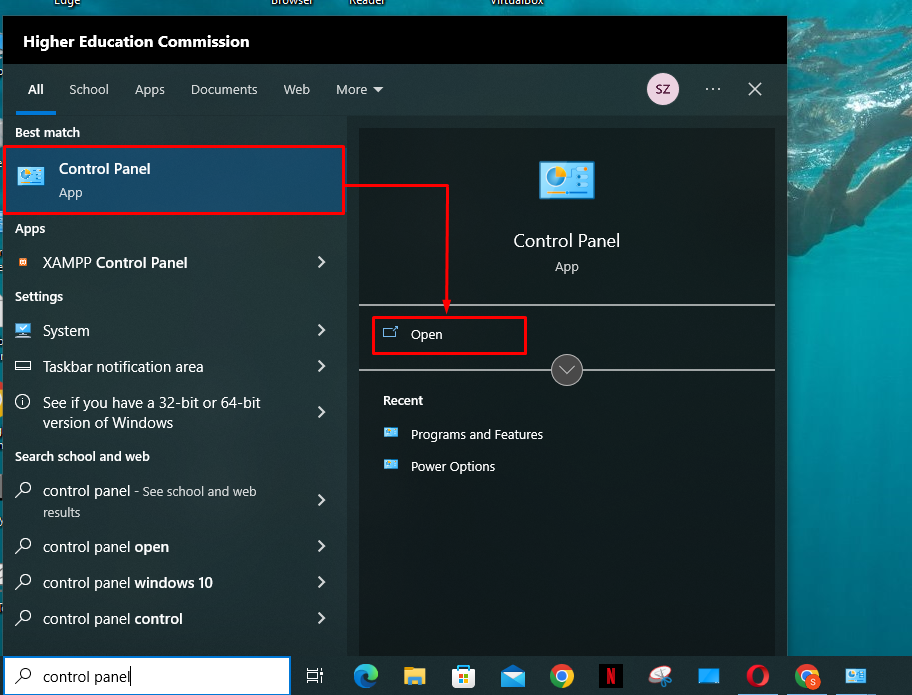
Step 1: Open Control Panel
From the Start menu, open the “Control Panel” by searching for it in the Start search box:
Step 2: Go to Recovery Setting
From the list of the Control Panel items, click on the “Recovery” settings:

Step 3: Open System Restore Settings
In the recovery settings, click on the “Configure System Restore” option:

Step 4: Turn On/Off System Protection
In the System Protection window, all the drives of the PC will be listed. Users can see which of them is protected at the moment. For instance, protection for the “Shaheer (D:)” drive is turned “Off”:

To change the System Protection settings for the D: drive, select it and then click on the “Configure…” button:

Next, click on the “Turn on system protection” radio button to enable the System Protection. Next, use the slider to provide the max usage of space to save the restore points in D: drive. Then, click on the “Apply” button:

That is how the user can turn On/Off the system protection for the drive using Control Panel.
How to Turn On/Off System Protection Using the Windows PowerShell?
To use PowerShell commands for turning on/off the System Protection feature in Windows, follow the below-provided steps.
Step 1: Open PowerShell
Press the “Windows + X” shortcut, and open the “Windows PowerShell (Admin)” from the appeared menu:

Step 2: Insert the Command
Once the PowerShell is opened, insert the following command to turn on the System Protection:
After the “-Drive”, write the drive for which the user wants to turn on the system protection. Upon the successful execution of the command, the cursor will move to the next line:

Now, insert the following command to turn off the System protection for a Drive:
The cursor moves to the next line, which indicates that the system protection has been turned off for the specified drive:

That is all about turning the System Protection feature On/Off for a drive.
Conclusion
To turn on the System Protection for the C: drive, press the “Windows + X” shortcut and click on the “Windows PowerShell (Admin)” from the appeared menu. Insert the “Enable-ComputerRestore -Drive “C:” command to turn on the System Protection for the C: drive. For turning off the System Protection, insert the “Disable-ComputerRestore -Drive “C:” command and hit the Enter key. This article has provided the procedure for turning the System Protection Feature on/off in Windows 10 & 11.
Source: linuxhint.com