How to Turn Off SOS on iPhone
Although Emergency SOS is an amazing feature in the iPhone that saves the life of users, many people complain that their iPhone is stuck in SOS mode, you can turn it off within seconds. If you want to turn off the Emergency SOS feature on your iPhone, keep reading this guide.
What is SOS on an iPhone?
In iPhone, you can use the SOS feature to contact your emergency contact number easily and quickly. When a user makes a call with SOS, the iPhone shares the information of the user with the emergency services automatically and once the emergency call is ended, the iPhone sends the text message to the emergency contact number and shares your location as well.
If your phone has a poor cellular signal or your SIM card is damaged, SOS will appear at the top notification bar of your phone, which means you can only make an emergency call.
How to Turn Off SOS on iPhone?
The following steps must be followed properly to turn off the SOS in iPhone:
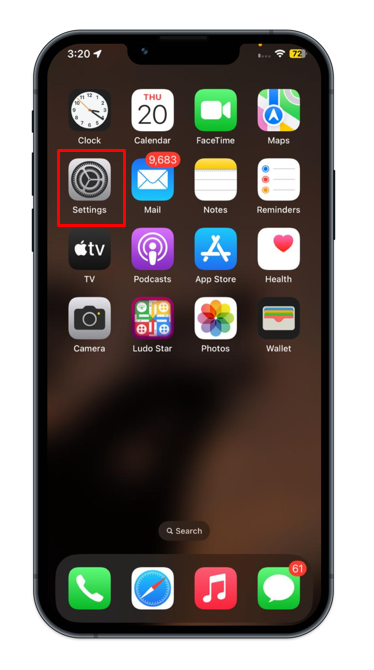
Step 1: Launch the Settings on your iPhone from the home screen:
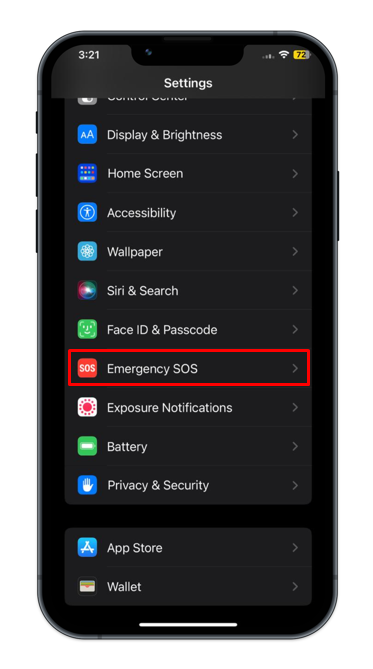
Step 2: Look for the Emergency SOS option within Settings:
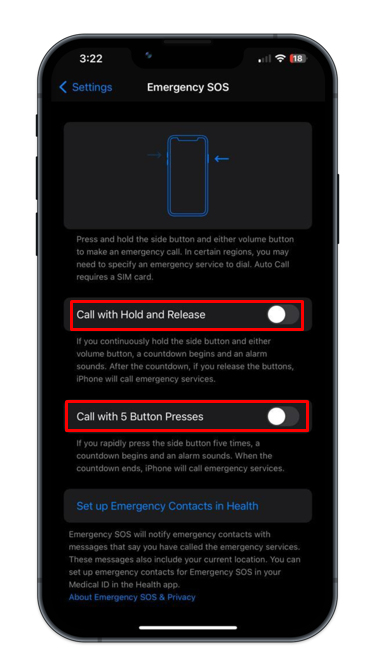
Step 3: Turn the toggle off for Call with Hold and Release, and Call with 5 Button Presses:
Conclusion
In iPhone, SOS allows you to quickly contact your emergency contact or emergency services when you need help. But sometimes you can face a glitch that can be frustrating. We have provided you with detailed step-by-step guidelines to turn off the SOS on your iPhone in this guide. You can visit Settings>> Emergency SOS and turn off all the options.
Source: linuxhint.com