How to Track Changes in MS Word
This article is about how to track the changes in MS Word. MS Word comes with a built-in facility for this. With the help of track changes, the owner of the MS Word document can reject or accept the changes that are made by others. Track changes help the owner or others to perform insertion, deletion, and update the actions in the document. When the “track changes” feature is enabled, we can highlight the change in different background colors and make these changes different from the original text and also make comments in the document.
Methods to Employ the Track Changes Feature in MS Word
There are different methods through which we can activate or use the “track changes” feature in our MS Word document easily. The list of methods is mentioned as follows:
- Use the “Track Changes” Feature through the Menu Bar
- Use the “Track Changes” Feature through the Shortcut Key
- Use the “Track Changes” Feature through the Status Bar
Method 1: Use the “Track Changes” Feature through the Menu Bar
This is the first technique that makes use of MS Word’s “track changes” function. First, activate the” track changes” option using the menu bar easily. After that, we edit, delete, and add the changes in the document and allow the other users to make changes in the document. Let’s explore this method by following these steps:
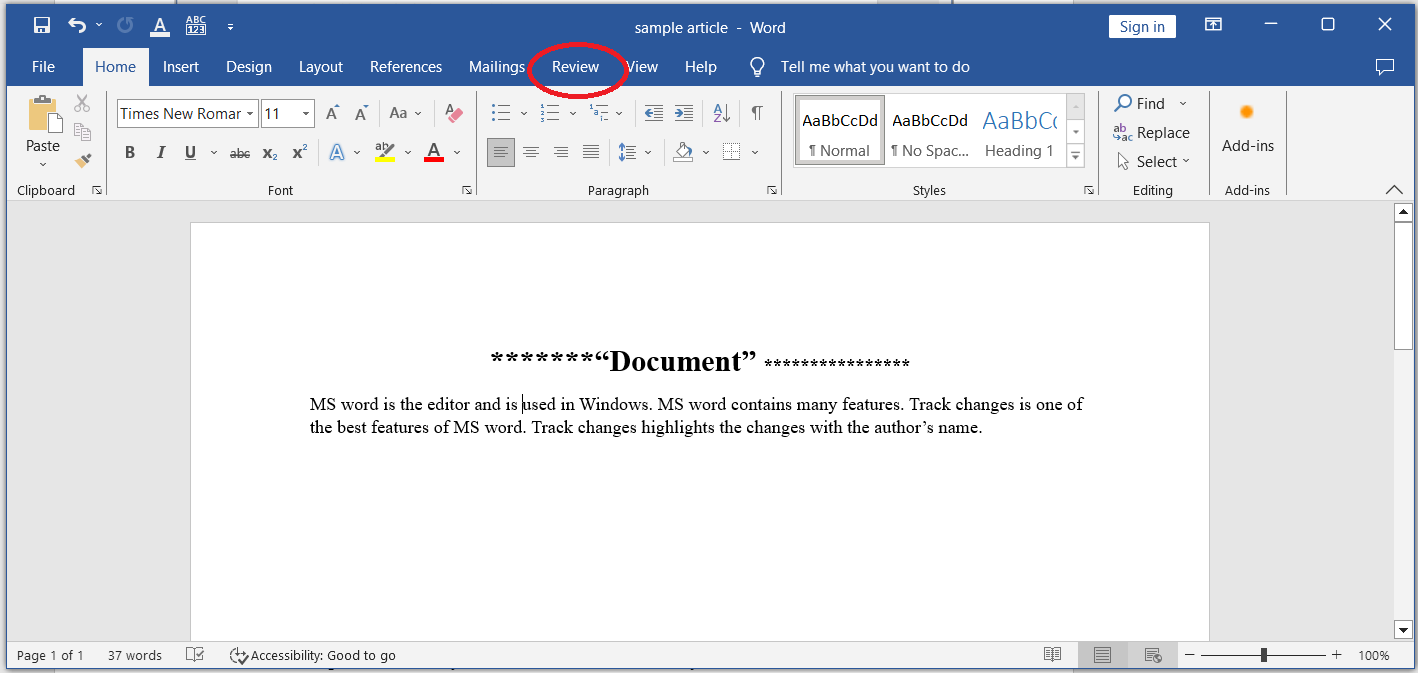
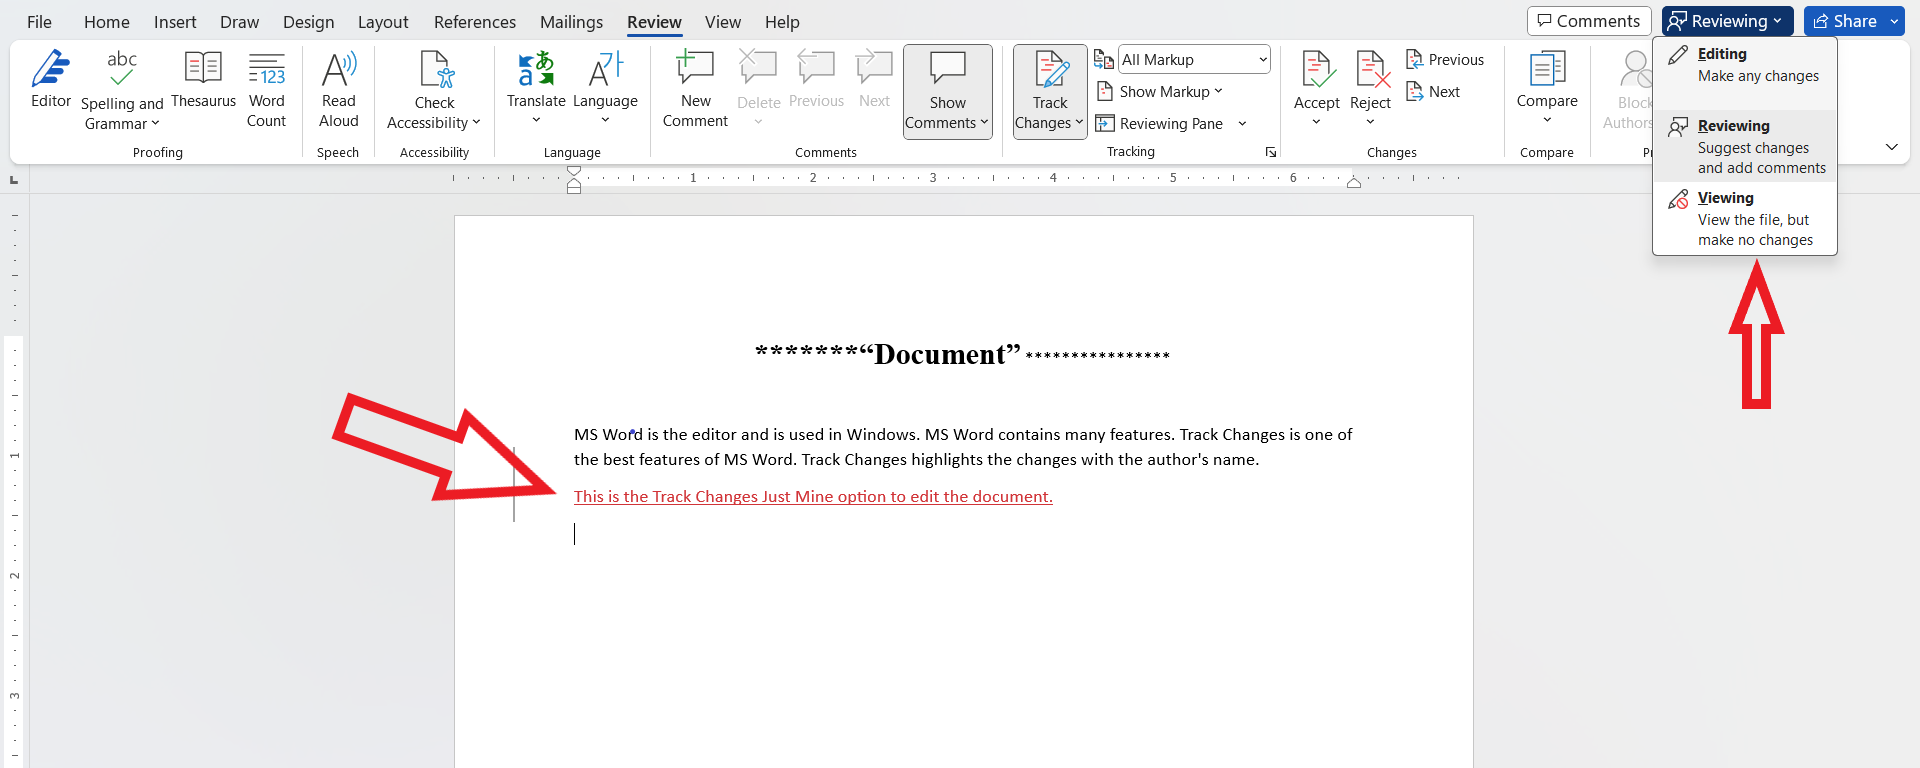
- Click on the “Review” tab from the menu bar of the MS Word document.
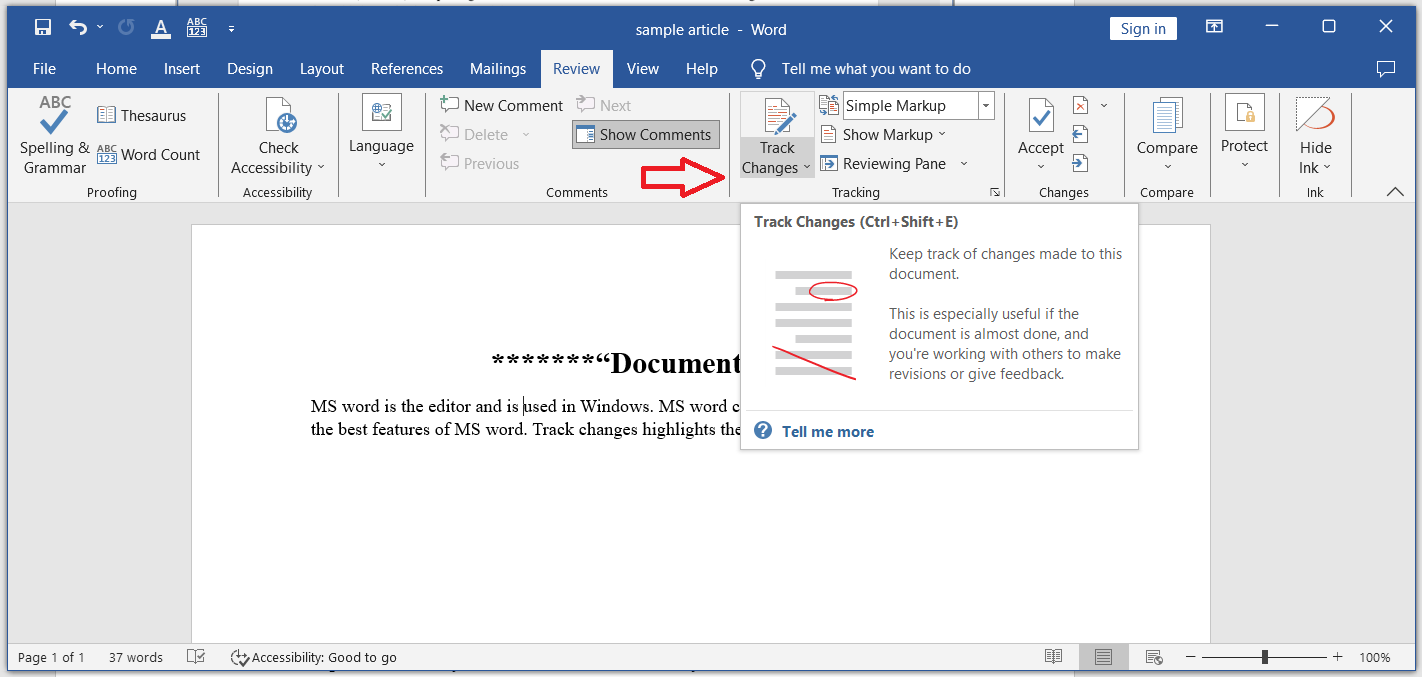
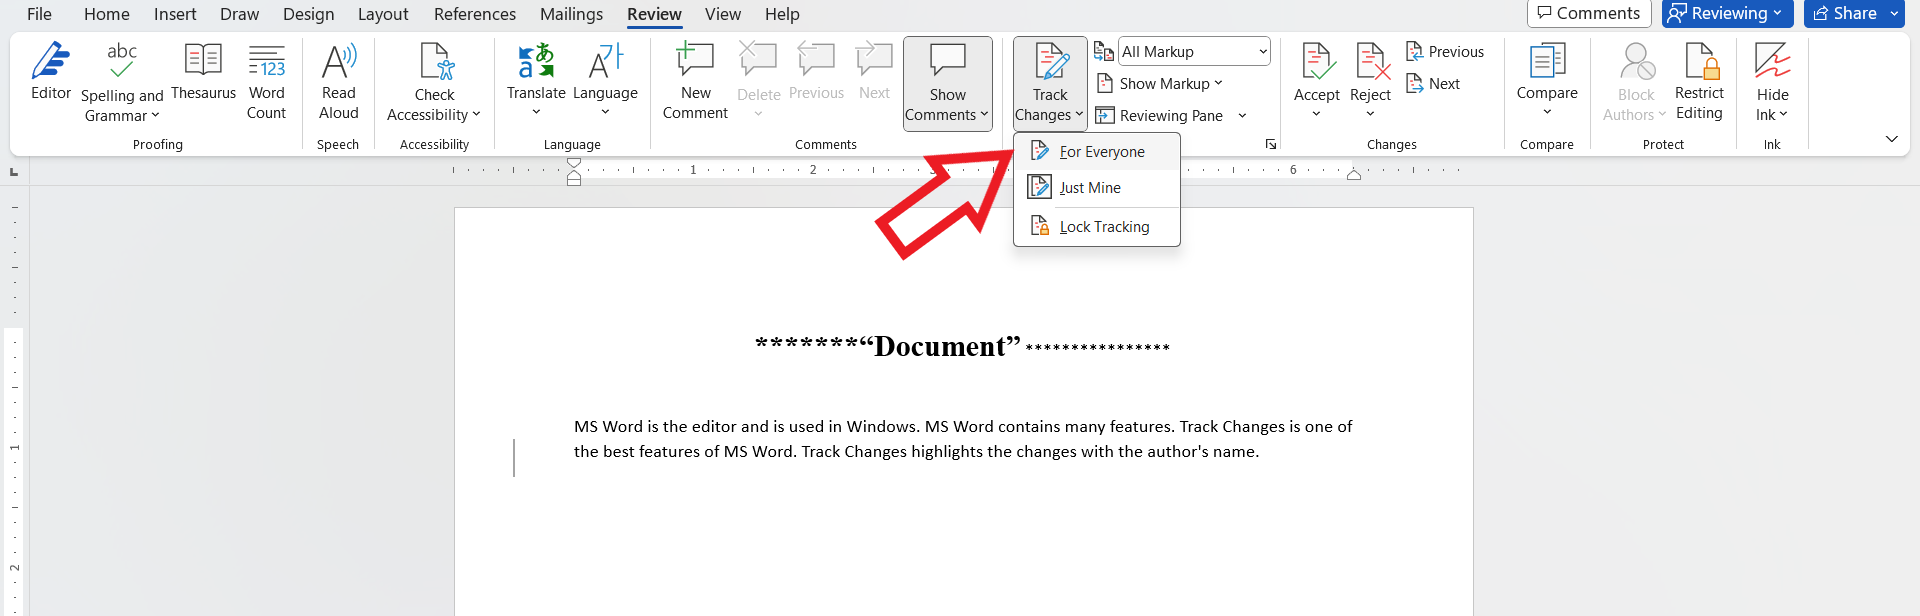
- Next, click on the “Track Changes” option under the “Tracking” group from the menu bar.
As we can see, “Track Changes” has a drop-down menu containing different options in which “For Everyone”, “Just Mine”, and “Lock Tracking” are included.
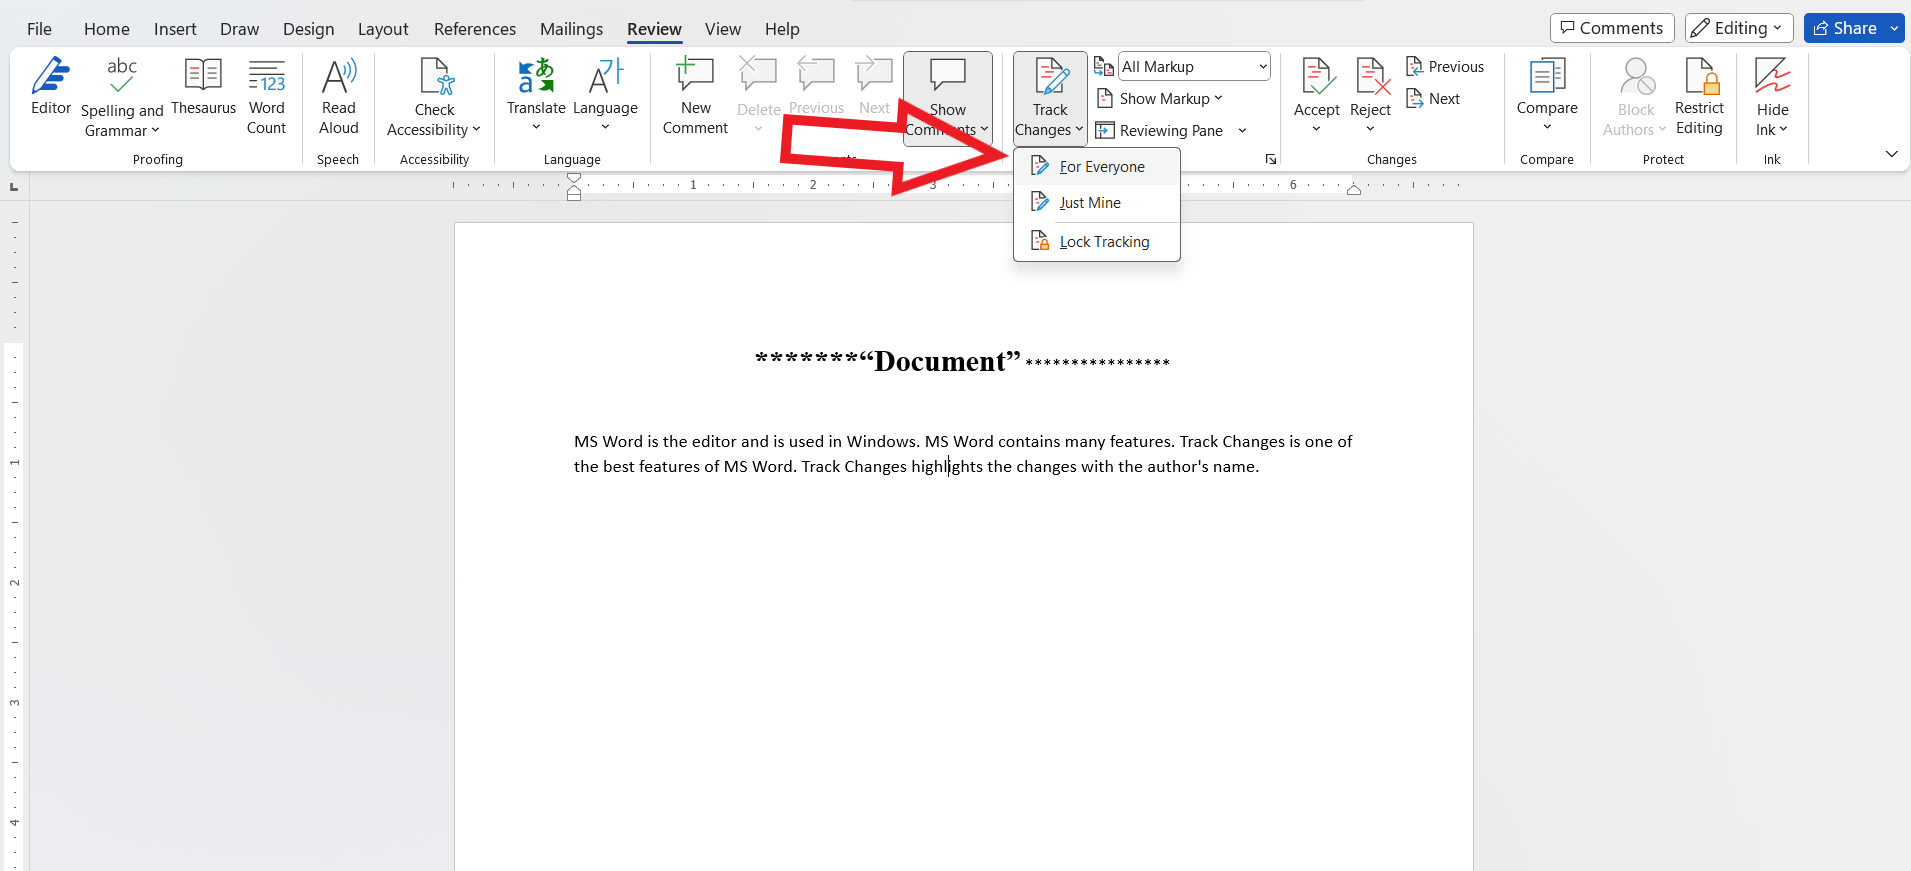
We select the “For Everyone” option if we want everyone to access this document and perform editing or reviewing. Their editing will be tracked and visible to everyone else.
We select the “Just Mine” option if we want to track and show only our changes in the document, and other people will not be able to make changes to our document.
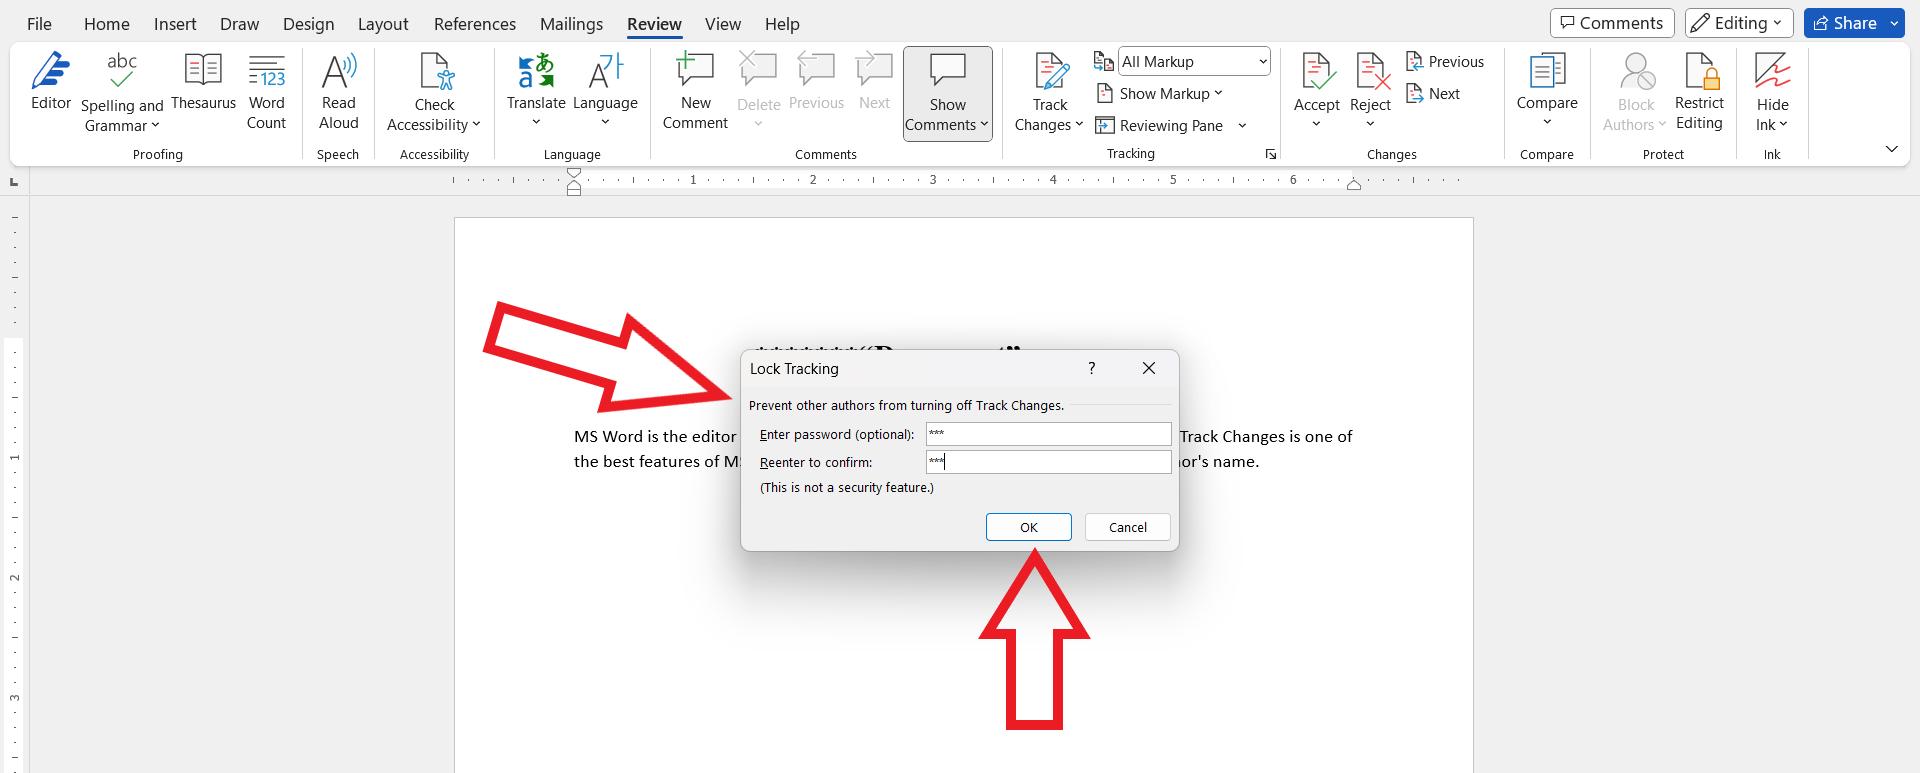
We select the “Lock tracking” option if we want to secure the changes applied to the document, and it will lock through the password. The editor will require a password to access the document. The screenshot of “Lock Tracking” is attached in the following:
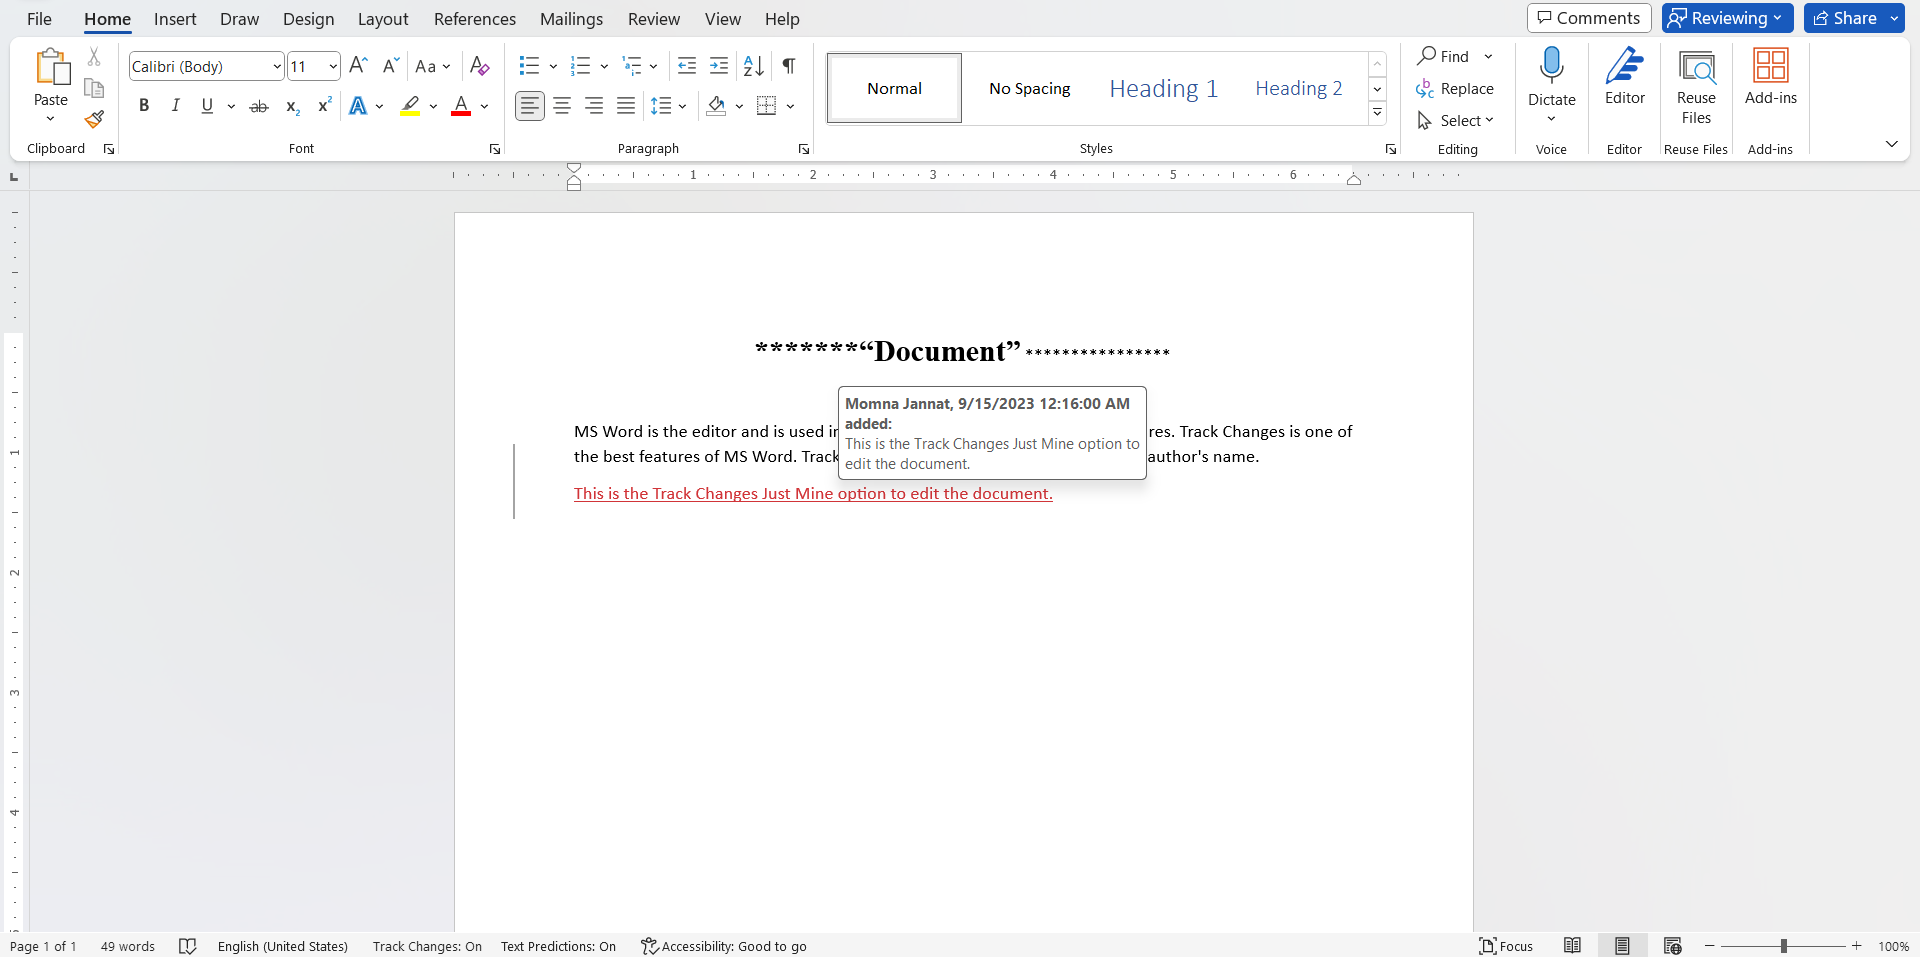
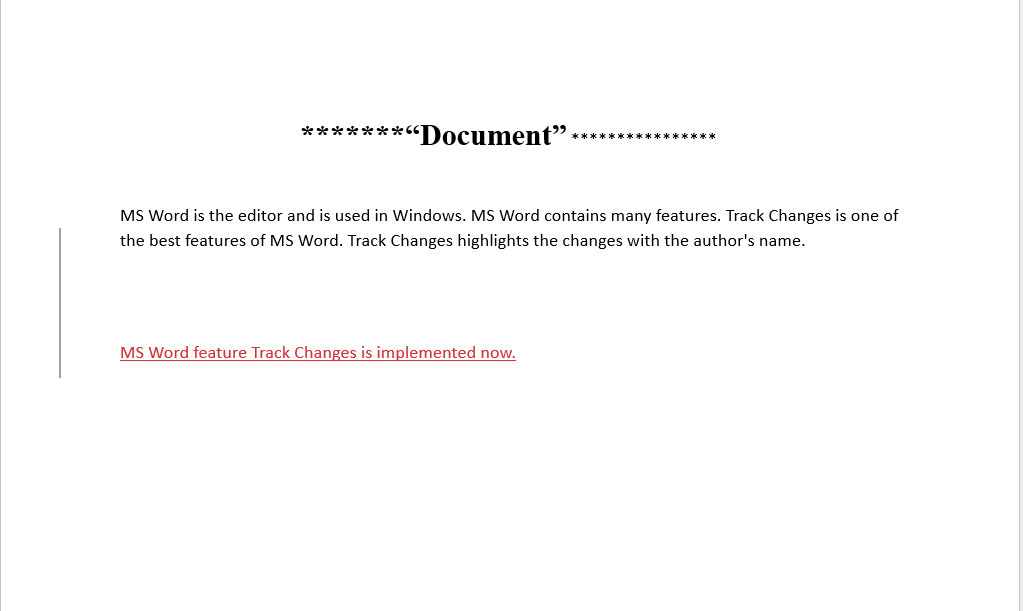
- Here, we select the “Just Mine” option and apply the changes. We can also provide the authority to review, view, or edit while sharing the file with another user.
When we hover over the red highlighted text, it shows us the details including the date and time, of the user who made the changes to the document.
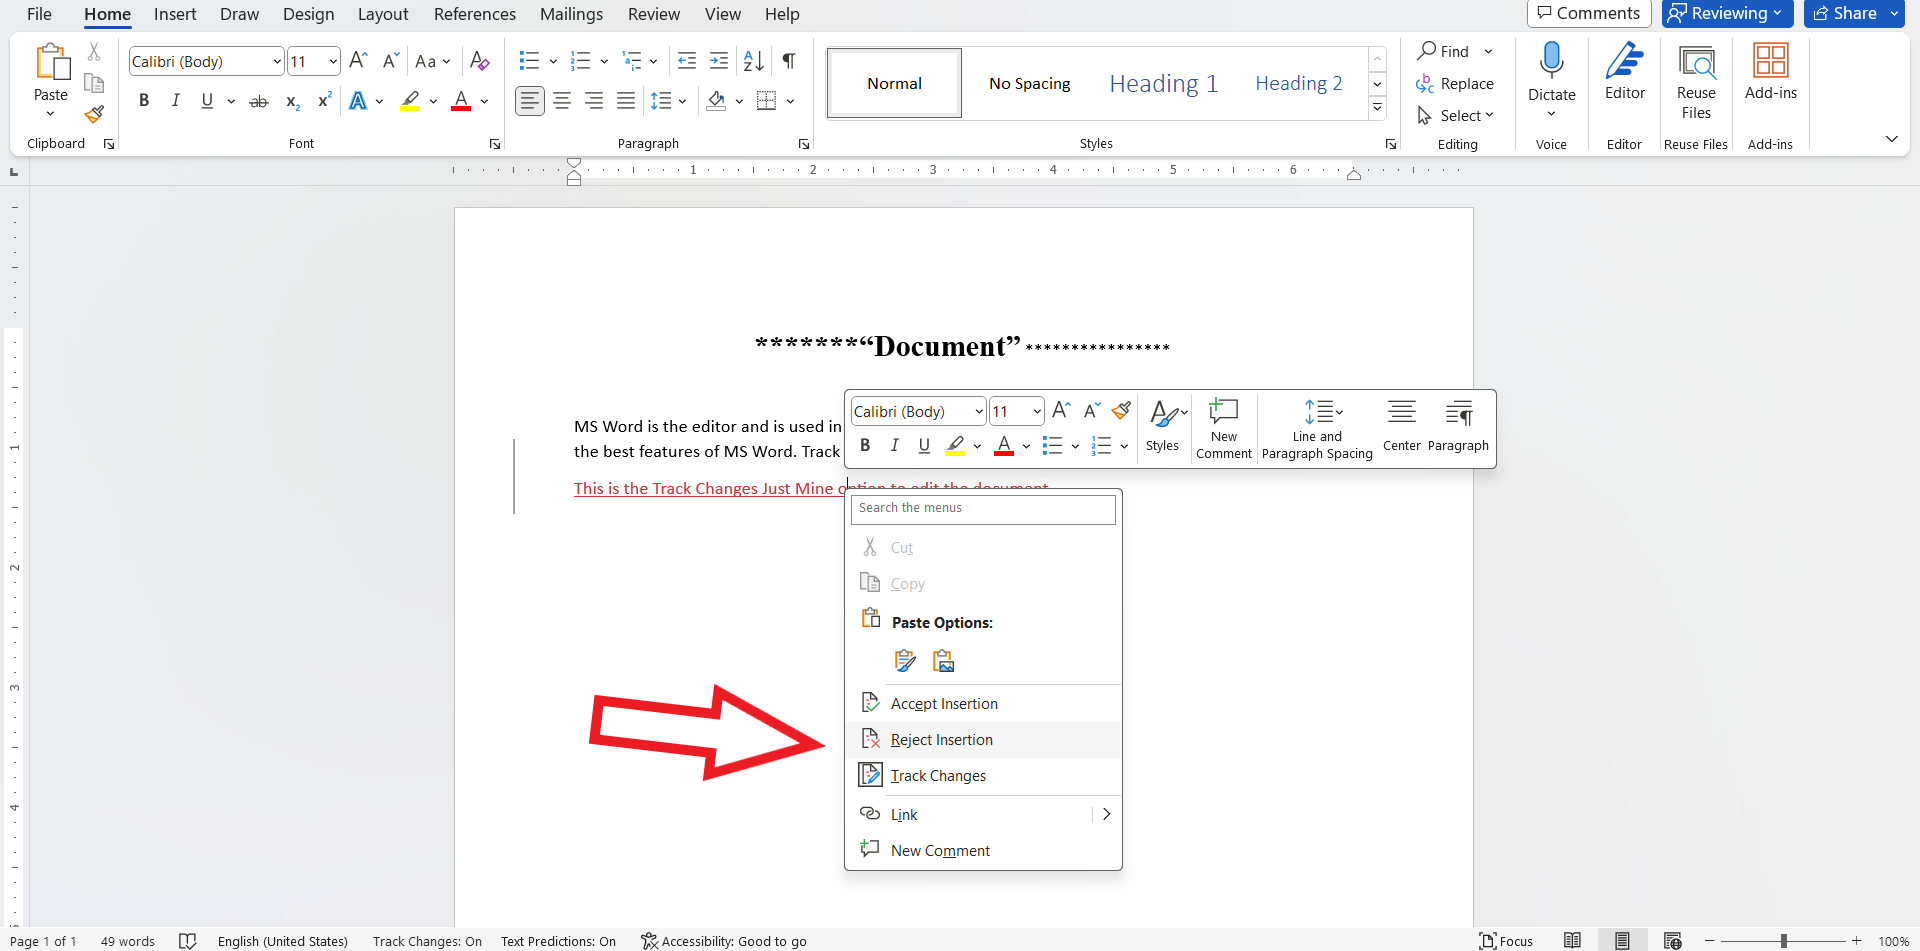
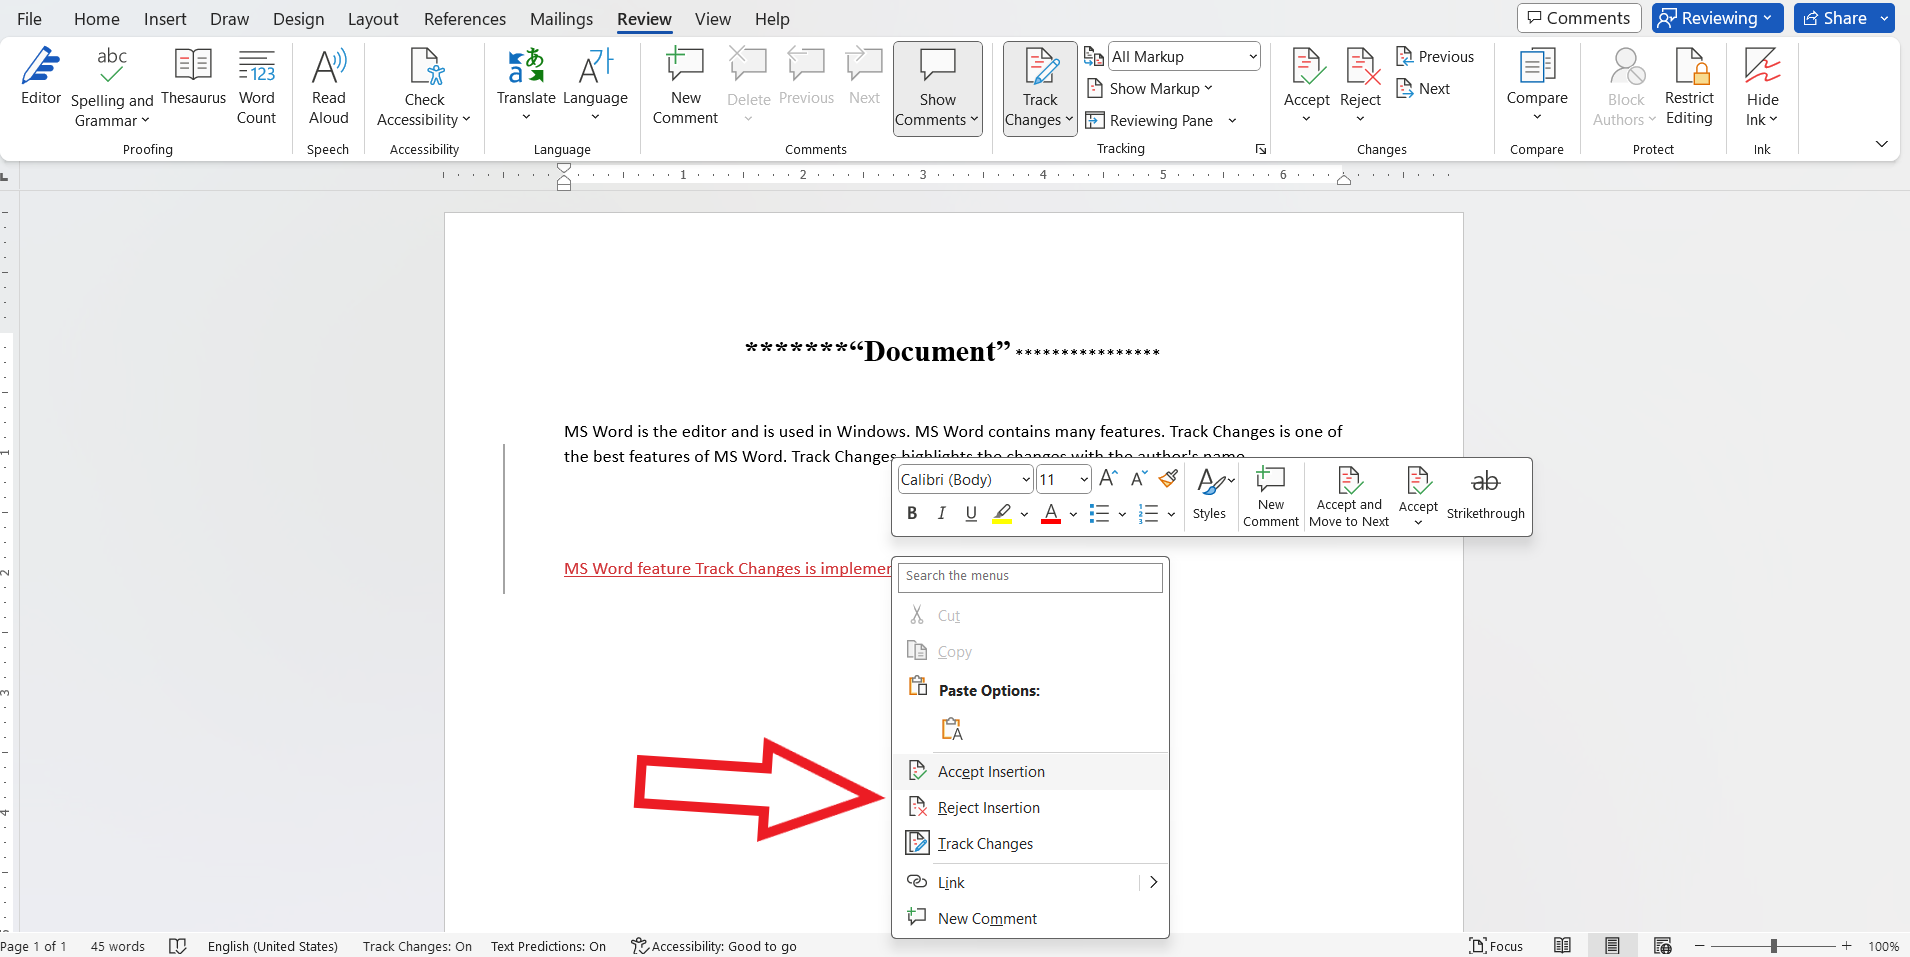
- Right-click on the red-highlighted text and select “Reject Insertion” to remove these changes from the document or save them by selecting the “Accept Insertion” option.
Method 2: Use the “Track Changes” Feature through a Status Bar
This is the second method to track our document changes correctly and properly. The status bar is the bottom area of the MS Word document. We can also set the “Track Changes” feature in MS Word with the help of the status bar by following these steps:
- Select the document on which the “Track Changes” need to be applied.
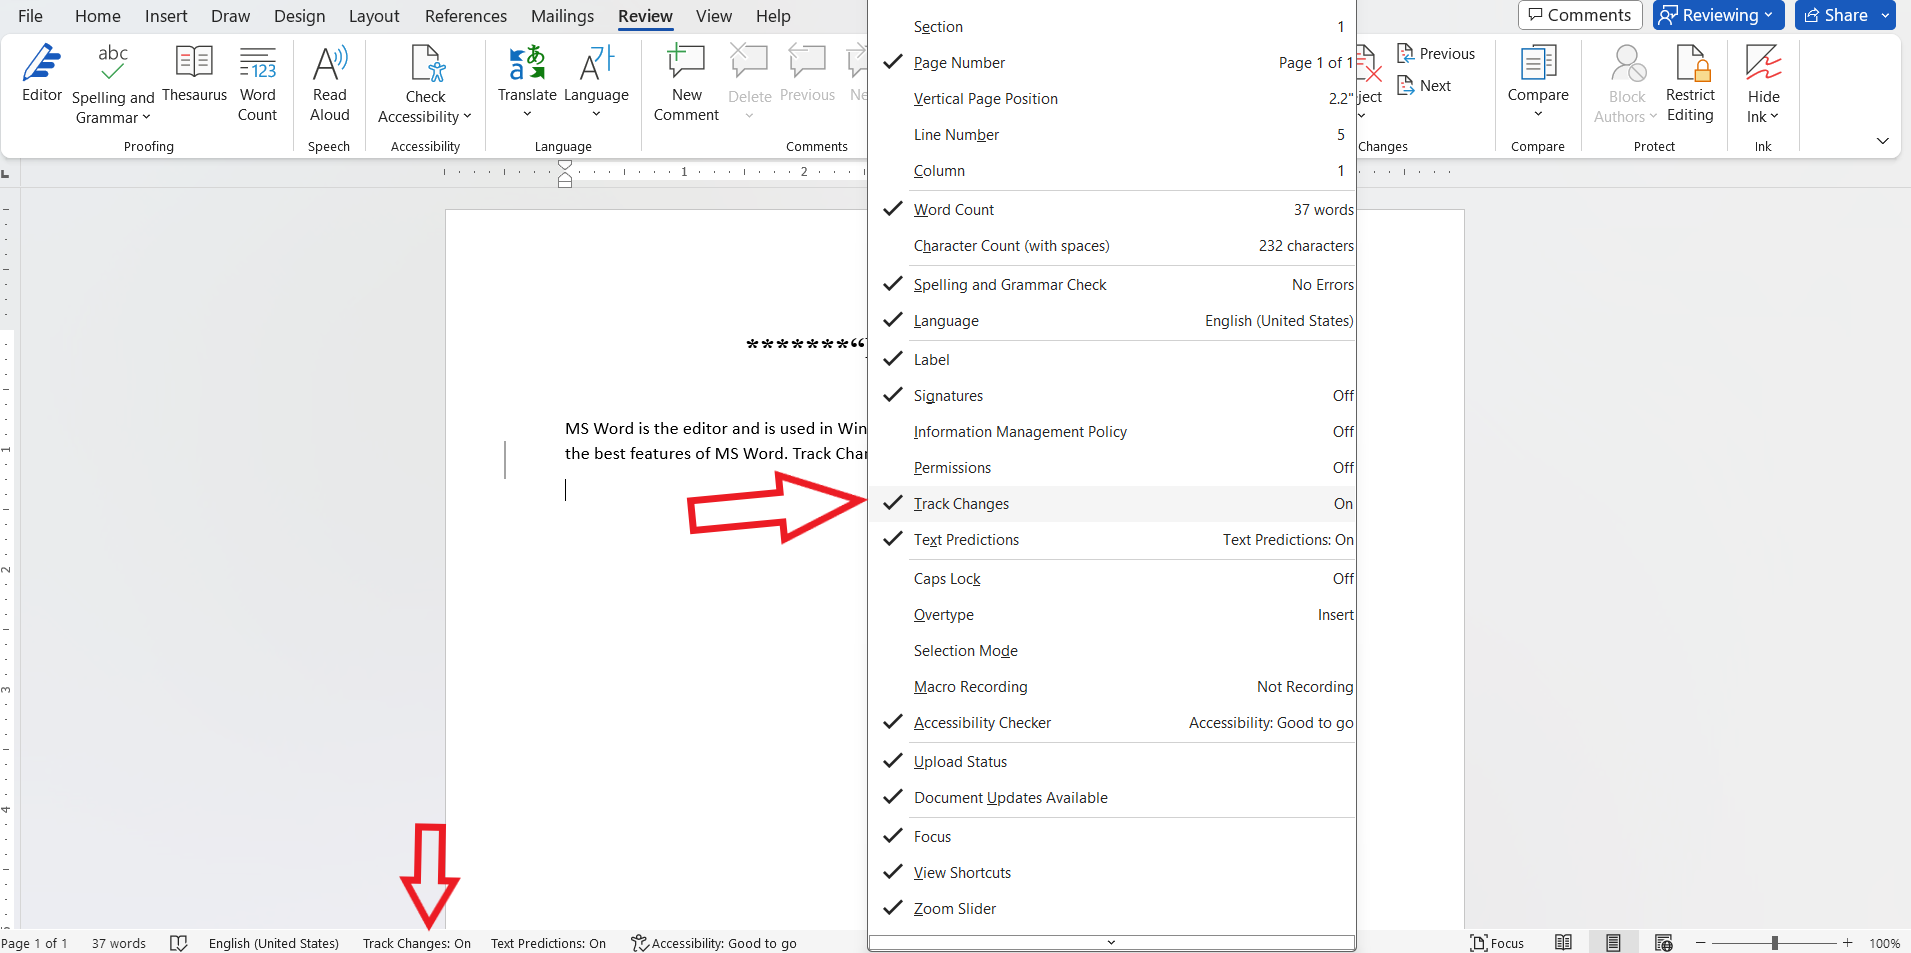
- Next, right-click on the status bar of the document window. The customize status bar options will appear. We can see that the “Track Changes” option is off and unchecked.
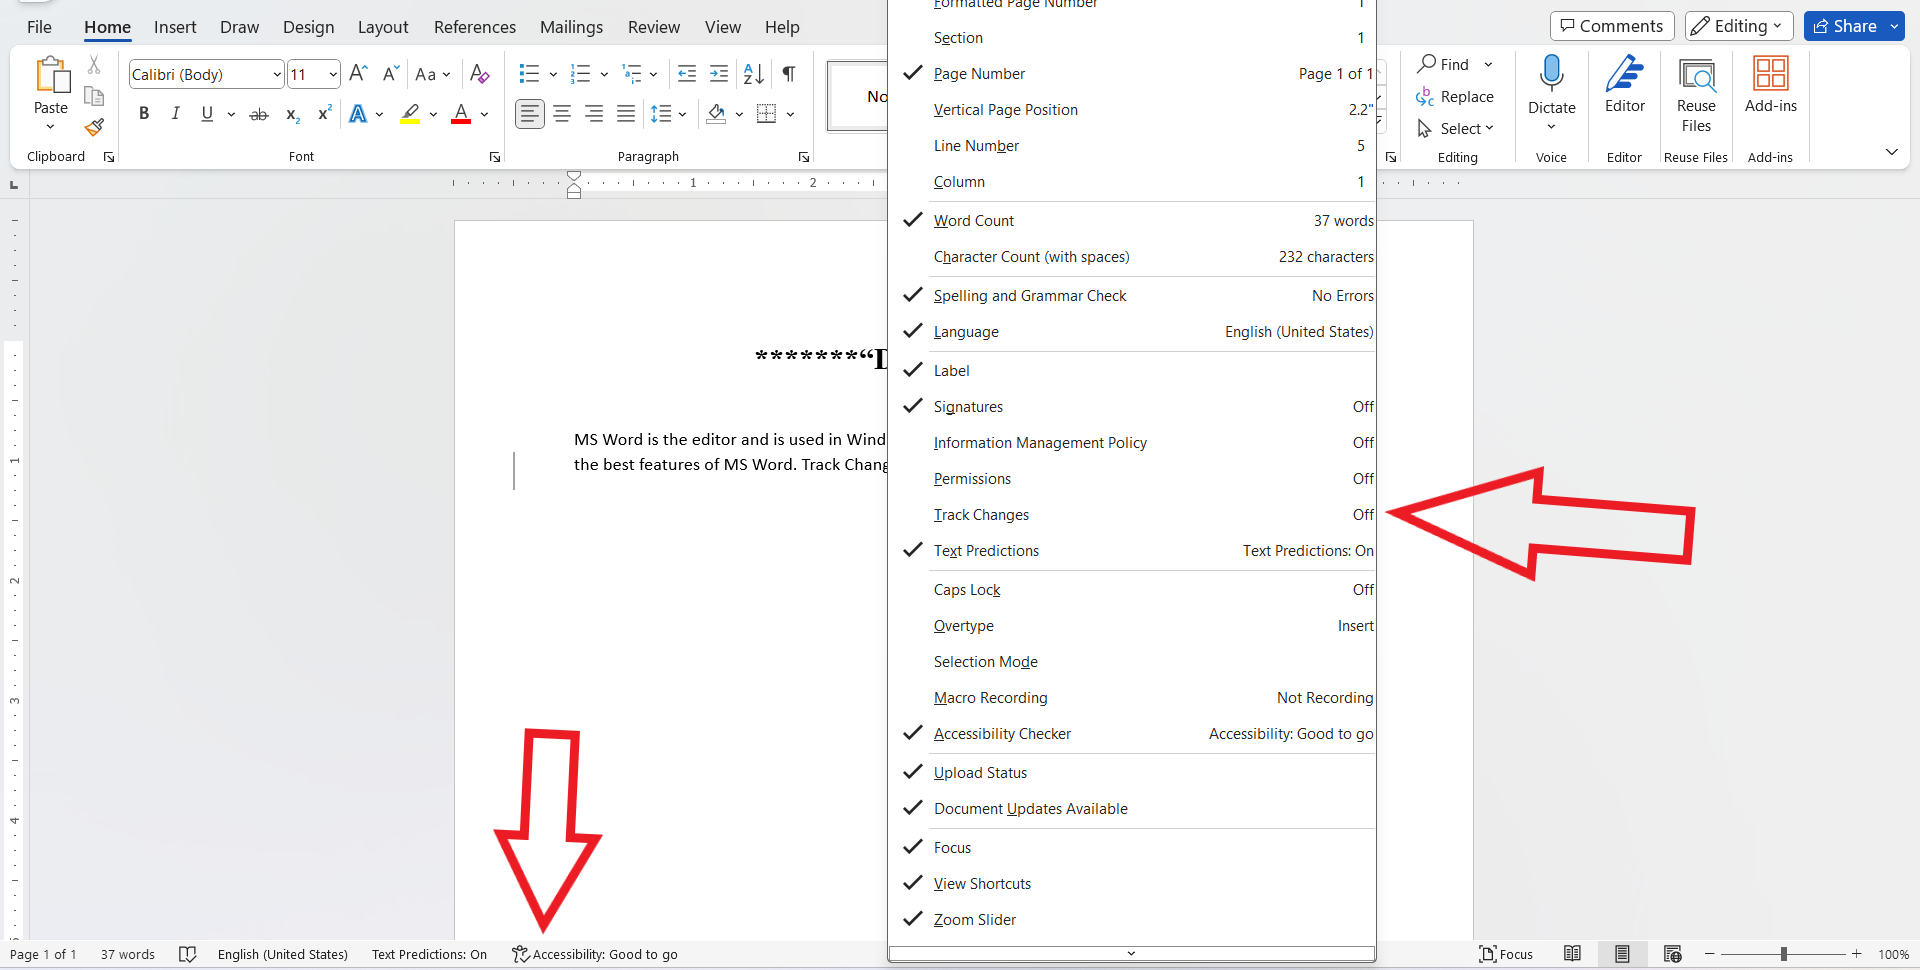
- Click on the “Track Changes” option to enable it and “Track changes: on” will appear on the status bar. After that, we can track the changes in our document.
- Now, select the “Track Changes” option. These options depend upon who will perform the changes to our document. Here, we select the “For Everyone” option. Now, every sharing file holder can change the document and the changes are tracked automatically.
We now made changes to the document. The changes always appear in red until we accept these changes and save them in the document permanently.
- Next, right-click on the red highlighted text and a pop-up will appear. Select the “Accept Insertion” option to accept all changes or select the “Reject Insertion” option to reject all changes that are made by the other user. After that, save the document.
- Click on “Accept Insertion” and save the document. The red highlighted text will turn black.
Method 3: Use the “Track Changes” Feature through the Shortcut Key
The “Track Changes” functionality in MS Word documents can be used in three ways, with this being the final one. In this method, we will learn how we can enable the “Track Changes” feature using the shortcut key. Let’s follow the steps:
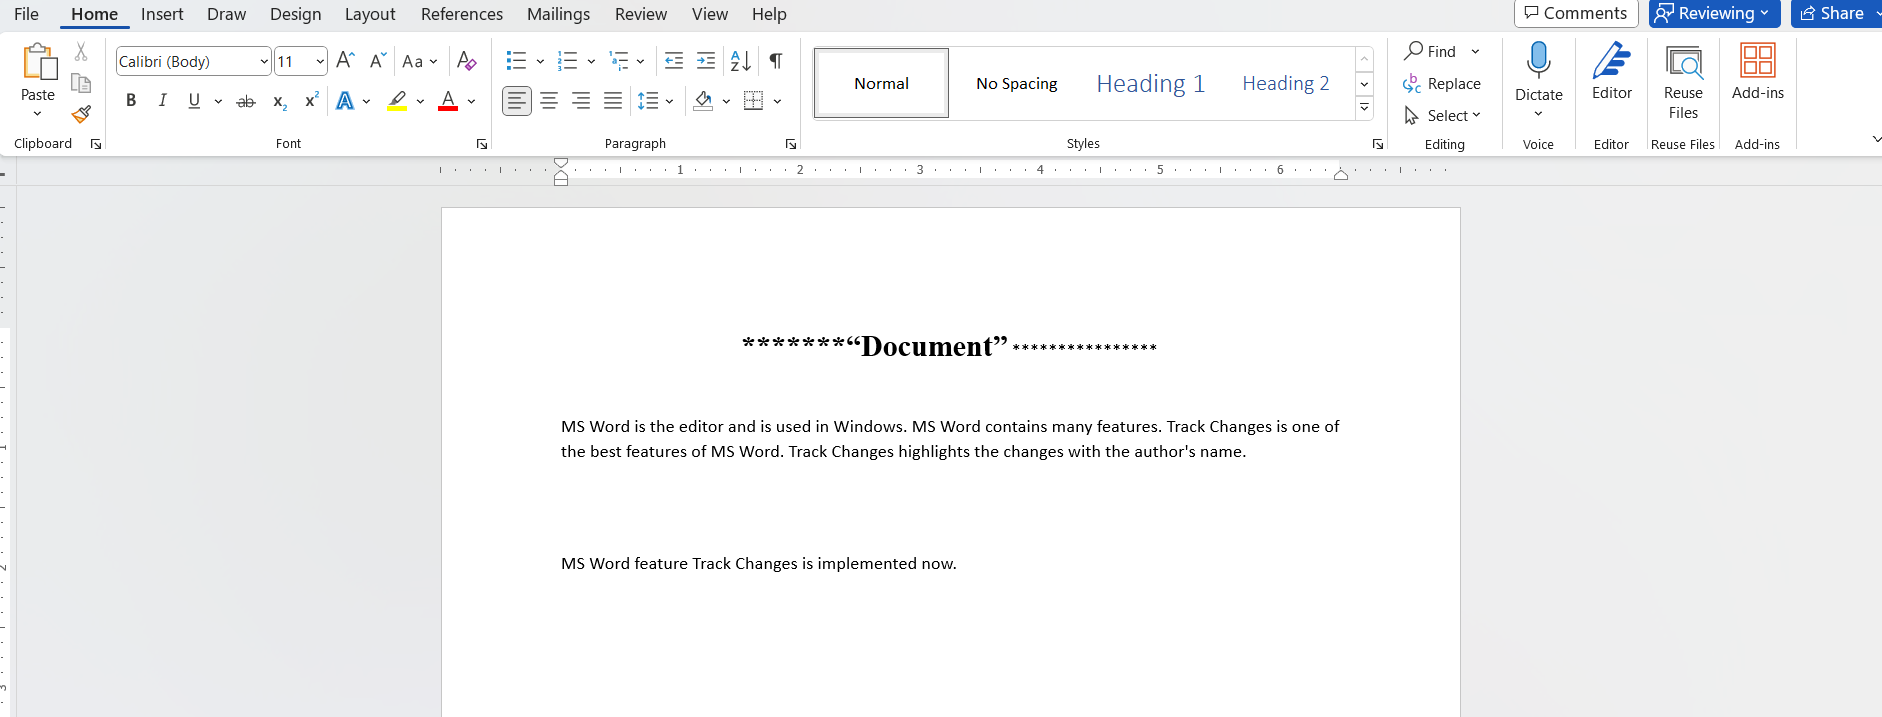
- Open the document on which the changes will be implemented.
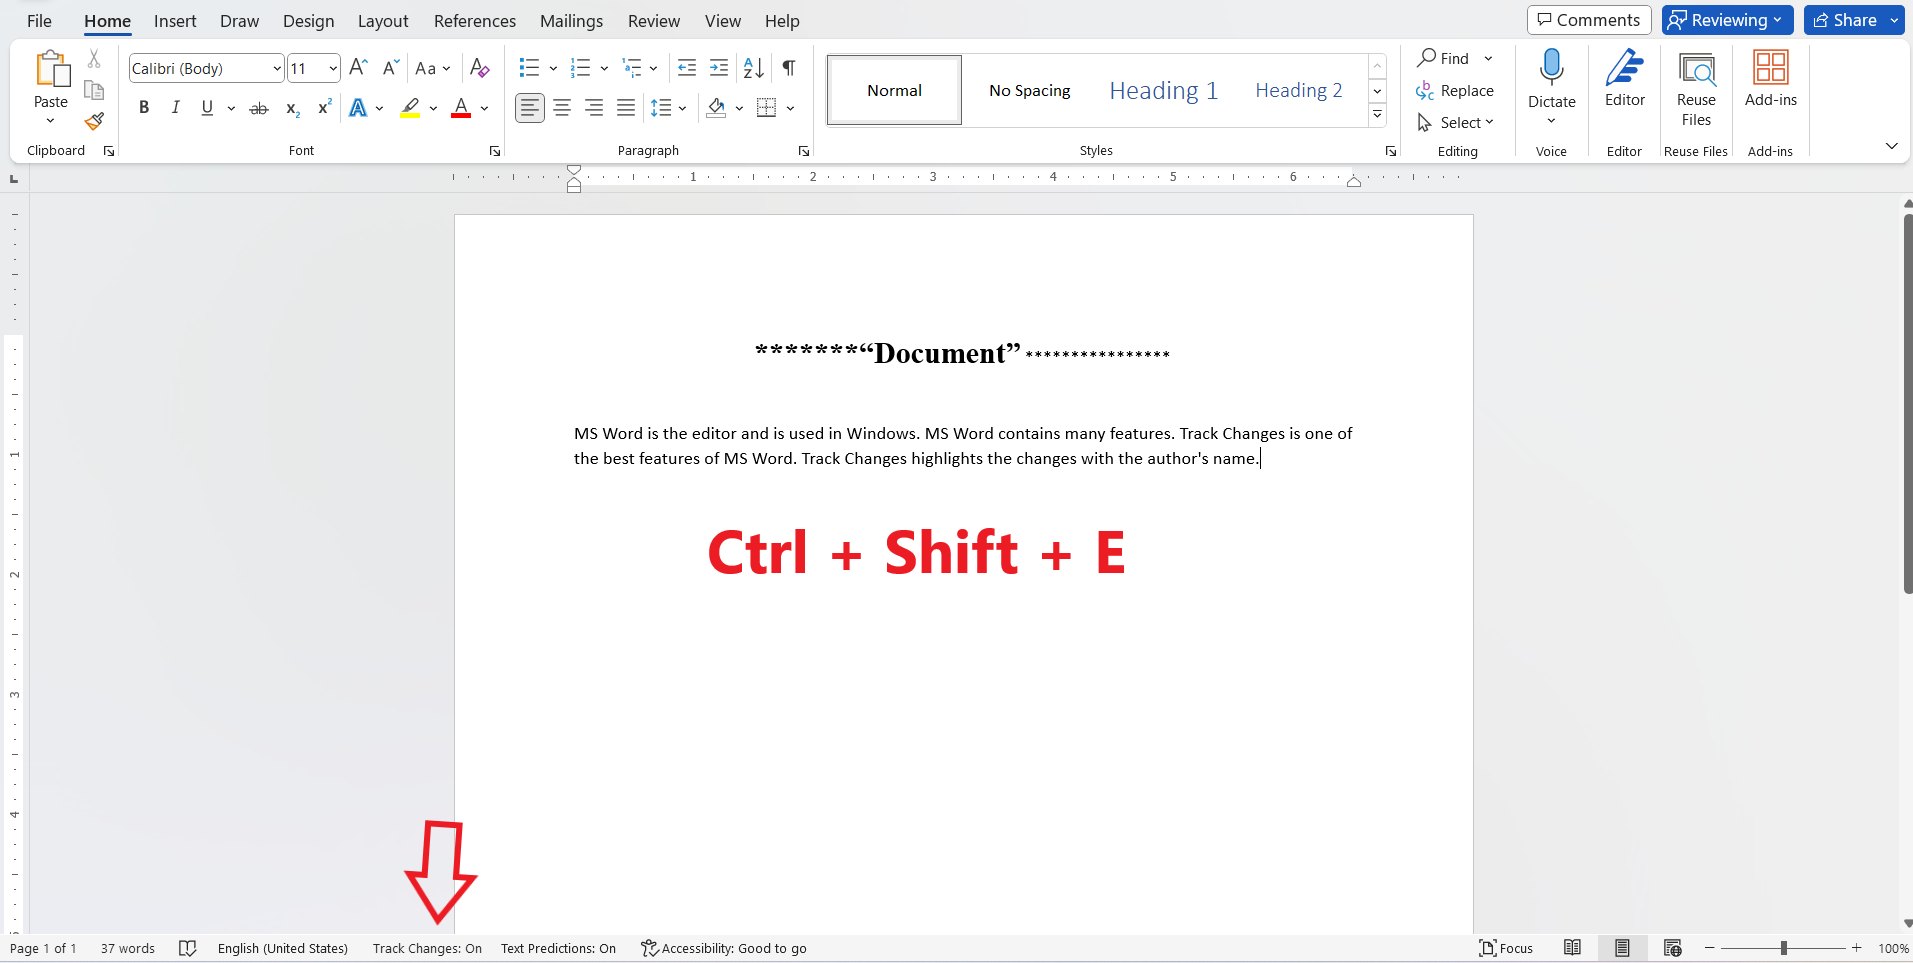
- Press the combination of the “Ctrl + Shift + E” keys from the keyboard to enable the “Track Changes” feature of MS Word. When we press the combination keys, the “Track Changes” option will turn “ON” on the status bar.
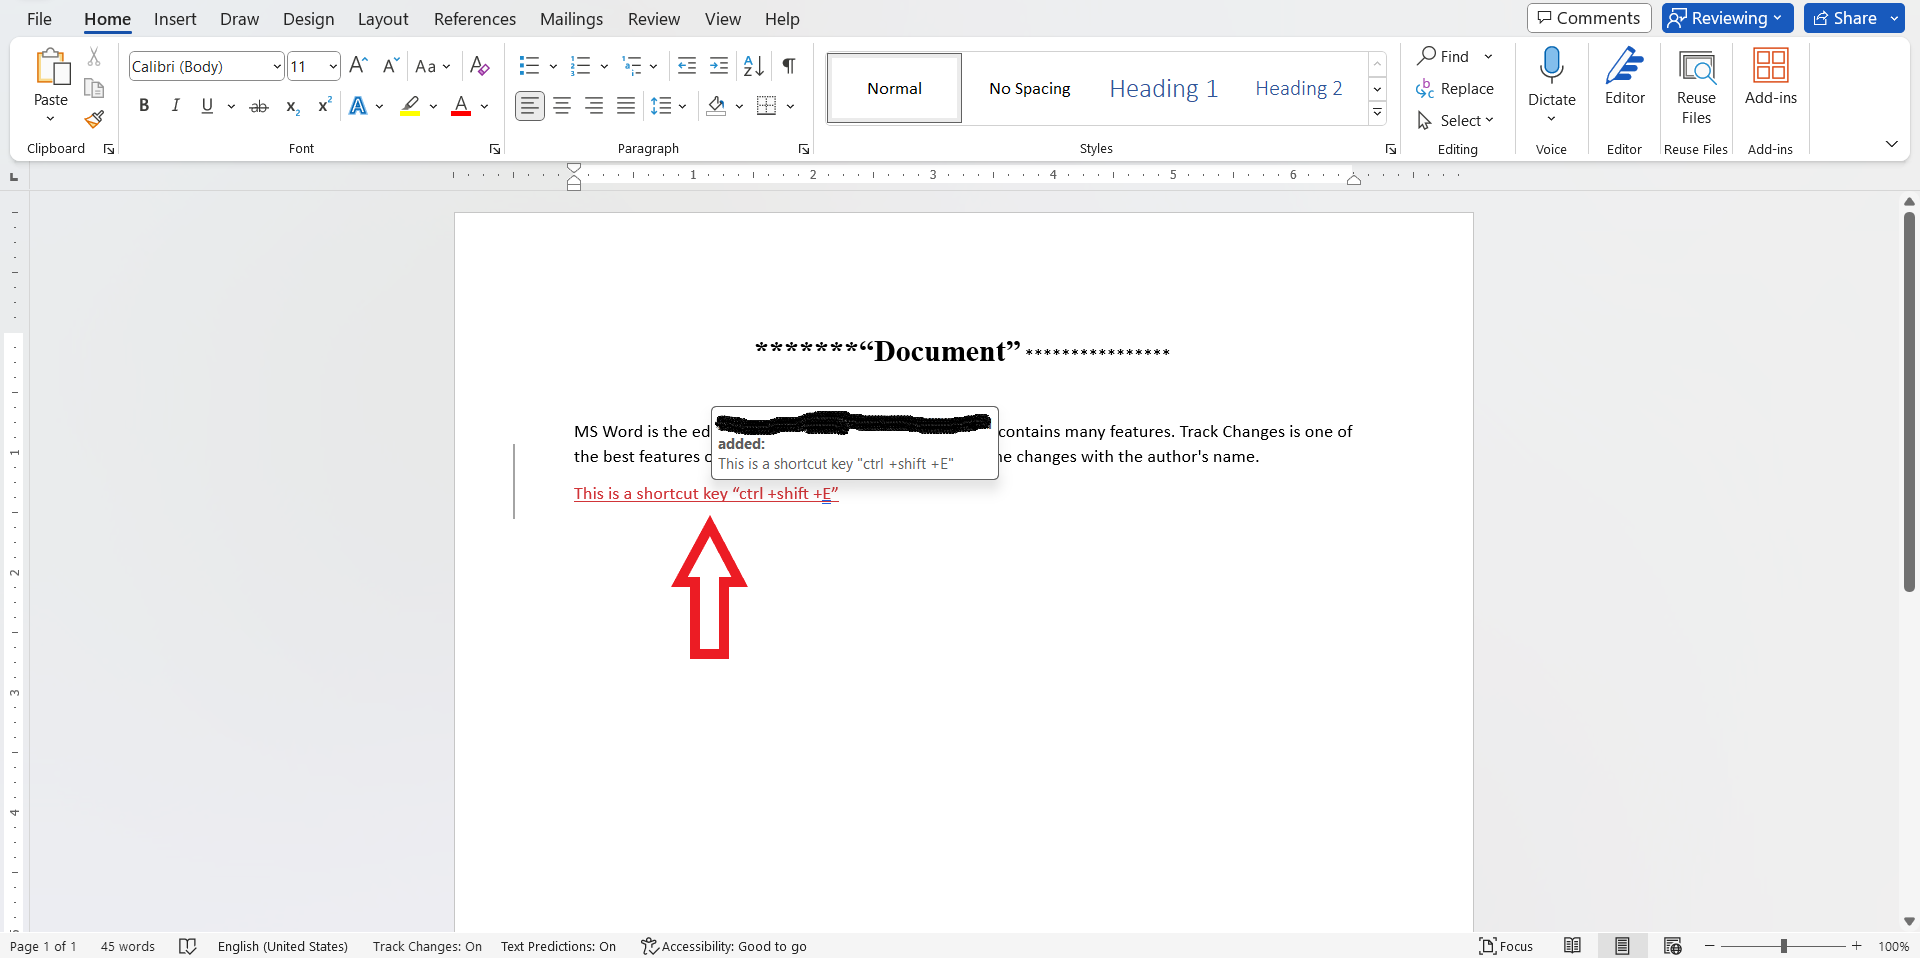
- After that, make changes to the document. All the changes and comments are noted and visible to all shareholders of the MS Word document.
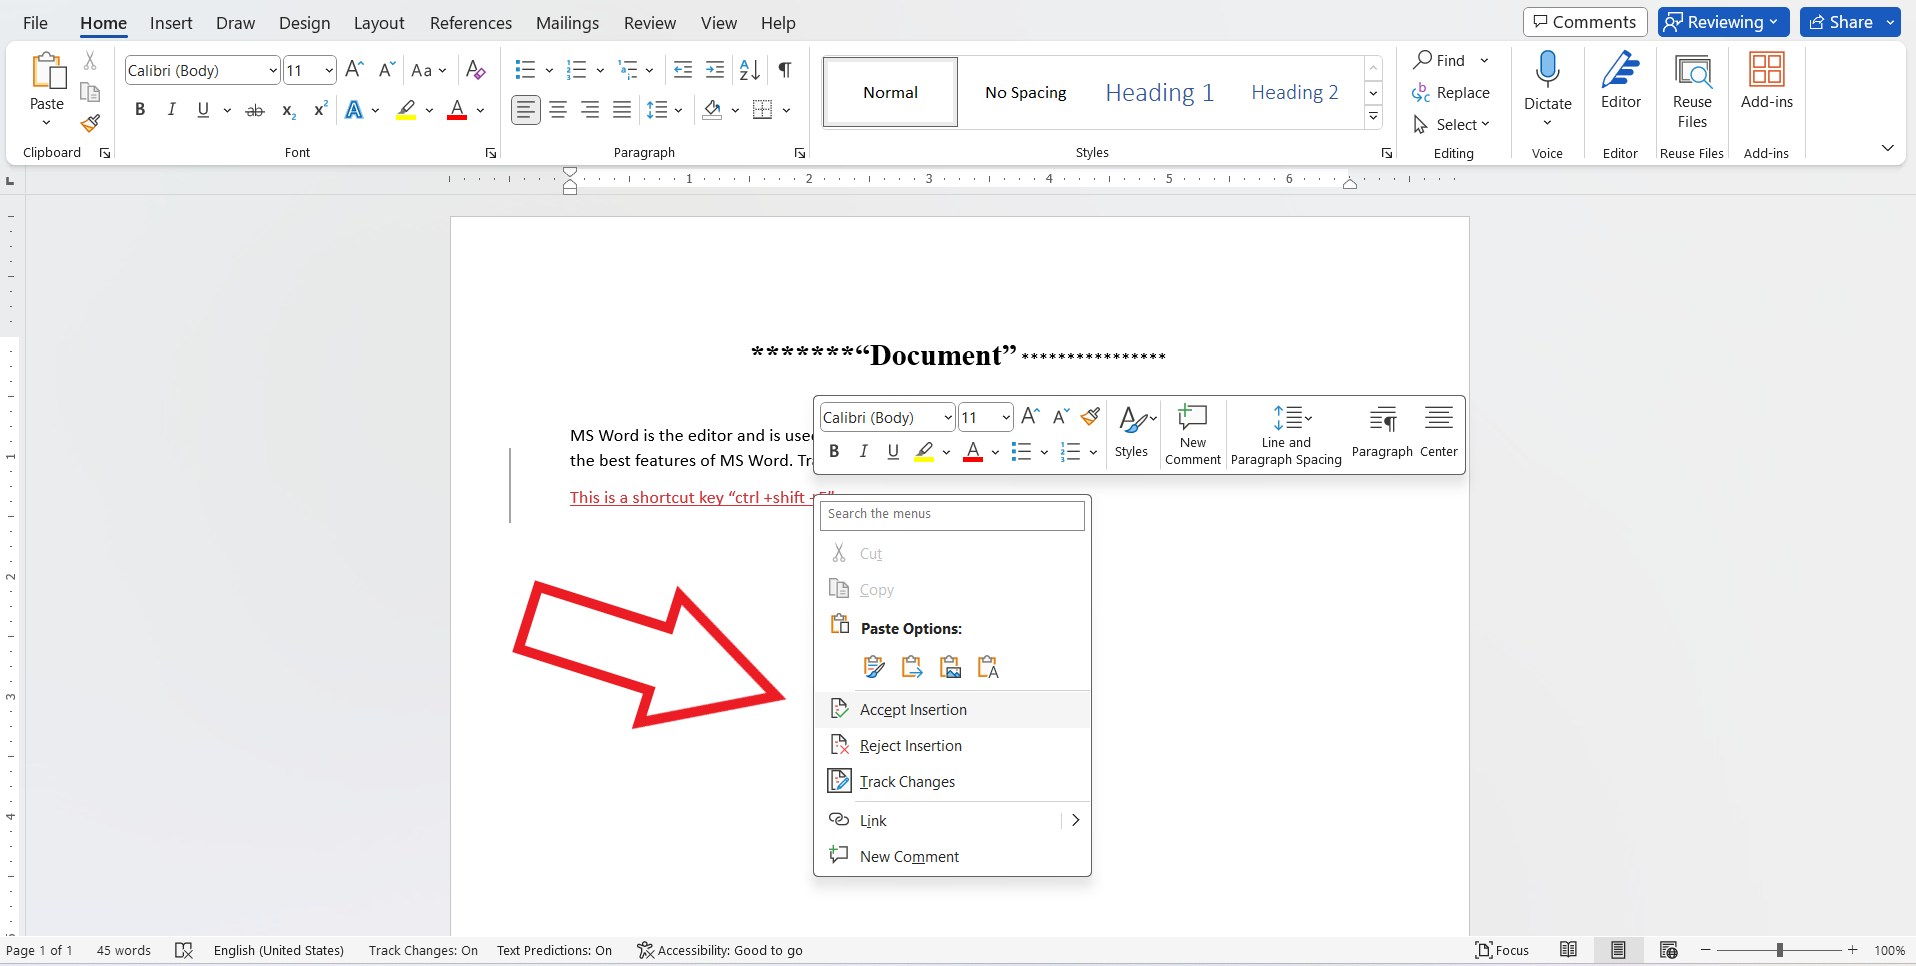
- Right-click on the new red highlighted text and select the “Accept Insertion” option to implement the changes in the document. The author of the file has the right to accept and reject the insertion, deletion, and update in the document.
- Again, press the “Ctrl + Shift + E” from the keyboard, and the “Track Changes” option will turn off or be disabled.
Conclusion
We can say that the “Track Changes” feature is very secure and advanced by tracing the records in the document. We just need to enable the “Track Changes” feature. With the help of this feature, we can add comments on every line or point and explain our actions easily and accurately. Here, we discussed the different methods through which we can turn on the “Track Changes” feature in MS Word with proper examples. Try these examples for better understanding.
Source: linuxhint.com