How to Take Screenshots from the Login Shell (CLI) of Ubuntu/Debian Server
Screenshots of your computer’s screen are necessary to show a friend or colleague how to do a specific task or your work progress. It’s very easy to take screenshots on the Ubuntu/Debian desktop operating systems. But what if you want to show something on the login shell (command line interface) of your Ubuntu/Debian server operating system? Luckily, you can take screenshots of the login shell/command line interface of your Ubuntu/Debian server operating system.
In this article, we will show you how to take screenshots of the login shell/command line interface of your Ubuntu/Debian server operating system.
Topic of Contents:
- Installing Fbcat on Ubuntu/Debian Server
- Syntax of the Fbgrab Program
- Taking Screenshots of the Current Ubuntu/Debian Server Login Shell
- Taking Delayed Screenshots of the Current Ubuntu/Debian Server Login Shell
- Switching to a Different Interactive Shell (TTY) on Ubuntu/Debian Server
- Taking Screenshots of a Specific Interactive Shell (TTY) of Ubuntu/Debian Servers
- Taking Delayed Screenshots of a Specific Interactive Shell (TTY) of Ubuntu/Debian Servers
- Conclusion
- References
Installing Fbcat on Ubuntu/Debian Server
To take screenshots of the login shell/command line interface of your Ubuntu/Debian server, you need the fbgrab program. The fbgrab program is part of the fbcat package. The fbcat package is available in the official package repository of Ubuntu/Debian. So, it’s very easy to install on Ubuntu/Debian server.
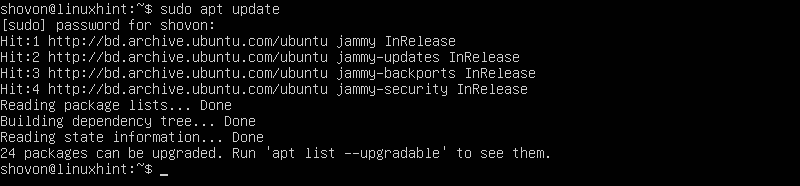
First, update the APT package repository cache with the following command:
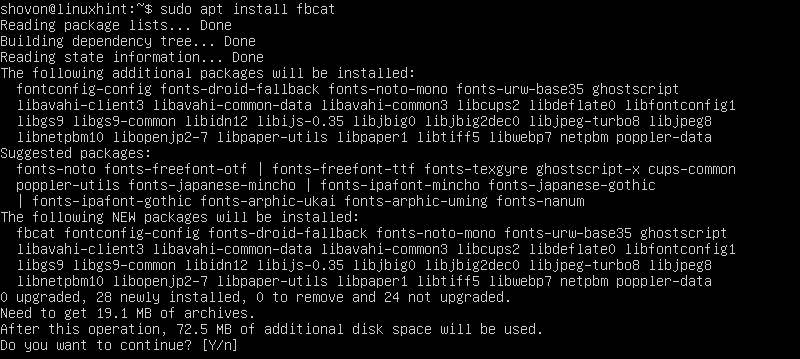
To install the fbcat package on Ubuntu/Debian server, run the following command:
![]()
To confirm the installation, press Y and then press <Enter>.
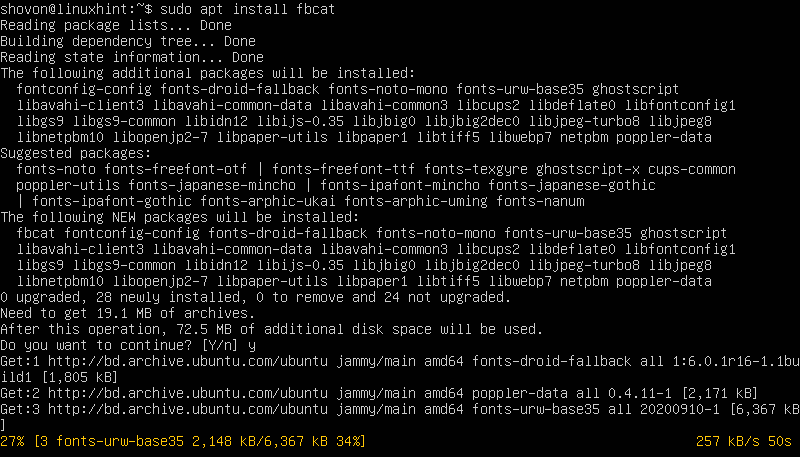
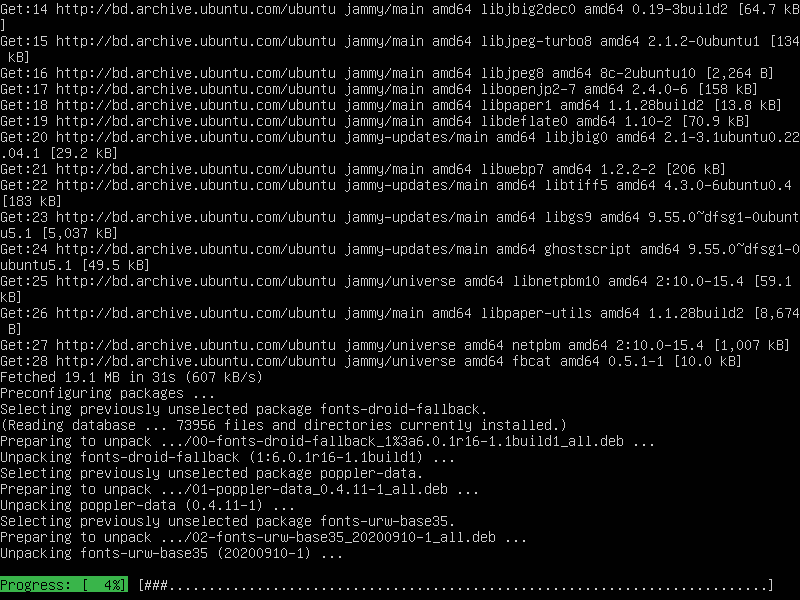
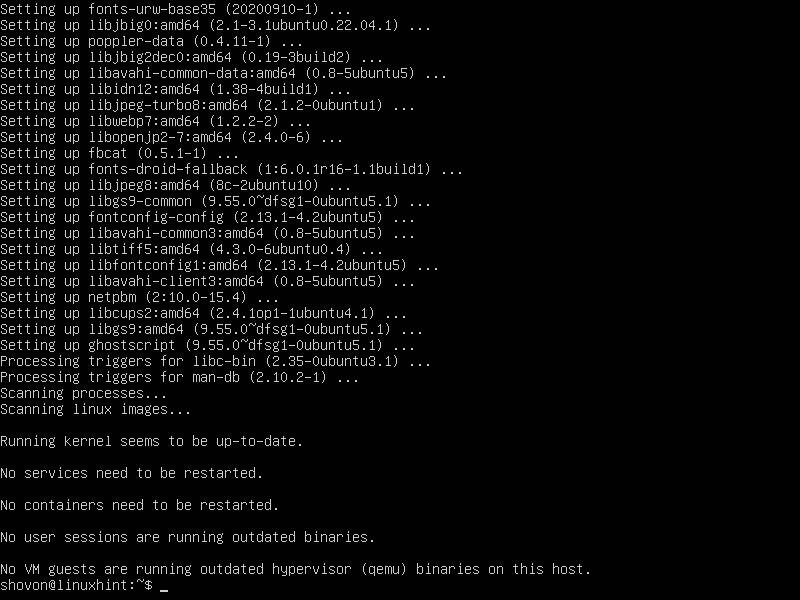
The APT package manager should start downloading fbcat and all the required dependency packages. It takes a while to complete.
Once the packages are downloaded, the APT package manager installs them. It takes a while to complete.
At this point, the fbcat package should be installed.
Syntax of the Fbgrab Program
The format of the fbgrab program that you will use to take screenshots of the login shell or command line interface of Ubuntu/Debian servers is as follows:
Here, <options> are the supported fbgrab options that you can use to control the behavior of the fbgrab.
The <image-save-path> is the absolute path (i.e. /mnt/screenshots/image01.png) or relative path (i.e. ~/Photos/image01.png, ./screenshots/image01.png) where you want to save the screenshot image file. The fbgrab saves the screenshot images in PNG format. So, the image files end with the .png (the PNG extension) text.
Taking Screenshots of the Current Ubuntu/Debian Server Login Shell
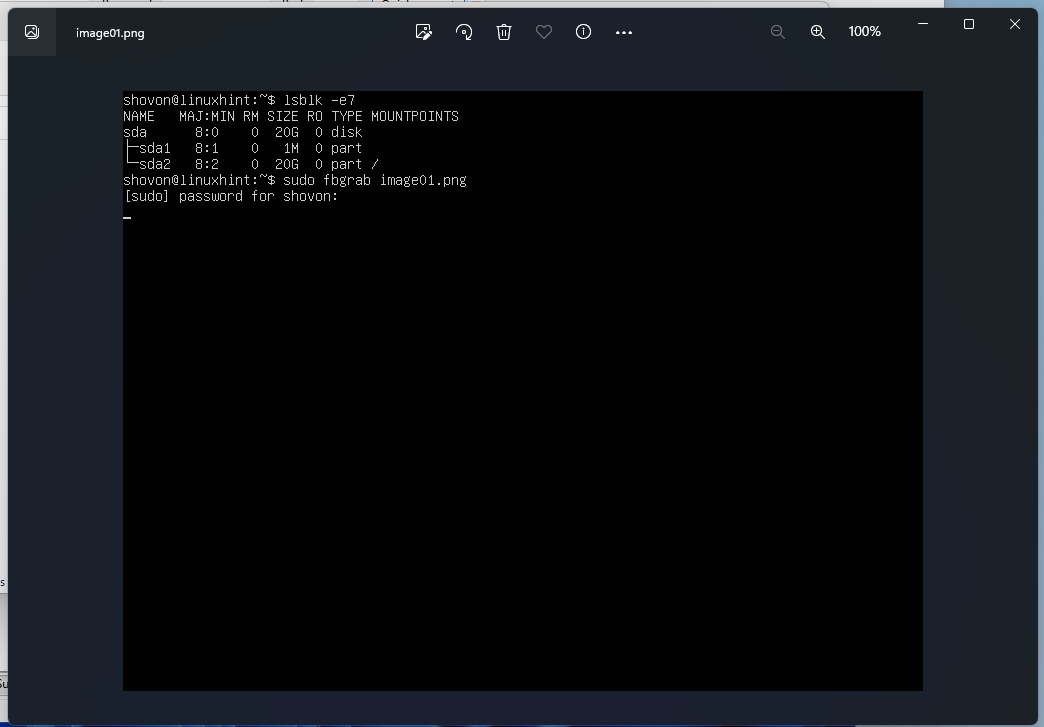
To take a screenshot of the current shell of the Ubuntu/Debian server and save it in the current working directory as the PNG image file – image01.png, run the following command:
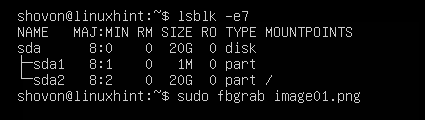
The screenshot of the current Ubuntu/Debian server shell should be taken.
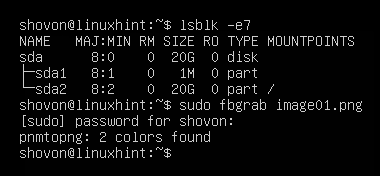
A new image file which is “image01.png” should be created in the current working directory of your Ubuntu/Debian server.
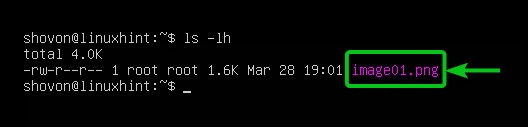
You can access the Ubuntu/Debian server via SFTP or Filezilla and download and view the screenshot file. As you can see, the screenshot of the current login shell/command line interface of our Ubuntu server is taken correctly.
Taking Delayed Screenshots of the Current Ubuntu/Debian Server Login Shell
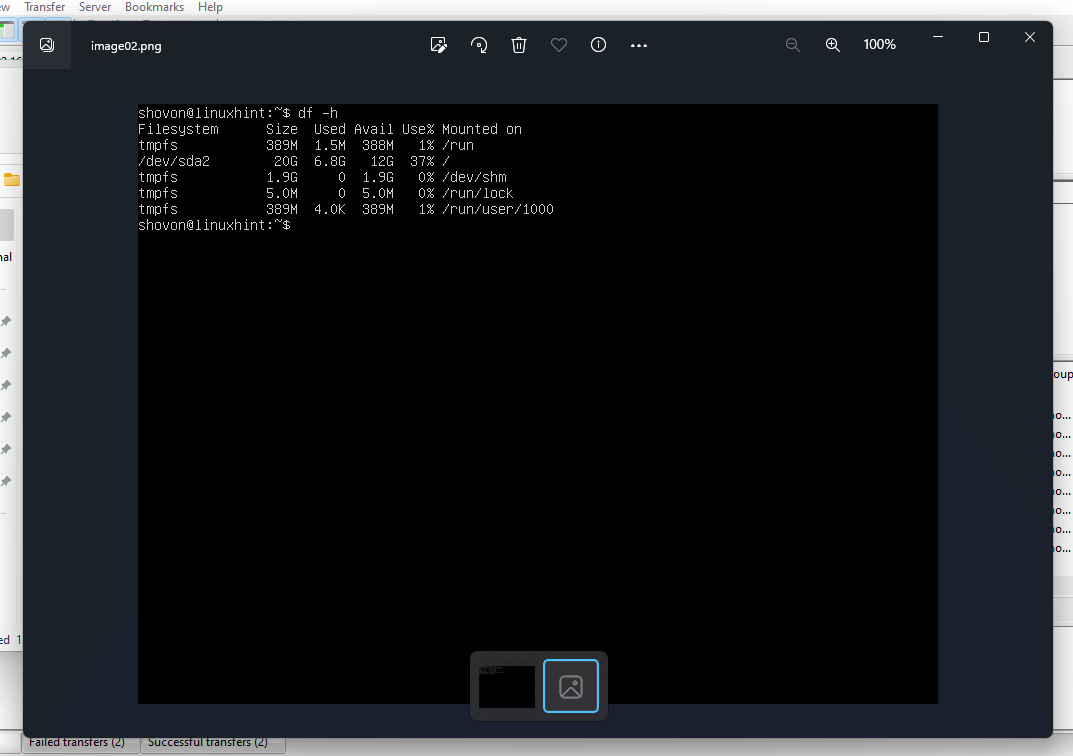
To take a screenshot of the current shell of the Ubuntu/Debian server after 10 seconds (let’s say) and save it in the current working directory as the PNG image file – image02.png, run the following command:

Now, populate the current login shell/command line interface with the information that you want to take a screenshot of, and a screenshot is taken after 10 seconds.
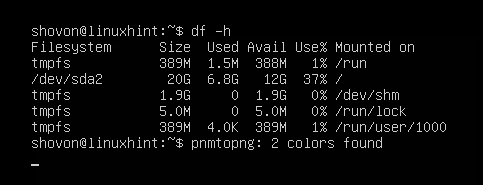
Press <Enter> once to get back to the command prompt.
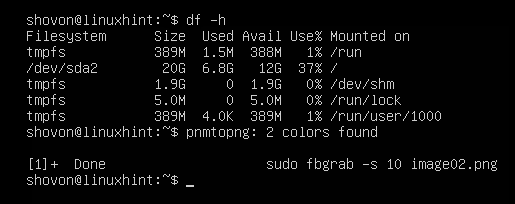
A new image file which is “image02.png” should be created in the current working directory of your Ubuntu/Debian server.
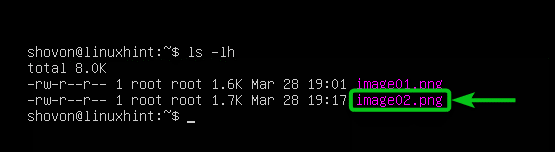
You can access the Ubuntu/Debian server via SFTP or Filezilla and download and view the screenshot file. As you can see, the screenshot of the current login shell/command line interface of our Ubuntu server is taken correctly.
Switching to a Different Interactive Shell (TTY) on Ubuntu/Debian Server
Another way to take screenshots of the login shell/command line interface of your Ubuntu/Debian server is to use two different interactive shells. One is which you want to take screenshots of and another one to run the fbgrab program to take screenshots.
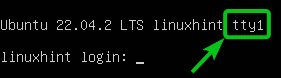
On Ubuntu/Debian server, you can switch between 6 interactive shells (TTYs). The default interactive shell is “tty1”. The other interactive shells are called “tty2”, “tty3”, “tty4”, “tty5”, and “tty6” respectively.
You can change the interactive shell (TTY) of your Ubuntu/Debian server using the <Ctrl> + <Alt> + FN key combination. Here, FN is the function key that you need to press to switch to an interactive shell.
Press <Ctrl> + <Alt> + F1 to switch to the interactive shell 1 – “tty1”.
Press <Ctrl> + <Alt> + F2 to switch to the interactive shell 2 – “tty2”.
Press <Ctrl> + <Alt> + F3 to switch to the interactive shell 3 – “tty3”.
Press <Ctrl> + <Alt> + F4 to switch to the interactive shell 4 – “tty4”.
Press <Ctrl> + <Alt> + F5 to switch to the interactive shell 5 – “tty5”.
Press <Ctrl> + <Alt> + F6 to switch to the interactive shell 6 – “tty6”.
The name of the interactive shell (TTY) is displayed in the login prompt of your Ubuntu/Debian server.
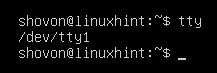
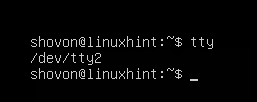
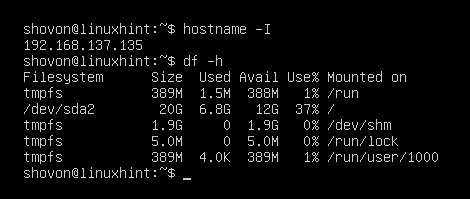
You can also run the following command to find the interactive shell (TTY) that you’re using. In our case, it’s the default interactive shell 1 – “tty1”.
To change to the interactive shell 2, “tty2”, press <Ctrl> + <Alt> + F2.
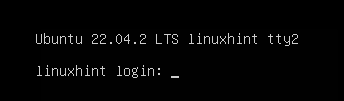
Once you log in to the interactive shell 2, “tty2”, you can confirm with the “tty” command that you’re running the interactive shell “tty2”. We use the interactive shell 2,“tty2”, to run the fbgrab command to take screenshots of the interactive shell 1,” tty1” (the default interactive shell), of our Ubuntu server in the next sections.
Taking Screenshots of a Specific Interactive Shell (TTY) of Ubuntu/Debian Servers
Let’s say, you want to take a screenshot of the interactive shell “tty1” from the interactive shell “tty2” of your Ubuntu/Debian server using fbgrab.
First, run the necessary commands on the default interactive shell “tty1” that you want to take screenshots of.
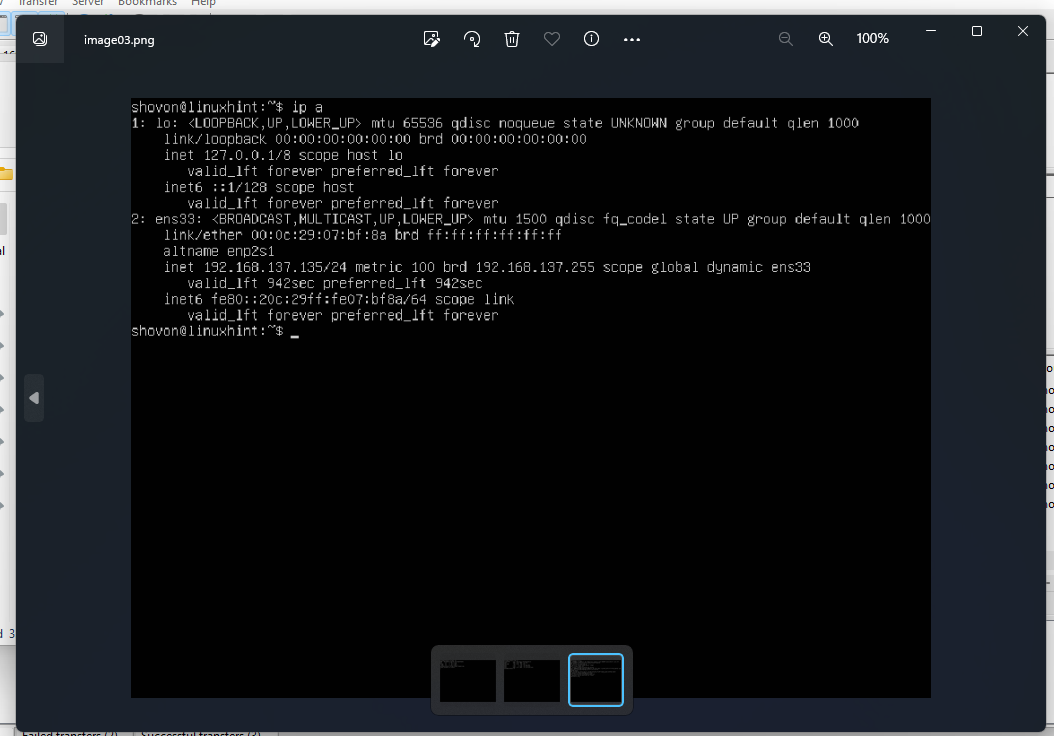
Press <Ctrl> + <Alt> + F2 to switch to the interactive shell “tty2”. Log in to the interactive shell “tty2” and run the following command to take a screenshot of the default interactive shell “tty1” (fbgrab option -c 1). Save the screenshot as the “image03.png” image file in the current working directory of your Ubuntu/Debian server:
![]()
The screenshot of the default interactive shell “tty1” of the Ubuntu/Debian server should be taken.

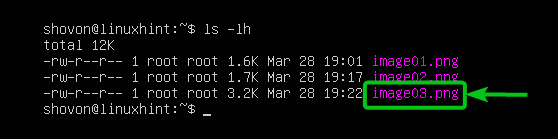
A new image file which is “image03.png” should be created in the current working directory of your Ubuntu/Debian server.
You can access the Ubuntu/Debian server via SFTP or Filezilla, download and view the screenshot file. As you can see, the screenshot of the default interactive shell “tty1” of our Ubuntu server is taken correctly.
Taking Delayed Screenshots of a Specific Interactive Shell (TTY) of Ubuntu/Debian Servers
Let’s say, you want to take a screenshot of the default interactive shell “tty1” from the interactive shell “tty2” of your Ubuntu/Debian server after a few seconds of running the fbgrab program.
First, run the necessary commands on the default interactive shell “tty1” that you want to take screenshots of.
Press <Ctrl> + <Alt> + F2 to switch to the interactive shell “tty2” and log in to the interactive shell “tty2”.
Then, run the following command to take a screenshot of the default interactive shell “tty1” (fbgrab option -c 1) after 20 seconds (fbgrab option -s 20) and save the screenshot as the “image04.png” image file in the current working directory of your Ubuntu/Debian server:
![]()
The screenshot of the default interactive shell “tty1” of the Ubuntu/Debian server should be taken.

A new image file which is “image04.png” should be created in the current working directory of your Ubuntu/Debian server.
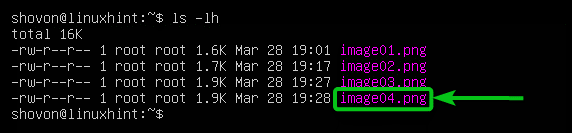
You can access the Ubuntu/Debian server via SFTP or Filezilla, download and view the screenshot file. As you can see, the screenshot of the default interactive shell “tty1” of our Ubuntu server is taken correctly.

Conclusion
We showed you how to install the fbgrab program on Ubuntu/Debian servers. We also showed you how to take screenshots of the login shell/command line interface of Ubuntu/Debian servers using fbgrab. We also showed you how to take delayed screenshots of the login shell/command line interface of Ubuntu/Debian servers using fbgrab as well.
References:
Source: linuxhint.com