How to Specify the Private SSH-key to Use When Executing Shell Command on Git?
SSH is a secure shell network protocol used for authentication over an unsecured network. It provides a pair of keys: public and private keys that are used to make a secure connection between remote and local networks. More specifically, using Git, you can push or fetch content or data to remote repositories by using SSH key authentication.
This post will illustrate the method for specifying the private SSH key when working with shell commands on Git.
How to Specify the Private SSH-key to Use When Executing Shell Command on Git?
The SSH protocol provides key pair private and public keys. The public key is used to lock or secure the data, and the private key is used for authentication purposes to unlock or access the content.
For specifying the private SSH key when working with shell commands on Git, look at the below-given procedure.
Step 1: Open Git Bash Terminal
From the Startup menu, open the “Git Bash” terminal:

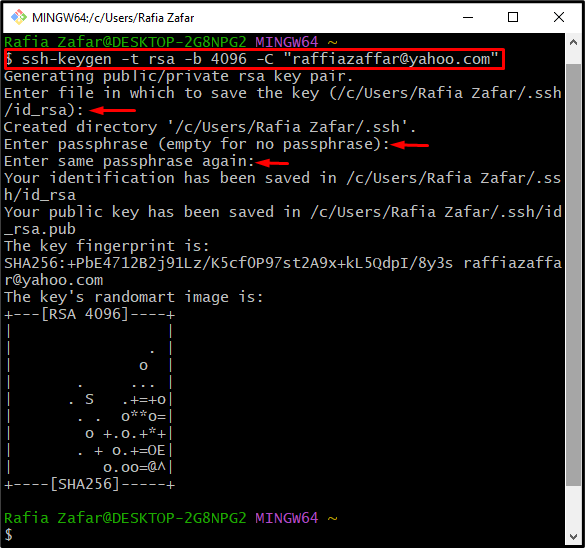
Step 2: Generate SSH Keys
Generate the SSH key pair using the provided command and specify your Git email address:
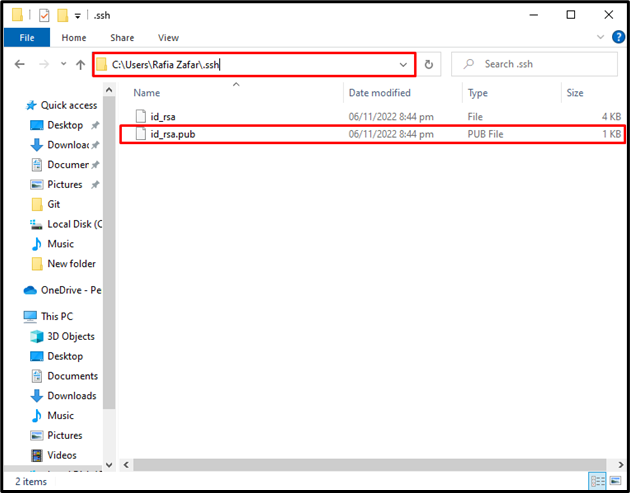
Step 3: Copy Public Key
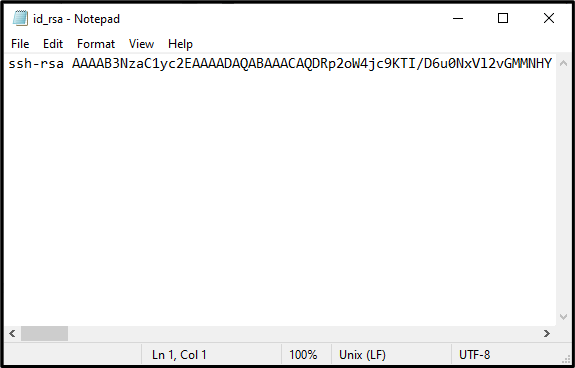
By default, the public and private keys are saved on the “C:\Users\Username\.ssh” path. Go to the location where the SSH key pair is saved. Next, open the “id_rsa.pub” file that contains the public key:
Copy the SSH public key from the opened file:
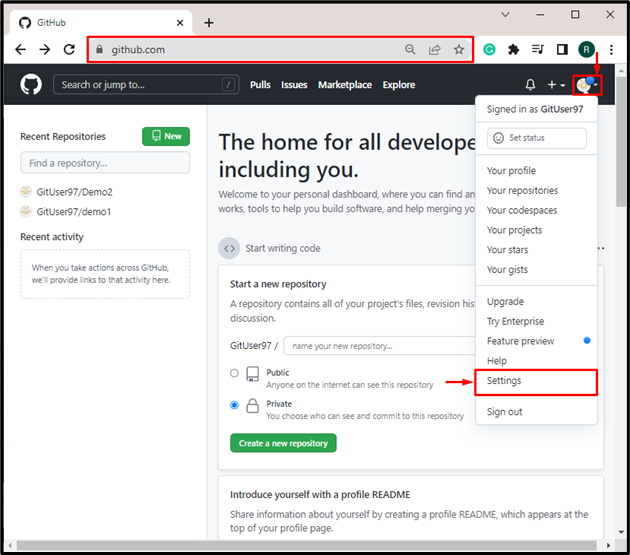
Step 4: Add Public Key on GitHub
Open the GitHub official website and login into your GitHub account. After that, click on the profile menu, and go to “Settings” as follows:
Then, open the “SSH and GPG keys” setting. After that, hit the “New SSH key” button:

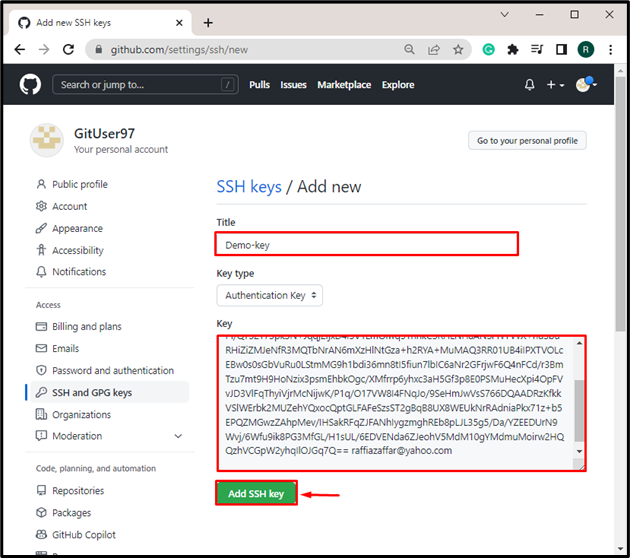
Set the key title according to your desire and paste the copied public key in the “Key” text field. Now, press the “Add SSH key” button:
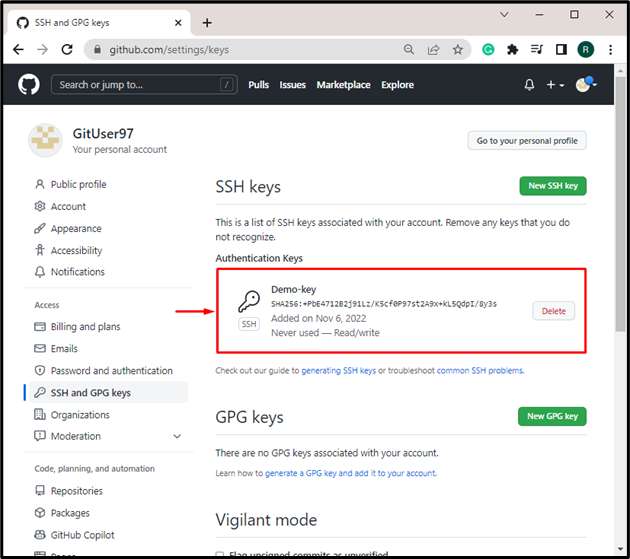
From the below output, it can be observed that we have successfully added public SSH key to the GitHub account:
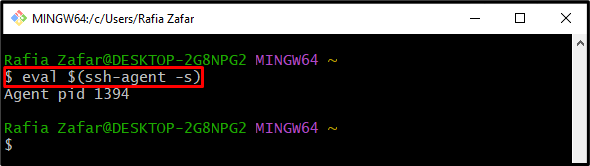
Step 5: Start SSH Agent Service
If the SSH Agent service is not started on the system, then start the service using the provided command:
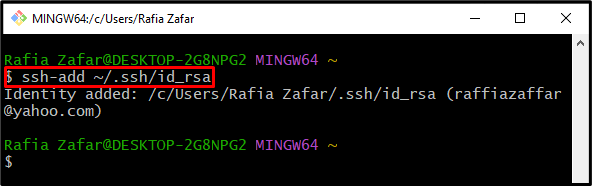
Step 6: Specify Private SSH Key to SSH Agent
After that, add the SSH private key to SSH Agent for authentication. Here, the “id_rsa” file contains the private key:
Step 7: Test Your Git Authentication With GitHub
Lastly, test your Git authentication with a GitHub account through the given command:
The below output indicates that we have successfully authenticated the GitHub account using the private SSH key:

That’s all! We have explained the method for specifying the Private SSH key when working with the shell command in Git.
Conclusion
To specify the private key when working with the shell command, first, open the Git bash terminal. Next, generate an SSH key pair, add the public key to the GitHub account, start the SSH agent service on your local machine, and add the private SSH key to the SSH agent using the “$ ssh-add ~/.ssh/id_rsa” command. After that, do Git authentication to authenticate your GitHub account using the “$ ssh -T git@github.com” command. This tutorial explained how to specify the private key when working with shell commands in Git.
Source: linuxhint.com