How to Sign Up and Login to OpenAI DALL-E 2?
This article covers the following aspects:
- How To Sign Up and Login to OpenAI DALL-E 2?
- Using OpenAI Account
- Using Gmail Account
- Using Microsoft Account
How to Sign Up and Login to OpenAI DALL-E 2?
The interface of DALL-E 2 is user-friendly and easy to use. Therefore, this tool can be your go-to tool for image generation. Here, this article provides a step-by-step guide for you to get started with DALL-E 2:
Method 1: Using the OpenAI Account
To create an OpenAI account from scratch, follow the “Sign up” button in the DALL-E 2 window. Let us explore the step-by-step procedure:
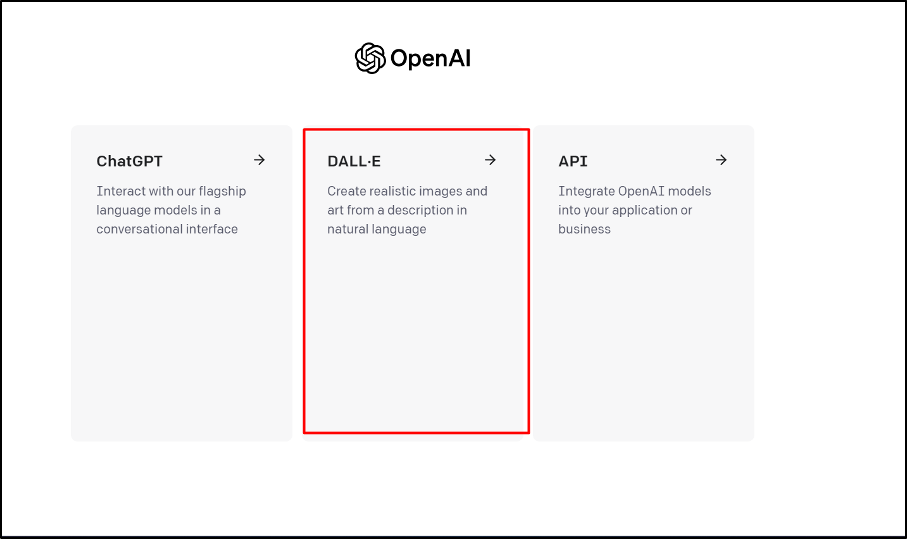
Step 1: Press the Sign up Button
For signing up, visit the official website of DALL-E 2 and click on the “Sign up” button:
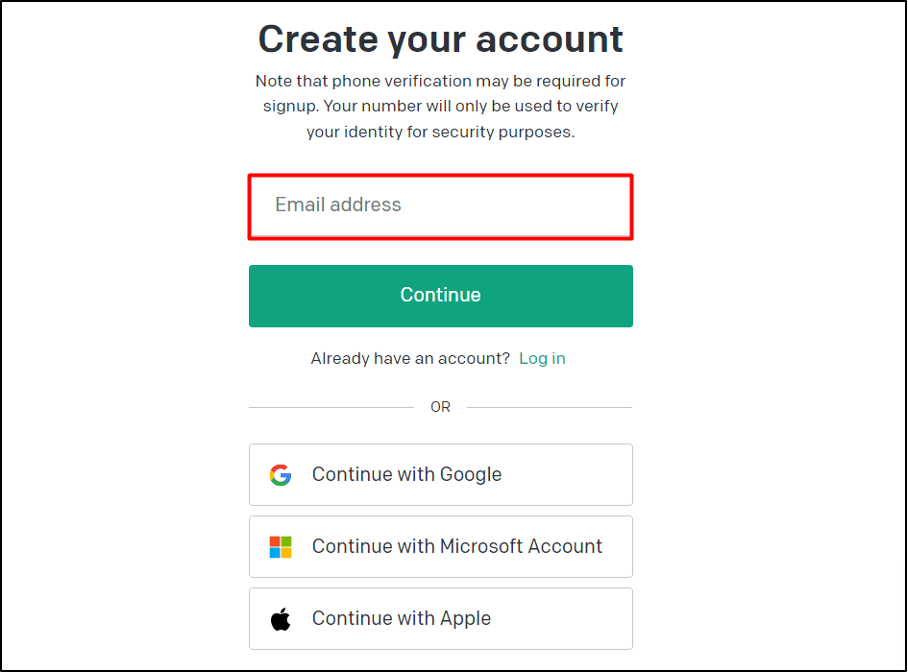
 Step 2: Email Address
An interface like the below mentioned will be displayed. Enter your email address and press the “Continue” button:
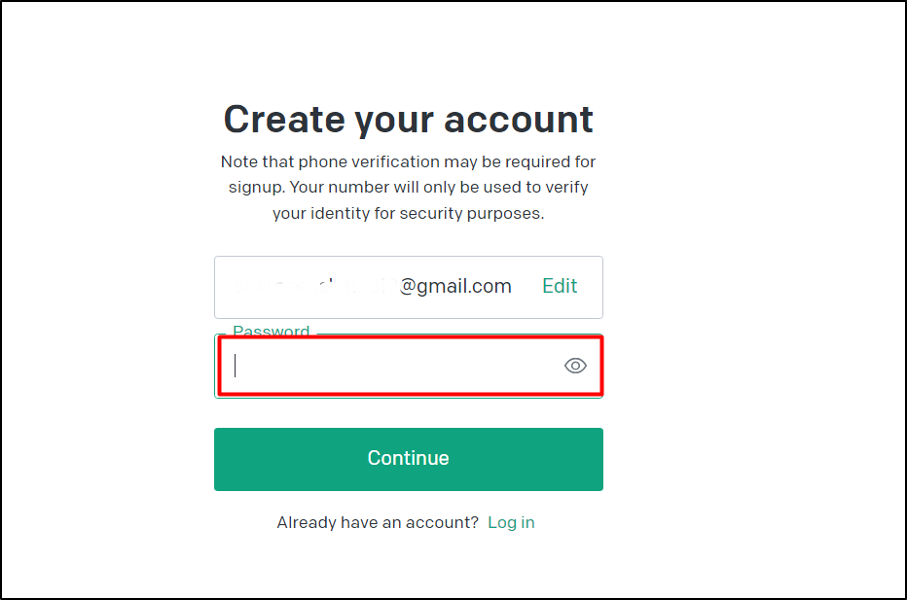
Step 3: Enter Passcode
Next, you are required to enter your password and then click on the “Continue” button:
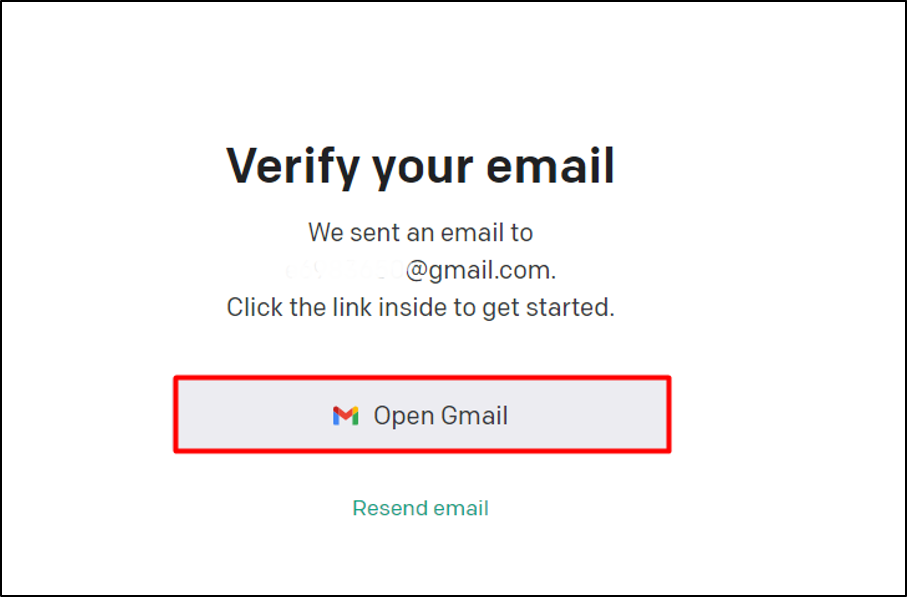
Step 4: Verification of Email
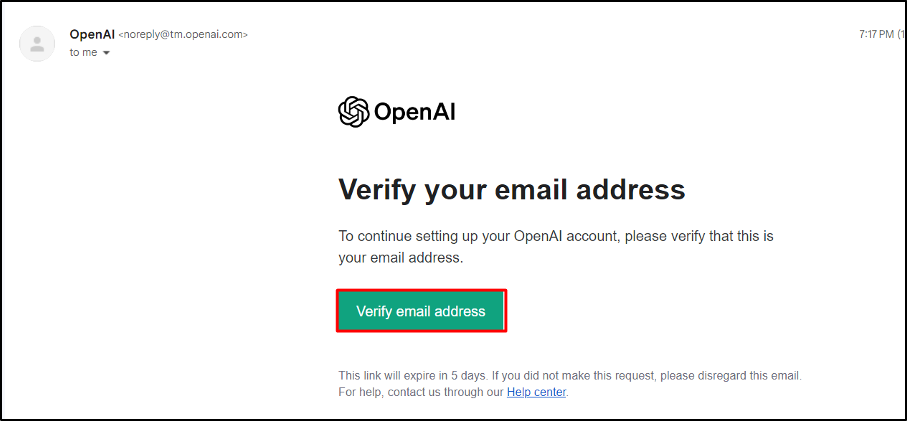
After providing your details, OpenAI will send a verification email to your entered email account to verify your details. Click on the “Open Gmail” button and it will automatically navigate you to the verification page:
Click on the “Verify email address” button mentioned in the email sent to you by OpenAI. This will automatically verify your email address:
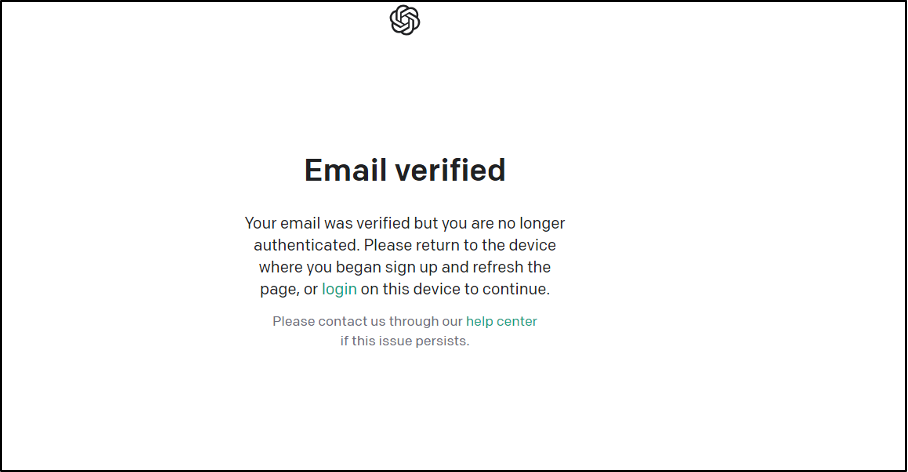
After successful verification of your email address, a message will be displayed to you and the next step is to verify your phone number:
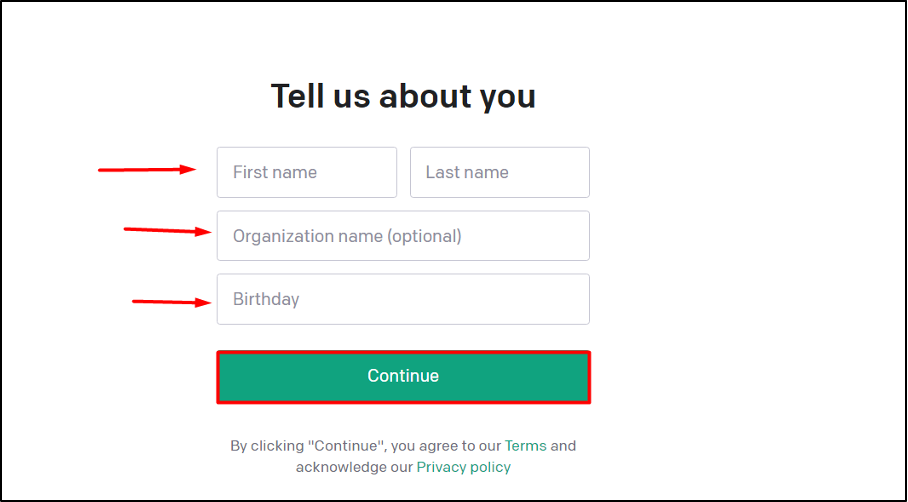
Step 5: Information Required
OpenAI requires some basic information about you. After the provision information, click “Continue” to proceed further:
Step 6: Phone Number Verification
OpenAI sends a code either to your Number or WhatsApp. Provide your phone number for verification purposes. After that, click on the “Send code” button:

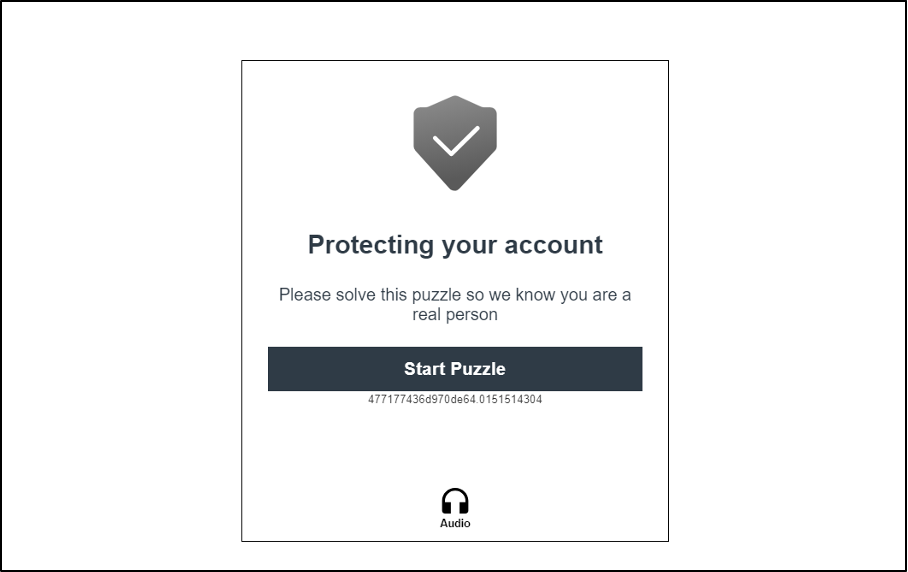
Step 7: Solve Puzzle
After the phone verification, solve the puzzle provided by OpenAI:
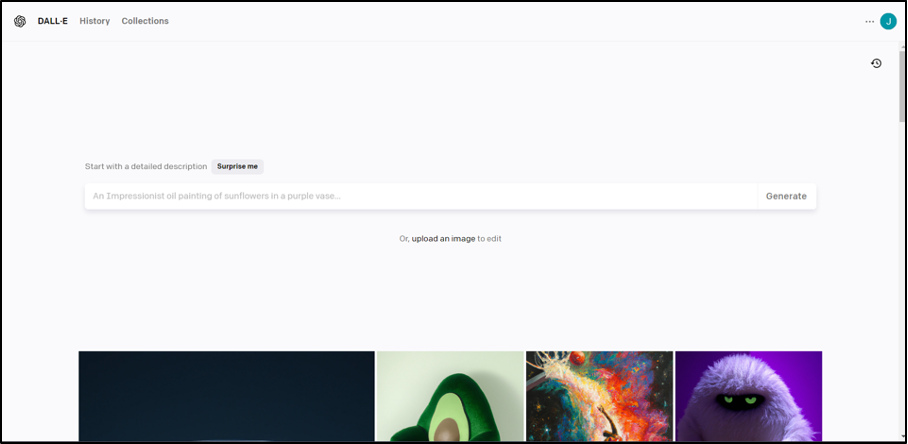
Step 8: Successful Signup and Login
From the interface below, select DALL-E to start using it:
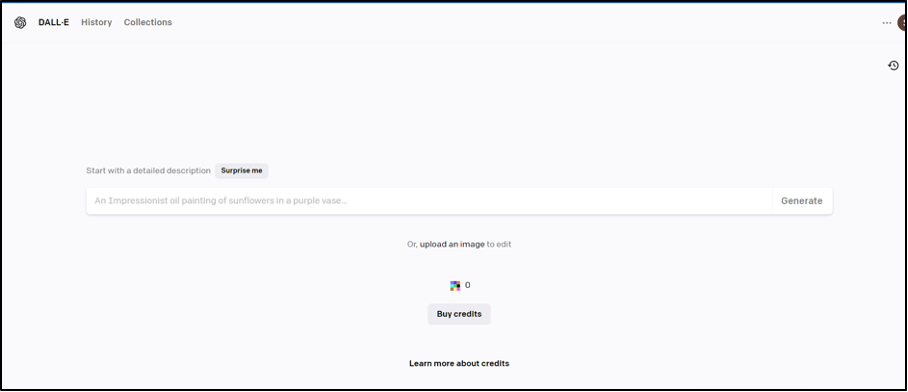
Now, you have successfully registered and logged in to DALL-E 2. Now, you can enter your text prompt and use it:
Let head to another method:
Method 2: Using Gmail Account
To sign up and log in using your Gmail Account, follow the steps mentioned below:
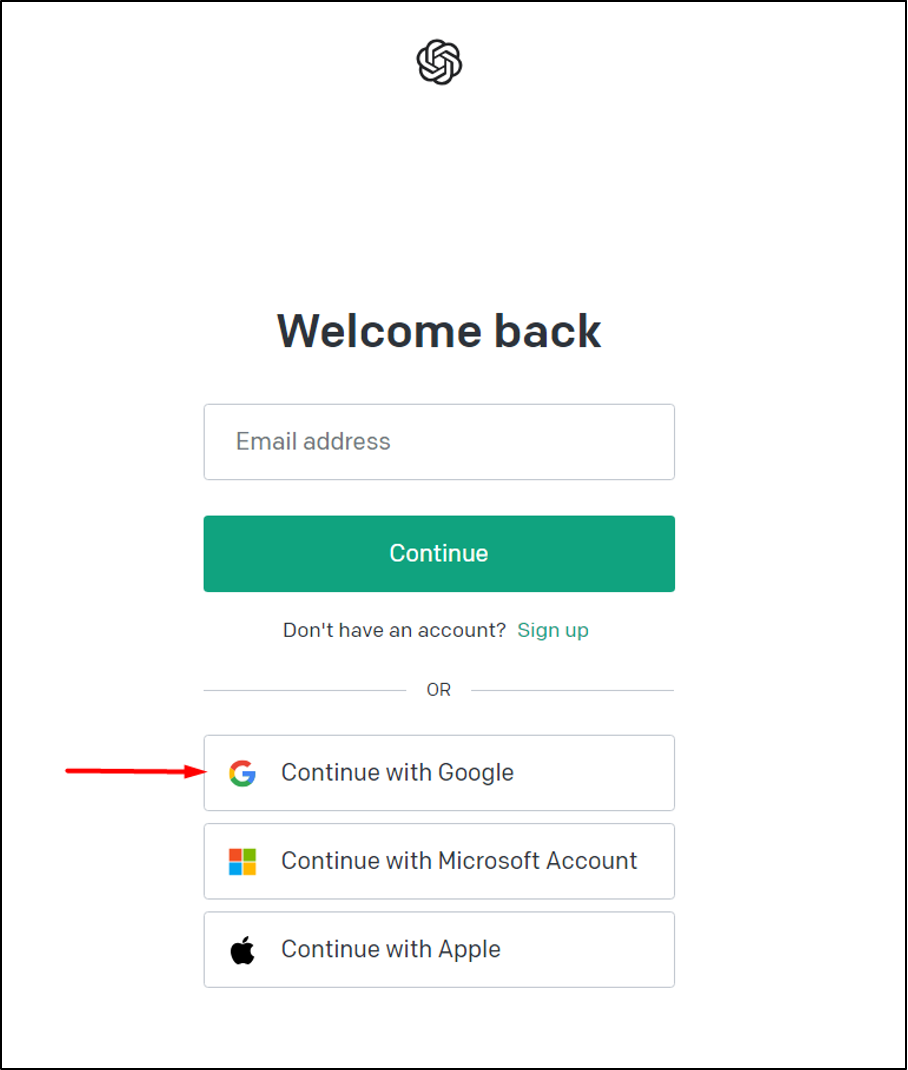
Step 1: Continue with Google
On the home page, click on the “Continue with Google” button to sign up using Google Account:
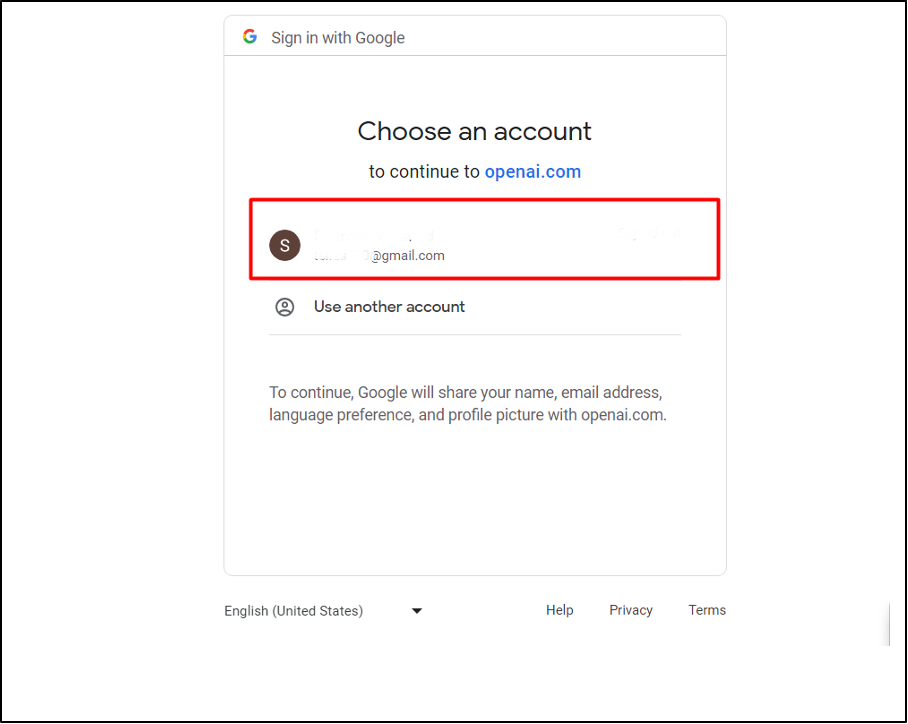
Step 2: Choose Your Account
The next step is to select an already created Gmail Account:
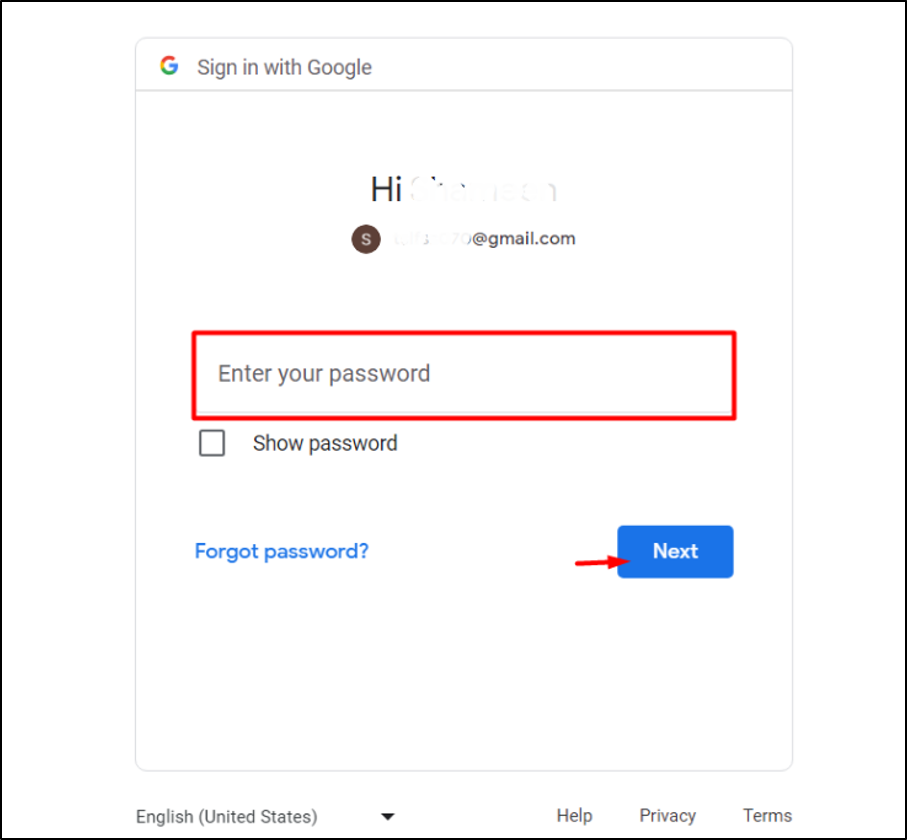
Step 3: Enter the Password
Provide the password for your selected Gmail Account and click on the “Next” button:
Step 3: Verify DALL-E 2
Now, you have successfully signed up and logged in to your DALL-E 2 account using your Gmail Account:
Method 3: Using Microsoft Account
OpenAI also provides the option to sign up and log in using various platforms. Microsoft Account can also be used for signing up at DALL-E 2. The procedure is quite like Gmail Account. Here is a step-by-step tutorial:
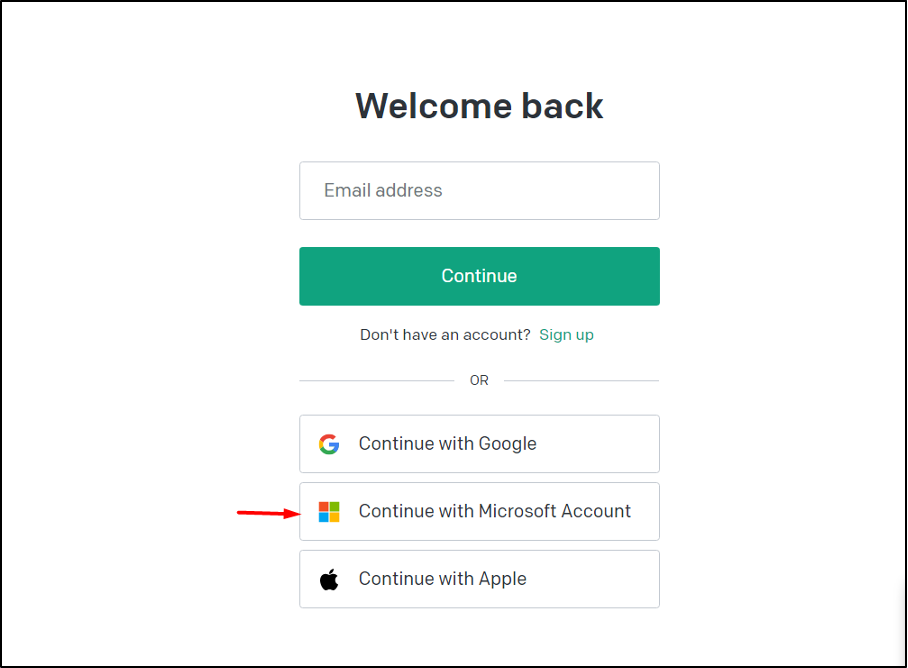
Step 1: Continue with Microsoft Account
In this method, click on “Continue with Microsoft Account” to sign up:
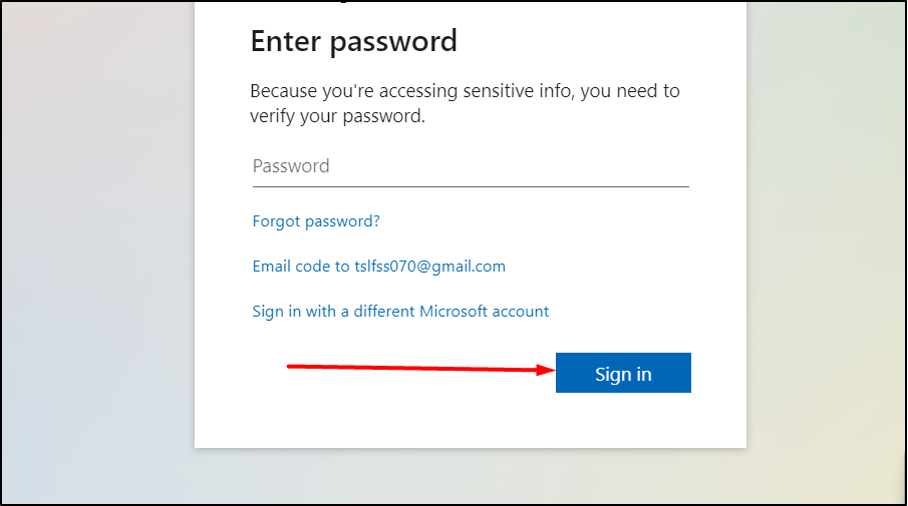
 Step 2: Provide Password
Next, provide a password for your Microsoft Account and then click on the “Sign in” button:
 Step 3: Verify DALL-E 2
Finally, you have successfully signed up for DALL-E 2 using your Microsoft Account:
Tip: DALL-E 2 also allows its users to access its functionality using Apple ID. For this purpose, you will click on “Continue with Apple Account” and then provide credentials. After successfully verifying your credentials, you can use DALL-E 2 with your Apple ID.
That is all from the article providing all methods to sign up and log in to OpenAI DALL-E 2.
Conclusion
To sign up and log Open AI DALL-E 2, use OpenAI Account, Gmail Account, Microsoft Account, or Apple ID. DALL-E 2 is based on Generative AI algorithms that are capable of generating visually stunning and exceptionally unique outputs based on your text input. This article has explained various methods to sign up, log in, and access the DALL-E 2 platforms.
Source: linuxhint.com