How to Setup Elasticsearch and Kibana on Linux
“ELK Stack, commonly known as ELK, is a suite of free and open-source projects: Elasticsearch, Logstash, and Kibana.
![]()
Losgstash, on the other hand, refers to a data processing and ingest pipeline allowing data to be ingested from multiple sources simultaneously.
Finally, Kibana sits in the middle of Elasticsearch and Logstash, allowing users to analyze and visualize the data using graphs, charts, etc. In addition, Kibana provides an incredible user interface for working with Elasticsearch and Logstash.”
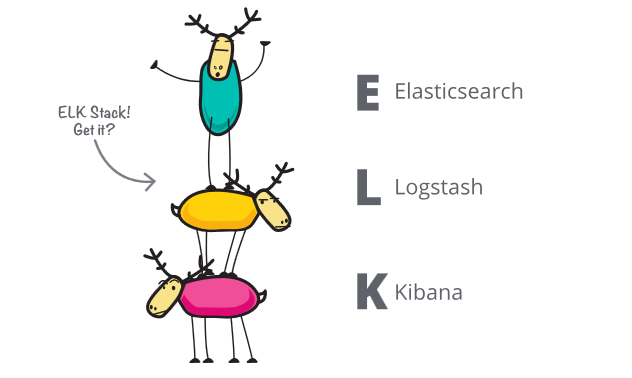
Source: http://elastic.co
The heart of this tutorial is to guide you in setting up Elasticsearch, Logstash, and Kibana on your Linux system.
NOTE: The instructions and steps provided in this post have been tested on Debian 10/11, Ubuntu 18, 20, and 22.
Requirements
To follow along with this tutorial, you will need the following:
- A supported server, preferably Debian 10/11, Ubuntu 20, and higher.
- At least 4GB RAM.
- At least a two-core CPU.
- Java JDK is installed and configured on the target host.
The above requirements are for setting up a development ELK Stack. However, we highly encourage checking essential security configurations if you wish to set up an ELK stack for production.
Install and Configure Elasticsearch Server
Start by setting up the Elasticsearch server. Follow along to complete the setup.
Import Elasticsearch PGP Key
Start by importing the Elasticsearch PGP key used to sign the packages. Run the command:
Import the APT Repo
Next, run the commands below to import the elastic search repository.
Finally, update and install elasticsearch.
sudo apt-get install elasticsearch
Allow Elasticsearch to be managed with systemd with the commands:
$ sudo systemctl enable elasticsearch.service
$ sudo systemctl start elasticsearch.service
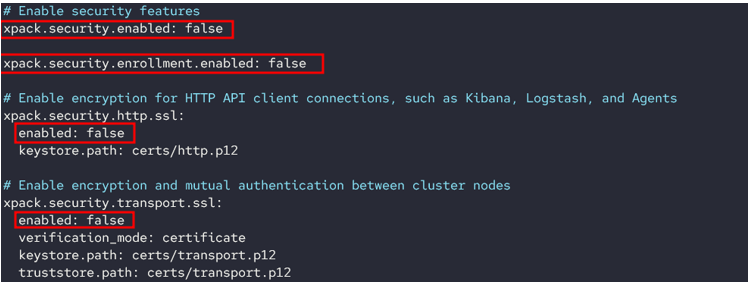
Next, disable Xpack security in your Elasticsearch cluster by running:
Replace the value of xpack.security.enabled, xpack.security.enrollment.enabled, xpack.security.http.ssl, xpack.security.transport.ssl to false.
Finally, restart the Elasticsearch server:
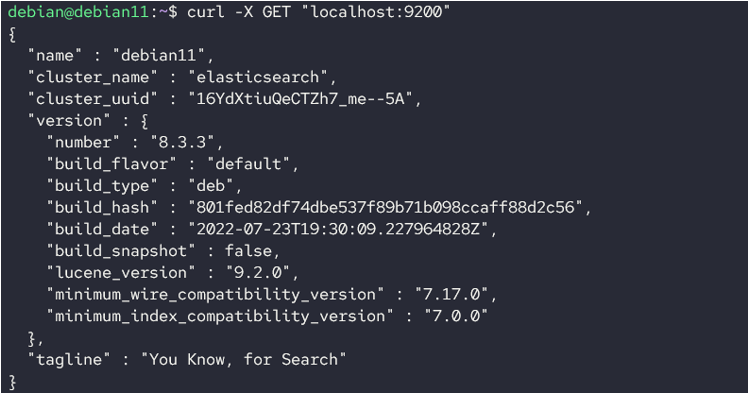
Once restarted, test the Elasticsearch connection with cURL as shown in the command below:
The command above should return a response with basic information about the Elasticsearch cluster.
With that, you have successfully installed Elasticsearch. Let’s proceed and configure Kibana.
Install and Configure Kibana
The next step is to set up Kibana and connect it with your Elasticsearch.
NOTE: Ensure you only install Kibana after Elasticsearch is installed and configured correctly. This ensures compatibility for both systems.
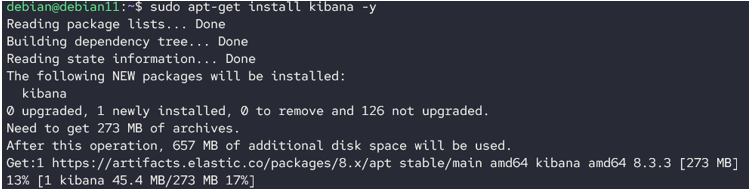
Run the command:
Enable Kibana service and start.
Start the Kibana service:
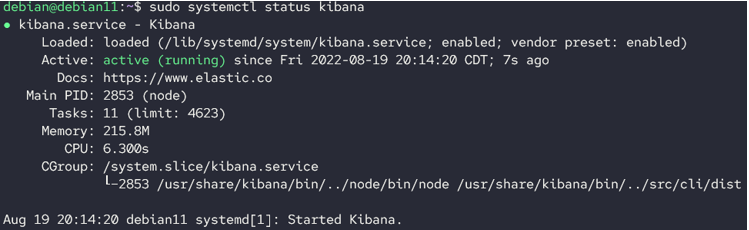
You can check the status with the command:
Output:
Install Logstash
Finally, we are ready to install and configure Logstash. Run the command:
Enable and run logstash
Start:
Check the docs to discover the process of adding the fleet to the Logstash pipeline.
Conclusion
This article covered the basics of installing and configuring the ELK Stack on your Linux system.
Thanks for reading!!
Source: linuxhint.com