How to Set up VPN on AWS EC2 Using Ubuntu
This article will explain how to set up a Virtual Private Network (VPN) on AWS Elastic Compute Cloud using Ubuntu.
How to Setup VPN on AWS EC2 Using Ubuntu?
Users can set up a VPN on the EC2 instance through ubuntu by just creating a new EC2 instance and connecting it to the local machine through the SSH command.
Step 1: Launch a new EC2 Instance
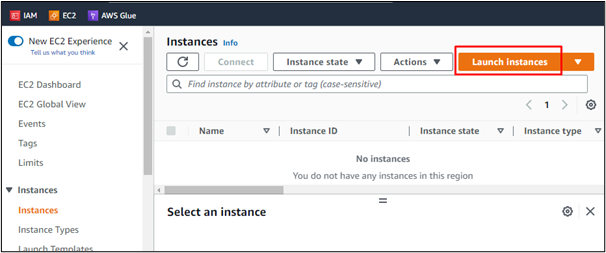
Log in to the AWS console and go to the EC2 service of AWS and then select the “Instances” option from the left-side menu and then click on the “Launch instances” button.
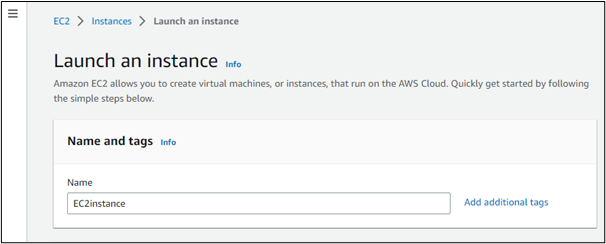
Name the instance.
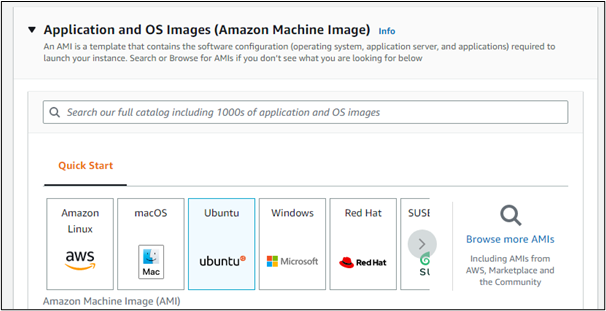
Select “Ubuntu” as the AMI.
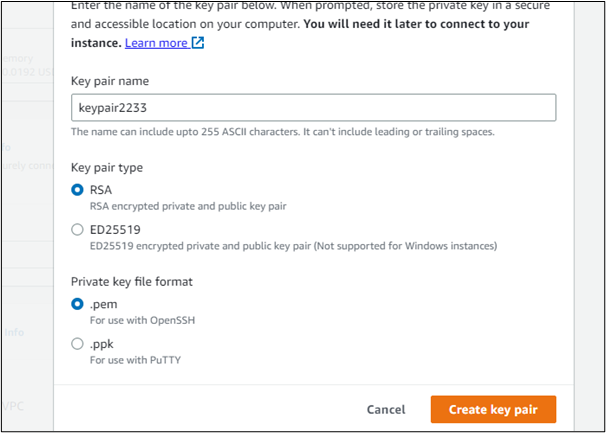
Create a key pair. Name the key pair first and store it in PEM format and then click on “Create key pair”.
Lastly, launch the instance by clicking on the “Launch instance” button.

Step 2: Connect Through the SSH Command
When the instance is launched, select the newly created instance and then click on the connect button.
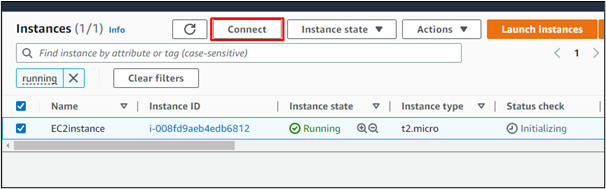
In the “Connect” section, there will be an SSH command, simply copy the SSH command.
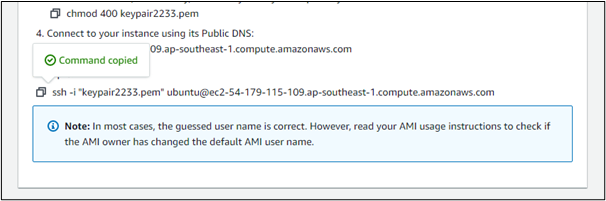
Paste the copied SSH command in the Command Prompt.
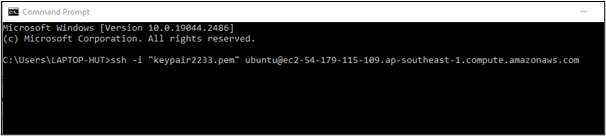
Add the exact .pem file location by replacing the name of the key pair file with its location.

Type “yes” to confirm the execution.
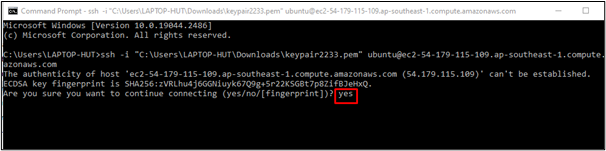
In this way, the “Ubuntu” virtual machine is enabled and the user can execute commands through it.

Step 3: Execute the Commands
The user first needs to update the packages. To do so, type the command:
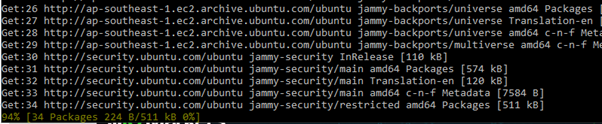
After some time, the apt package list will be updated:

To upgrade the packages and install new ones, type the command:

Next, we need to execute the “mkdir” command to create the directory to set up vpn. For that, execute the command:
And then head inside that directory using the command:

Download the file from GitHub through the command:

In this way, the installer script of the OpenVPN road warrior has been downloaded.

It is required to make the installer script executable by adding permissions to it. So, to add the permissions, type the command:

Now, execute the script using the following command:

In this way, the OpenVPN road warrior installer will be executed:
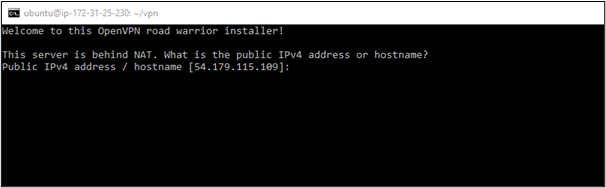
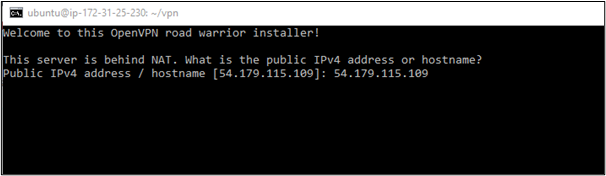
Follow along the instructions of the installer. So, first off, type the Public IPv4 address of the EC2 instance:
Choose the protocol to be used by the OpenVPN:

After that, choose a DNS server for the clients:
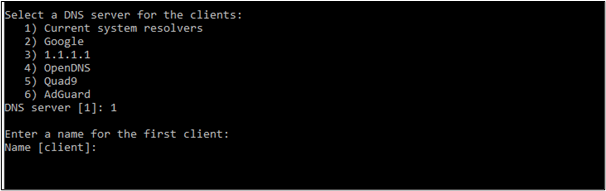
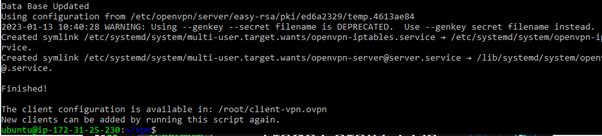
Give a name to the first client:

The database will be updated and, in this way, the VPN is set up on the EC2 instance.
This was all about how to set up the VPN on an AWS EC2 instance using Ubuntu.
Conclusion
There are various ways to set up different kinds of VPNs on an EC2 virtual machine. However, one of the quickest ways is to install the “OpenVPN road Warrior Installer” inside the Ubuntu Operating system of the EC2 instance. The steps for installing the VPN include downloading it from its repository, making it executable, and then running the installer script. This post has taught you how to set up a VPN on an EC2 instance.
Source: linuxhint.com