How to Set Up Apache Virtual Hosts on Ubuntu EC2 Instance Using Terraform
“In order to host multiple websites, administrators usually configure Virtual hosting on a single machine. In virtual hosting, we can use either an “IP-based” hosting or a “name-based.” In “IP-based” hosting, we have distinct IP addresses for each website. In the case of “name-based” hosting, we have multiple names running on each IP address.”
What Will We Cover?
In this guide, we will see how we can configure virtual hosts on an Amazon EC2 Ubuntu 22.04 instance. In this lab, we will use name-based virtual hosting. We will use Terraform to deploy the desired infrastructure.
Overview of the Lab
In this lab, we will create two virtual hosts; domain1 and domain2. We will install an apache web server on our Ubuntu machine. Each virtual host has a different index.html file with the content: “This is Virtual host 1.” for domain1 and “This is Virtual host 2.” for domain2.
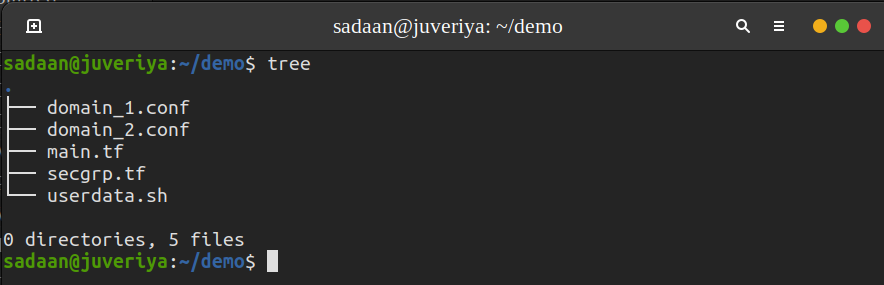
Instead of registering the domain name for each host, we are using the localhost IP address to map the domain names. This can be done by modifying the “hosts” file. To simplify the deployment of this infrastructure, we have divided the overall configuration into multiple files. In this way, we’ll save ourselves from code clumsiness. Outlines of the files used here:
- userdata.sh: Contains the script needed for installing and configuring the Apache web server on the Ubuntu instance.
- secgrp.tf: Creates a security group to be used with the instance. This security group will allow the SSH and HTTP to ingress traffic to the instance.
- domain_2.conf and domain_1.conf: Contains virtual host configuration.
- main.tf: The primary/main entry point for all the .tf files.
Configuring the Setup
Step 1. Let us first create a working directory that will keep all our .tf files:
Step 2. Create the userdata.sh file:
Now paste the following lines inside it:
sudo apt-get update
sudo apt-get upgrade -y
sudo apt-get install apache2 -y
sudo systemctl restart apache2
sudo sh -c "echo 127.0.0.1 www.domain1.com >> /etc/hosts"
sudo sh -c "echo 127.0.0.1 www.domain2.com >> /etc/hosts"
sudo mkdir -p /var/www/domain_1/public_html
sudo mkdir -p /var/www/domain_2/public_html
sudo chown -R $USER:$USER /var/www/domain_1/public_html
sudo chown -R $USER:$USER /var/www/domain_2/public_html
sudo chmod -R 755 /var/www
sudo echo “This is Virtual Host 1.” > /var/www/domain_1/public_html/index.html
sudo echo “This is Virtual Host 2.” > /var/www/domain_2/public_html/index.html
sudo cp /home/ubuntu/domain_1.conf /etc/apache2/sites-available/domain_1.conf
sudo cp /home/ubuntu/domain_2.conf /etc/apache2/sites-available/domain_2.conf
sudo a2ensite domain_1.conf
sudo a2ensite domain_2.conf
sudo a2dissite 000-default.conf
sudo systemctl restart apache2
In the above script, we installed an apache web server and modified the host’s file to map the localhost address to the two virtual hosts’ domain names we want to configure. Also, we have configured the web server for the new websites and disabled the default one.
Step 3. Create the secgrp.tf file to allow SSH and HTTP ingress traffic from anywhere and outgoing traffic to anywhere.
Paste the following lines inside it:
name = "sec-grpg"
description = "Allow HTTP and SSH traffic via Terraform"
ingress {
from_port = 80
to_port = 80
protocol = "tcp"
cidr_blocks = ["0.0.0.0/0"]
}
ingress {
from_port = 22
to_port = 22
protocol = "tcp"
cidr_blocks = ["0.0.0.0/0"]
}
egress {
from_port = 0
to_port = 0
protocol = "-1"
cidr_blocks = ["0.0.0.0/0"]
}
}
Step 4. For virtual host configuration, create two files: domain_1.conf and domain_2.conf. Note the document root location in each file.
I. $ nano domain_1.conf
ServerAdmin admin@domain1.com
ServerName domain1
ServerAlias www.domain1.com
DocumentRoot /var/www/domain_1/public_html
ErrorLog ${APACHE_LOG_DIR}/error.log
</VirtualHost>
II. $ nano domain_2.conf
ServerAdmin admin@domain2.com
ServerName domain2
ServerAlias www.domain2.com
DocumentRoot /var/www/domain_2/public_html
ErrorLog ${APACHE_LOG_DIR}/error.log
CustomLog ${APACHE_LOG_DIR}/access.log combined
</VirtualHost>
Step 5. Finally, create the main.tf to complete the infrastructure declaration:
provider "aws" {
region ="us-east-1"
}
resource "aws_instance" "webserver" {
ami ="ami-09d56f8956ab235b3"
instance_type = "t2.micro"
key_name = "Name-of-your-Ec2-Key-pair"
vpc_security_group_ids = [aws_security_group.demo-sg.id]
associate_public_ip_address = true
provisioner "file" {
source = "domain_1.conf"
destination = "/home/ubuntu/domain_1.conf"
connection {
type = "ssh"
user = "ubuntu"
private_key = "${file("/Path/to//EC2-keyPair.pem")}"
host = "${self.public_dns}"
}
}
provisioner "file" {
source = "domain_2.conf"
destination = "/home/ubuntu/domain_2.conf"
connection {
type = "ssh"
user = "ubuntu"
private_key = "${file("/Path/to//EC2-keyPair.pem")}"
host = "${self.public_dns}"
}
}
user_data = "${file("userdata.sh")}"
tags = {
Name = "VirtualHosts"
}
}
output "IPAddress" {
value = "${aws_instance.webserver.public_ip}"
}
In the above .tf file, we have used the file provisioner to copy the “domain.conf” file from our local system to the EC2 instance. This “domain.conf” will be used as a template file for making domain specific virtual host files, i.e., “domain_1.conf” and “domain_2.conf”.
Step 6. All our configuration files are ready now; it’s now time to actually deploy this configuration. Initialize the project directory using:
Finally, build the project by running the command:
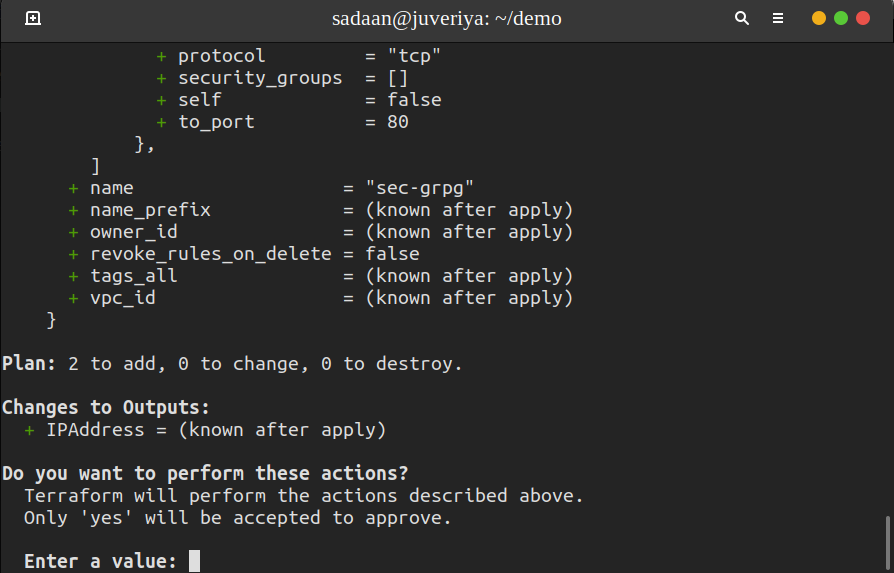
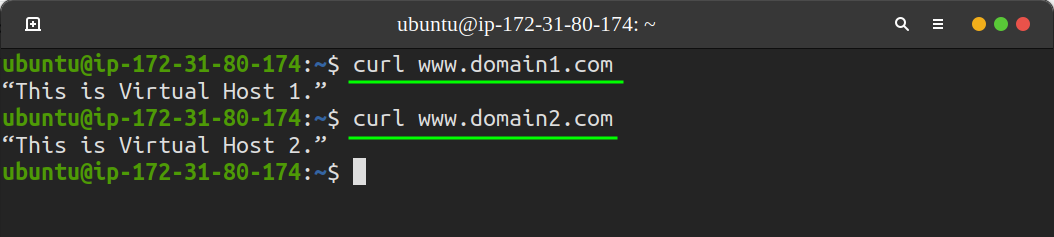
Enter “yes” on the terminal when asked. From your EC2 instance, use the “curl” command to see what each domain address is displaying:
Conclusion
Virtual hosting is a very efficient technique for managing multiple websites from a single server. In this lab, we have seen how Terraform can be used for deploying a simple two-host infrastructure. Try to make this configuration more scalable by implementing Terraform modules.
Source: linuxhint.com