How to Set the OpenAI Key for LangChain in Python
Generating the API Key from the OpenAI Platform
To use the OpenAI API in Python, we need to need to get a secret API key from the OpenAI platform. So, we go to the OpenAI website.
The interface of the website appears as we click on the link.

The buttons for signing up and logging in are located. You can simply log in when you have an existing running account. In case you do not possess an account on OpenAI, you can register for a new account through the signup option.
Here, we will demonstrate on how to register to a new account. You can register using your Gmail, Apple, Microsoft, or any other account.
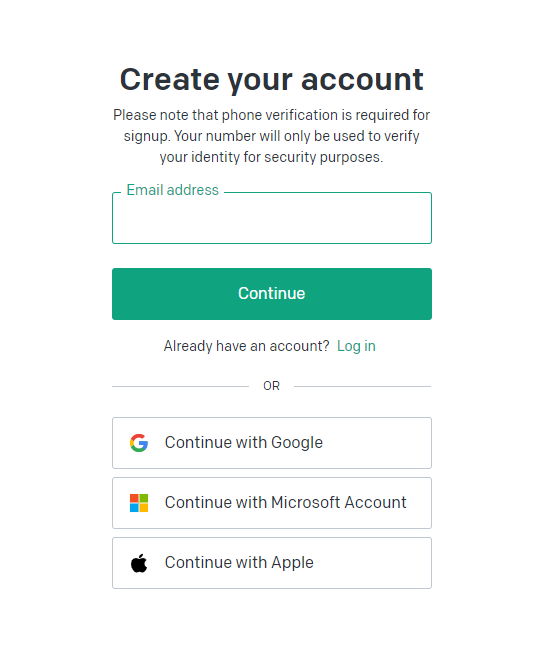
After providing the email address, hit the “Continue” button. The password for your OpenAI account must be entered in the next screen. Before continuing, you must authenticate your account. As soon as the verification is done, you will be redirected to the login page. Simply log in by providing the required information like email and password.
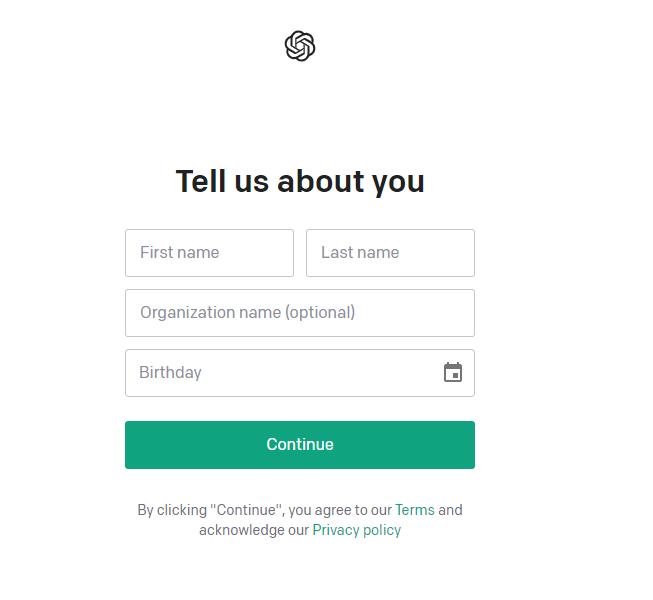
Once you logged in to your account, another form will appear where you need to supply your basic information (which could be seen in the previous snapshot) then hit “Continue”.

The last verification step comes in where your phone number needs to be authenticated. Fill in the phone number. Make sure to provide a valid phone number as a code will be sent to your provided number that you need to type in the next screen for verification purposes.
As soon as the verification is complete, you will be directed to the new interface which can be seen in the following attached snapshot:
We have successfully signed into our account.
The following step is to create an API key. In the top right corner, you can examine the account profile by clicking on it.
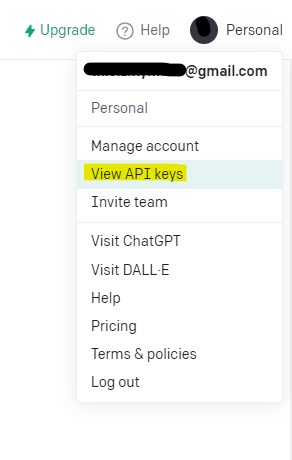
From the list of options that is shown in the previous snapshot, navigate to the “View API keys” option.
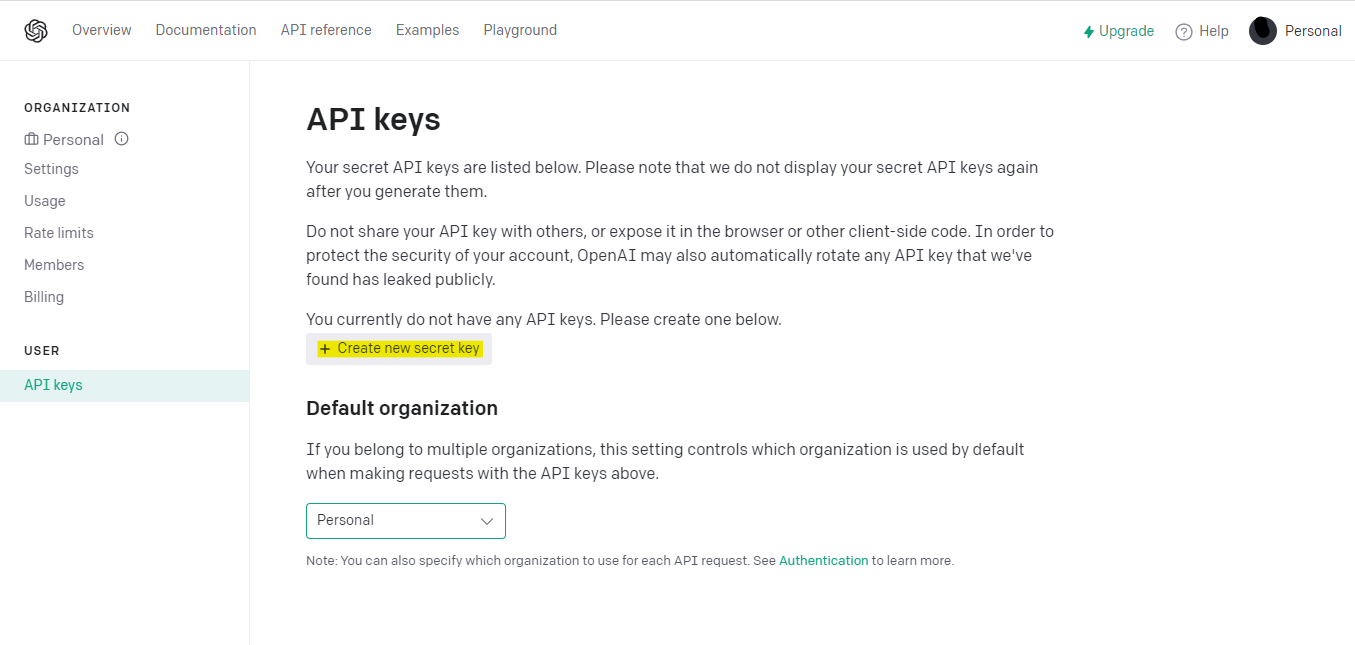
On the new window, we can see the “Create new secret key” option. Ticking this button activates a dialogue box to appear.
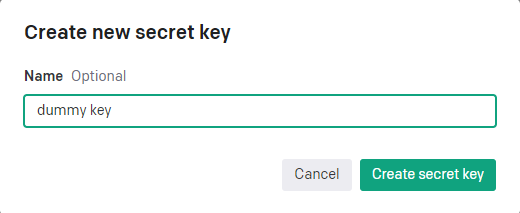
Give a name to your key. Here, we name it as “dummy key”. Then, hit the “Create secret key” button to proceed.

As you hit the button, you will be given with a secret API key. There is a disclaimer that is given above this key which states that this key is only viewable once. So, we need to copy it somewhere as it cannot be retrieved again from the OpenAI account. If we lose it somehow, the only way is to generate a new one.
Thus, we stored this secret key safely for future use.
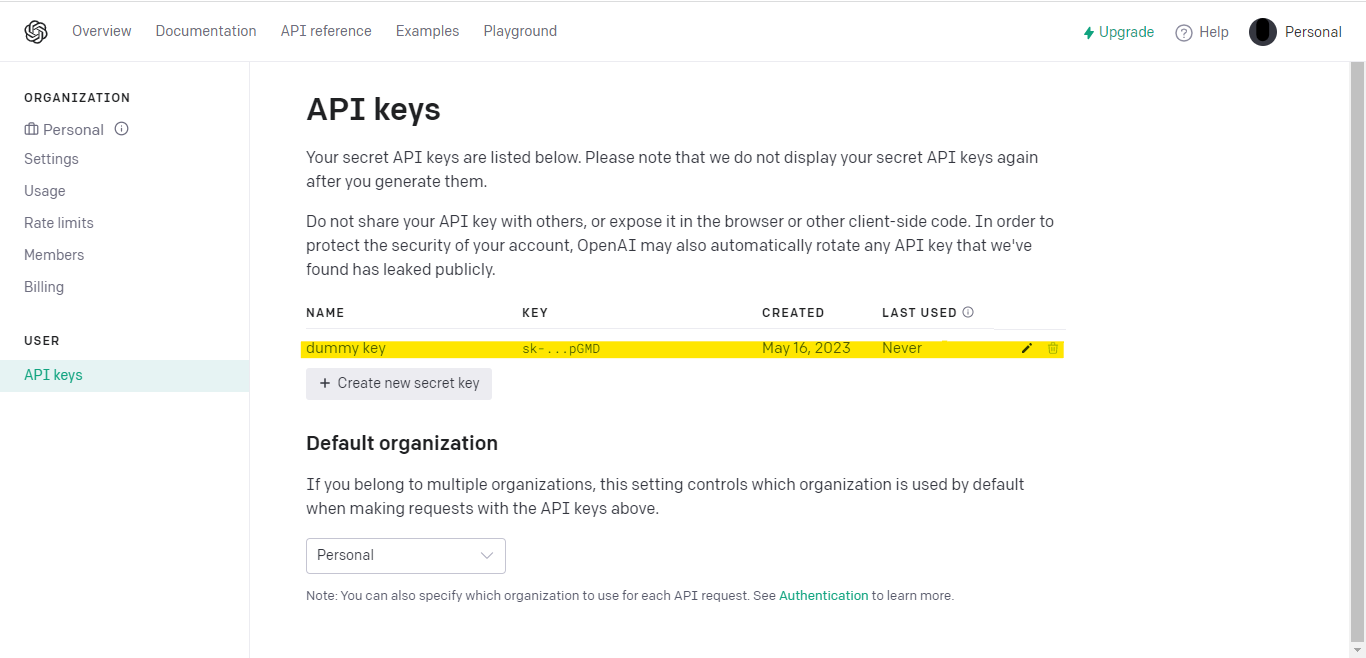
In the previous image, we can observe that the page is now updated. The list is revised to include the new key. When utilizing the OpenAI API in your applications, you can authenticate your inquiries via the API key that you obtained.
Installing Dependencies
Now that we generated our secret API key, we will install the Python dependencies that we need for the project. So, we install two Python packages here which are LangChain and OpenAI. Both these libraries are not included in the Python standard library so we need to install them separately.
You can install both of them via the terminal using the commands or you can install them through the Python IDE.
To install LangChain through the terminal, write this command:
To install the OpenAI package, write the following command:
Running these commands on the terminal will install both packages on your machine if Python is already installed.
For this tutorial, we use the other method which is installing through the Python IDE. The Python IDE that we use here is Pycharm. We launch the Pycharm and create a new project. By default, it creates a project in Python.
At the bottom of the Pycharm interface, you will spot a sidebar with a list of options. Click on the “Python Packages” section. Search the required libraries and click on the “install package” button on the right side to install them.

In the provided image, you can see the installation of LangChain. Similarly, we install the OpenAI package.
Once the installation is complete, you can start working on the project by accessing different OpenAI models using this key.
Example:
Let’s create an example program to implement this concept where we specify a query and where the predicted text is obtained using the OpenAI module.
from langchain.llms import OpenAI
os.environ["OPENAI_API_KEY"] = "YOUR KEY HERE"
llm_langchain = OpenAI(model_name="text-davinci-003")
text_to_predict = "Which is the best technical skill to learn in 2023?"
print(llm_langchain(text_to_predict))
We first import a module, i.e. “os”, from the Python standard library. You can communicate with the operating system using this module. Then, we import the OpenAI from the Langchain-llms module. This helps us interact and integrate our project with the OpenAI modules.
After importing the required packages into our project, we then set the secret API key that we previously obtained as the “os” environment variable. This key lets us access the OpenAI modules in our project. The “os.environ” is an object that is utilized to map the user’s environment variables. Provide your secret API key at “YOUR KEY HERE”.
As we do some text prediction, the model that is used for text prediction is “model_name=”text-davinci-003″ from the OpenAI platform. We assign it to the “llm_langchain” function. Then, we provide the text that needs to be predicted using the OpenAI’s specified module which is “Which is the best technical skill to learn in 2023?” Lastly, using the print function, we display the output predicted text on the Python console.
The predicted text that is obtained by the OpenAI model “text-davinci-003” is shown in the following snapshot:

Conclusion
The integration of OpenAI with LangChain in Python is explained in this article. The OpenAI is briefly described to you in the introduction section of the article. Moreover, the generation of the secret API key from the OpenAI platform is explained. Furthermore, we elaborated and implemented the installation of required dependencies in the Python project. Lastly, we created a simple Python program by importing the OpenAI and LangChain to generate a response using an AI model for a specified query.
Source: linuxhint.com