How to Set a Timer in Arduino?
How to Set a Timer on an Arduino?
It is very simple to set a timer on an Arduino. You can use the built-in Arduino function that is millis(). The millis() function works by returning the time, in milliseconds, since the start of running a program.
This feature allows the user to subtract the starting time from the present time and calculate the time difference. This time difference can be compared to the timer interval that the user wants to set. This timer can be used to switch the LED ON or OFF.
To set a timer and turn ON and OFF LEDs through it, you need to compile the given code in Arduino IDE and make the hardware circuit as well.
int ledState = LOW; // ledState will the LED initially to LOW
unsigned long startingTime;
unsigned long duration = 5000; // Set your timer's duration in milliseconds. Here it is 5 seconds
void setup()
{ // Write your function here
pinMode(ledPin, OUTPUT);
startingTime = millis();
}
void loop()
{ // Other loop code...
unsigned long presentTime = millis();
unsigned long timepassed= presentTime - startingTime;
if (timepassed >= duration)
{ // When timer has passed, update the starting time
startingTime = presentTime;
if (ledState == LOW)
{
ledState = HIGH;
} else
{
ledState = LOW;
}
//Set the LED with the ledState of the variable:
digitalWrite(ledPin, ledState);
}
// Write what do you want to do after timer has passed
}
Output
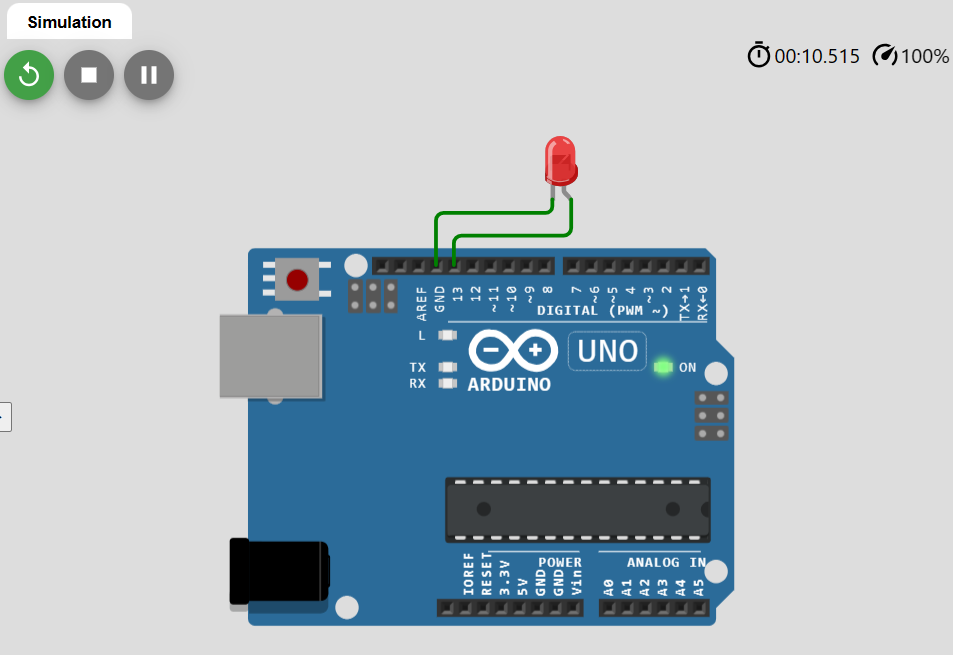
The output of this program will be shown through an LED that would be blinking according to the set timer. Given below is the output circuit of an Arduino connected to an LED. You need to simply connect the LED anode to pin 13 or Arduino and then the GND pin to the LED to the pin of Arduino that is named GND.
As the duration of the timer set in this program is 5 seconds, it can be seen in the output below that after 5 seconds the LED has turned ON.

In the next output diagram given below, you can see as the time crossed 10 seconds, the LED turned OFF. The LED remained ON for 5 seconds and then turned OFF.
Conclusion
To set the timer in Arduino, built-in functions like millis() can be used conveniently. These functions use Arduino timers, and they return the value of time since the start of the program. This value of time can be used to calculate the interval and the duration of the interval can be used to set the timer as explained in the article.
Source: linuxhint.com