How to Run Ubuntu on Top of Android
“Android is built upon the Linux kernel. As a Linux user, you are probably curious about how to run Ubuntu on top of Android. The good news is that it’s possible to run Linux on Android, and you can achieve that using a rooted and a non-rooted Android device.
Moreover, you can install the VNC or SSH version of Linux on your Android, such that you can access the Graphical interface of Ubuntu or stick to the command line. This guide covers the steps for installing Ubuntu on Android.”
Can my Android Run Ubuntu?
Ubuntu for Android is lightweight. Besides, different apps support the installation of Linux on Android devices, such as UserLAnd. Any Android should be able to run Ubuntu, whether it’s rooted or not. Although you won’t access the entire Ubuntu operating system on your Android, most functionalities will be available, and you can install various packages.
How to Run Ubuntu on Top of Android
There are various tools you can use to install Ubuntu on Android. However, this guide focuses on using UserLAnd as it offers more convenience, is easy to use, and allows the installation of various distros, including Kali, Ubuntu, Debian, Arch, etc.
Follow the steps below to use UserLAnd.
1. Downloading UserLAnd
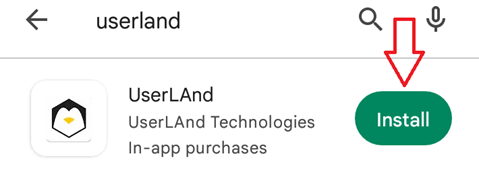
On your Android phone, open the Google Play Store and search for UserLAnd. Once it comes up, click on it. Alternatively, you can access the app using this link.
Next, tap the install button at the top to start downloading and installing the app.
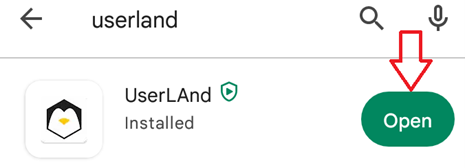
Once the download completes, click the open button at the top.
2. Set Up UserLAnd
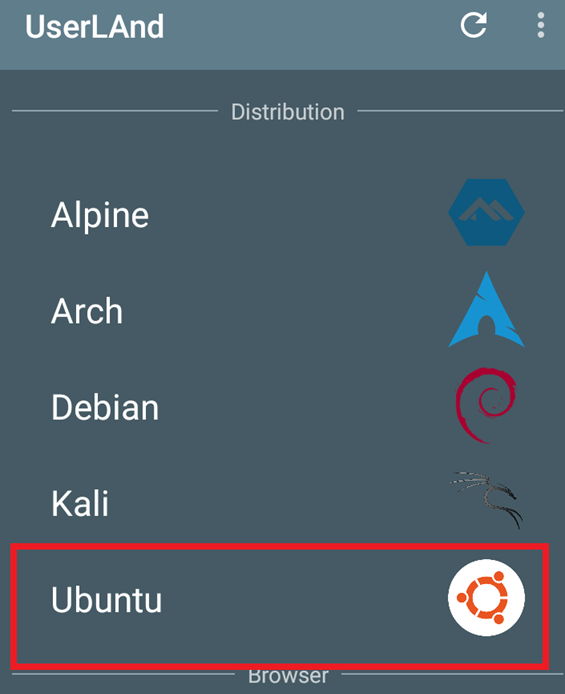
With the app installed, open it. Once UserLAnd opens, you will see a screen with the various distributions you can install, and each distro will have its logo on the right. Our focus is on Ubuntu. Therefore, locate it and click on it.
3. Download Ubuntu
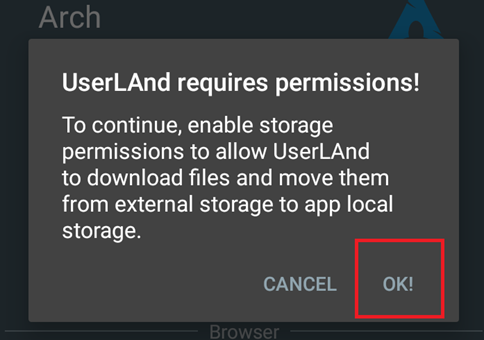
UserLAnd requires access to your storage permissions to facilitate downloading the required files for the successful installation of Ubuntu.
In the permission prompt on your screen, click the OK option to grant UserLAnd the required permissions.
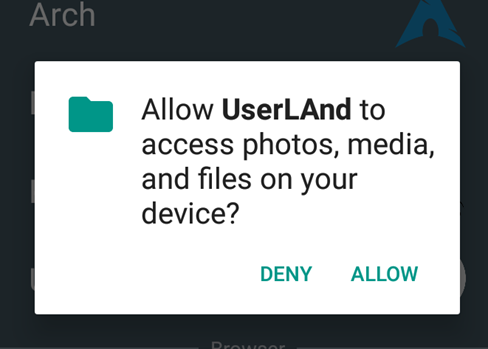
Also, you must allow UserLAnd to access your files by clicking the Allow button when prompted.
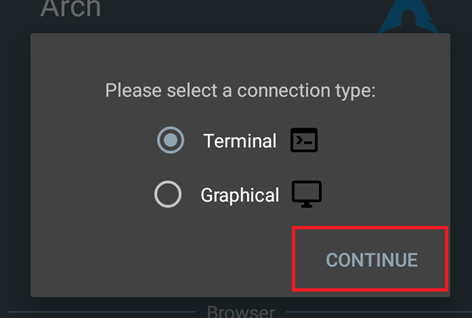
Next, select the connection type to use for the installation of Ubuntu. The connection type depends on whether you want to utilize the terminal or install the graphical interface for Ubuntu.
For our case, we will use the terminal as it offers more flexibility. Select your selection and click the Continue button.
The app will fetch the required files and assets, then begin downloading them.
4. Create Root Password
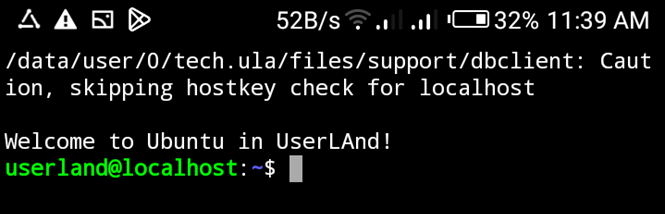
Ubuntu will get installed, and the terminal will open if you set your connection type as terminal instead of the graphical interface,
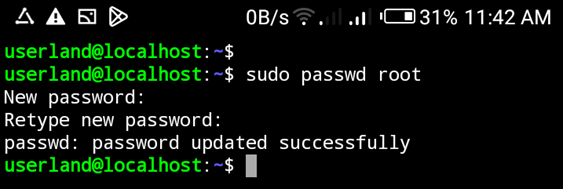
Once your terminal is open, set up a root password, as shown in the image below.
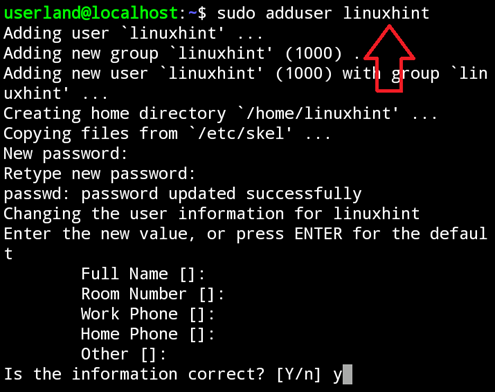
5. Create a New User
We can create a new user on our Ubuntu.
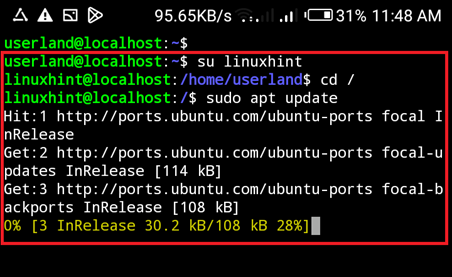
That’s it. You can now update and upgrade your Ubuntu and perform other necessary activities.
Enjoy using Ubuntu on Android.
Conclusion
It’s possible to run Ubuntu on Android using various tools. In this tutorial, we’ve covered the steps for installing Ubuntu on Android using UserLAnd. Besides, you can select the connection type you are comfortable using, and with the steps presented in this guide, you will manage to run Ubuntu on Android. All the best!
Source: linuxhint.com