How to Return Class List of an Element with jQuery
This post elaborates on how to return a class list of an element with jQuery.
How to Return a Class List of an Element with jQuery?
To return the class list of an element, use the built-in jQuery “attr()” method or the “className” property. The use of the specified method and property is quite simple and easy.
This section applies both of these approaches one by one to get the class list of the target element.
Method 1: Use the “attr()” Method to Get the Class List of an Element
The jQuery “attr()” method sets and returns the attribute and their values of the specified HTML element. In this method, it is used to get all the classes that are applied to an element.
HTML Code
First, have a look at the stated HTML code:
<p>Welcome to Linuxhint!</p>
</div><br>
<button>Get Class List</button>
In the above code snippet:
- The “<div>” tag adds a “div” element with an id “Div1”, classes “First”, “Second”, and “Third”, respectively, and is styled using the specified styling attributes i.e., height, width, and border.
- The “<p>” tag embeds the given paragraph statement.
- The “<button>” tag adds a new button.
jQuery Code
Now, let’s consider the given jQuery code:
<script>
$(document).ready(function(){
$("button").click(function(){
var list = $("#Div1").attr("class");
var arr = list.split(/\s+/);
$.each(arr, function(index, value){
$("body").append("<p>" + index + ": " + value + "</p>");
});
});
});
</script>
According to the above code snippet:
- The first “<script>” tag embeds the jQuery library CDN using the “src” attribute from its official website.
- The next “<script>” tag defines a small script section that first applies the “ready()” method to execute the given function when the given HTML document gets ready.
- Next, the specified “click()” method associated with the “button” selector executes the linked function upon the button click.
- After that, the “list” variable applies the “attr()” method to get the “class” attribute’s value i.e., the class list of the accessed “<div>” element using its id “Div1”
- Now, the “arr” variable applies the “split()” method that works on the “/\s+/” pattern to divide the “list” variable value into the array of substrings.
- Lastly, define a callback function “each()” to iterate over each index value of the array and append them into the DOM.
Output
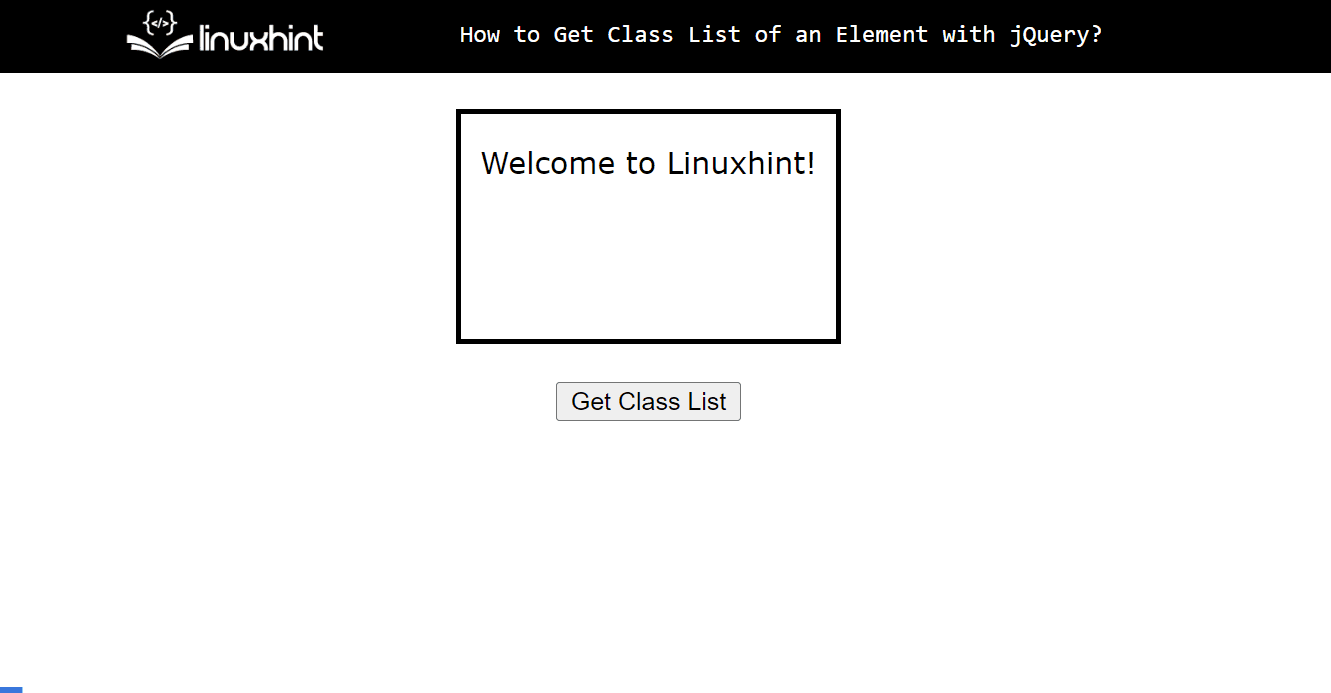
It is seen in the above output that the given button shows the class list of the accessed “<div>” element along with the indexes with the help of the “attr()” method.
Method 2: Use the “className” Property to Return the Class List of an Element
The “className” property helps to set and retrieve the class attribute value of the specified HTML element. Here in this method, it is applied to return the class list of an element i.e., the class attribute’s value.
HTML Code
First, overview of the following HTML code:
<p>Welcome to Linuxhint!</p>
</div><br>
<p>Press F12 to open the web console.</p>
This HTML code is the same as the “attr()” method but with the removal of a button, and an addition of a paragraph statement at last with the help of the “<p>” tag.
jQuery Code
Next, go through the jQuery code:
<script>
$(document).ready(function () {
$("#Div1").click(function () {
var getlist = this.className;
console.log(getlist);
});
});
</script>
In these code lines:
- The “click()” method is associated with the “div” selector using its id “Div1”.
- After that, the “getlist” variable applies the “className” property to get the class list when the user clicks on the accessed “<div>” element.
- Lastly, the “console.log()” method displays the “getlist” variable’s value i.e., class list on the web console.
Output
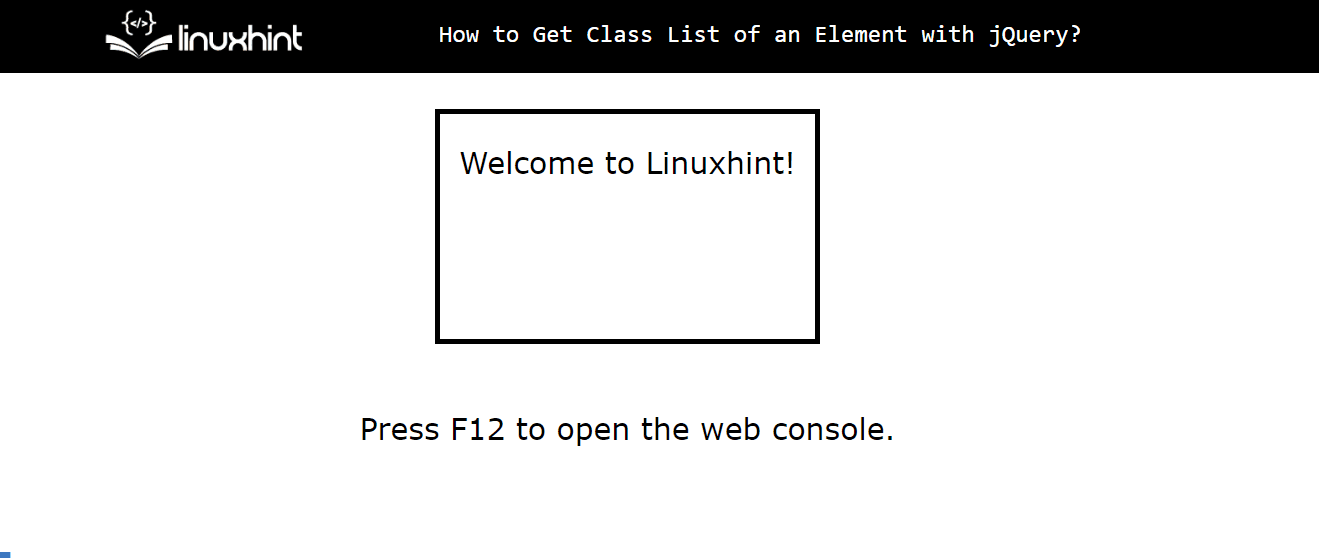
In this output, the web console displays the class list of the target “<div>” element when the user clicks on it.
Conclusion
To return the class list of an element, use the jQuery “attr()” method or the “className” property. The “attr()” method sets and retrieves all the attributes and their values of an HTML element along with indexes and the “className” property retrieves the “class” attribute directly. This post explained all the possible methods to return the class list of an element with jQuery.
Source: linuxhint.com