How to Reset Git Branch to Origin Version
Git is a well-liked version control tool widely used for managing DevOps projects. It manages the project source code and keeps track of changes. More specifically, maintaining a history of committed changes enables developers to view why these changes are happening and can easily revert to the previous version.
This write-up will demonstrate the method for reverting the Git branch to the origin version.
How to Reset Git Branch to Origin Version?
Sometimes users want to revert changes in the local branch same as the origin/remote branch. Therefore, to reset the Git local branch to the origin version, follow the below-provided steps.
Step 1: Open Git Command Line Terminal
First, open the “Git Bash” terminal from the Start menu:
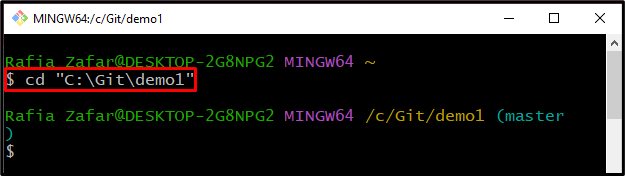
Step 2: Go to Git Repository
Go to the Git repository by using the “cd” command:
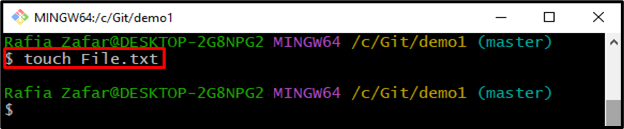
Step 3: Generate New File
Generate the new file by utilizing the “touch” command:
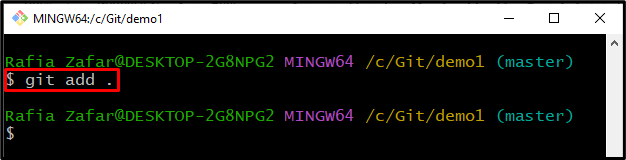
Step 4: Add File to Tracking Index
After that, add the new untracked file to the tracking index through the provided command:
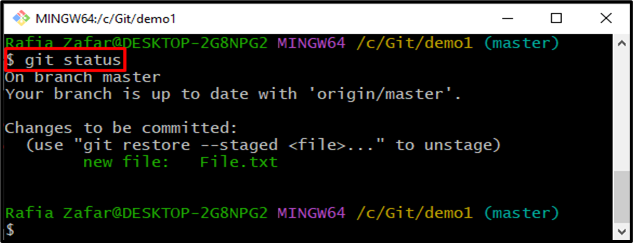
Check out the Git working repository state to check if the file is added to the tracking index or not:
You can see that we have successfully added the files to the tracking index(staging area):
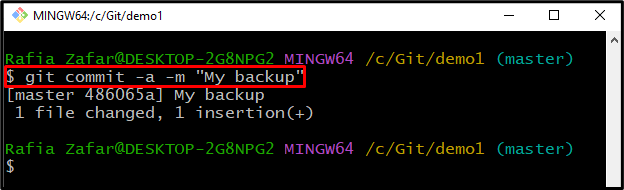
Step 5: Commit Tracked Changes
Next, commit the tracked changes to store the current working of the repository using the “git commit” command:
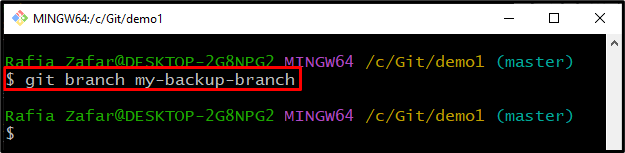
Step 6: Create Backup Branch
Create a new branch to store the backup of the currently opened branch. The new backup branch will automatically save the current branch commits:
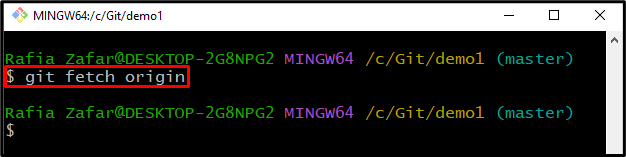
Step 7: Fetch Remote Changes
Now, fetch the modified remote changes in the local repository through the mentioned command:
Step 8: Reset Branch to Origin Version
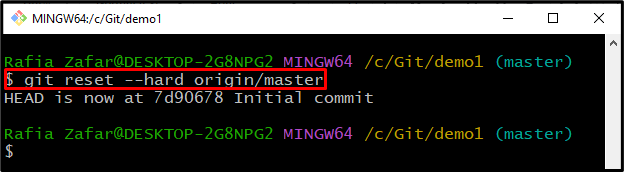
After that, reset the Git branch to the remote version by utilizing the “git reset –hard” command and specify the remote name along with the branch name:
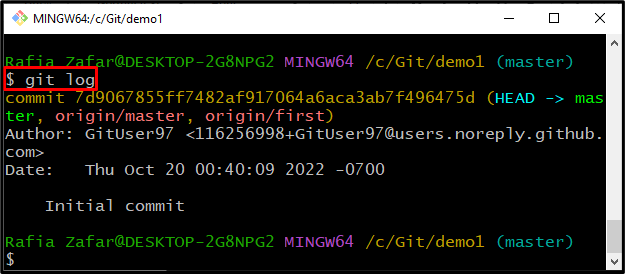
Check the repository logs to verify if the branch is reset to the origin version or not:
Here, you can see the branch is successfully reset to the origin version:
Step 9: Move to Backup Branch
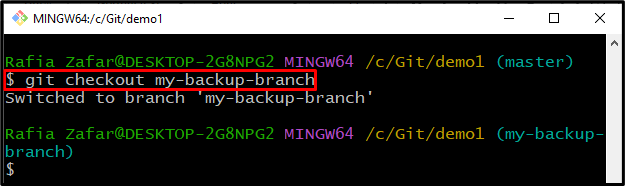
Next, switch to the backup branch by utilizing the “git checkout” command:
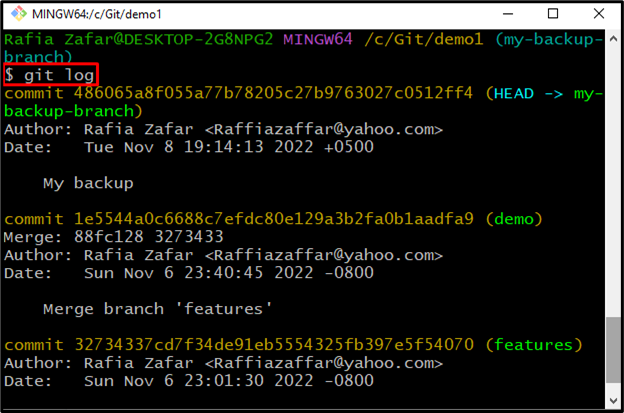
Check the repository log for the verification:
The output shows that the new backup branch saves the backup of the recently reset branch:
We have illustrated how to reset the Git branch to the remote/origin version.
Conclusion
To reset the Git branch to the origin version, first, open the Git repository. Next, commit the current working of the branch by using the “git commit” command. After that, create a new backup branch that will automatically save the commits of the currently opened branch. Now, reset the branch to the origin version through the “$ git reset –hard origin/master” command. In this write-up, we have elaborated on the technique to reset the Git branch to the origin version.
Source: linuxhint.com