How to Replace a Child Node With a New Node in JavaScript
This guide elaborates on replacing a child node with a new node using JavaScript.
How to Replace a Child Node With a New Node Using JavaScript?
For replacing a child node with a new node using JavaScript, utilize the “replaceChild()” method. This method replaces the specified child node with the newly created one.
Syntax
This syntax works on two parameters:
- newChild: It denotes the new node that the user wants to place at the existing child node.
- oldChild: It specifies the existing child node that the user wants to replace with the new one.
Let’s apply the above “replaceChild()” method practically to replace the desired child node with the new node.
HTML Code
First, follow the stated HTML code:
<ul id="list1">
<li>Welcome</li>
<li>to</li>
<li>Linuxhint</li>
<li>website</li>
</ul>
In the above code lines:
- The “<p>” tag defines a paragraph statement.
- The “<ul>” tag creates an unordered list having an id “list1”.
- Within the unordered list, the specified list items are embedded using the “<li>” tag.
JavaScript Code
Next, overview of the following code:
function myFunc() {
const elem = document.createElement("li");
const text = document.createTextNode("blogs");
elem.appendChild(text);
const list = document.getElementById("list1");
list.replaceChild(elem, list.children[3]);
}
</script>
According to the above code snippet:
- The function “myFunc()” is defined.
- In its definition, the “elem” variable utilizes the “createElement()” method to create the specified element i.e., “li” as a new node.
- Next, the “text” variable adds the text node of the above-created new node using the “createTextNode()” method.
- After that, the “appendChild()” method appends the new node with the text node.
- Lastly the “list” variable uses the “getElementById()” method to access the parent node using its id “list1” and then applies the “replaceChild()” method to its specified node index to replace it with the new one.
Output
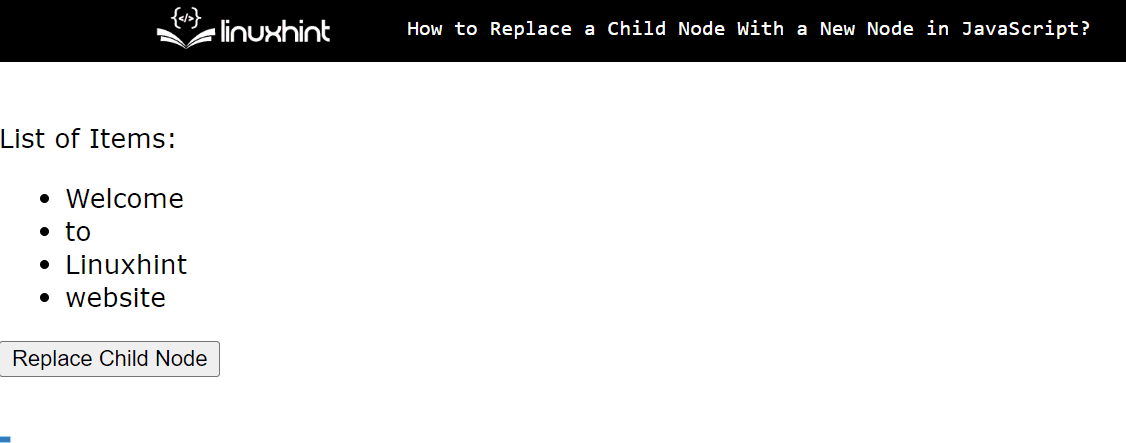
In this output, it can be seen that upon button click, the specified index node “website” is replaced with the “blogs” as a new node.
Conclusion
JavaScript offers the “replaceChild()” method to replace the desired child node with the new node. This method does not affect the other child nodes of the parent element while performing this task. Prior to this process, the user requires the “createElement()” and the “createTextNode()” methods to create a new element/node alongside its text node. This guide illustrated the approach for replacing a child node with a new node using JavaScript.

Source: linuxhint.com