How to Remove File From Git History?
While working on the Git versioning-based tracking system, it is common for users to create multiple files in their repository. After creating them, these files can be tracked to the repository for saving purposes. But in some cases, users realize that they did something wrong or added an unnecessary file into the repository and want to remove it from the Git history. To handle this particular situation, the “$ git rm <file-name>” command can be used.
This guide discusses the method to remove the file from Git history.
How to Remove File From Git History?
To delete the project file from the Git history, the “$ git rm” command can be utilized. To perform this operation, first, navigate to the Git root directory and create a Git repository. Next, navigate the newly created Git local repository and create a new text file. After creating the new text file, track it to the staging area. Add changes to the repository and view the repository list of content. Lastly, remove the desired file by executing the “$ git rm <file-name>” command and check the status.
Now, implement the previously discussed procedure for better understanding!
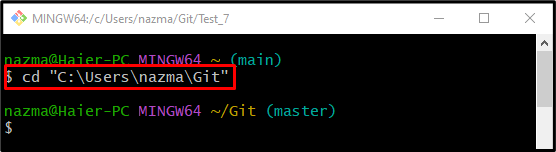
Step 1: Move to Git Root Directory
Execute the “cd” command and navigate to the Git root directory:
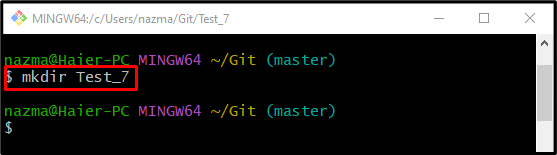
Step 2: Create a New Local Repository
To create a new local repository, execute the “mkdir” command along with the required repository name:
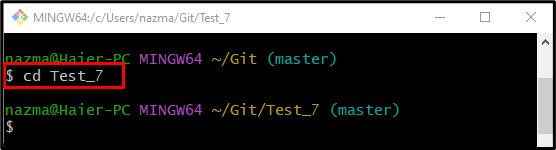
Step 3: Navigate to Newly Created Repository
Now, move to the newly created repository using the “cd” command:
Step 4: Create New Text File
In order to create a new text file, utilize the provided command with the file name:
Step 5: Add Newly Created File Into Staging Area
Execute the “git add” command along with the file name to track it to the staging area:

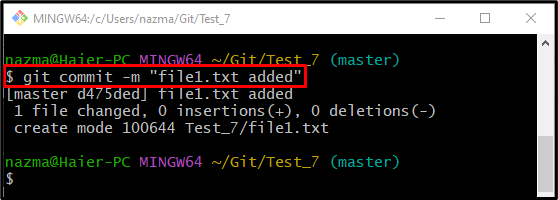
Step 6: Commit Changes
Next, commit the added changes to the repository through the below-stated command:
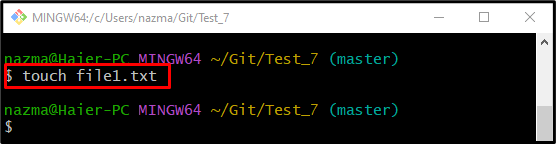
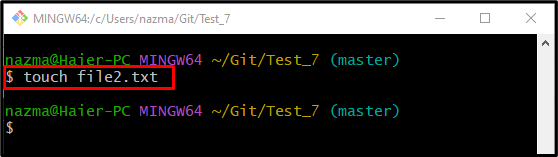
Step 7: Create New Text File
In order to create more text files, execute the “touch” command:
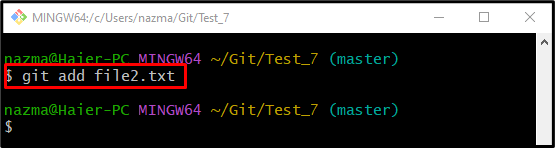
Step 8: Track Newly Created Text File
After creating a new file in the working directory, add it to the staging area through the “git add” command:
Step 9: Update Repository
Next, run the provided command to commit these changes to the Git repository:

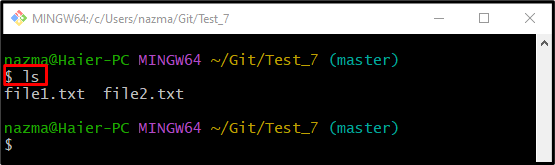
Step 10: View List of Content
To view the list of content and verify the newly created file, write out the “ls” command:
Step 11: Remove File
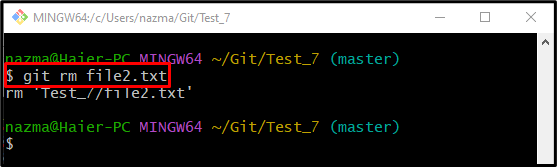
Now, remove the file from Git history with the help of the “git rm” command and specify the file name:
Step 12: Check Repository Status
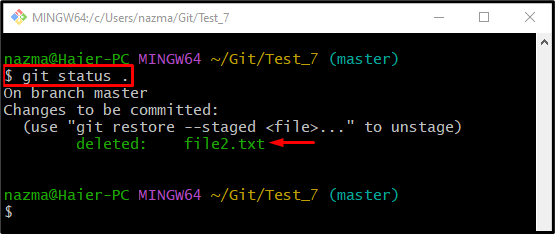
Next, execute the following command and check the repository status:
According to the below-listed output, the targeted file has been successfully removed from the Git history:
Step 13: Verify Removed File From List of Content
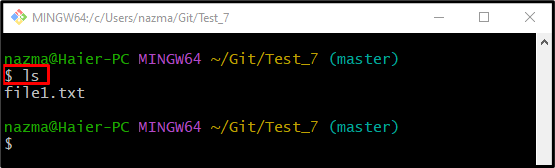
Lastly, execute the “ls” command to view the repository list of content for verification:
It can be seen that now “file2.txt” does not exist in the repository:
We have described the method to remove the file from Git History.
Conclusion
To remove the file from the Git history, first, navigate to the root directory and create a new Git local repository. Move to the newly created repository and create a new text file. After creating a new text file, track it to the staging area. Commit changes and show the content list of the repository. Lastly, execute the “$ git rm <file-name>” command to remove it and check the status. This guide provided the procedure to remove the file from Git history.
Source: linuxhint.com