How to Remote Connect to a Windows PC From Raspberry Pi
The Raspberry Pi remote access feature is a handy task that allows Raspberry Pi users to handle another operating system with ease. Accessing your favorite desktop environment like Windows right from your Raspberry Pi device will help you use Windows features and applications on your device.
This article will guide you on remotely connecting your Windows PC to your Raspberry Pi device.
How to Remote Connect to a Windows PC From Raspberry Pi
If you want to control Windows PC from your Raspberry Pi device, you must need to follow the below-given steps:
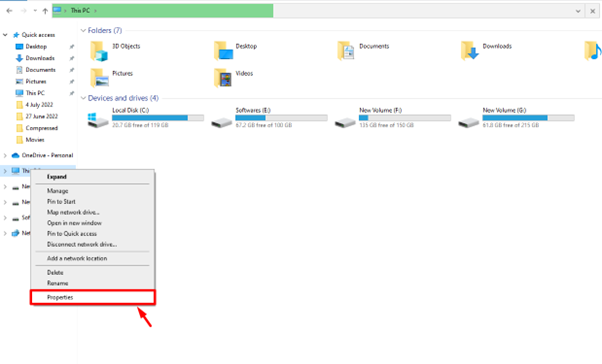
Step 1: First, enable the remote connect feature option from your PC or laptop and for that, you need to go to Windows Explorer and right click on “The PC” to select the “Properties” option.
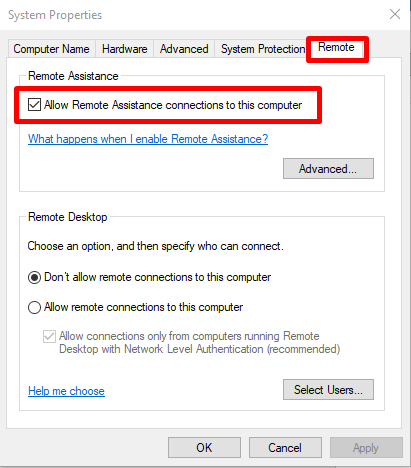
Step 2: Select the “Advanced system settings” option.

Step 3: In the “System Properties”, make sure that you have a checkbox for the below-highlighted option in the Remote section.
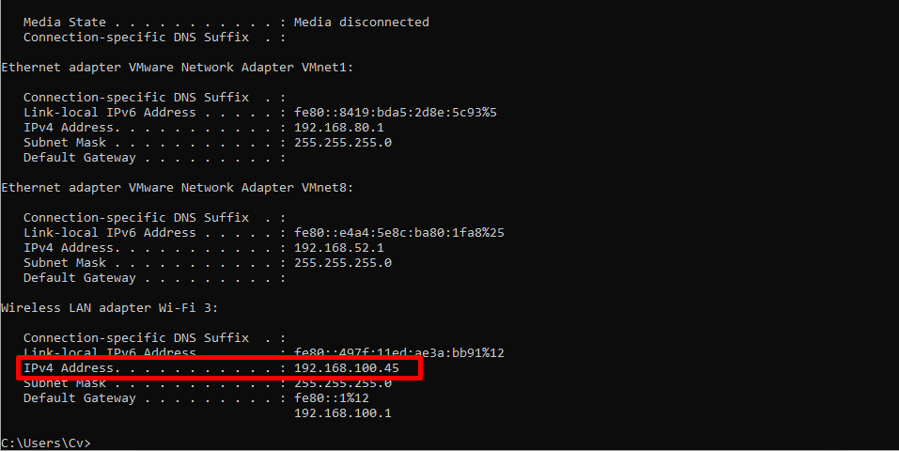
Step 4: Next, you will need to find the IP address of your PC or laptop and you can do so by opening the command prompt and entering the following command:
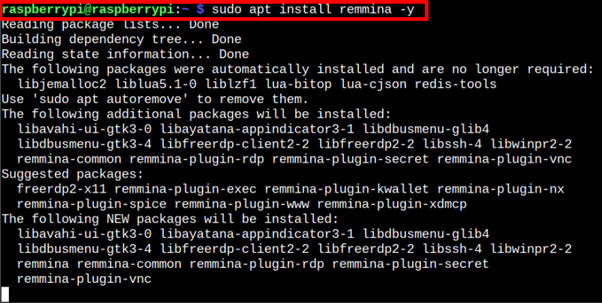
Step 5: Now, head toward your Raspberry Pi terminal and execute the following command to install a remote desktop application called Remmina on your Raspberry Pi device.
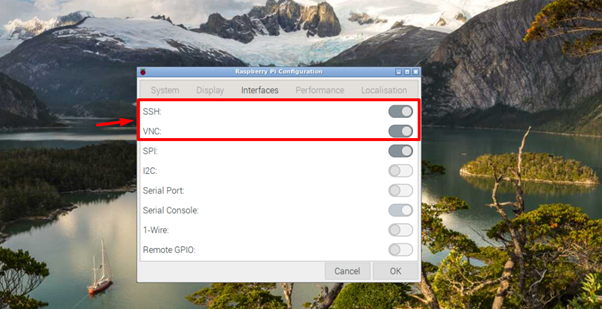
Step 6: You will also need to enable the VNC feature as well as SSH on your Raspberry Pi, which you can do so by going straight into the Raspberry Pi configuration as shown below:

Ensures that both SSH and VNC options are enabled as these two features are important for Remote desktop connection.
Step 7: Now, open Remmina on Raspberry Pi by executing the following command:
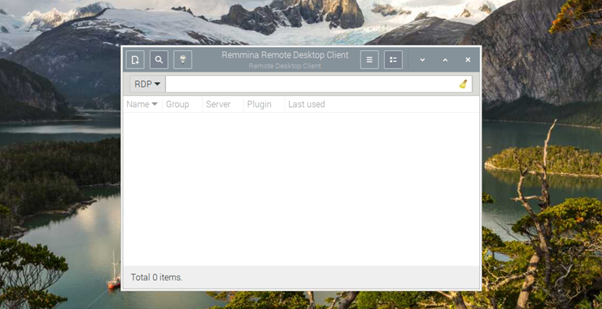
In the Remmina app, there are three options to pick for a remote desktop connection, which are RDP, VNC and SSH.

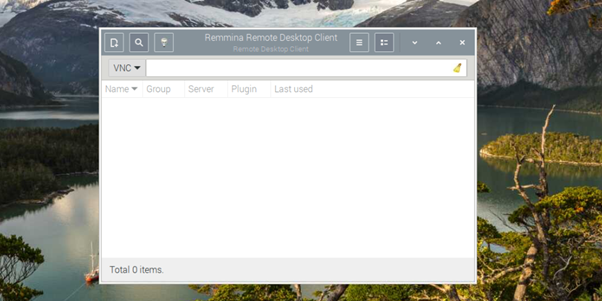
Since the VNC feature is already enabled in the Raspberry Pi device, thus, we are selecting the VNC on Remmina.
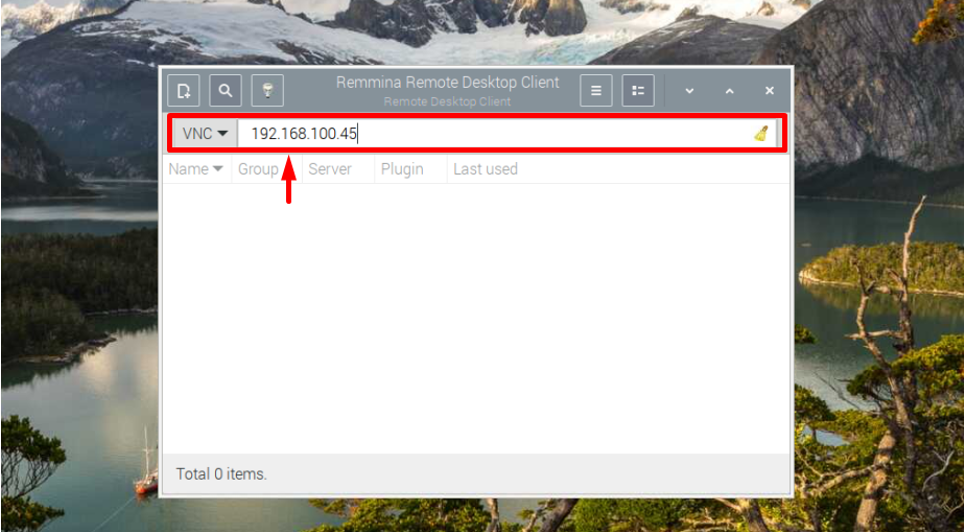
Step 8: Now, enter the IP address of your PC or laptop, which is “192.168.100.45” in our case.
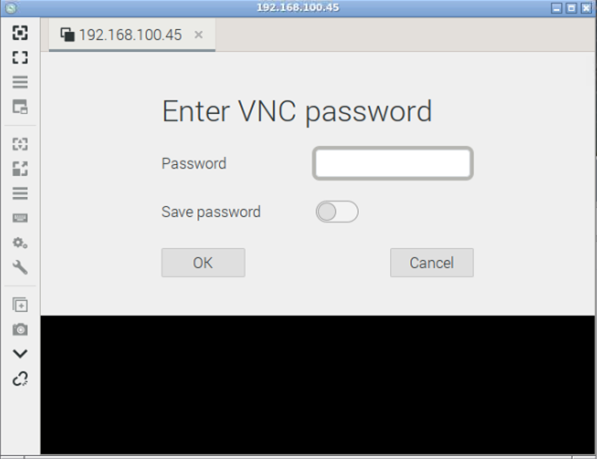
Step 9: Enter the password for your Raspberry Pi to join the connection.
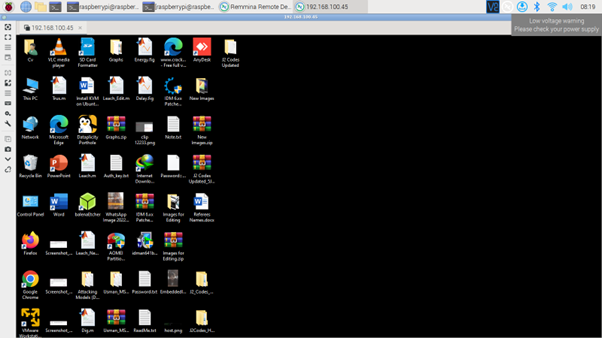
There, you will see your Windows desktop on your Raspberry Pi, which confirms a successful remote connection of your Windows PC.
Conclusion
The remote connection is beneficial if someone needs to access the Windows desktop environment on his Raspberry Pi device. The above step-by-step guidelines are enough to help you get things done successfully. These steps require enabling the remote access feature from your laptop or PC and installing Remmina on Raspberry Pi. After enabling both VNC and SSH features on your device, you can access your Windows PC on your Raspberry Pi display using the IP address of your Windows PC.
Source: linuxhint.com