How to print on a MacBook | Complete Guide
So, we have explained the process in detail of how you print using your MacBook.
Connecting printers to a MacBook
Before going into the details, you must know that there are three ways by which you can connect your printer with your MacBook. To connect the printer, you have to keep your MacBook updated so that the printer can get recognized by your MacBook easily and the following are the ways by which you can connect your MacBook with printer:
- Connecting your printer wirelessly with MacBook
- Connecting your printer with MacBook using a wired connection
- Connecting your printer with MacBook using its IP address
1 – Connecting your printer wirelessly with MacBook
Most of the printers nowadays come with the capability of having a wireless connection and that can be with either Bluetooth or Wifi. So, first you have to connect your printer with the same network on which your MacBook is connected.
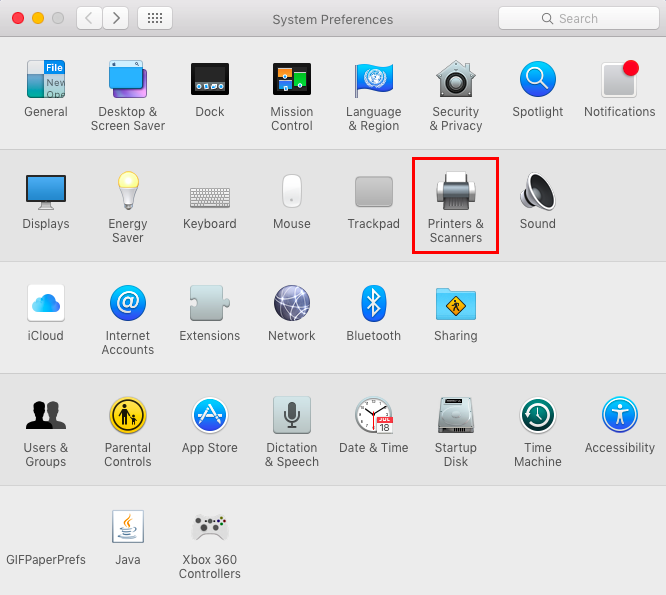
Next to connect your MacBook with the printer you have to add the printer by going into printers and scanner options in the system preferences as in the image below:
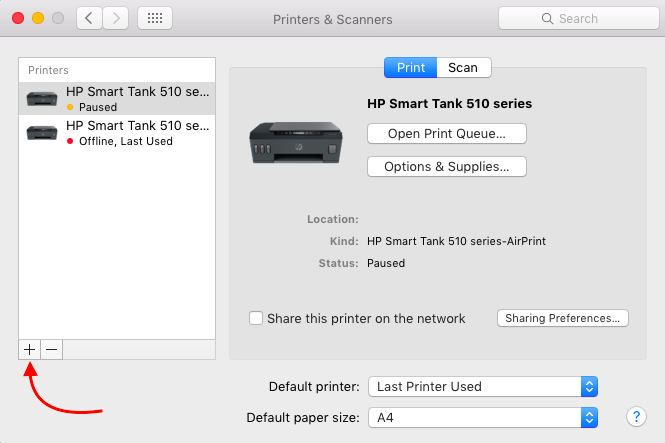
To add the printer, click on the plus sign as in the image below:
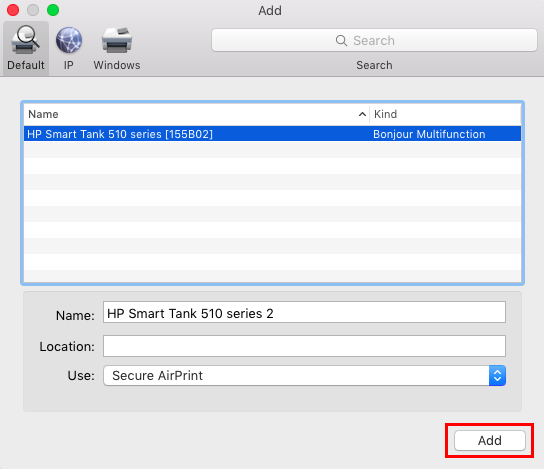
Next you will see the printer name in the tab click on it and below in the image you can see there is the option named “use” in which you will find various options and the first one is the “AirPrint” which is basically the driver your MacBook used for printing.
There are some cases in which your printer might not be compatible with “AirPrint” and you have to install the software given along with the printer. Similarly, if you do not have the print driver then go for the Auto Select option in which the driver will automatically be downloaded and installed in your MacBook. Next you just press the Add icon present at the bottom of the tab as in the image below:
2 – Connecting your printer with MacBook using a wired connection
You can connect your printer by using the USB cable so you just have to plug the one end of the cable to the printer which might be the conventional USB port and the other end to your MacBook that can be the type-C port.
Once you have connected Your MacBook with the printer you have to add it by going into the printers and scanners menu in system preferences.
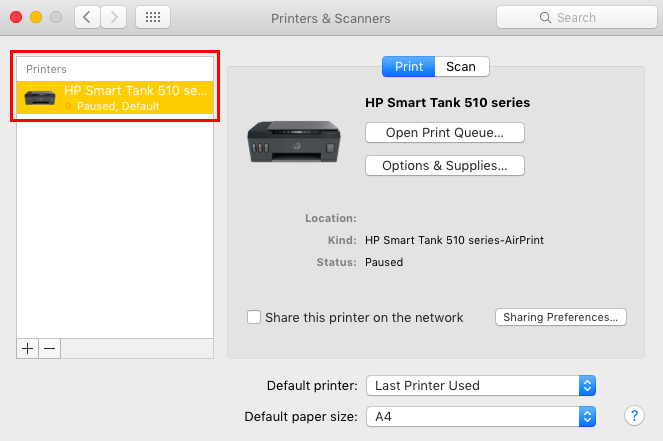
From there you have to Add the printer as it will be automatically recognized by your MacBook and for that you have to first click on the plus sign and then select the printer and after that press add. As in the image below the printer has been added:
3 – Connecting your printer with MacBook using its IP address
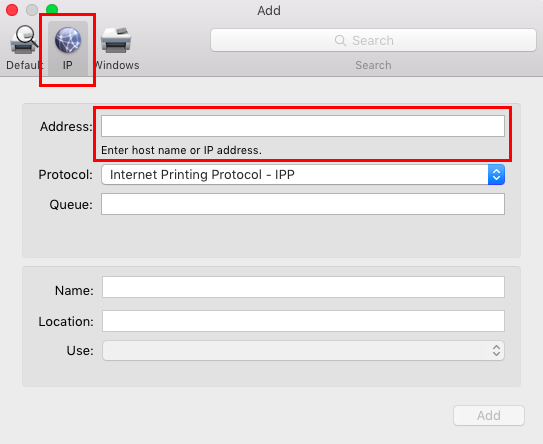
If you know your printer’s IP address, there is also a way of using it to connect your printer with a MacBook. The main steps are similar as we have described above so to add a printer Via IP address after clicking on the plus icon in the printers and scanners menu and next click on the IP option in the top menu bar as in the image below:
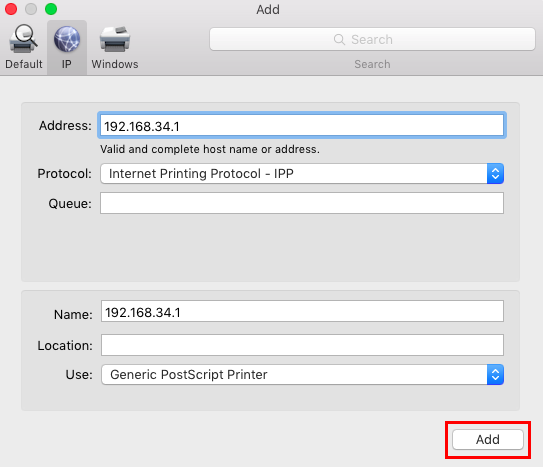
Just Add the printer’s IP address and if the IP address is correct, it will detect your printer automatically and then just click on the Add button.
How can I print on a MacBook?
Once you have connected your MacBook with your printer open the document, image or anything you want to print and then press “Command + P” shortcut key or by clicking on the print option in the file menu as in the image below:
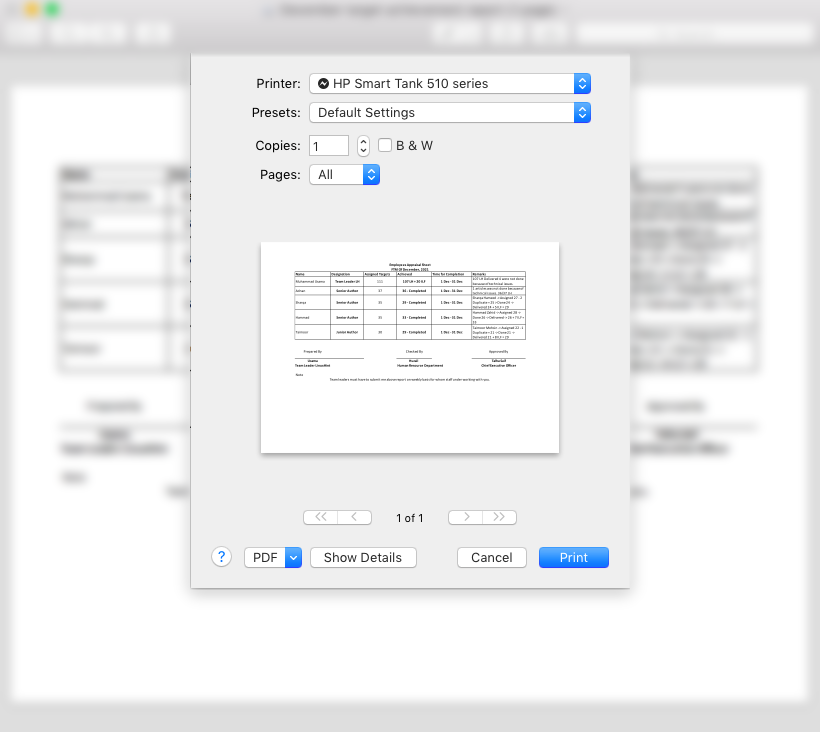
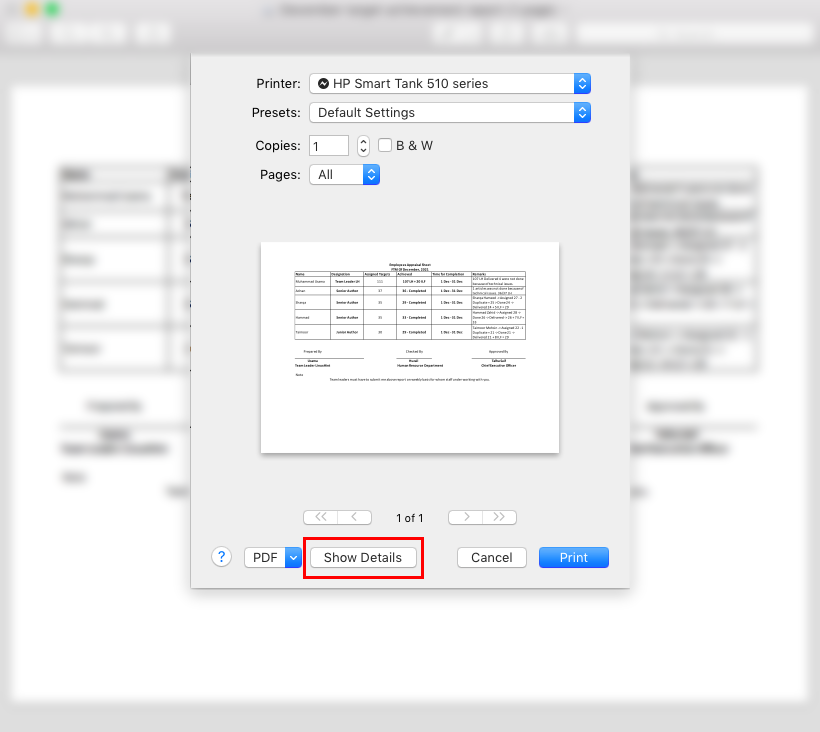
Next you will see a print menu from where you can select the number of pages you want to print, select your printer, number of copies you want to print and which type of print you need either color or black and white as in the image below:
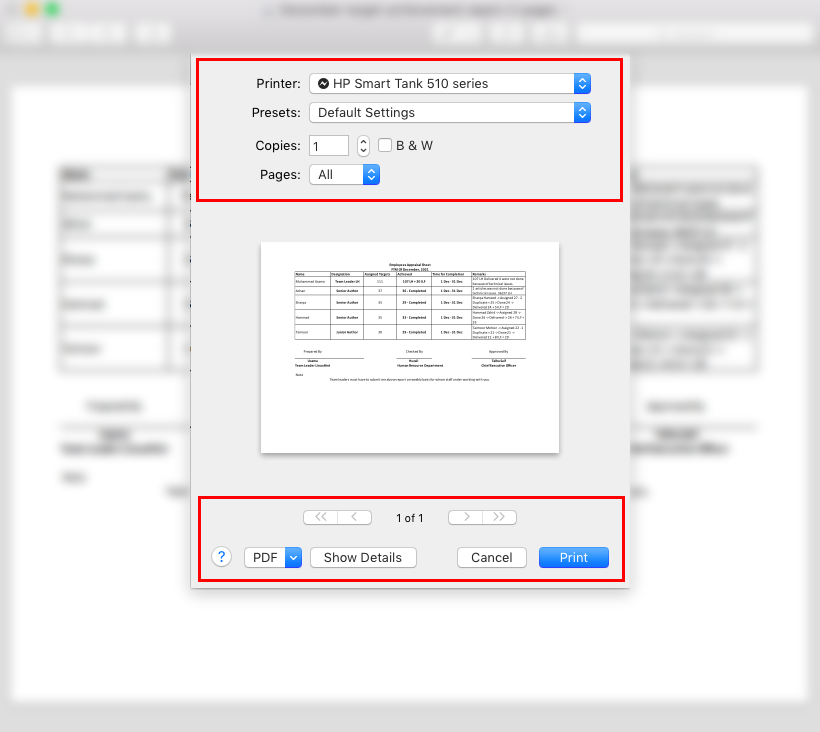
You can get access to more settings for printing by clicking on the show details as in the image below:
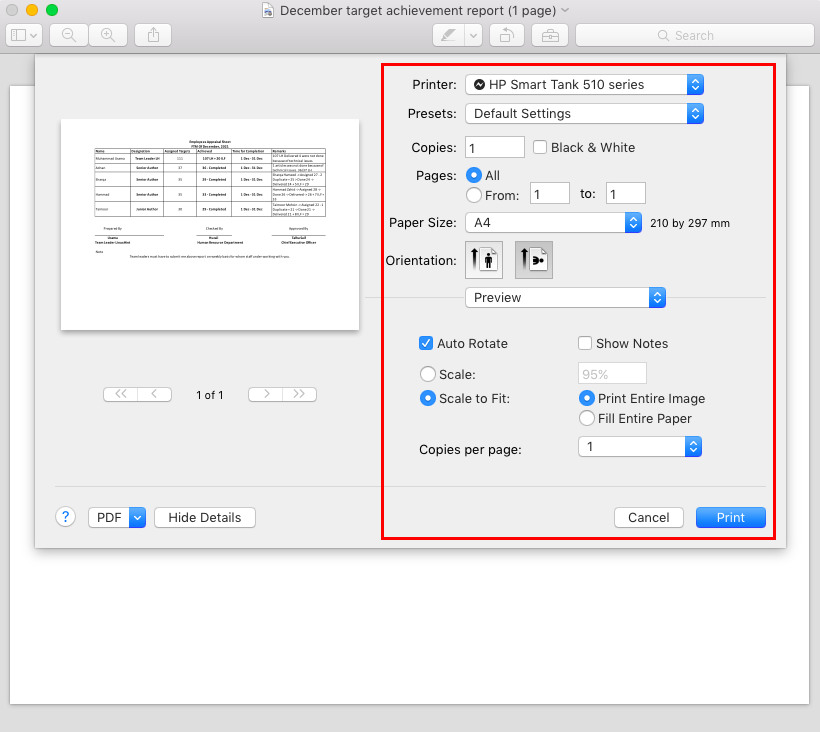
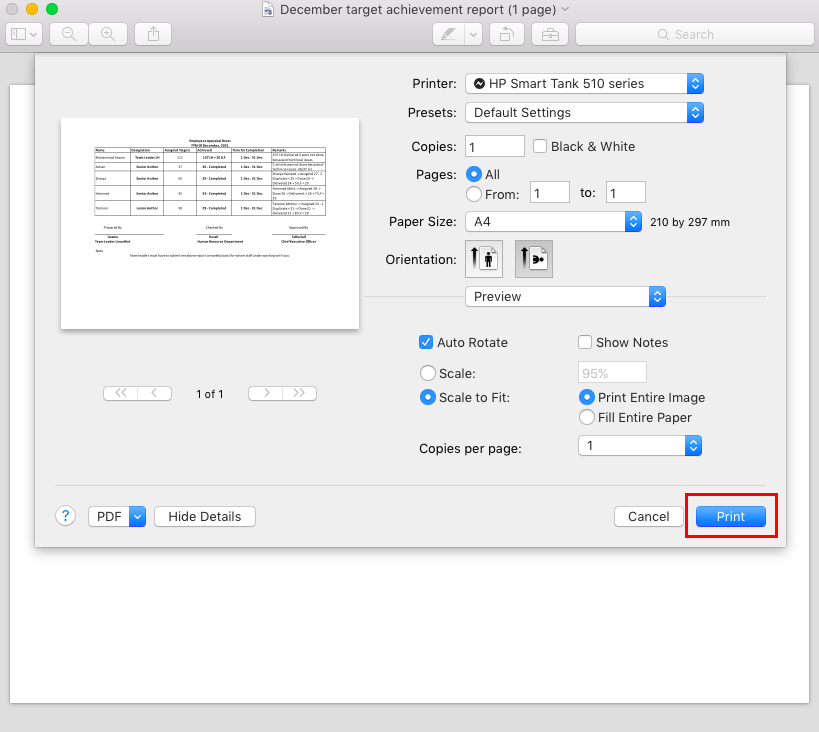
You can set the paper size on which you are going to print, make the print two-sided, orientation of the page and many other settings. Once you have made your desired settings then click on the print icon in blue as in the image below:
One thing you should remember that might come in handy is that if you are printing a large number of copies and you have given the print command to your printer. If you want to stop or pause the printing process, then you can either click on the printer on the menu bar at the bottom of the screen of your MacBook or you can go to the printing queue in the printers and scanners menu in system preferences.
Conclusion
Apple laptops comparatively operate in a different way as that of other laptops that usually run-on Windows operating systems. So, for the new users of the MacBook we have explained a detailed process of how you can make a print from your MacBook. Also we have described the multiple ways by which you can connect your MacBook with your printer.
Source: linuxhint.com