How to Only Install the Client Tools for PostgreSQL on Windows
Many GUI client tools such as pgAdmin, Omni DB, and so on help users to manage and manipulate data in an easy way. But still, people prefer to utilize the command line to access the PostgreSQL database. The psql is a famous command line frontend client tool for PostgreSQL.
In this blog, we will illustrate how to install only the client tools for PostgreSQL on Windows:
Method 1: Using Compressed PostgreSQL Binaries
The PostgreSQL binaries are used to install and configure PostgreSQL client tools on Windows such as the “psql.exe” binary file is used to install command line client tools. To install only the client tools for PostgreSQL on Windows, follow up on the below-mentioned instructions.
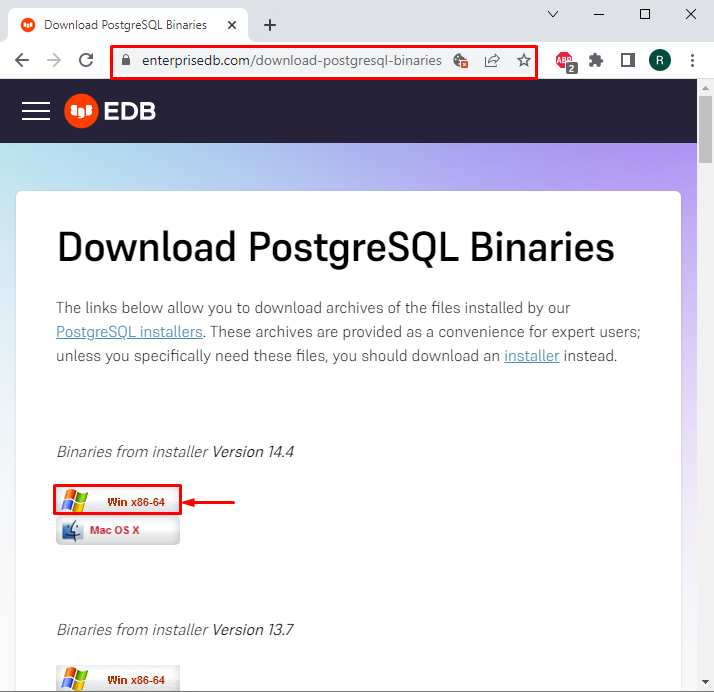
Step 1: Download Setup File
Visit the below-mentioned link to download the Compressed Setup for PostgreSQL on Windows:
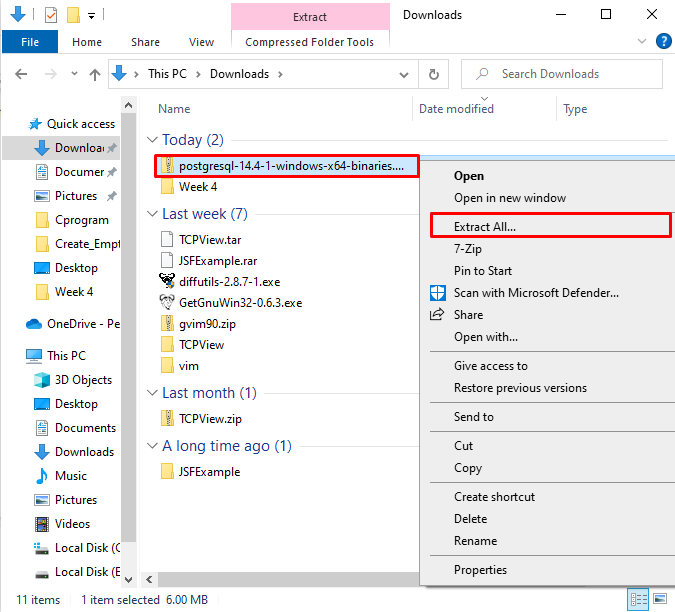
Step 2: Extract the Zip Setup
Go to the “Downloads” folder, right-click on the PostgreSQL zip setup file, and choose “Extract All” from the displayed option:
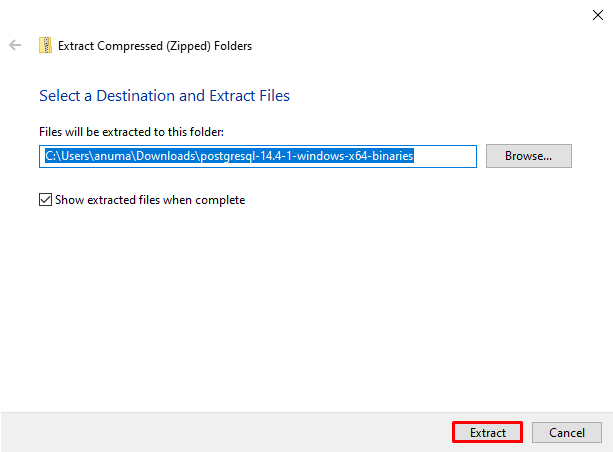
Specify the location where you want to extract the PostgreSQL setup:
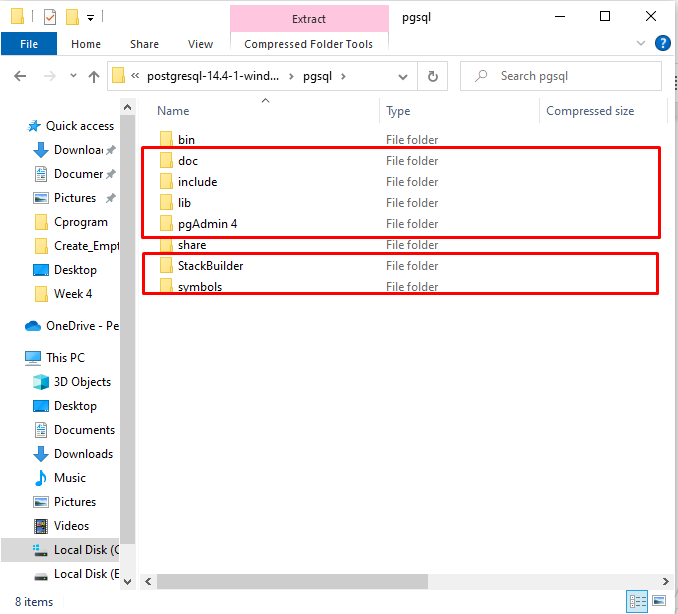
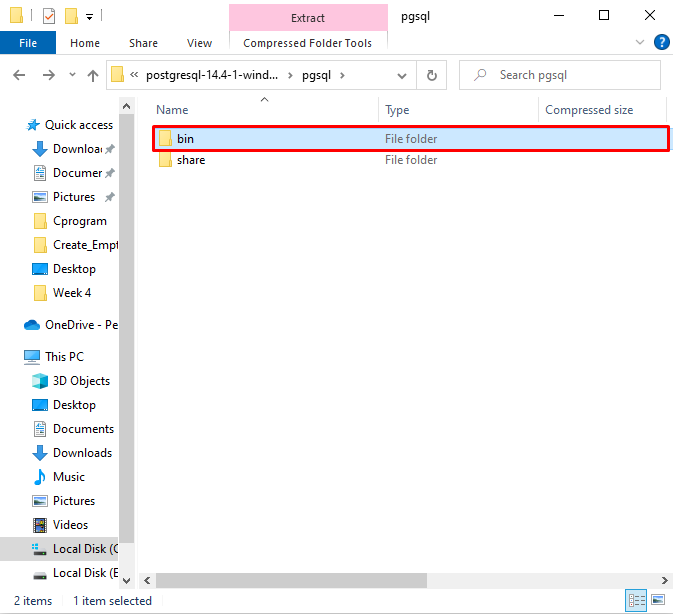
Step 3: Remove Unrequired Directories
In order to install the client tools only, remove the highlighted folders as shown below.
Step 4: Open bin Directory
You can see that there are now only two directories, shared, and bin. Open the bin directory:
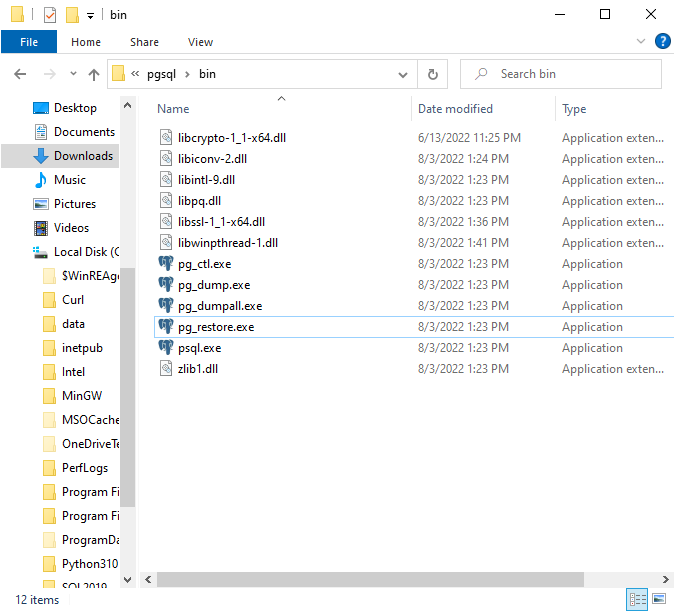
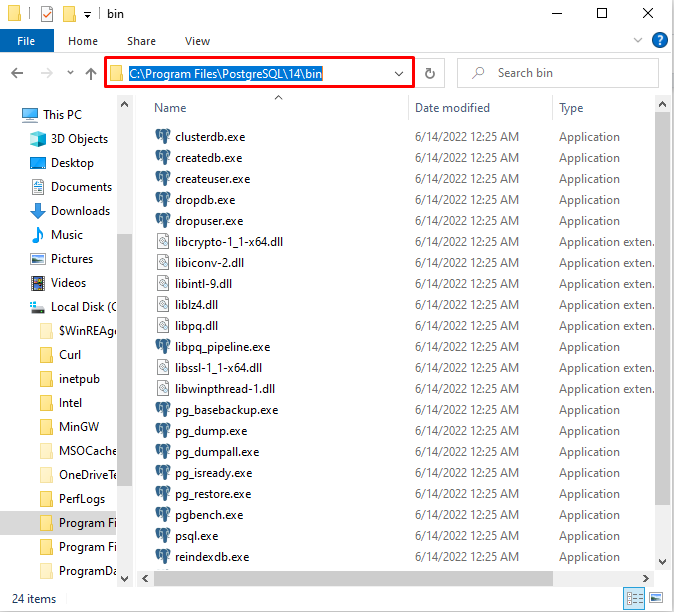
Step 5: Remove unnecessary Binaries and Libraries Files
Remove all .exe files except psql.exe. The below listed dll files are required to execute the PostgreSQL command using the command line tool. Therefore, Remove all other binaries and dll files except the mentioned files:
- libcrypto-1_1-x64.dll
- libiconv-2.dll
- libintl-9.dll
- libpq.dll
- libssl-1_1-x64.dll
- libwinpthread-1.dll
- psql.exe
- zlib1.dll
If you want to keep some client tools, you can hold some binaries such as pg_cti.exe, pg_dump.exe, and pg_restore.exe.
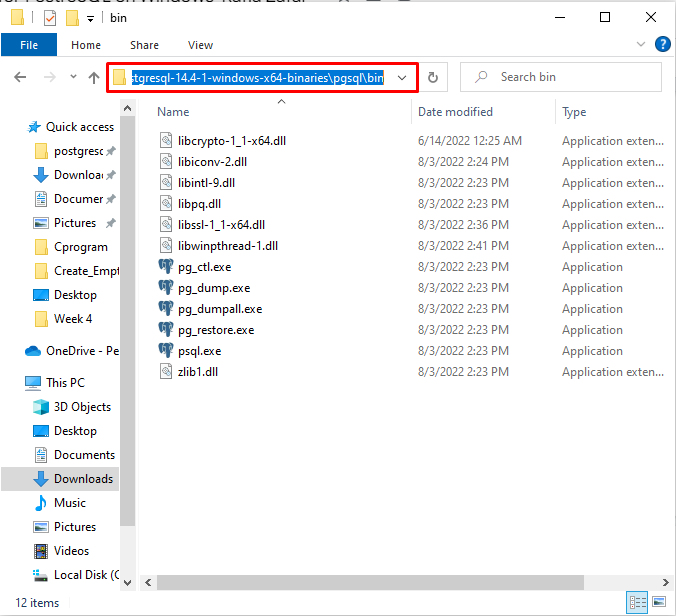
From the “Address” bar, copy the path where the psql.exe binary file is located:
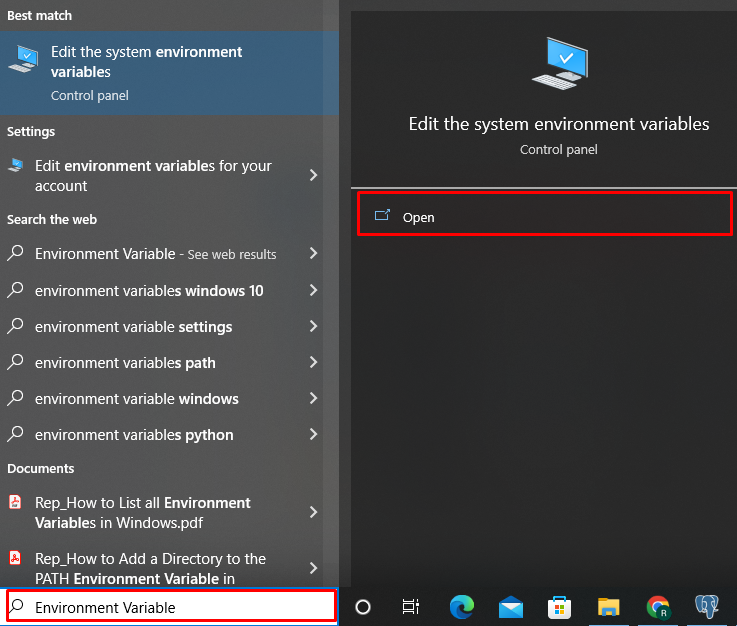
Step 6: Open the Environment Variable
Open the “Edit the system environment Variables” settings by searching for “Environment Variables” in the “Startup” menu:

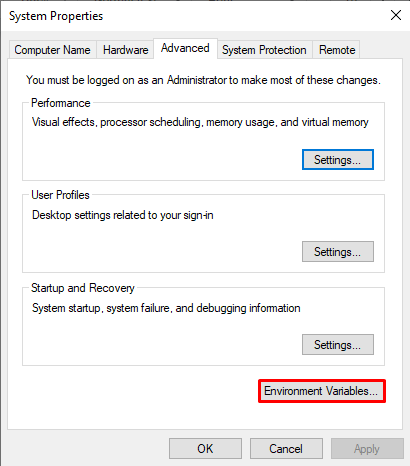
Step 7: Set Path Environment Variable
Press the “Environment Variables” button to open Environment Variables Window:

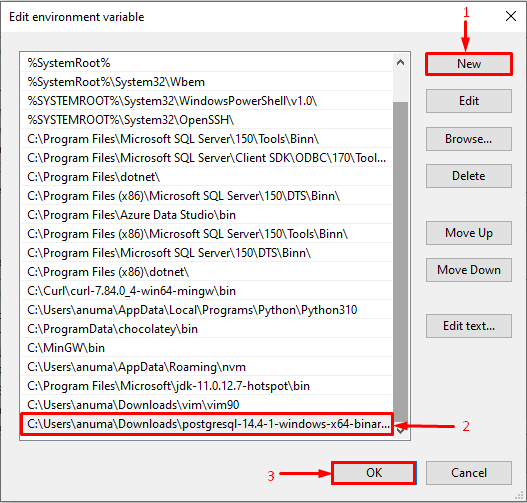
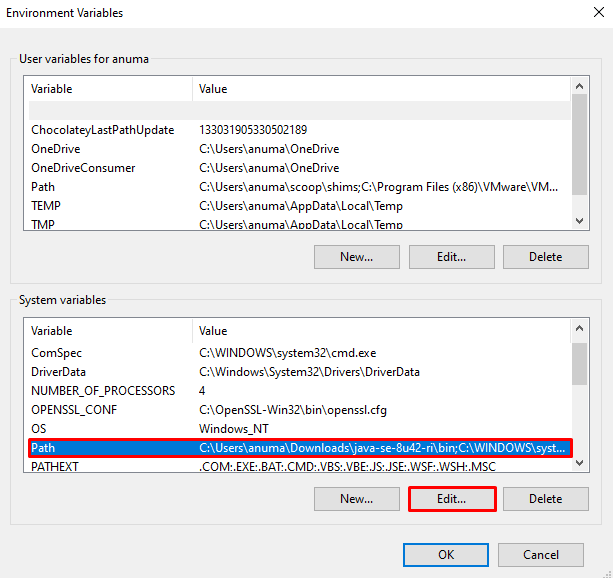
Choose the “Path” property from the “System variables” menu, then hit the “Edit” button:

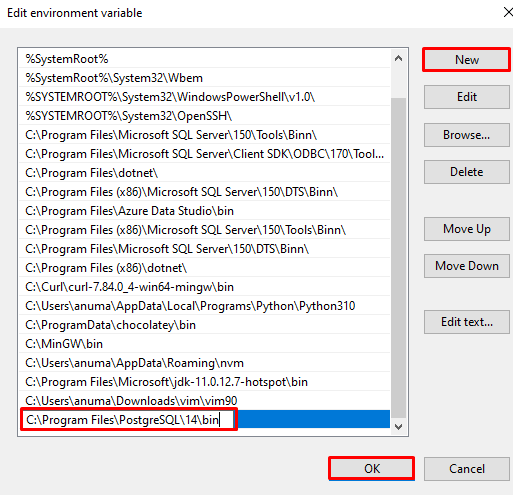
Hit the “New” button and paste the copied path here as displayed below. To save changes, use the “OK” button:
Step 8: Verify the Installation of Client Tools Only
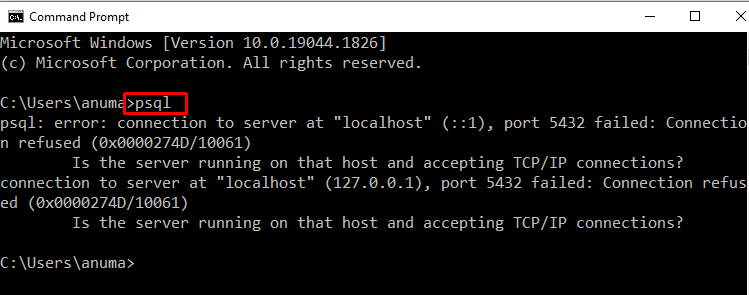
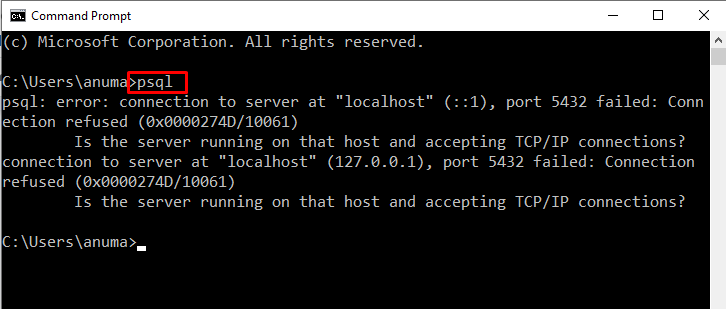
In the next step open the Command Prompt and type “psql” here:
You can see that it will show an error message because we have installed only the client tool rather than the PostgreSQL server:
Method 2: Using PostgreSQL Installer
To install only client tools for PostgreSQL on Windows using the PostgreSQL installer, follow the below-provided steps.
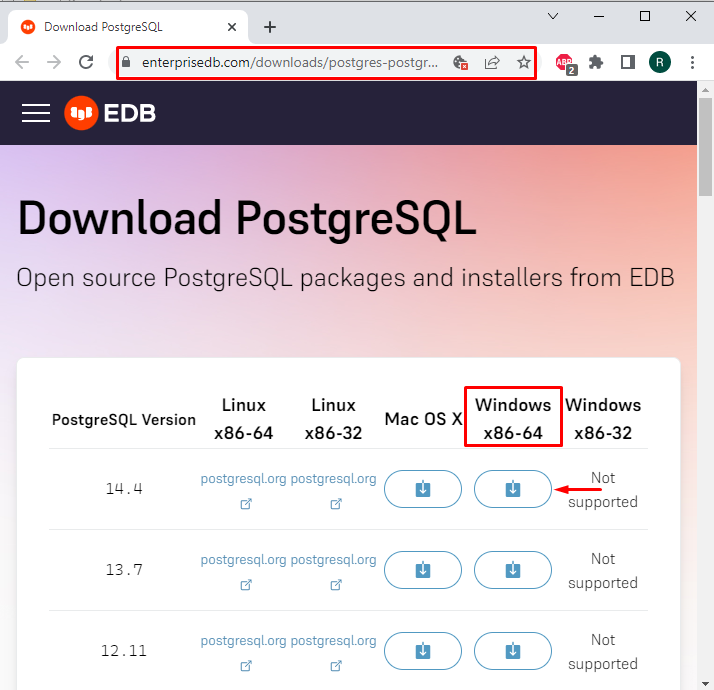
Step 1: Download PostgreSQL Installer
Firstly, visit the link below to download the PostgreSQL installer for Windows:
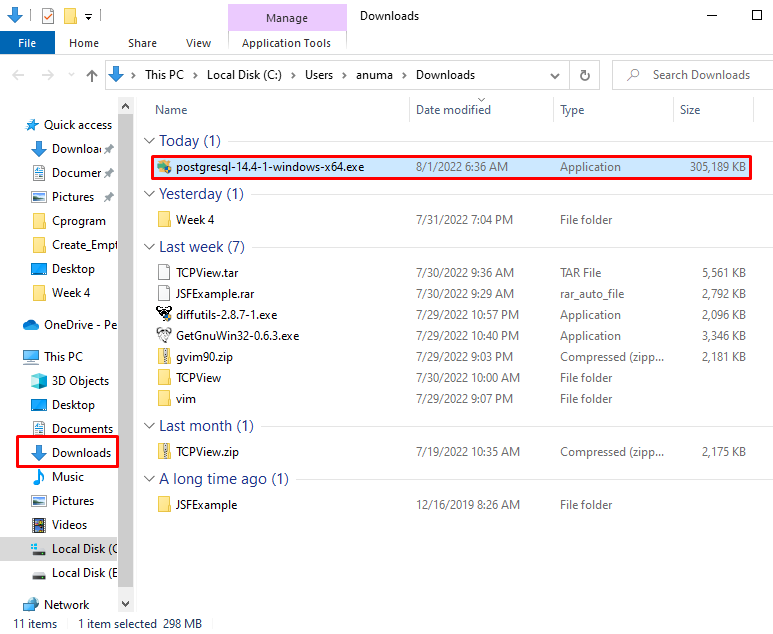
Step 2: Execute PostgreSQL Installer
Go to the “Downloads” directory and double click on the PostgreSQL installer to execute the installer:
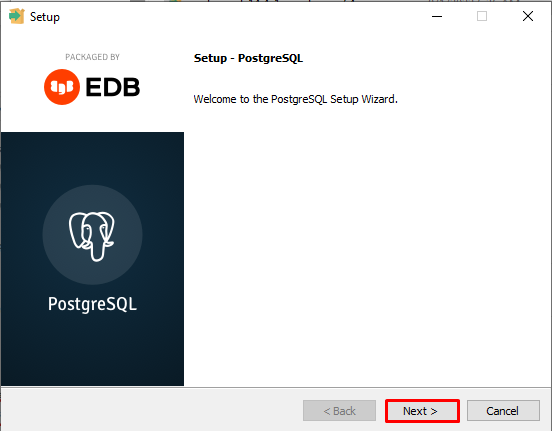
Step 3: Install PostgreSQL Client Tools only
To begin the PostgreSQL installation, click on the “Next” button in the “Setup” Window:
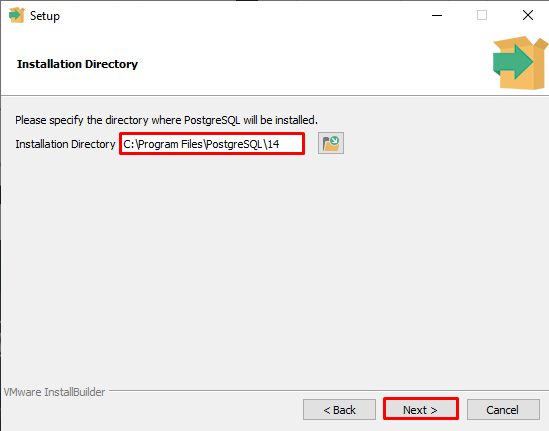
Choose the installation location for PostgreSQL. Then, click the “Next” button:
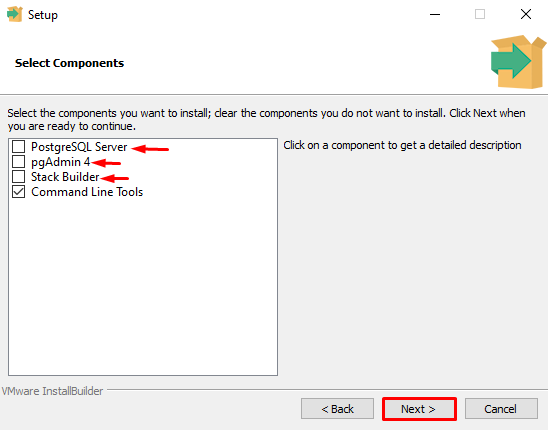
Step 4: Choose PostgreSQL Client Tool
Let’s suppose we want only the Command line client tool, then unmark all other components and hit the “Next” button:
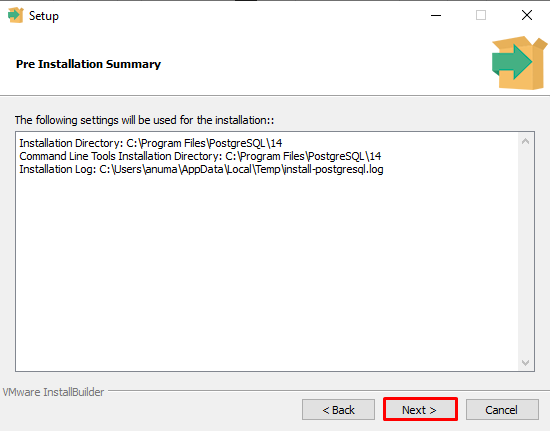
In the next step, review the installation summary and move forward by clicking on the “Next” button:
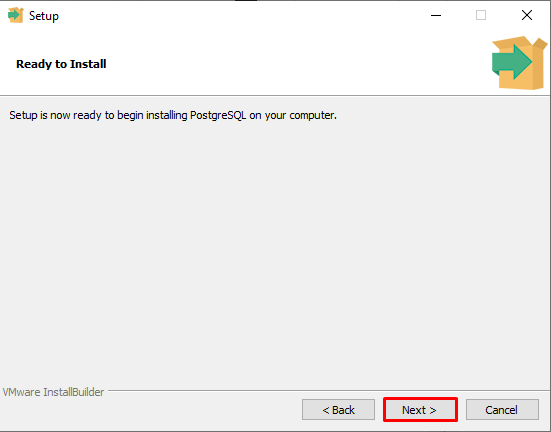
Lastly, install the selected client tool by pressing the “Next” button:
We have successfully installed the PostgreSQL command line client tool on Windows:

Step 5: Set Path Environment Variable
In the next step, go to the PostgreSQL installation location, open the bin directory and copy the path from the “Address” bar:
Open the “Edit the system environment variables” setting by searching “Environment Variables” in the “Startup” menu:
Click on the “Environment Variables” button:
Set the Path environment variables by selecting the “Path” property from the “System variables” and clicking on the “Edit” button:
To add a new path, hit the “New” button, and paste the copied path. Then, click on the “OK” button to save changes:
Step 6: Open Command Prompt
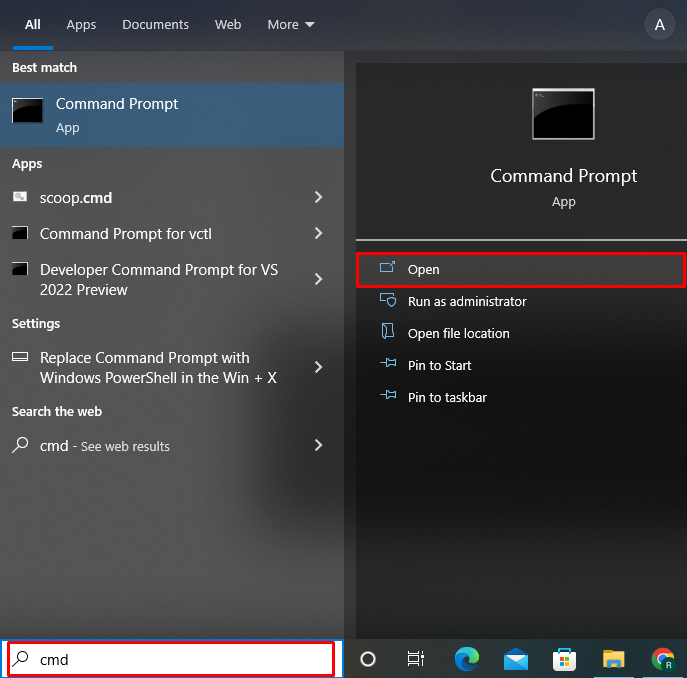
Make a search for “CMD” in the “Startup” menu and open the Command Prompt from search results:
Step 7: Verify the Client Tool Installation
Now, execute the below-provided command to verify the PostgreSQL server is not running on the system:
The below-given output indicates that we have installed only the client tool on Windows and PostgreSQL server is not running on the system:
We have elaborated the methods to install PostgreSQL client tools only on Windows.
Conclusion
To install only client tools for PostgreSQL, you can utilize PostgreSQL compressed setup file or PostgreSQL installer. In the first approach, uncompressed the setup file and removed all unrequired directories and binaries files. To use PostgreSQL on the command line, set the path environment variable. In the second approach, download and execute the installer. During installation select only the desired PostgreSQL client tools and install them. We have demonstrated the approaches to installing PostgreSQL client tools only on Windows.
Source: linuxhint.com