How to Make Reaction Roles on Discord Desktop
Discord is a popular interaction platform that is utilized by different types of users to communicate with their family, fans, and friends. It offers users to create their own server and invite their favorite people to it. Discord also enables the server hosts to create reaction roles which is one of the fantastic features.
This blog will demonstrate the process of making reaction roles on the Discord desktop application. Let’s get started!
How to make reaction roles on Discord Desktop
Follow the below steps to make reaction roles in the Discord desktop application.
Step 1: Invite Carl Bot to Discord
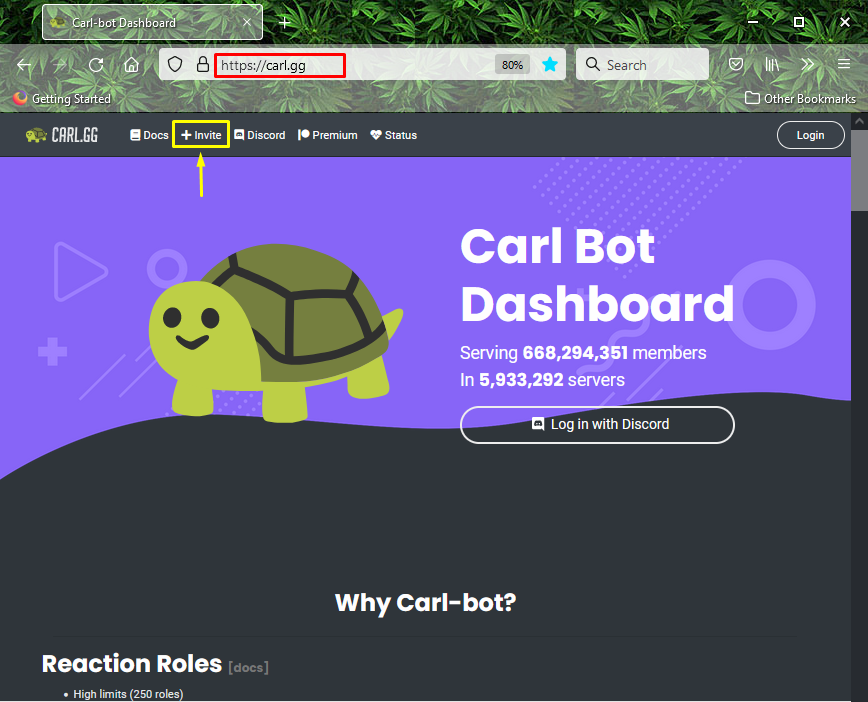
To make reaction roles on Discord, first of all, visit the Carl Bot official website and click on the “Invite” option that is present at the top of the navigation bar:
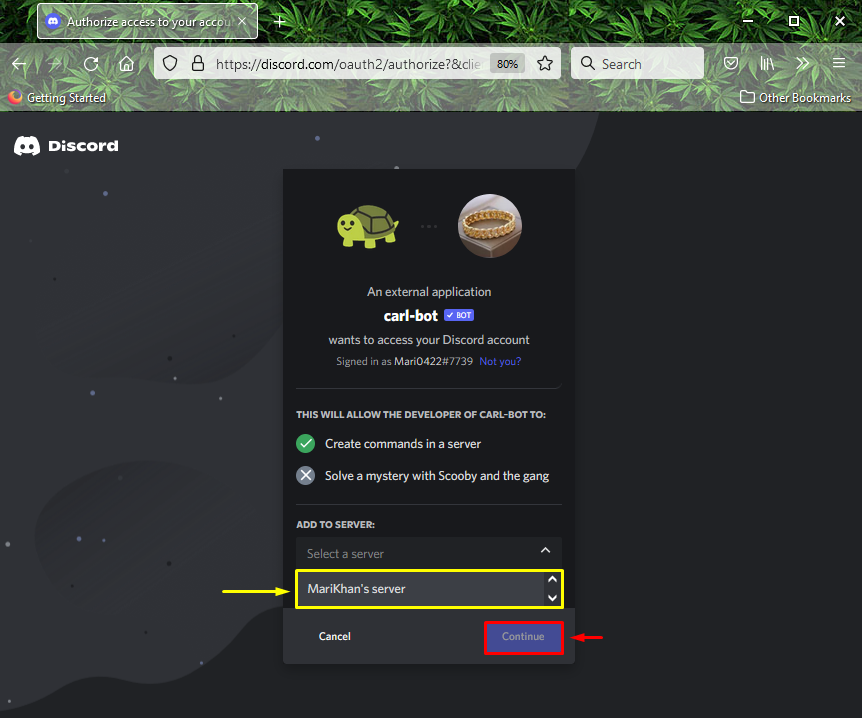
Next, choose the server that you like to use for that purpose. In our case, we have selected the “MariKhan’s server” and clicked on the “Continue” button:
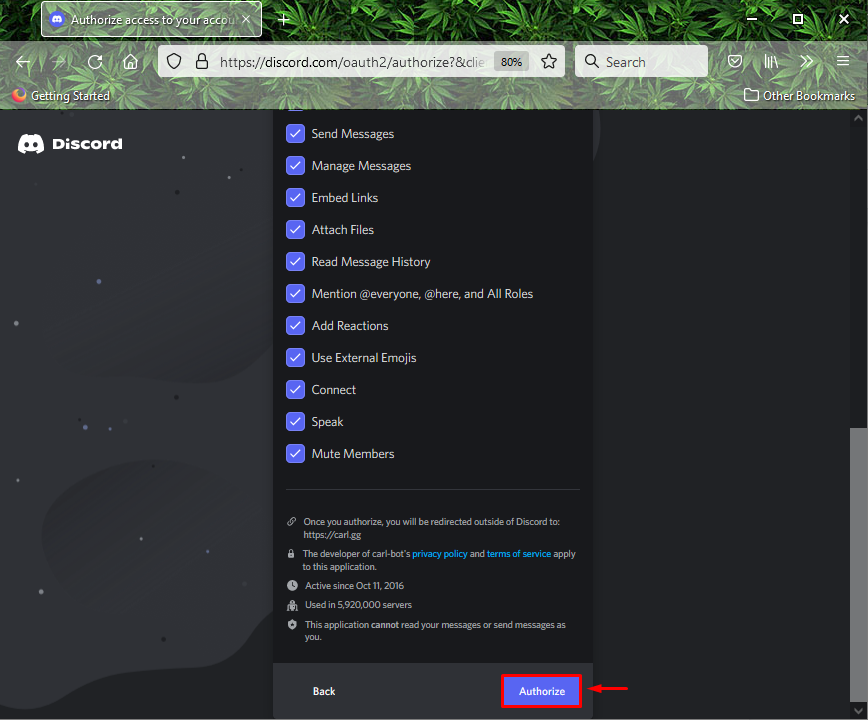
Then, click on the “Authorize” button:
Lastly, mark the Captcha box for verification:
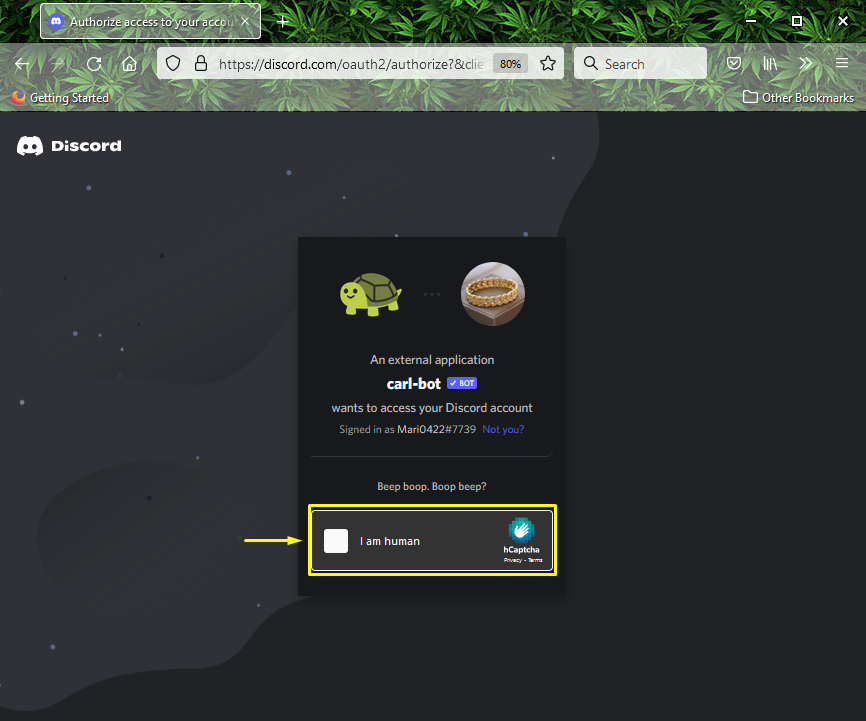
Upon doing so, “Carl Bot” is successfully added to your specified Discord server.
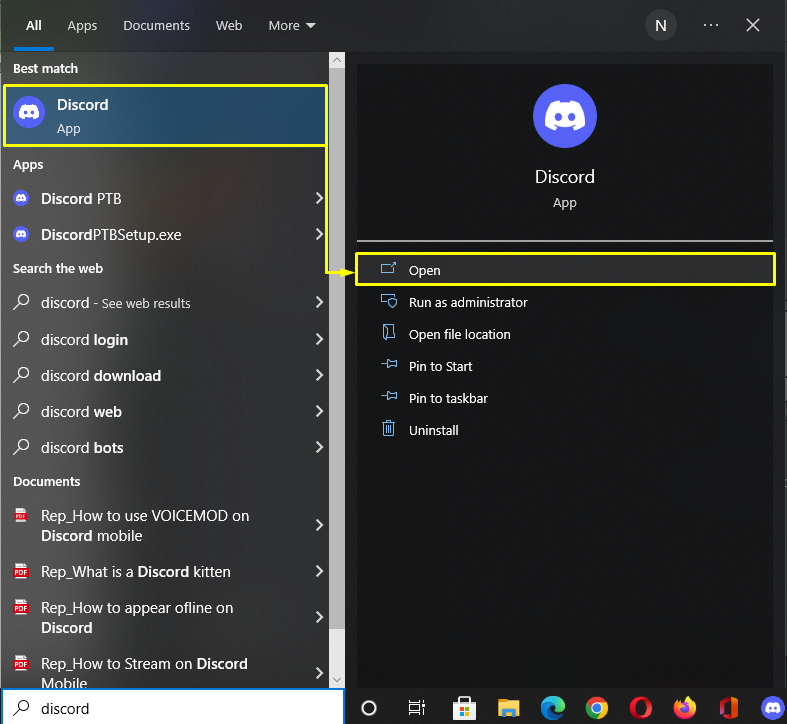
Step 2: Launch Discord
Search and launch the “Discord” application on your system using the “Startup” menu:
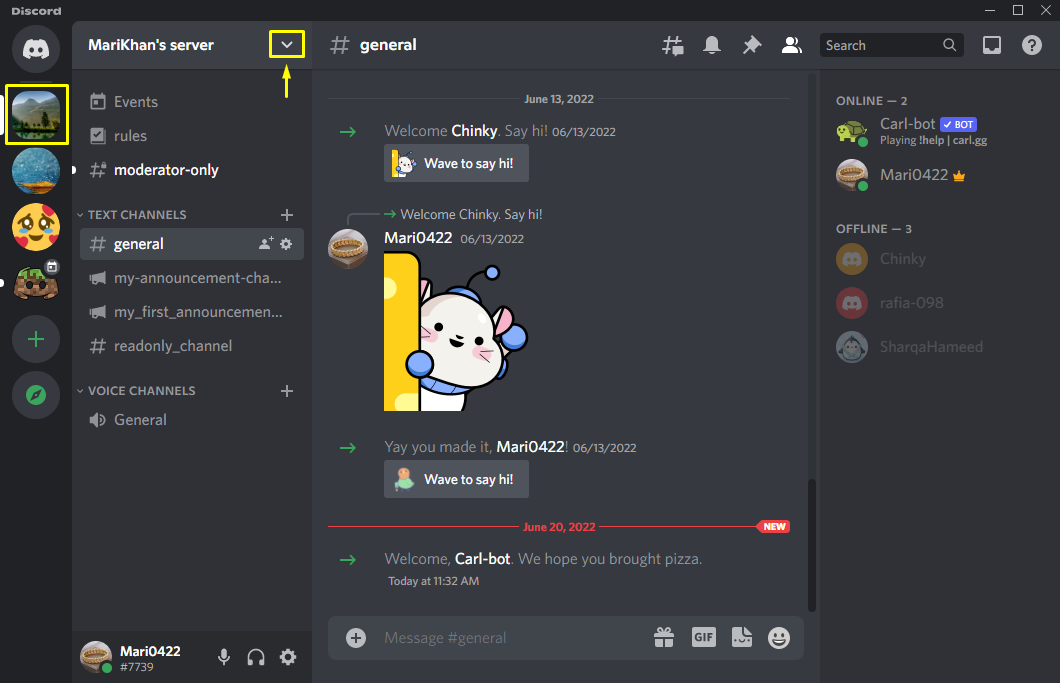
Step 3: Select Discord Server
Select the server from the left-side of the Discord screen for which you want to create a reaction role. In our case, we will make a reaction role for the “MariKhan’s server”:
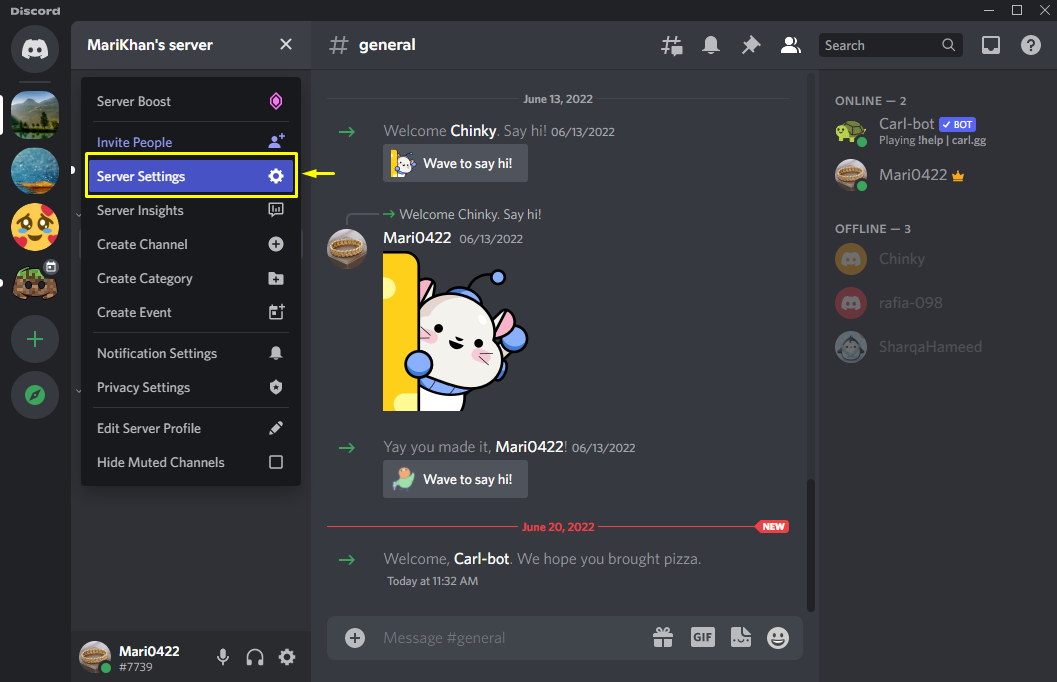
Step 4: Open Server Settings
Select the “Server Settings” option from the opened drop-down menu:
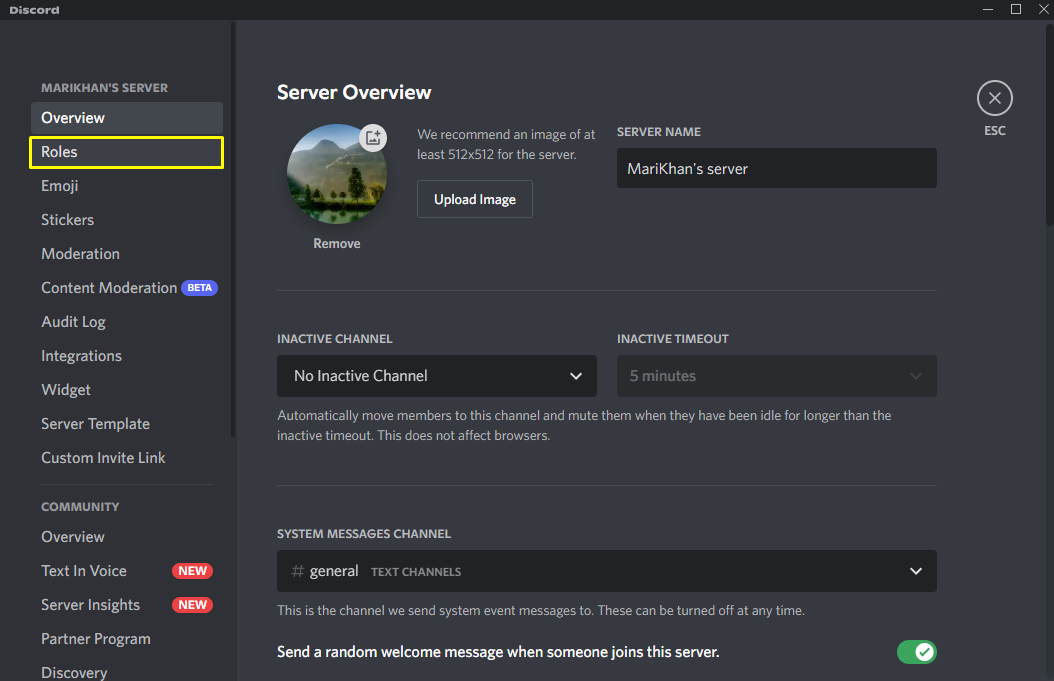
Step 5: Make Reaction Role
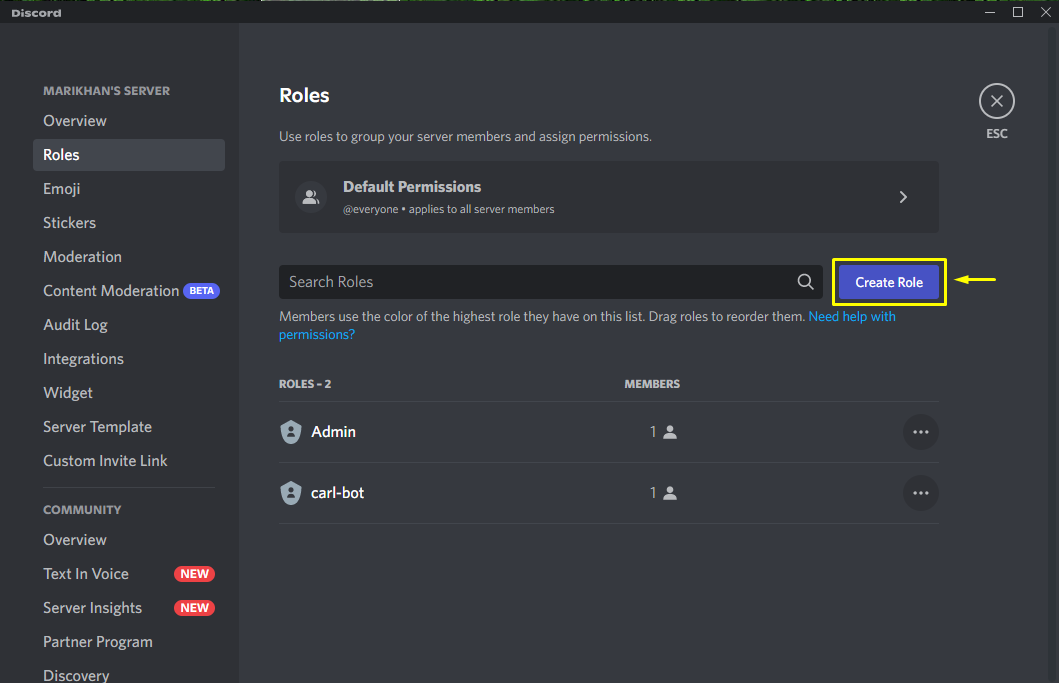
Then, click on the “Roles” option from the available categories:
Now, click on the “Create Role” button inside the “Roles” window:
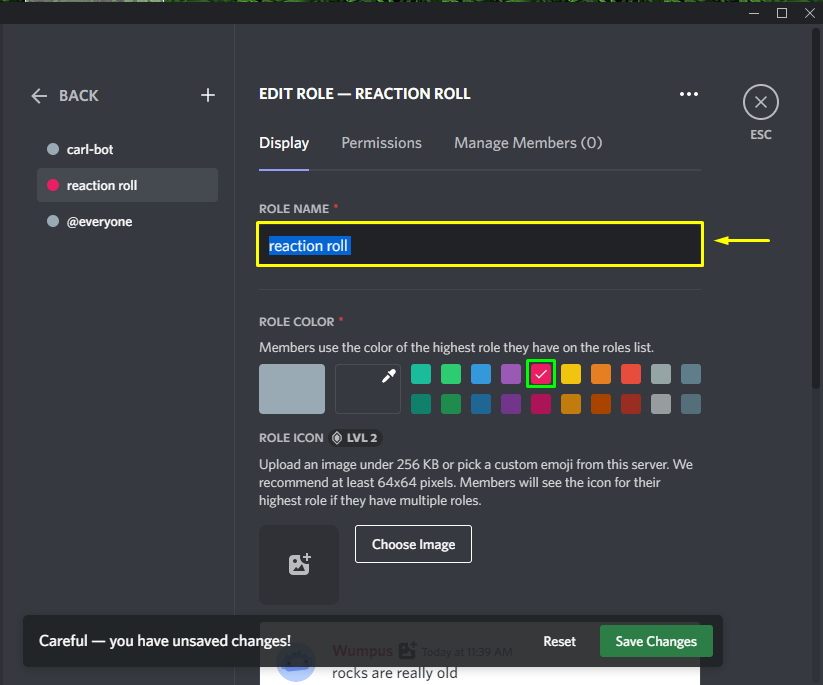
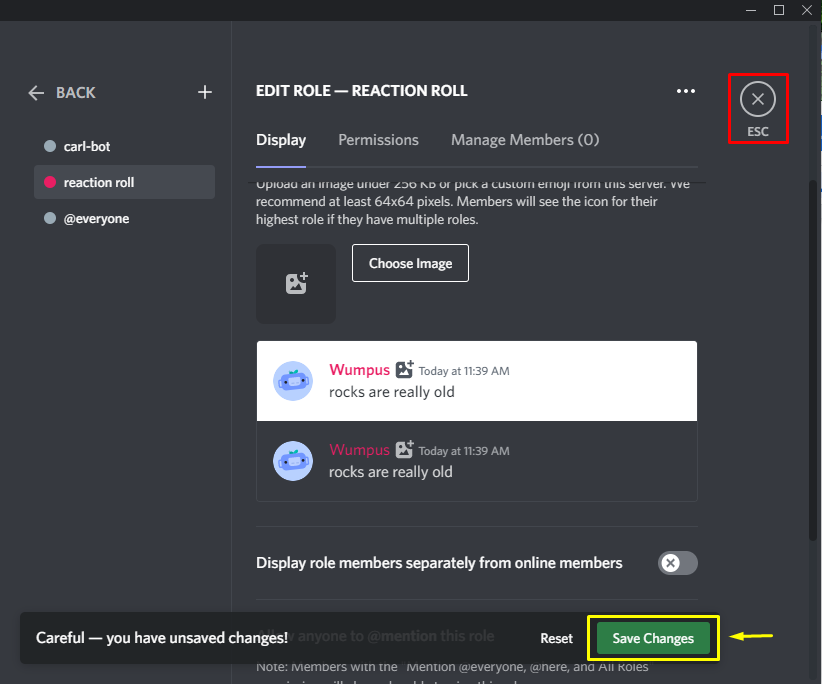
Inside the “Display” tab of the “EDIT ROLE” window, type the role name in the “ROLE NAME” input field and change “ROLE COLOR” and “ROLE ICON” if you want to do so. In our case, we will make a “reaction role” role and will change the color to “Pink”:
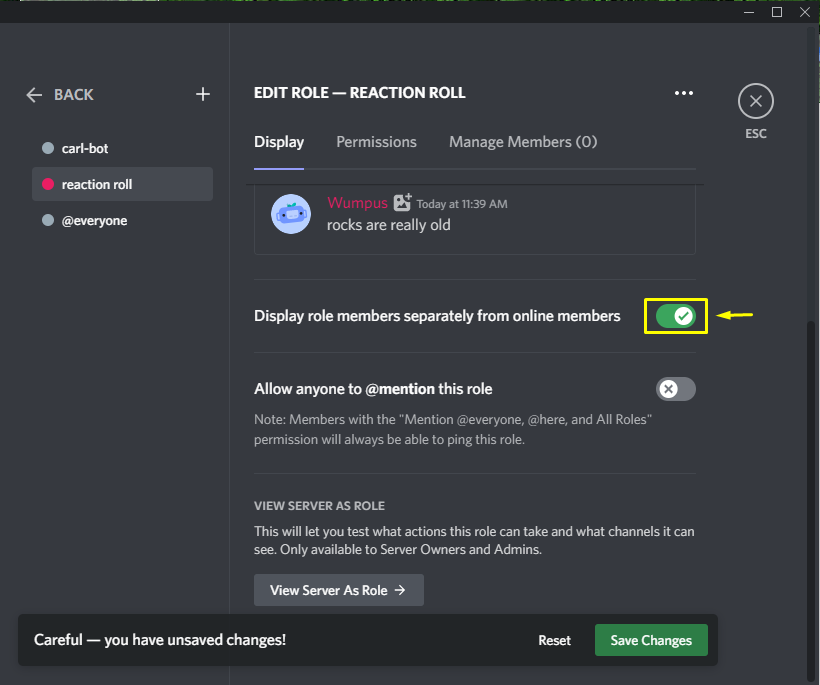
Then scroll down and disable the below-highlighted toggle:
Before saving the changes, make sure that the “Carl Bot” should be the at the top of the list, if it is not then simply drag it into the top position:
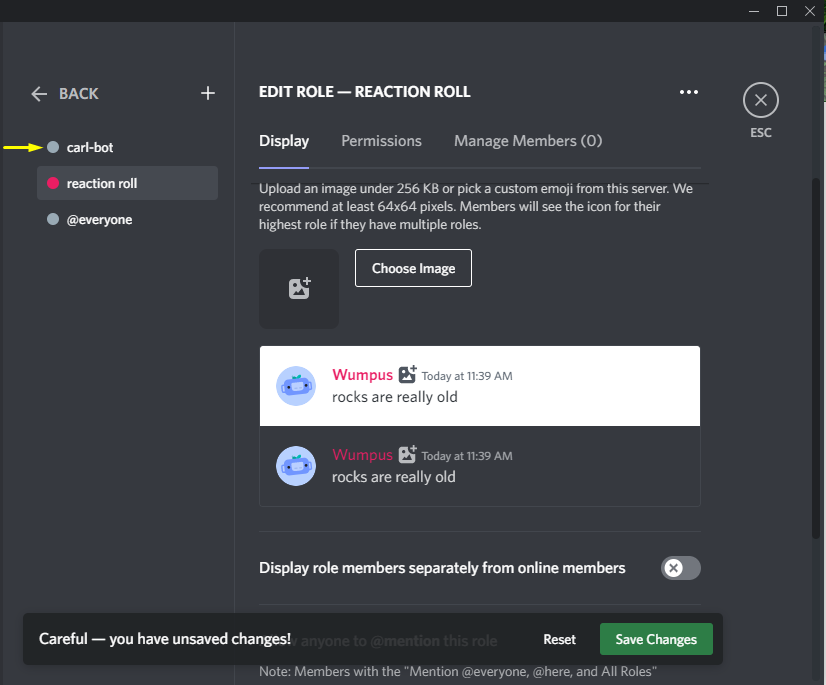
After doing so, click on the “Save Changes” button and press the “Esc” key to exit:
Go back to the “Roles” window and check if the newly created “reaction roll” role is successfully added to the list:
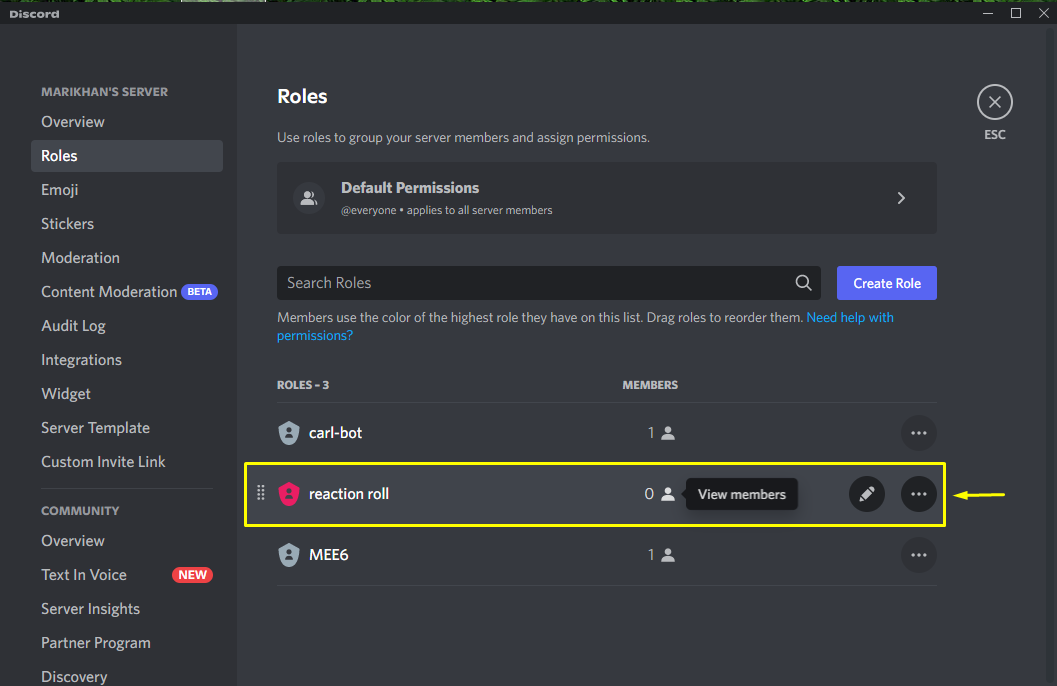
That’s it. We have successfully created a reaction role in the Discord desktop application.
Conclusion
To make reaction roles on the Discord desktop application, first of all, you have to visit Carl Bot official website and “Invite” it to your Discord server and authorize the requested permissions. Then go to Discord, choose a server, go to its “Server Settings,” open the “Roles” category, “Create Role” and save the settings. Lastly, switch back to the “Roles” window to view the newly added reaction role. This blog demonstrated the method for making reaction roles in Discord on the desktop application.
Source: linuxhint.com