How to Make an Existing Git Branch Track a Remote Branch
Git developers work on multiple local branches simultaneously for different project modules. All modifications can be made on the local machine. However, after making changes, they are required to push all modifications on the remote repository to update other team members. To perform this operation, it is necessary to build a connection between both repositories through a cloning procedure and then set any branch as a tracking branch.
This post will describe the method of making an existing Git Local branch track a remote branch.
How to Make an Existing Git Local Branch Track a Remote Branch?
To create an existing Git local branch to track a remote branch, first, navigate to the local Git repository and clone the remote repository into the local repository. Then, display the list of all existing Git local branches. After that, download the updated remote repository on the local repository. Lastly, run the “$ git branch –set-upstream-to=<remote-name/branch-name>” command.
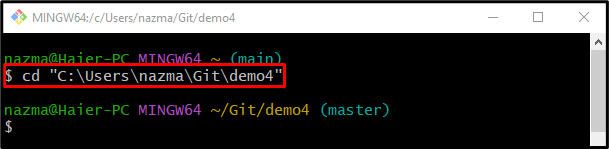
Step 1: Navigate to Desired Local Repository
First, move to the particular local repository by executing the “cd” command:
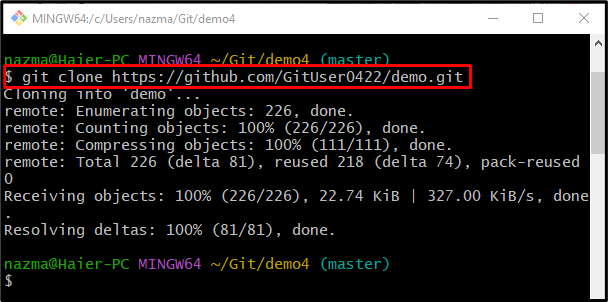
Step 2: Clone Remote Repository
Next, clone the desired remote branch into the local repository to build a connection between them:
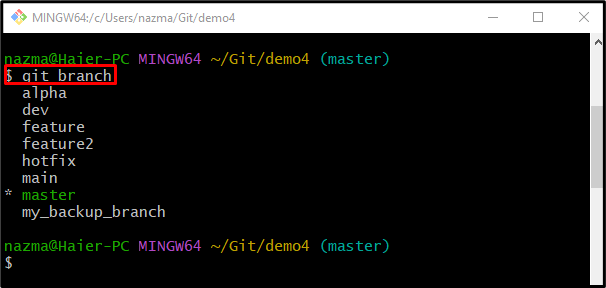
Step 3: List All Local Branches
Now, run the “git branch” to view the list of all local branches:
Step 4: Fetch Updated Remote Repository Content
After viewing the list of content, download the updated version of the remote repository using the “git fetch” command:
As you can see, the updated remote repository is fetched successfully into the local repository:

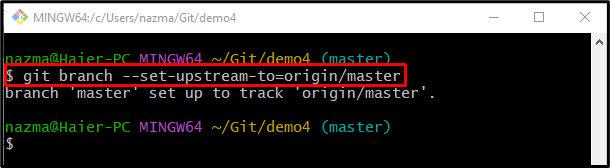
Step 5: Make Existing Git Branch Track Remote Branch
Lastly, make the existing Git branch track a remote branch by executing the “git branch” command with the “–set-upstream” parameter and local and remote branches name:
According to the below-listed output, the specified existing local branch is set up to track a remote branch:
That’s it! We have described the method of making an existing Git local branch to track a remote branch.
Conclusion
To make an existing Git branch track a remote branch, first, move to the local Git repository and build a connection between the remote and local repository through cloning. Next, view the list of all existing local branches and choose one of them. Then, fetch the updated remote repository on the local repository. Lastly, execute the “$ git branch” command along with the “–set-upstream” parameter, remote name, and branch name. This post illustrated the procedure of making an existing Git local branch track a remote branch.
Source: linuxhint.com