How to Keep Proxmox VE 8 Server Up-to-date
Keeping your Proxmox VE server up-to-date is important as newer updates come with bug fixes and improved security.
If you’re using the Proxmox VE community version (the free version of Proxmox VE without an enterprise subscription), installing new updates will also add new features to your Proxmox VE server as they are released.
In this article, I am going to show you how to check if new updates are available on your Proxmox VE server. If updates are available, I will also show you how to install the available updates on your Proxmox VE server.
Table of Contents
- Enabling the Proxmox VE Community Package Repositories
- Checking for Available Updates on Proxmox VE
- Installing Available Updates on Proxmox VE
- Conclusion
Enabling the Proxmox VE Community Package Repositories
If you don’t have an enterprise subscription on your Proxmox VE server, you need to disable the Proxmox VE enterprise package repositories and enable the Proxmox VE community package repositories to receive software updates on your Proxmox VE server.
If you want to keep using Proxmox VE for free, make sure to enable the Proxmox VE community package repositories.
Checking for Available Updates on Proxmox VE
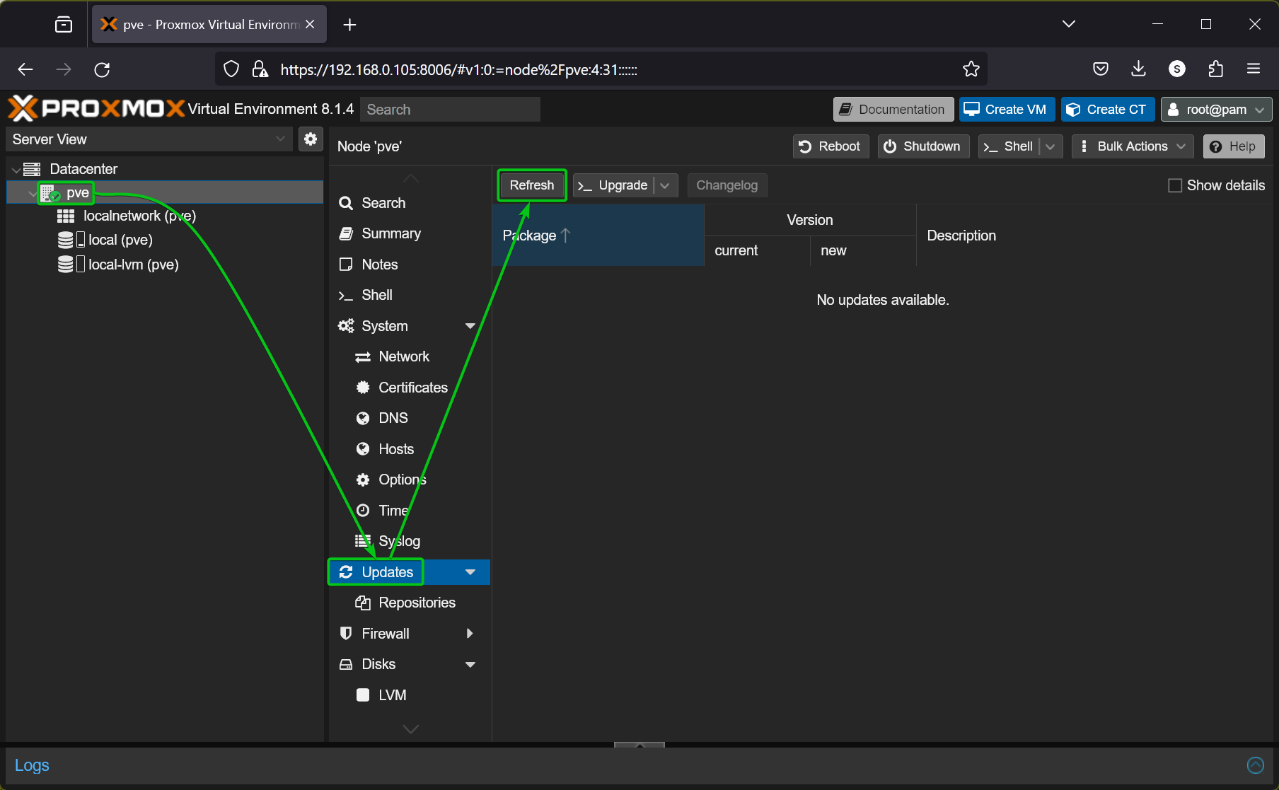
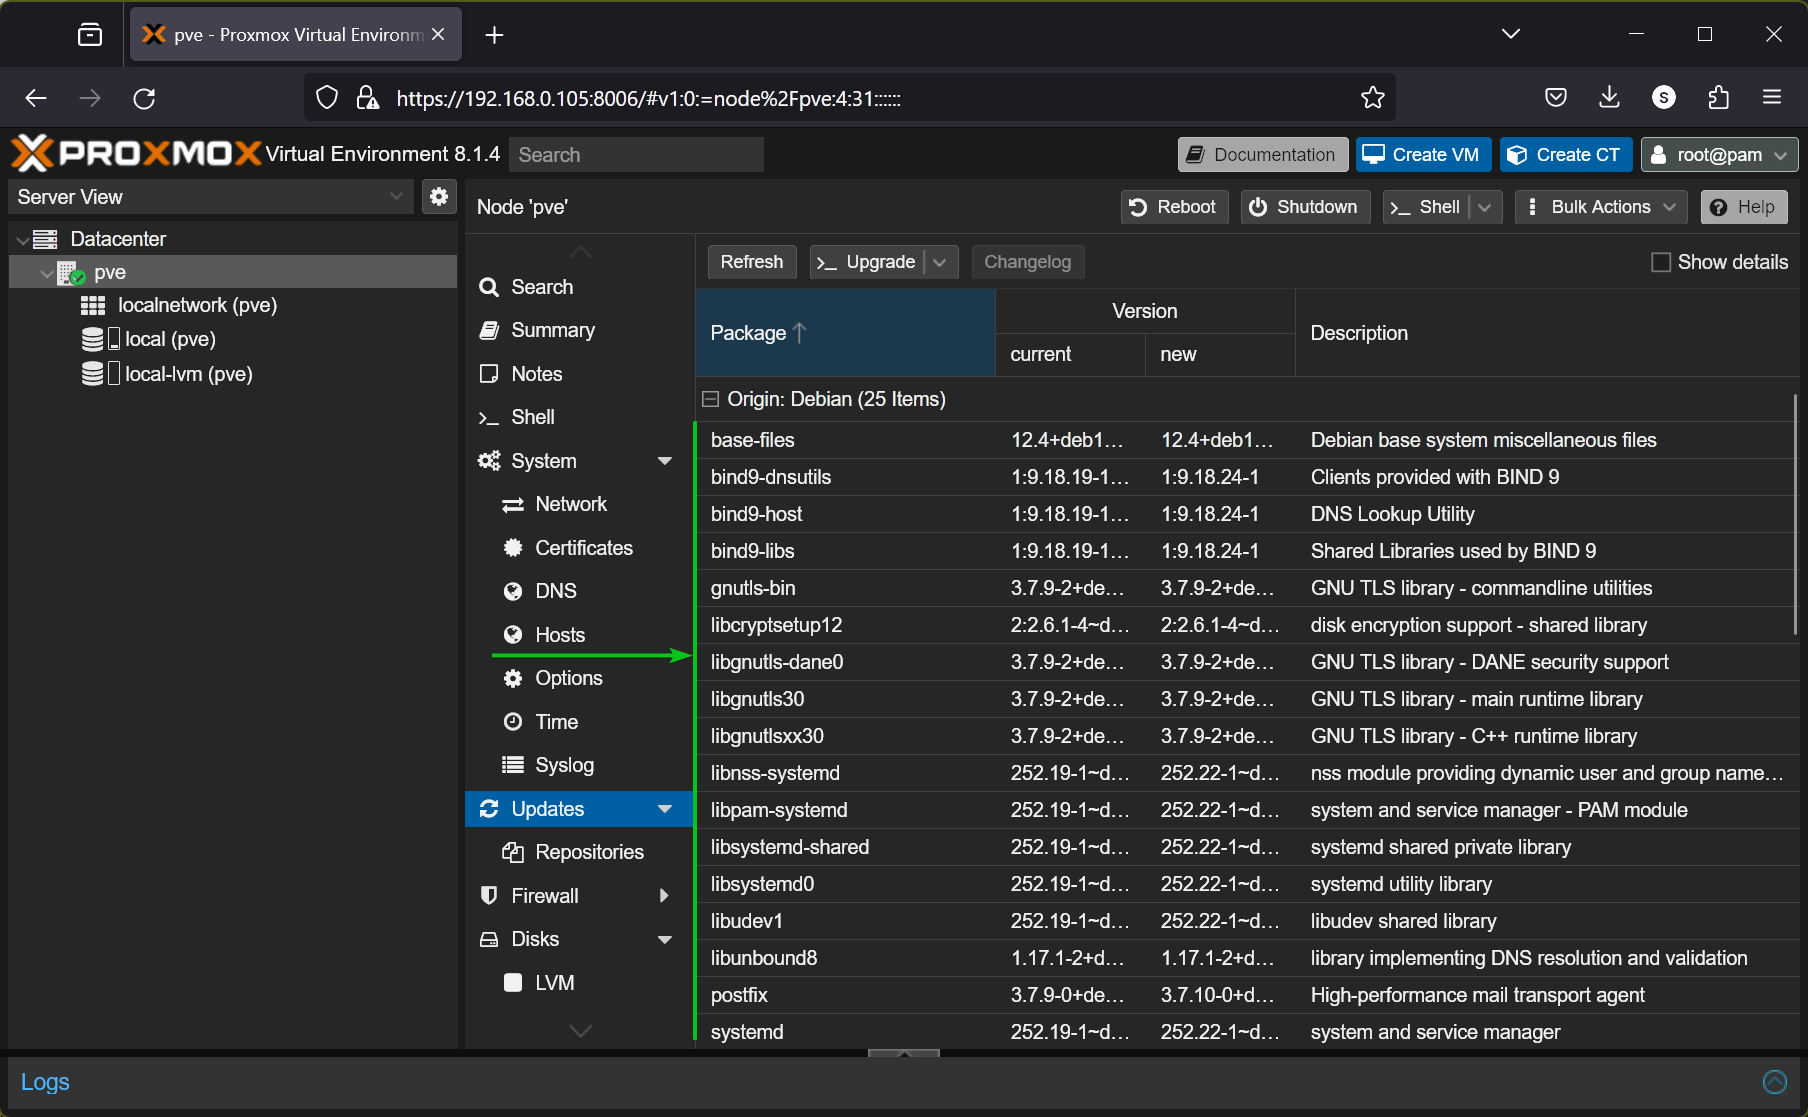
To check if new updates are available on your Proxmox VE server, log in to your Proxmox VE web-management UI, navigate to the Updates section of your Proxmox VE server, and click on Refresh.
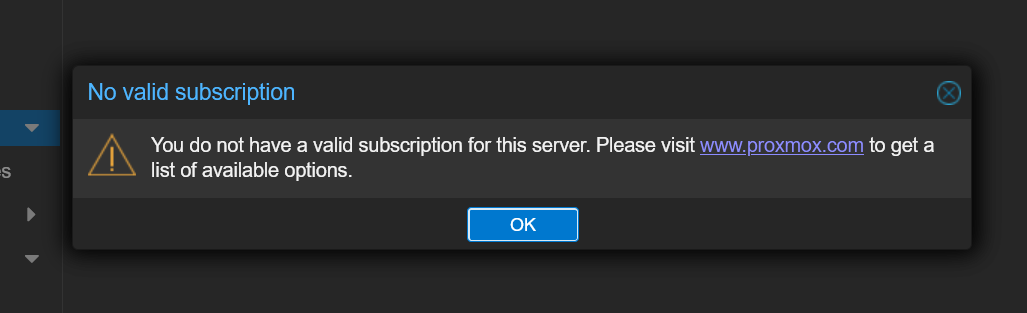
If you’re using the Proxmox VE community version (free version), you will see a No valid subscription warning. Click on OK to ignore the warning.
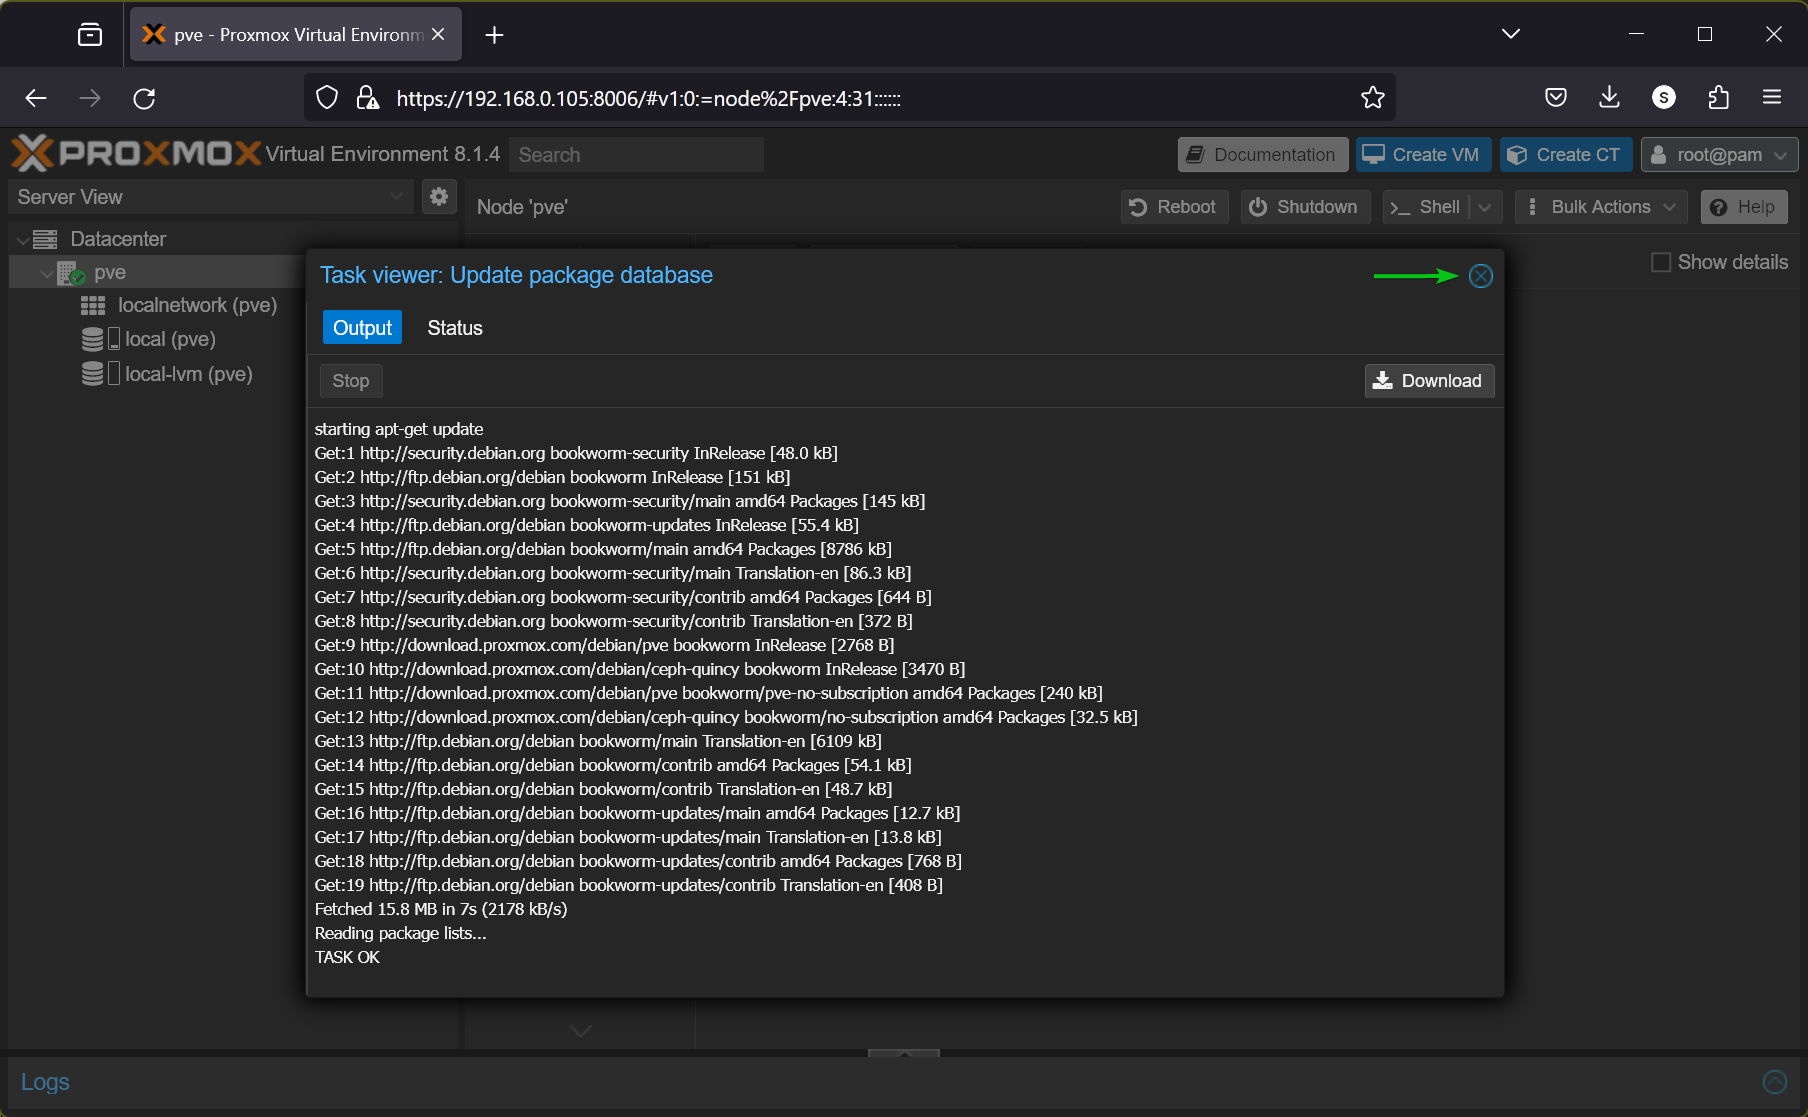
The Proxmox VE package database should be updated.
Close the Task viewer window.
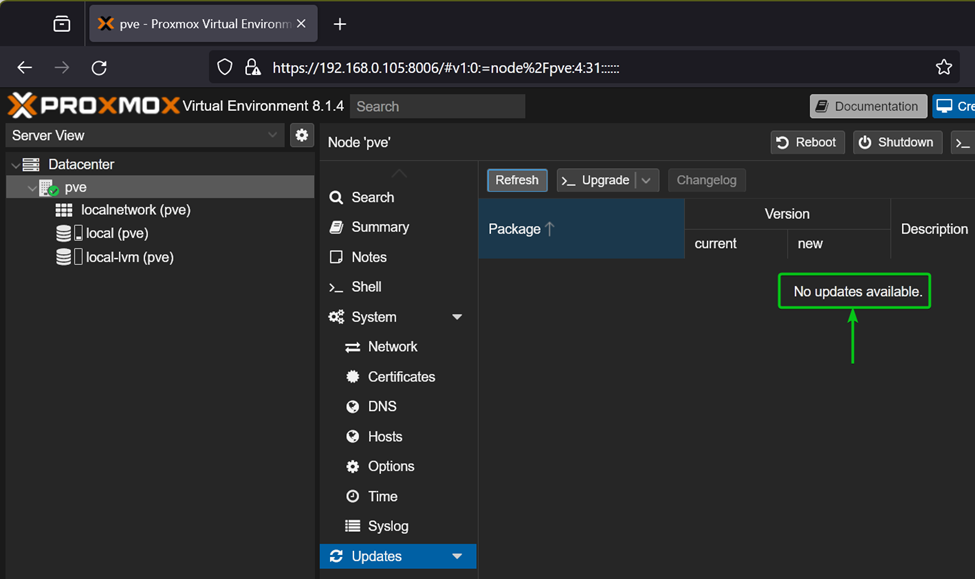
If newer updates are not available, then you will see the No updates available message after the Proxmox VE package database is updated.
If newer updates are available for your Proxmox VE server, you will see a list of packages that can be updated as shown in the screenshot below.
Installing Available Updates on Proxmox VE
To install all the available updates on your Proxmox VE server, click on Upgrade.
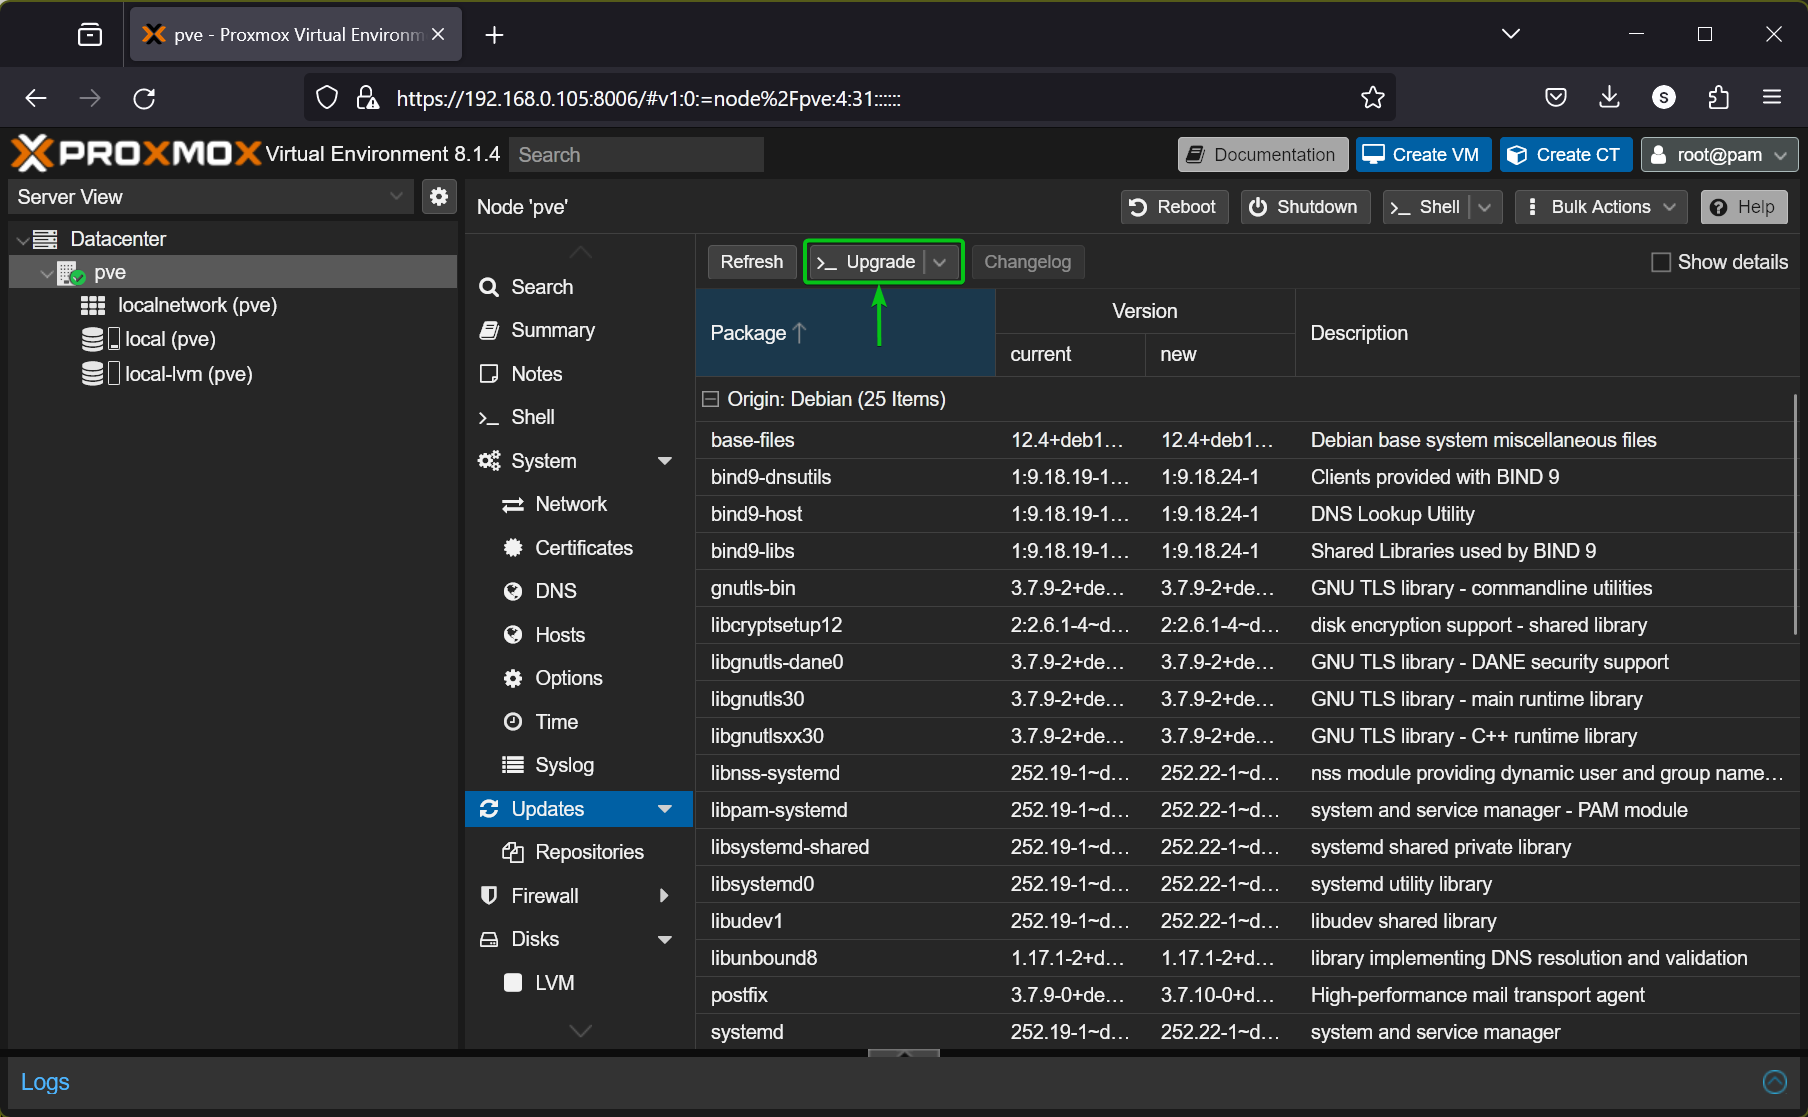
A new NoVNC window should be displayed.
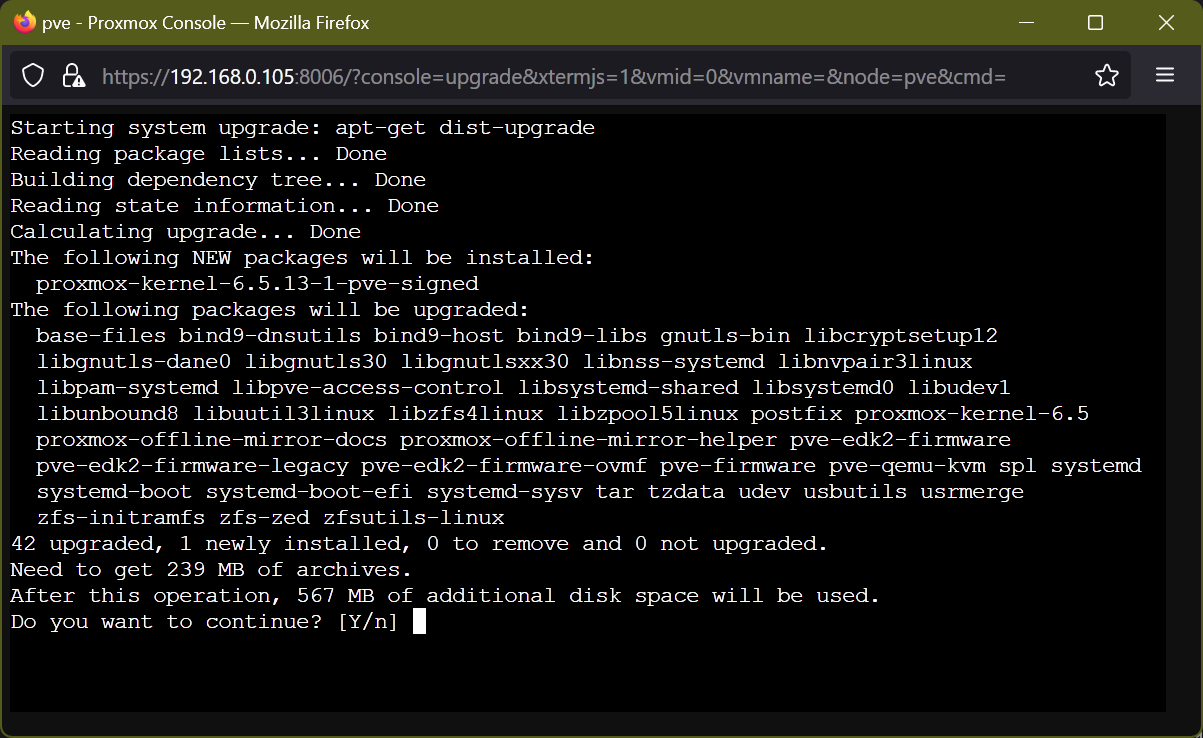
Press Y and then press <Enter> to confirm the installation.
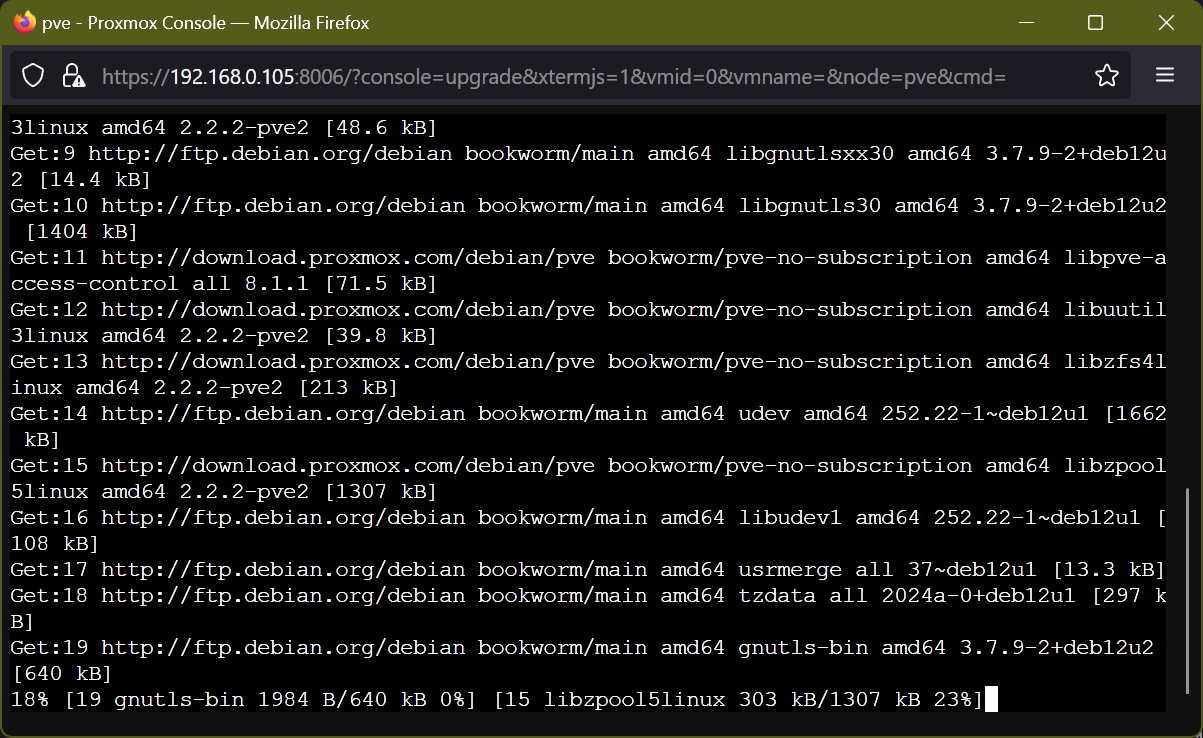
The Proxmox VE updates are being downloaded. It will take a while to complete.
The Proxmox VE updates are being installed. It will take a while to complete.
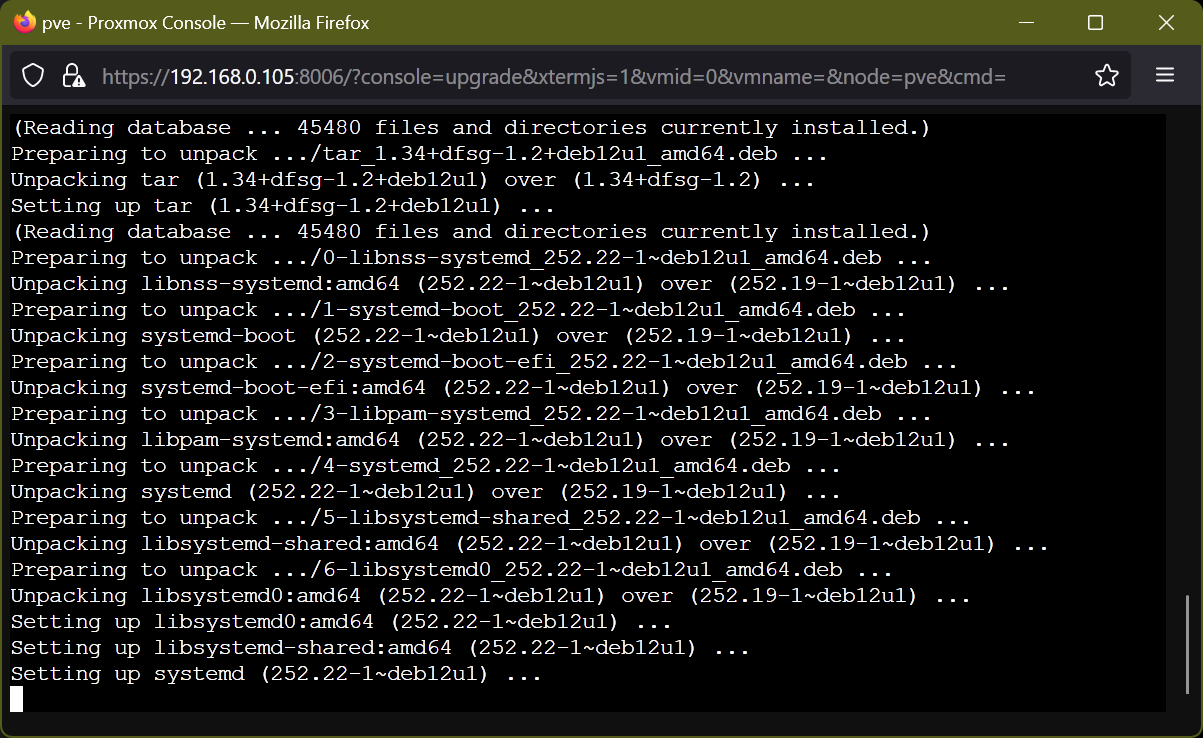
At this point, the Proxmox VE updates should be installed.
Close the NoVNC window.

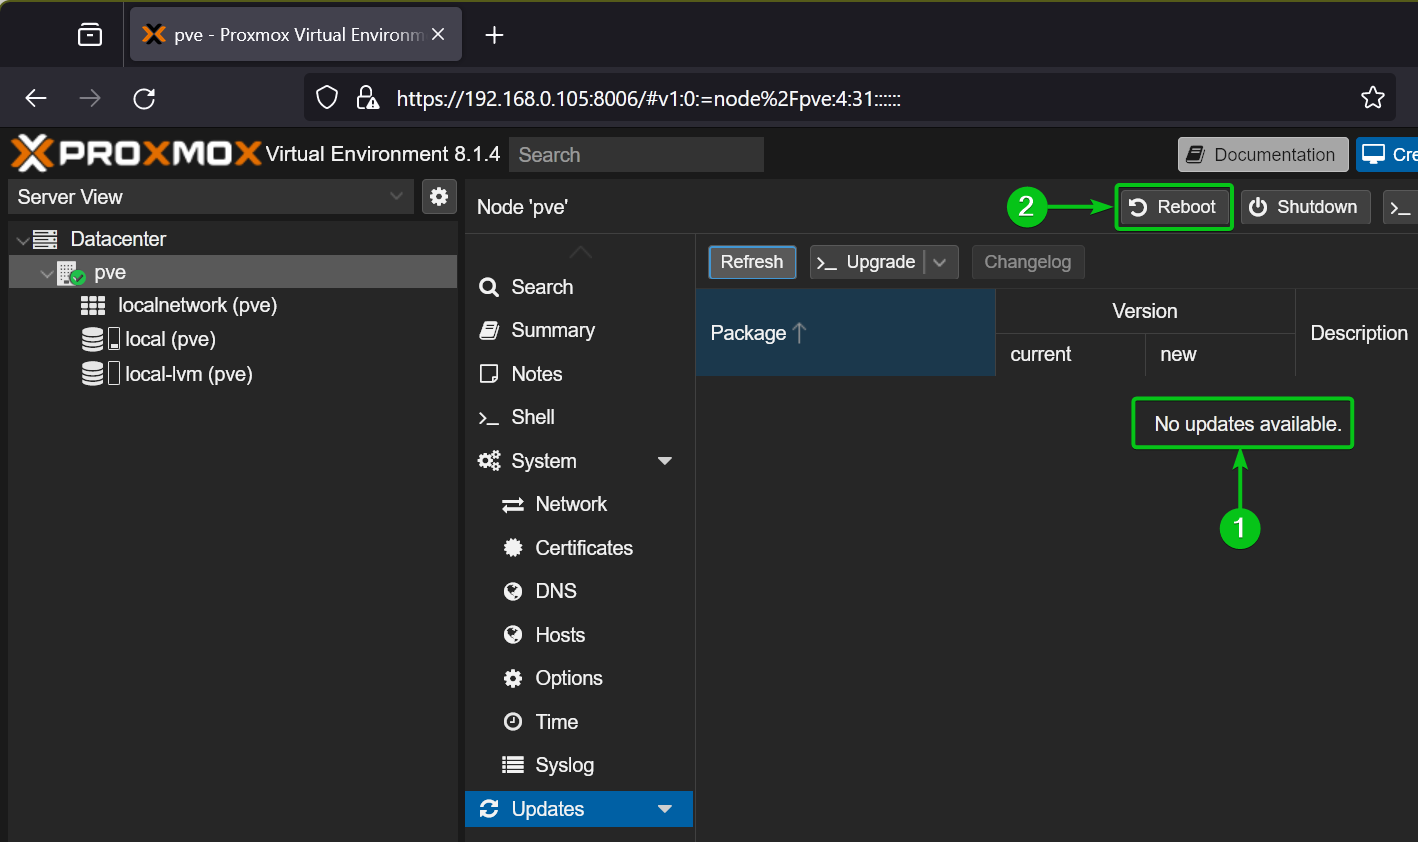
If you check for Proxmox VE updates, you should see the No updates available message. Your Proxmox VE server should be up-to-date[1].
After the updates are installed, it’s best to reboot your Proxmox VE server. To reboot your Proxmox VE server, click on Reboot[2].
Conclusion
In this article, I have shown you how to check if new updates are available for your Proxmox VE server. If new updates are available, I have also shown you how to install the available updates on your Proxmox VE server. You should always keep your Proxmox VE server up-to-date so that you get the latest bug fixes and security updates.
Source: linuxhint.com