How to Integrate the MongoDB Java Driver
Install Latest JDK
The first and most important step in integrating the MongoDB Java driver is to set up Java Development Kit (JDK) on your Windows system. To do this, you need to search for the Java Development Kit on the search engine and download the latest “exe” file from its official site as shown in the image below.
![]()
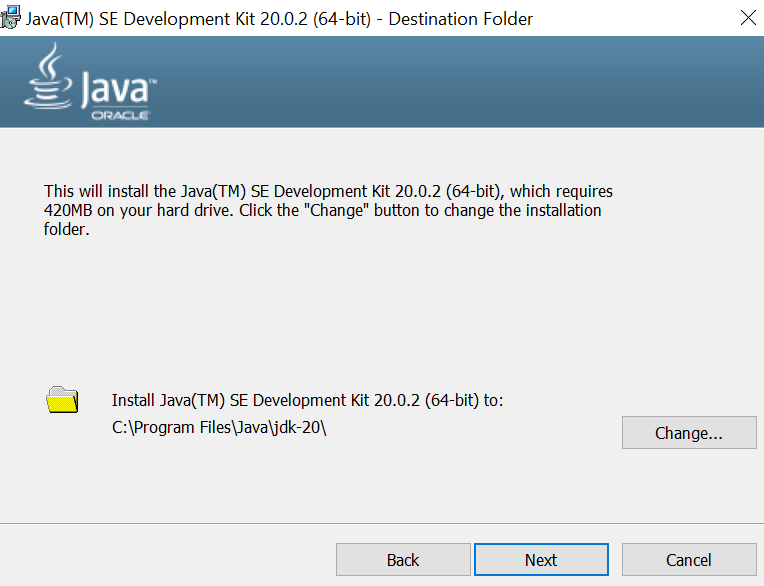
Move within the folder where the file is saved. Now, run the downloaded “exe” file of JDK as “Administrator” from here. We can also employ the double-tap option to run it. The setup will begin and prompt you to select the installation destination folder. Select the particular destination and tap the “Next” button to continue installing it.
The setup will take some time to copy and install files in the system properly. After the successful installation of JDK, you will be able to move toward the next step.
Download MongoDB Java Driver
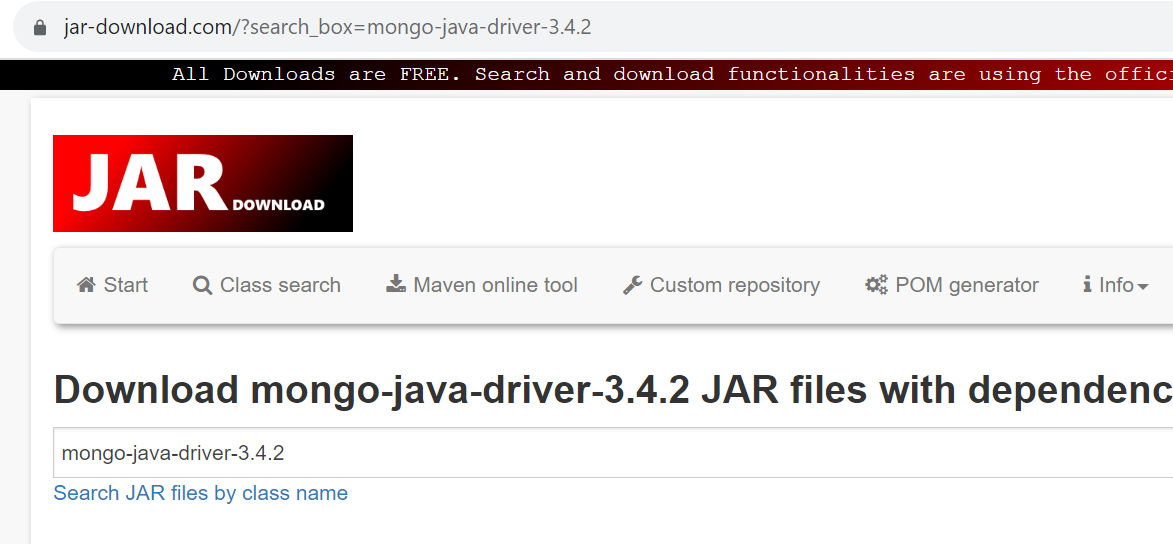
After the successful installation of JDK on your system, it’s time to download the latest MongoDB Java driver. You can do this by searching on your preferred search engine through your browser or directly go to “jar-download.com”. It will provide you with many options of “jar” files for the Mongodb Java driver. You can also search for one.
Download the mongo-java-driver “jar” latest version i.e. version 3.12.14 file, using the provided option i.e. “Download mongo-java-driver.jar(3.12.14)”.
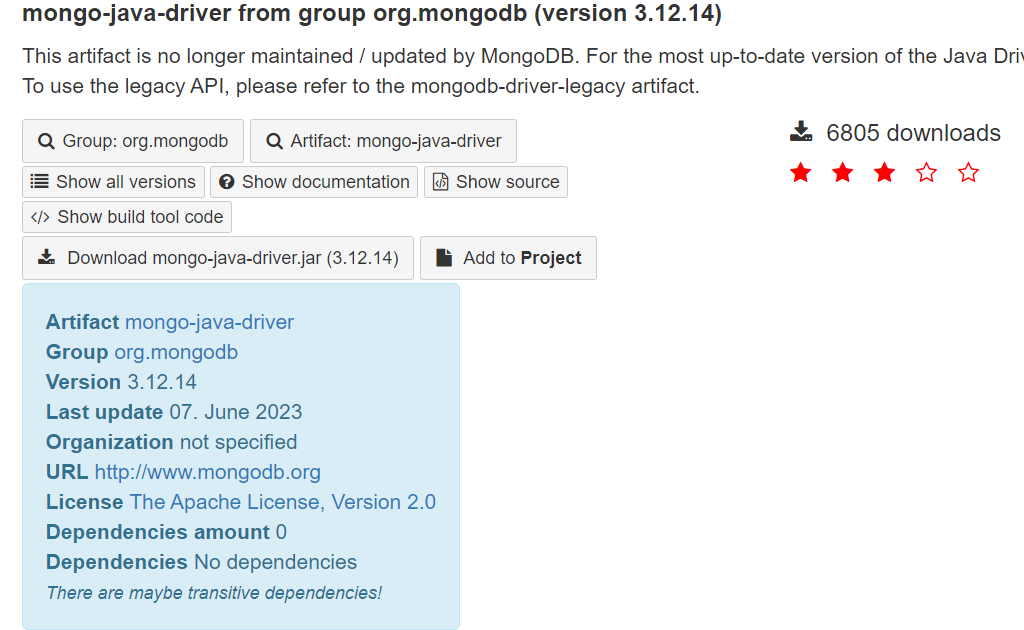
It will successfully download the MongoDB Java driver at your end.
![]()
Install Java IDE and Create Java Project
Before moving towards building the Java path for MongoDB, you need to make sure that any Java IDE has been already installed on your end, such as Eclipse IDE, Netbeans IDE, etc. So, in our case, we have already installed NetBeans IDE for Java development. After this, you need to create a new Java project in your IDE. You can name it anything to your liking. For instance, we have created a Java Project named “MongoDBConnection,” as shown in the image.

Add MongoDB Java Driver to Project
It’s time to add the MongoDB Java Driver to the build path of our newly created project. In the “Projects” pane in NetBeans, right-click on the project you are working on, MongoDBConnection, and choose the “Properties” option available at the end of the list. A new window named “Project Properties – MongoDBConnection” will be opened. Now, go to “Libraries” and select “Add JAR/Folder.”
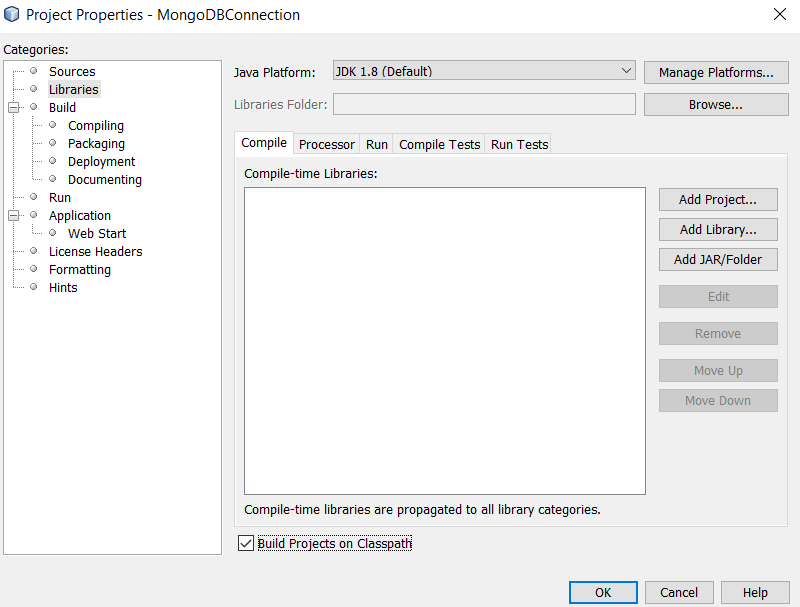
Proceed to the MongoDB Java Driver JAR file’s download folder, select the jar file, and tap the “Open” button to add it to your project finally.

Integrate Java with MongoDB
After successfully adding the jar file for the MongoDB Java driver, it’s time to create a code for integration. The below code has been used for the integration. This code first imports the necessary Java libraries for MongoDB. The connection string for the database used by MongoDB is started on the initial line of the source code for the main() method.
The “cs” variable contains the connection string information. The connection string “cs” is used to build the MongoClientURI object “uri” in the line that follows. A MongoClient object named “m” is created using the MongoClientURI object.
In the subsequent line, a MongoClient object, “m” is created from a MongoClientURI object, “uri”. For access to the MongoDB database, the MongoClient object “m” is going to be used. The program builds a MongoDatabase object for the test database after the connection has been made. The “getDatabase” method has been cast off as a result. It’s time to generate a new collection (if it does not exist) named “Dummy” using the MongoCollection object. This has been achieved using the MongoCollection object and the “getCollection” function.
Now, it’s time to generate three Document objects. Each Document object represents a single record in the Dummy collection holding the name and sal field. The append() function has been adding the fields to each record to be created. The code then uses the insertOne() method to insert each Document object into the Dummy collection. The insertOne() method returns a WriteResult object, specifying whether the insertion was effective. Just like this, three of the records have been inserted into a “Dummy” collection.
import com.mongodb.MongoClient;
import com.mongodb.MongoClientURI;
import com.mongodb.client.MongoCollection;
import com.mongodb.client.MongoDatabase;
import org.bson.Document;
public class MongoDBConnection {
public static void main(String[] args) {
String cs = "mongodb://localhost:27017"; // Replace with your MongoDB server details
MongoClientURI uri = new MongoClientURI(cs);
MongoClient m = new MongoClient(uri);
try {
MongoDatabase database = m.getDatabase("test");
MongoCollection<Document> col = database.getCollection("Dummy");
Document d1 = new Document("key", "value")
.append("name", "William")
.append("sal", 30);
col.insertOne(d1);
Document d2 = new Document("key", "value")
.append("name", "Cillian")
.append("sal", 44);
col.insertOne(d2);
Document d3 = new Document("key", "value")
.append("name", "Ken")
.append("sal", 29);
col.insertOne(d3);
System.out.println("Document inserted successfully!");
} finally {
m.close();
}
}
}
Finally, after saving and running this code in Netbeans IDE, the snippet displays a success message in the output console demonstrating that the documents were inserted successfully. It first shows “Document inserted Successfully” and then the “Build Successful” following the total time in seconds.

Verify Integration
Make sure that you have already configured MongoDB and its build tools on your system before executing the Java code and following all the steps mentioned. Therefore, we have launched the shell tool of MongoDB and provided the name of a database within the MongoDB connection string that we have used in the above code, which is “test.”
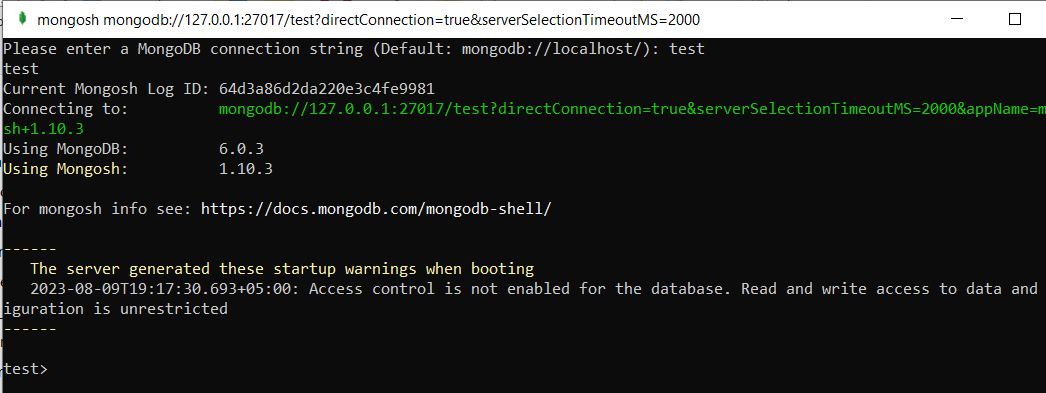
The successful launch of the “test” database space is already showing that the integration was successful. Now, execute the show collections query, and you will see that the “Dummy” collection listed there.
![]()
To search for the records in the Dummy collection, we have executed the “find()” function query as displayed. It displays the same records in the collection that we have inserted through the Java code.

Conclusion
This article demonstrates every step for integrating the MongoDB Java driver in the simplest way possible. You need to make sure that JDK, Java IDE, and MongoDB are installed before integrating the mongo-java-driver.
Source: linuxhint.com