How to Install ZLIB on Windows 10/11
In this article, we will show you how to download and install the ZLIB library on Windows 10 and Windows 11 operating systems.
Topic of Contents:
- Downloading ZLIB for Windows 10/11
- Extracting the ZLIB Archive and Moving It to the Correct Location
- Adding the ZLIB Folder to the Path of Windows 10/11
- Conclusion
Downloading ZLIB for Windows 10/11
To download ZLIB for Windows, visit http://www.winimage.com/zLibDll/ from your favorite web browser.
Once the page loads, click on “AMD64/Intel EM64T” from the “zlib123dll.zip” section as marked in the following screenshot:
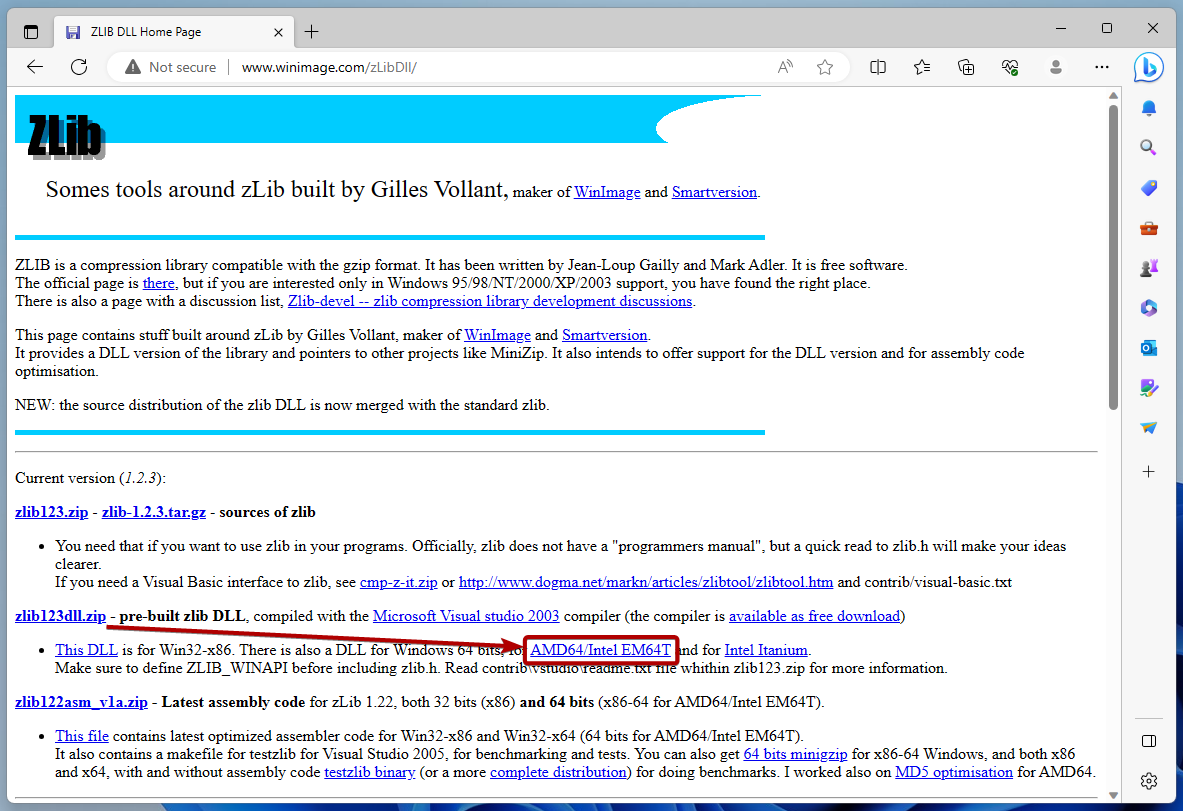
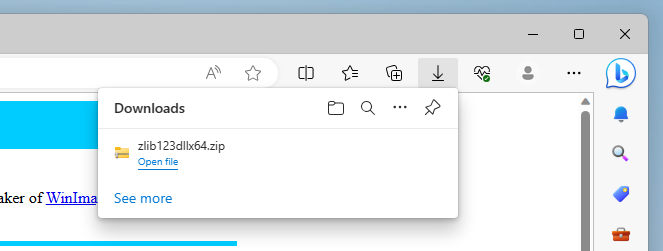
Your browser should download the ZLIB archive.
Extracting the ZLIB Archive and Moving It to the Correct Location
Once ZLIB is downloaded, navigate to the “Downloads” folder of Windows, right-click (RMB) on the “ZLIB archive”, and click on “Extract All…” as marked in the following screenshot:
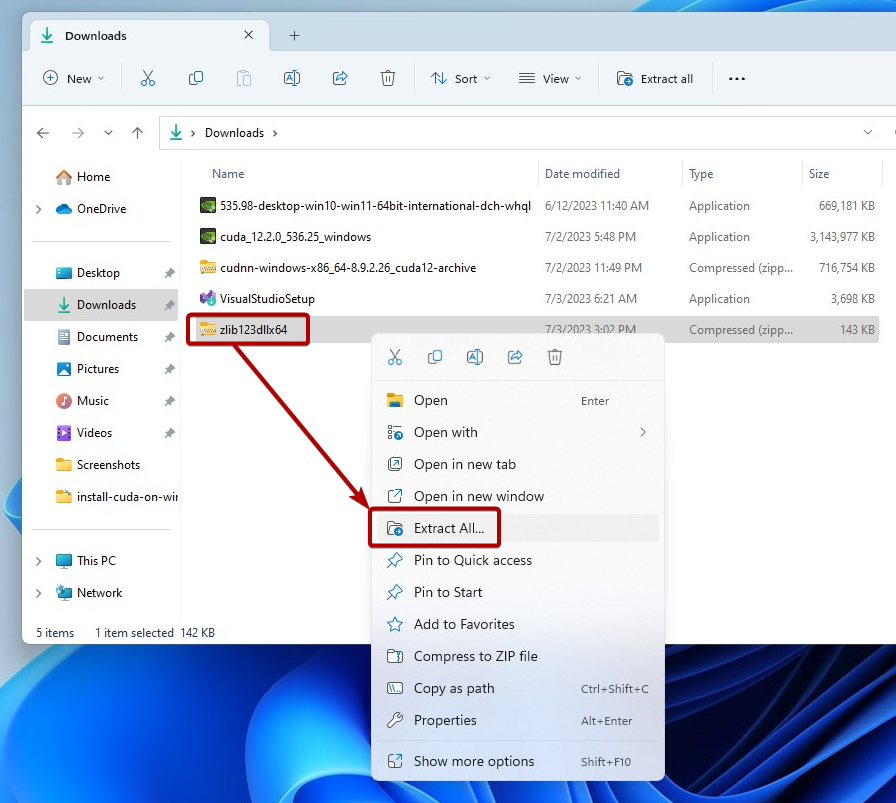
Click on “Extract”.

The ZLIB archive should be extracted in the “Downloads” folder of Windows. Then, copy/cut the extracted ZLIB folder.

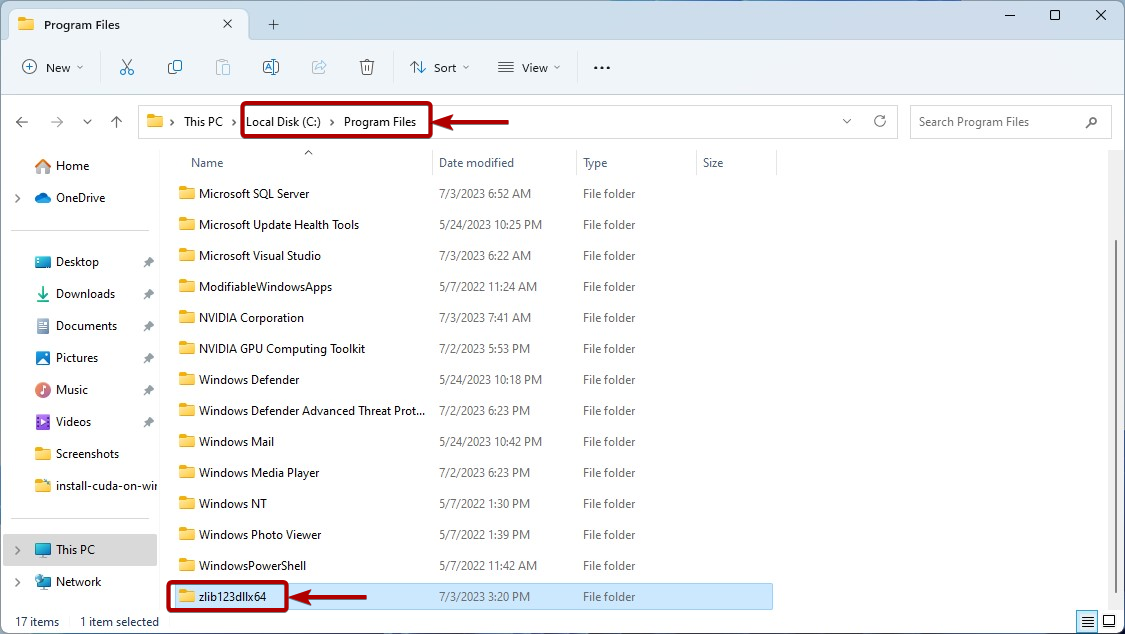
Paste the ZLIB folder in the C:\Program Files folder of Windows as marked in the following screenshot:
Adding the ZLIB Folder to the Path of Windows 10/11
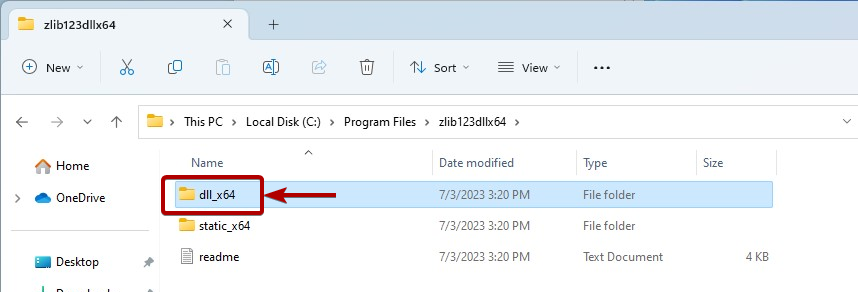
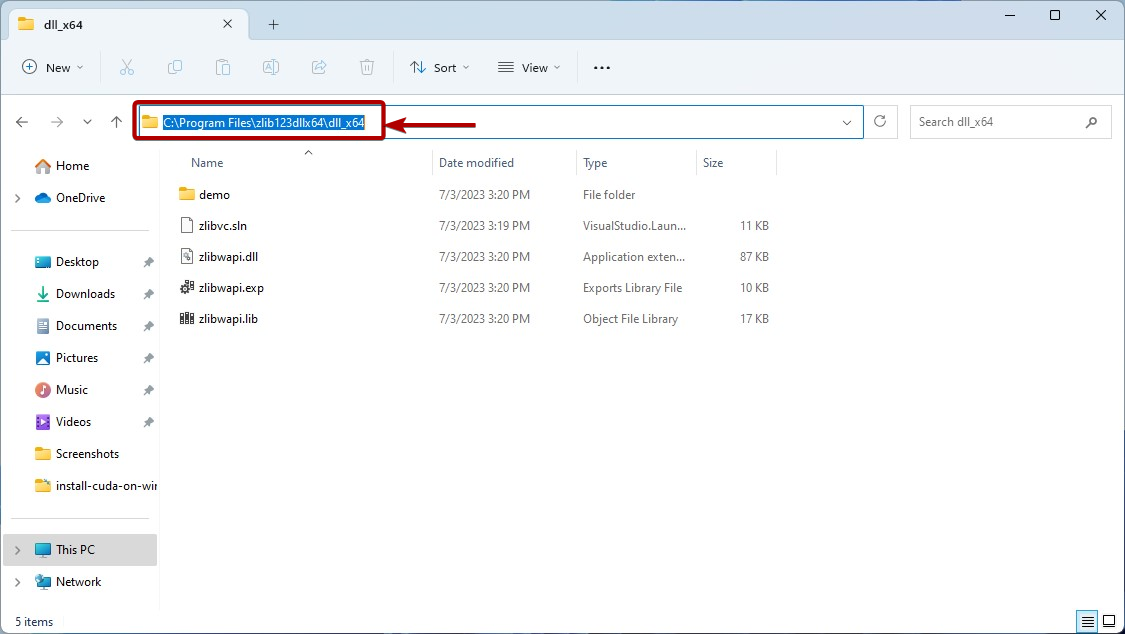
Before you add the ZLIB folder to the path of Windows 10/11, navigate to the ZLIB folder that you just cut/copied in the C:\Program Files folder of Windows. Then, navigate to the ZLIB “dll_x64” folder as marked in the following screenshot:
Copy the ZLIB DLL folder path.
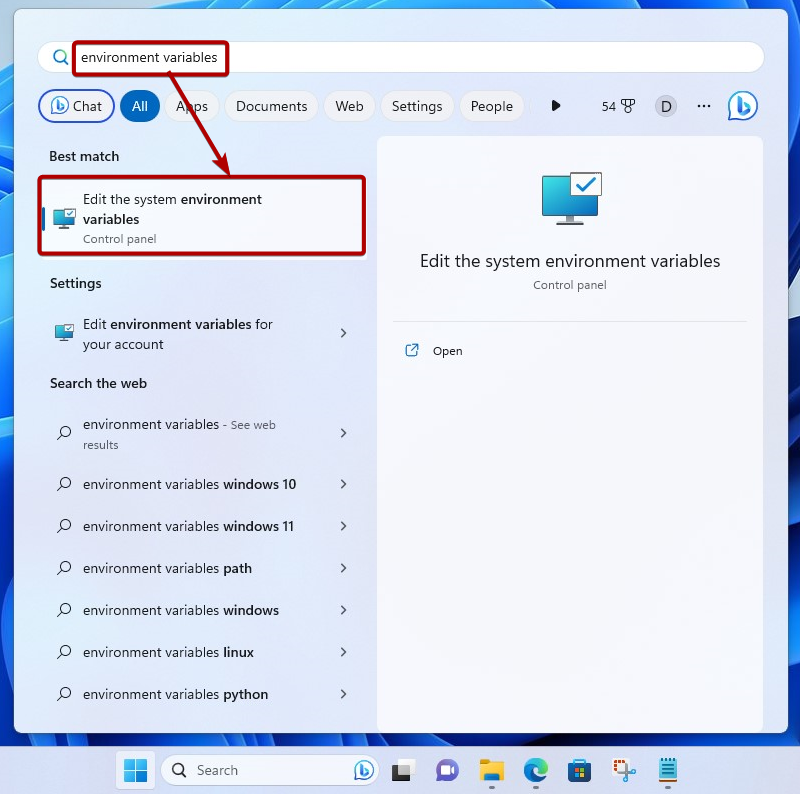
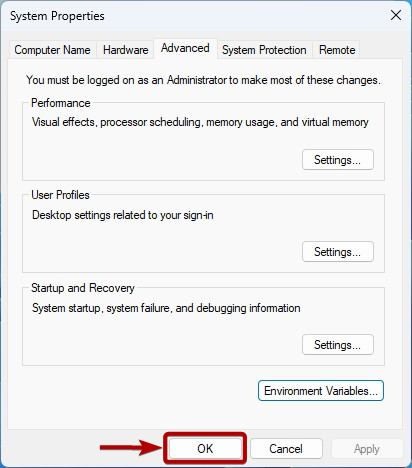
Now, search for the term “environment variables” in the “Start Menu” and click on the “Edit the system environment variables” icon as marked in the following screenshot:
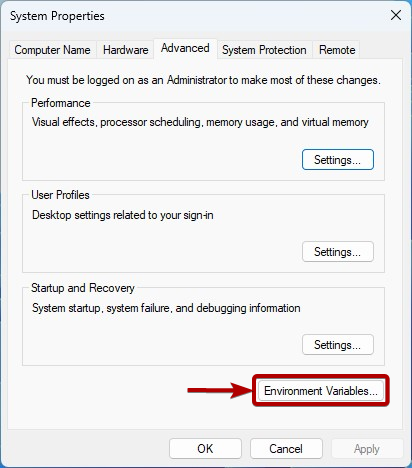
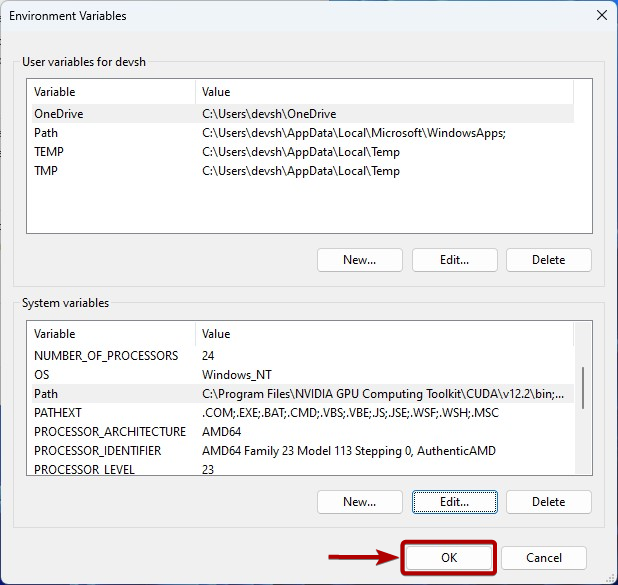
Click on “Environment Variables”.
Select the “Path” from the “System variables” section and click on “Edit”.

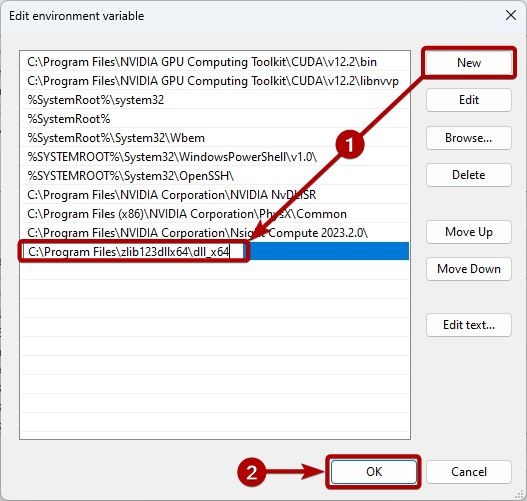
Click on “New” and paste the copied ZLIB DLL path to add it to the Path system variable of Windows[1].
Once you’re done, click on “OK”[2].
Click on “OK”.
Click on “OK”.
Now, NVIDIA cuDNN should be able to access the ZLIB DLL files as required.
Conclusion
We showed you how to download and install the ZLIB library on Windows 10 and Windows 11 operating systems so that the requirements of the NVIDIA cuDNN library are fulfilled and the NVIDIA cuDNN library can use it.
Source: linuxhint.com